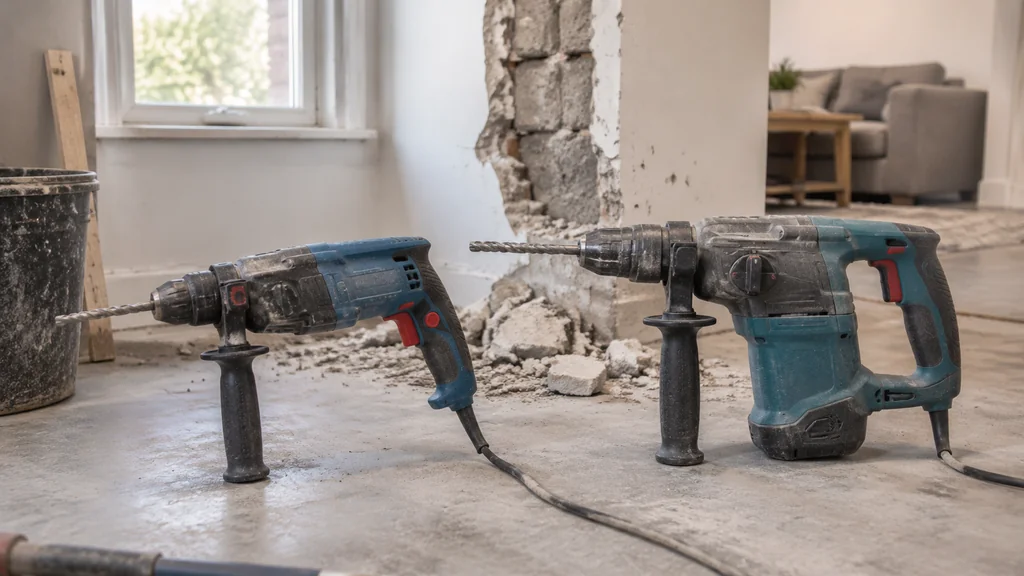
A hammer drill is enough for small holes in brick, block, and mortar joints, where a plastic plug or a light anchor is going. A rotary hammer is the tool for anchor holes in poured concrete, for any hole deep enough that the bit needs an SDS collar, and for chipping tile or breaking a small footing in hammer-only mode. Decide by diameter, depth, and what the wall is actually made of, then work out whether the job justifies buying a tool or renting one for the afternoon.
How Each Tool Actually Breaks Concrete
A hammer drill is a drill with a bonus. An electric motor turns the chuck, and behind the chuck sit two toothed plates that ride over each other as they spin, so the bit gets a rapid series of taps on top of its rotation. The mechanism is compact, it fits in a tool you can hold with one hand, and it costs a fraction of what a rotary hammer costs. It is also the reason a hammer drill stalls in a deep hole. Those plates need speed to work, and a bit buried in concrete slows the chuck down, so the blows get weaker exactly when you need them most.
A rotary hammer separates the two jobs. A piston driven by the motor compresses air against a striker, and the striker hits the back of the bit inside the collar, so the impact never passes through the chuck or the gearbox. That is why the tool keeps hitting hard at low speed, and why it can run a bit that would cook a hammer drill. Many models also carry a slip clutch, a feature that varies by model, which is designed to unload the tool if the bit jams in rebar.
The idea is old. Fein patented a drill with an electro-pneumatic striking mechanism in 1914, and Hilti put the first electro-pneumatic rotary hammer on the market in 1967, the TE 17. Everything since then has refined the same three parts, the motor, the piston, and the collar.
Match the Tool to the Hole
Start with the anchor, then work backwards to the tool. The box the anchor comes in states a hole diameter and an embedment depth, and those two numbers decide everything else. A plastic plug in brick, block, or a mortar joint is hammer drill work. An anchor in poured concrete is rotary hammer work, because the clutch-plate action of a hammer drill will not carry a bit through dense concrete at the depth a structural anchor needs.
Depth is the part people underestimate. A hole that has to go past the plaster, through a render coat, and into sound concrete is longer than it looks from the surface, and the bit has to be long enough to reach the bottom with the collar still clear of the wall. Very large or very deep holes in a foundation wall may need coring equipment and a professional assessment before anyone drills.
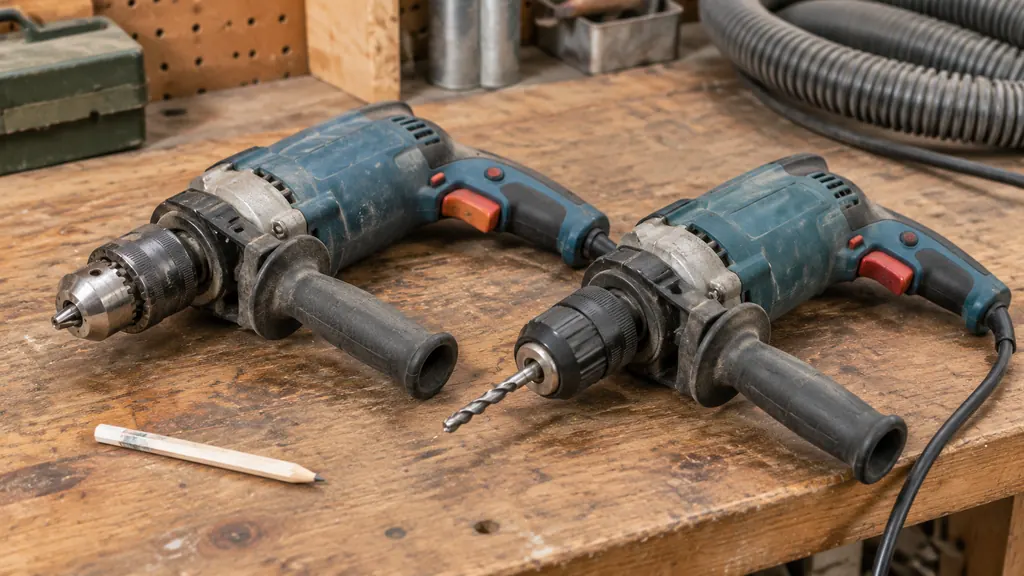
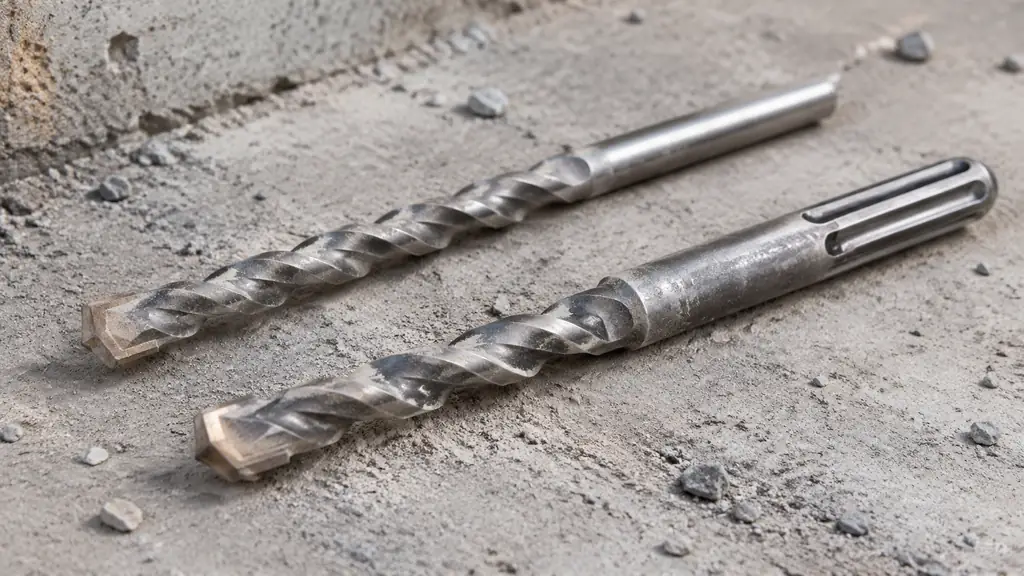
The shank tells you which tool you are holding. A hammer drill takes round-shank masonry bits in a three-jaw chuck. A rotary hammer takes SDS-Plus or SDS-Max bits that slide into a collar and lock with two spring-loaded balls. You cannot swap them, and an SDS bit dropped into a jawed chuck will spin without locking, which is how people ruin a bit and a chuck in the same afternoon.
Both tools are mature, so there is no wrong generation to avoid. Bosch was mass-producing the first Bosch-Hammer around 1932, and Bosch designed the SDS system in 1975. What you are choosing between is a mechanism, and a mechanism that has had decades to settle down.
Bits, Anchors, and the Numbers That Matter
The tip of a masonry bit is tungsten carbide, brazed onto a steel shank, and it cuts by pulverising the concrete under impact. A bit that has lost its edge or its braze will burnish the hole and take forever, so check the tip before you start and replace a bit that has stopped cutting. If you are also drilling steel plate for the same job, the flutes and the point angle are a different subject entirely, and the guide to drill bits for metal, HSS, cobalt, and carbide covers that side of the work.
Match the bit to the anchor, then match the anchor to the wall. The hole diameter the anchor maker states is the diameter you drill, and it runs larger than the screw diameter, so read the label on the box. Embedment depth, hole cleaning, and setting torque all come off the same label. Get the diameter wrong in soft block and the anchor pulls out under load. Get the depth wrong and the anchor bottoms out and never sets.
Bit length matters as much as diameter. A bit has to reach the embedment depth plus whatever the chuck or collar swallows, so check the usable length marked on the shank before you buy. Some rotary hammer and bit combinations accept a depth stop that fixes the drilling depth, and that is the difference between four consistent holes and four different ones. For wedge anchors, follow the maker’s instructions on hole depth, including any clearance for dust at the bottom.
The hammer action itself is worth having. The best hammer drills improve drilling speeds by upwards of 30% compared to running with the hammer mode disabled, which is the whole reason the category exists. Milwaukee was selling a lightweight 1/4 in electric hammer drill back in 1935.
Drill the Hole: Steps, Dust, and Noise
The sequence matters more than the brand on the tool. Work through it in order and the hole comes out round, to depth, and clean enough for the anchor to hold.
- Mark the hole with a pencil and check the mark against the anchor’s stated diameter and depth.
- Fit the correct bit, set the depth stop if the tool takes one, and pull on the bit to confirm it is locked in the collar.
- Start in drill mode with light pressure until the tip has bitten a dimple into the surface.
- Switch to hammer mode, hold the tool with both hands, and keep the bit square to the wall.
- Back the bit out every so often to clear the flutes and let the dust escape.
- Stop if you hit rebar, and assess the location before you go any further.
- Vacuum or blow the hole clean, check the depth, and set the anchor to the maker’s instructions.
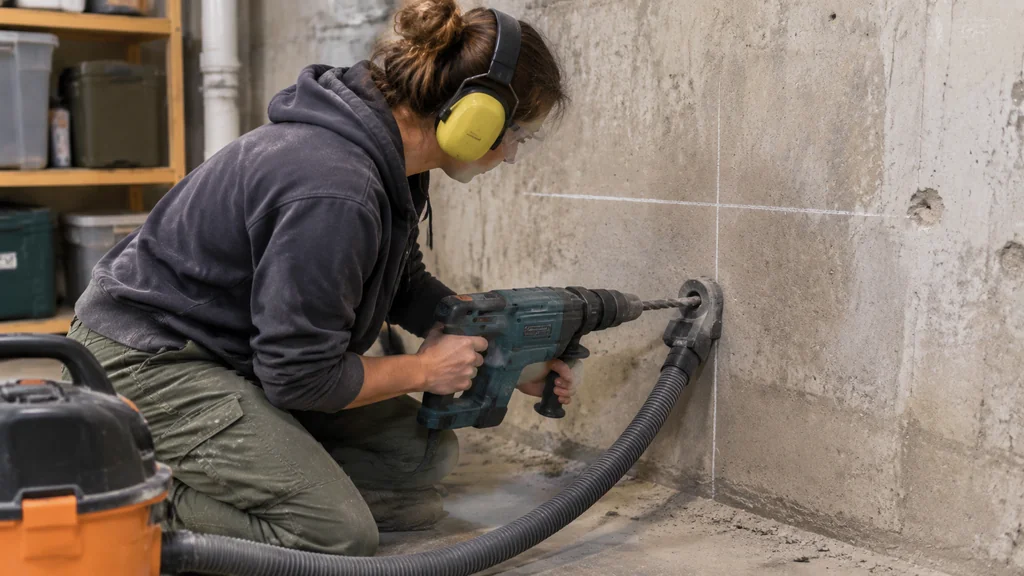
Silica dust is the part of this job that follows you home. Use a dust shroud and a vacuum suited to the tool, switch the vacuum on before the bit touches the wall, and keep the shroud flat against the surface, because a tilted shroud leaks dust around its lip. Empty the vacuum outside and wipe the shroud down when you finish. In a finished basement this step is not optional, and the same goes for a stairwell or any enclosed space where the dust has nowhere to go.
Noise is the other thing people wave off. Earlier perforating equipment commonly produced noise levels over 125 dB(A). Wear hearing protection, and wear glasses or a face shield over them, because chips come off a concrete face fast.
The most common mistake is pushing. Steady pressure and a straight wrist is the whole technique, and leaning on the tool loads the bit and overheats the tip without cutting any faster. If the hole stops progressing, pull the bit, clear the flutes, and look at the tip for wear.
The second mistake is running hammer mode before the bit has bitten. The tip skates, scratches tile or finished concrete, and can crack a glazed face. The third is ignoring rebar, which is where a hole stops being a hole and starts being a structural question. J.J. Couch invented the first pneumatic percussion drill in 1848.
If a bit jams, release the trigger, unplug the tool, and work the bit free by hand. Test the hole before the anchor goes in, and if it is shallow, drill it again. Hammering an anchor into a short hole shears the threads and leaves you with a fitting that will never hold.
Rent or Buy, and When to Call a Pro
Rent when the job is one afternoon of anchor holes and the rest of your year is wood and drywall. Buy when you are drilling concrete often enough that the drive to the rental yard costs more than the tool. Weigh the rental fee against the purchase price and the number of holes, and remember that rental terms and included bits vary by provider, so check what the yard actually hands you before you commit.
Light electric rotary hammers under 10 kg are common in construction and DIY markets, and that is the class you will be renting or buying for household work. The heavy end of the family is plant equipment. Hydraulic hammers are the heaviest class, weighing 150 kg or more.
Inspect a rental before you leave the yard. Pull the trigger in drill mode and in hammer mode, check that the collar locks a bit with a firm click, and look at the rubber seals on the chuck for cracks. Flag anything cracked to the yard before it goes in your truck.
Battery tools add a wrinkle. Runtime and hole count vary by tool, battery, material, and drilling conditions, so check the manufacturer’s specifications before you plan a day around one battery, and compare the compact and full-size platforms in the Milwaukee M12 vs M18 drill comparison if you are already on that system. An impact driver will not do this job either, and the impact driver vs drill breakdown explains why the hex holder and the anvil are wrong for a masonry bit.
Call a professional when the job involves coring a large hole through a foundation wall, cutting into a post-tensioned slab, or drilling near structural rebar in a load-bearing element. Those jobs need equipment and an assessment from someone who knows what is inside the wall before the bit goes in.
Hammer Drill and Rotary Hammer FAQ
Can a regular hammer drill drill into concrete?
A hammer drill will make small holes in concrete with a sharp carbide bit, and it will do it slowly. The clutch plates lose their bite as the bit loads up, so the deeper you go, the less work each blow does. Keep those holes short and sized for a plastic plug or a light anchor.
Do I need a special bit for a rotary hammer?
Rotary hammers take SDS-Plus or SDS-Max shank bits that lock into the collar and slide under impact. A round-shank masonry bit for a jawed chuck will not fit, and an SDS bit will not fit a standard chuck. Buy the bit for the tool you actually have.
What size rotary hammer do I need for anchors?
The anchor maker’s stated hole diameter and embedment depth decide the bit, and the bit decides the tool. Check the tool’s capacity against that bit before you rent or buy.
Thank you for reading!