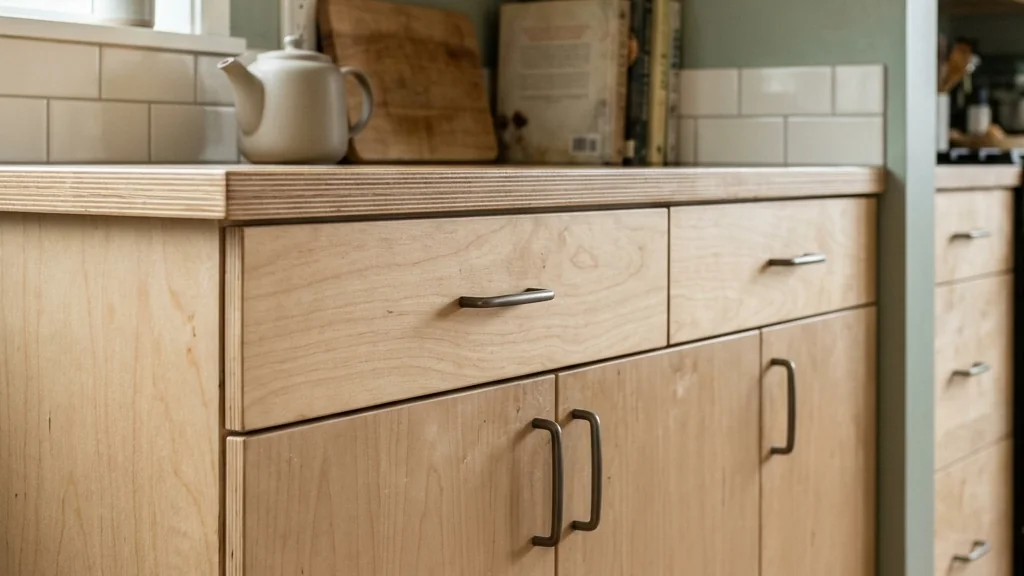
Shops use it because the edges machine clean, the faces take a finish without fuss, and the panel stays flat across a full sheet. The grade stamp on the edge tells you what the faces will look like before you ever unwrap the stack.
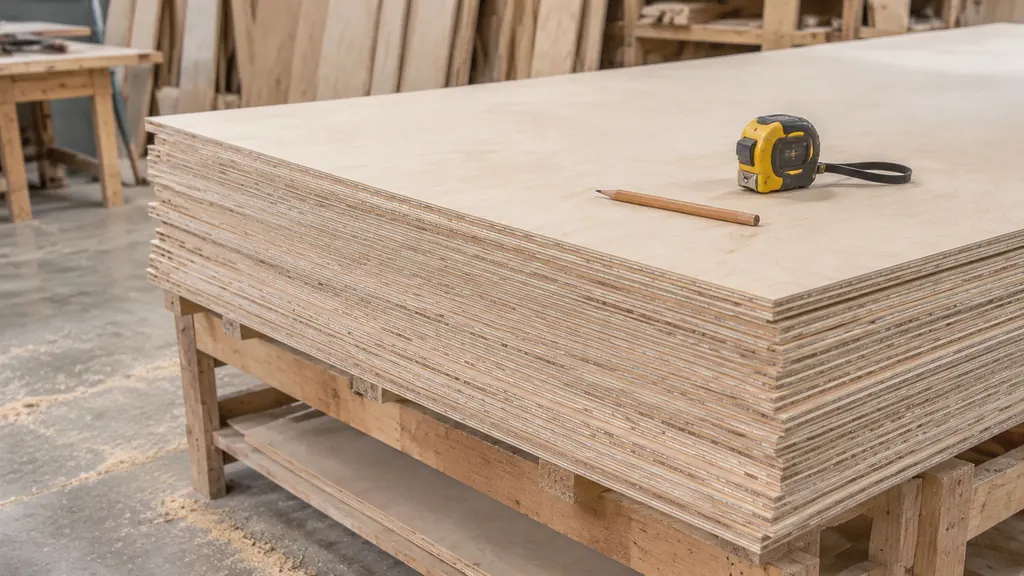
What Baltic birch plywood actually is
Baltic birch plywood is built from birch veneers arranged in layers. In most Baltic birch, the outer two veneers are a millimetre or less thick, and each additional pair of core layers adds a predictable increment of thickness. The alternating grain directions help distribute movement through the panel. That construction also gives the edge its striped appearance, which is often left visible on drawers, shelves, and small cabinets.
Baltic birch comes in a square European sheet, while most plywood sold for building work comes in the familiar rectangular sheet. It can still be awkward to handle alone, especially when a sheet has to be carried through a narrow shop or placed on a table saw.
Birch is a dense hardwood, so Baltic birch usually feels heavier than construction panels of the same size. The material is still wood, though. Moisture, uneven support, and changes in shop conditions can affect a sheet before it becomes part of a project.
Plywood edges also reveal how a panel was made. Look for continuous plies, open voids, loose patches, and glue lines that separate when the edge is flexed. A clean edge does not guarantee perfect flatness, but it gives useful information about the panel before you commit to a cut.
Reading the grade stamp on the edge
The stamp grades each face separately, so a sheet can carry one clean face and one patched face. You cut around the bad side or put it against the wall. In practice, inspect both faces under the light in the yard. A face that looks uniform from a distance may show filled knots, small splits, mineral streaks, or repaired spots when you look across the grain.
The useful question is where each face will end up. A cabinet door, drawer front, or exposed shelf usually deserves the cleaner side. A stretcher, jig, cleat, or cabinet interior may use the patched side without affecting the function of the part. Mark the selected face with chalk before breaking down the panel so the orientation stays clear after several cuts.
Lower grades carry plugs, patches, and color variation, and those are perfectly good for painted work, jigs, shop fixtures, and drawer boxes that nobody will see. A painted part still benefits from a sound surface. Fill loose defects, remove dust, and use a suitable primer before the topcoat.
Do not let a stamp with a lower face grade talk you out of a good sheet if the use is hidden. At the same time, do not treat the grade as a substitute for inspection. The stamp describes the face appearance, while edge gaps, delamination, bowing, and moisture staining can affect the workability of the whole panel.
Buy from a yard that stores sheets flat and dry. A stack leaning against a wall in a damp shed will cup, and no grade stamp survives that. Let a panel acclimate in the shop before precision work when the storage conditions differ sharply from the work area.
Why cabinet shops keep it in stock
The main reason is the edge.
Stability counts as well. Thin, uniform plies balance each other, so a panel resists warping better than a sheet with a thick softwood core. That counts for more than a pretty face when the project needs a panel that resists warping.
Screws and fasteners behave differently in it, too. A pilot hole remains useful, especially near an edge, because dense Birch can split when a screw is driven too close to the end of a part.
Baltic birch also suits several common shop tasks. Its flat faces make it useful for templates, router jigs, drawer components, cabinet partitions, and small furniture parts. The edge can be left exposed when the layered look suits the design, or it can be covered with veneer tape, solid wood edging, or a thin applied strip.
It is not automatically the right panel for every project. The visible face can still contain defects. Weight matters when a large door or removable panel must be lifted often. The adhesive and face treatment also matter when the finished piece will encounter water, heat, or repeated cleaning.
If you are joining panels and want a classic look, the same box-building logic applies to what a dovetail joint is and where it belongs. Dados, rabbets, and loose-tenon joints are also practical options when the panel thickness is consistent. Dry-fit those joints before applying glue so you can correct a tight fit without forcing the plies apart.
Sheet sizes and thicknesses you will actually find
The 5 × 5-foot sheet cuts efficiently for cabinet parts and jigs, though it is smaller than the 4 × 8-foot panel most building work uses. Plan your layout around whichever sheet your yard stocks.
In Baltic birch the layers build predictably, so a thicker sheet is simply more plies of the same material.
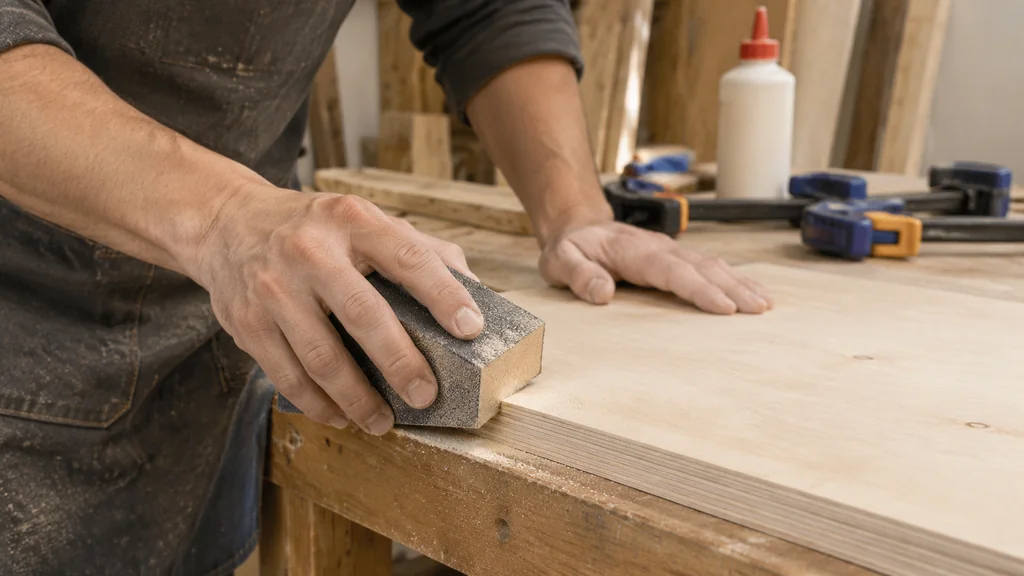
Face veneers are thin enough that a heavy sanding pass can cut through on a corner, so ease the edges with a block and a light touch. If you need to know the exact thickness before you cut a drawer side, bring calipers and check the sheet.
| Dimension | Baltic birch | Commodity plywood |
|---|---|---|
| Sheet size | 5 × 5 feet (1,500 × 1,500 mm) | 4 by 8 feet (1,220 mm × 2,440 mm) |
| Thickness range | 1/8 to 3 inches (3.2–76.2 mm) | 1/8 to 3 inches (3.2–76.2 mm) |
| Face veneer thickness | 0.7-1.0 mm | thicker softwood veneers |
| Core build-up | about 3 mm per pair of core layers | varies |
Cutting and machining it without wrecking the edge
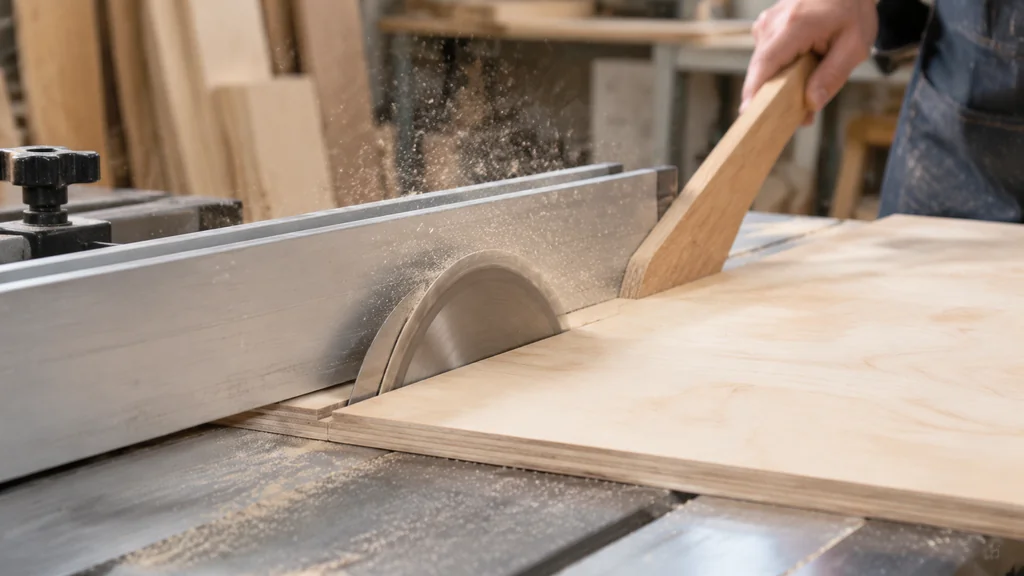
A sharp blade with a high tooth count and a slow, steady feed gives the cleanest cut. A dull blade tears the face veneer on the exit side, and on a thin face veneer that tear is not sandable without going through. Put the good face up on a table saw and use a zero-clearance throat plate where you can.
The same logic applies to jigsaws. If you are cutting curves in a panel, the blade choice decides whether the face chips, and the shank type has to match your machine before anything else. The jigsaw blades guide covers T-shank and U-shank blades. It explains which shank fits your machine. Check that match before you start a cut.
For drilling and driving, pre-drill near edges. Birch is dense, and a screw driven close to a panel edge can split the outer ply even when the core is sound. A small pilot hole costs seconds and saves a part.
If a fastener goes wrong and the head rounds off, do not dig at it with pliers. There is a right sequence for removing a stripped or rounded screw without damaging the surrounding material, and it matters more on a finished face than on framing lumber.
Finishing and sealing it
The face veneer is thin and the grain can be blotchy, so a pre-stain conditioner or a wash coat of thinned finish helps even things out. Test on an offcut from the same sheet, because two sheets can behave differently. Birch can absorb stain unevenly, particularly where the face has been sanded at different grits or where glue has reached the surface.
For a painted panel, remove dust from the face and edge, fill visible defects, and apply primer suited to the finish system. Let the primer dry before scuff-sanding. The edge often absorbs more finish than the face, so apply thin coats there and inspect it after each coat. A heavy buildup can make drawer parts feel tight in a close-fitting cabinet.
For a natural look, a clear film finish is the simplest route. Sand to a consistent grit, raise the grain with a damp cloth, sand again lightly, then apply your finish in thin coats. Do not flood the surface and do not sand hard on an edge where the veneer is thin. Water-based finish may raise the grain slightly at first, while an oil-based finish can deepen the color. Use the product instructions for drying and recoating.
If the panel will live in a humid space, seal all six faces, including the edges. That is general shop practice, not a code requirement. Check the label on your finish for recoat times and conditions. Sealing slows moisture exchange but does not turn interior plywood into an exterior panel. Keep cut edges covered when the finished part will face repeated damp conditions.
When Baltic birch is the wrong choice
Baltic birch is a poor fit when you need a sheet larger than the square European format in one piece, so a larger layout may require joining sheets. Joining can work, but the seam needs support, careful alignment, and a plan for how it will appear after finishing. A different panel format may reduce the number of joints and simplify handling.
It is also a poor fit when the project needs a thickness outside the range listed in the table above. Check the sheet size and thickness needed for the project before choosing the material. Weight can become a deciding factor on large movable parts, and the exposed edge may not suit a design that calls for a continuous solid-wood appearance.
Construction plywood may be more suitable for a rough utility surface, while MDF may be easier to paint when a smooth, uniform face is the main requirement. Solid wood may suit a part that needs a visible grain direction on every face. The choice depends on the required size, thickness, finish, strength, and exposure to moisture.
Step by step: buying and breaking down a sheet
- Decide which faces will show and which will be hidden, then buy the grade that fits the job. Measure the finished parts and allow for the saw kerf, trimming, and any edge treatment.
- Check the edge stamp and confirm the thickness with calipers against the spec sheet.
- Inspect for delamination, voids at the edge, and moisture staining before it leaves the yard.
- Store the sheet flat on stickers in a dry shop.
- Lay out your parts on the sheet, keeping the best face for the visible side of each piece.
- Cut oversize first, then trim to final size after the panel settles.
- Sand edges lightly, seal all faces if the piece will see humidity, and label the offcuts.
Before the first cut, support the sheet on a stable surface and keep the waste side clear of the blade. Mark the cut line on masking tape when a pencil line would be hard to see. For a large panel, use an extra support or a second person so the sheet does not sag and pinch the blade.
After rough cutting, label each part immediately. Note its final dimensions, face orientation, and intended location. Keep useful offcuts with their thickness written on them. Small pieces of Baltic birch are useful for test cuts, drawer dividers, brackets, and setup blocks, so they need not disappear into the scrap bin.
Baltic Birch Plywood FAQ
What does the grade number on Baltic birch mean?
The grade number describes the appearance of each face separately. A higher grade means fewer knots, patches, and color defects on that side, while a lower grade may include plugs, repairs, and greater color variation.
Is Baltic birch plywood waterproof?
Standard interior-glue Baltic birch sheets are not rated for constant moisture. Outdoor suitability depends on the sheet’s adhesive and construction, so check the product information before exposing it to weather.
How thick are the face veneers?
On most Baltic birch the outer two veneers are 0.7-1.0 mm thick. That is thin, so sand edges with a block and a light touch to avoid cutting through. Check the spec sheet for the sheet you buy.
Can I use Baltic birch outdoors?
Outdoor use depends on the sheet’s rating and adhesive. Confirm that information before buying, then seal the faces and edges with a finish suited to the expected exposure.
Thank you for reading!