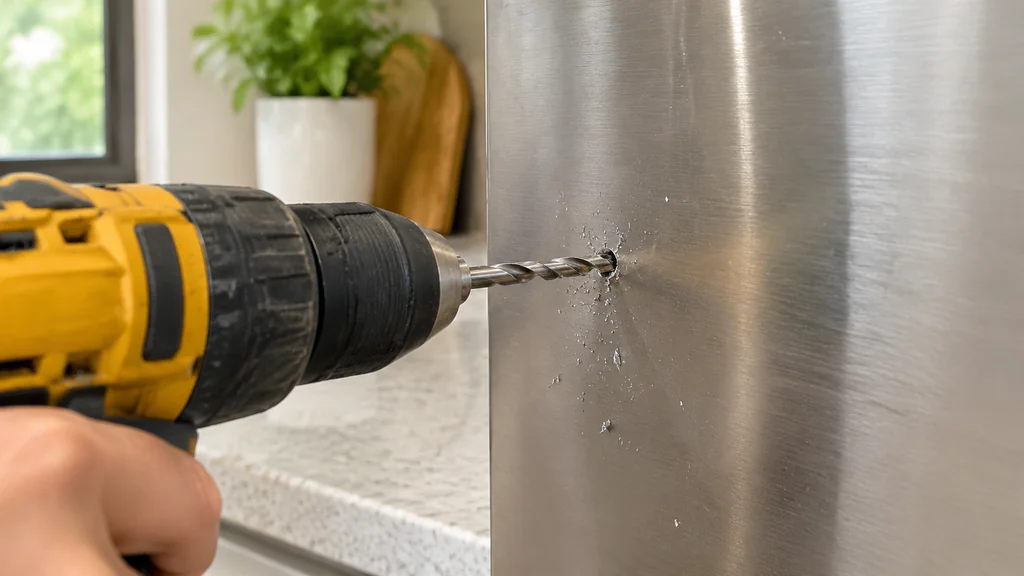
Stainless steel work-hardens the moment a dull edge rubs it instead of cutting, so the bit that ruined itself did so because it spun too fast, pushed too little, or lost its edge. Use a sharp bit made for steel, keep the speed low, keep the feed firm, and cool the tip. Do that and the bit is less likely to burn up.
Why Stainless Steel Eats Drill Bits
Stainless is not harder than mild steel in the way most people assume. It is tougher, and it behaves badly under a spinning bit that is not cutting.
The bigger problem is heat. Once a bit turns blue or straw-coloured at the tip, the hardness is gone and no amount of sharpening brings it back.
Then there is work hardening. A bit that skids on the surface without biting leaves the spot you need to cut harder to drill. The next attempt is harder, and the one after that harder still. This is why a hole that starts badly rarely recovers. Get the bit to bite on the first contact and the metal stays soft underneath it.
Choosing the Right Bit for Stainless
The bit matters more here than in wood or mild steel. Three families cover almost every job in a home shop.
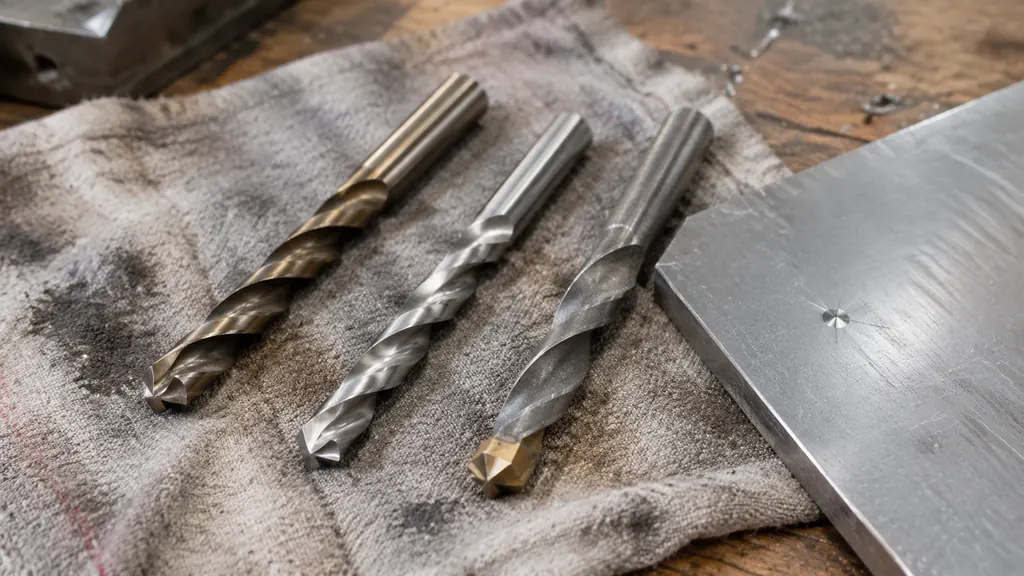
- Cobalt HSS bits. Cobalt alloy added to high-speed steel gives the bit more heat resistance for stainless work. Buy a recognised brand and check the label for the cobalt percentage rather than trusting a bargain bin.
- Carbide-tipped or carbide drill tip bits. A steel body with a carbide cutting tip brazed on. Carbide is brittle, so these bits want a drill press and a steady hand rather than a wobbling cordless held at arm’s length. They bridge the gap for hard or abrasive metals and for jobs where a full carbide bit would snap.
Two geometry details matter. A shallower point angle, around 150 degrees, suits drilling steels and tougher materials, though it needs a starter hole to keep the bit from wandering. And the diameter-to-length ratio of a drill bit usually falls between 1:1 and 1:10, with longer ratios possible but harder to make and much easier to snap. For stainless, stay as short and stiff as the job allows.
Setting Up the Hole Before the Bit Touches Metal
Most ruined bits are ruined before the drill starts. Set the work so it cannot move. A plate that shifts under the bit grabs the flutes and snaps them, and a thin sheet that flexes lets the bit skate across the surface.
Mark the hole with a centre punch and hit it firmly enough to leave a real dimple. That dimple is what stops the bit wandering and lets a shallow 150-degree point engage the metal cleanly. For anything above a small pilot size, drill a pilot hole first. The pilot gives the larger bit a guide and reduces the width of the cut at the tip, which lowers the heat and the load on the edge.
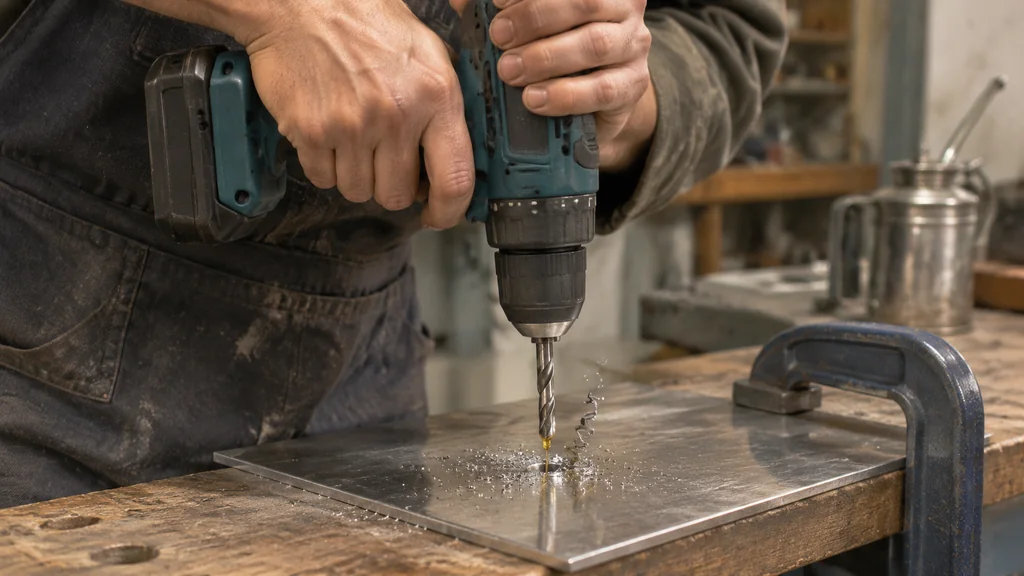
Clamp the workpiece to the bench or into a vise. If you are drilling sheet metal, back it with a scrap of wood so the bit does not tear through and snatch on breakthrough. If a fastener has already rounded off and you are working around it, the method for removing a stripped or rounded screw without damaging the surrounding material is worth reading before you reach for the drill.
Check the bit itself. A dull bit, a chipped edge or a bit with a built-up edge from previous work will slide across the surface and work-harden stainless. If the tip is discoloured from an earlier job, retire it from stainless work and keep it for softer material.
The Drilling Sequence That Keeps the Bit Alive
Follow this procedure in order so the bit removes metal continuously.
- Punch and pilot. Centre punch the mark, then drill a small pilot hole through the plate at low speed with firm pressure.
- Switch to the final bit. Fit the correctly sized bit, ideally a cobalt HSS or carbide-tipped bit in good condition.
- Set low speed. Use the lowest speed your drill offers, or the low gear range on a two-speed drill. High speed is the single most common cause of a burnt tip.
- Apply firm, steady feed. Push hard enough that the bit cuts continuously. If the bit stops producing a chip and starts squealing, it has lost continuous engagement with the metal.
- Add cutting fluid or oil. A drop of cutting oil or a suitable lubricant at the tip carries heat away and keeps the edge from welding to the metal. Reapply as you go.
- Clear the chips. Back the bit out periodically to clear the flutes. Packed chips trap heat and stall the cut.
- Keep going once you start. Do not stop halfway with the bit still in the hole. If you must stop, back the bit out of the hole first, then let the workpiece and the bit cool before resuming.
The rhythm matters as much as the settings. A slow, constant feed with a sharp bit produces a continuous curl of chip and a hole that stays cool. A fast, light feed produces dust, heat and a hardened surface. If you find yourself pressing harder and harder while the bit does less and less, stop. The edge is gone, and continuing only hardens the hole.
Cooling, Chip Clearing and the Mistakes That Kill Bits
The mistakes repeat across every shop, and each one has a clear cause.
- Too much speed. The tip overheats, the temper goes, and the bit turns blue. Slow down and let the edge do the work.
- Too little pressure. The bit slides across the surface, the stainless work-hardens, and the hole gets harder with every pass. Firm feed, always.
- No lubricant. Dry drilling in stainless is a shortcut to a burnt tip. Use cutting oil and keep the cut wet.
- Stopping mid-hole. Heat builds, then the metal cools and hardens around the bit. Keep the feed going until you break through.
- A dull bit pushed harder. This is the classic death spiral. A dull edge slides across the surface, the operator leans on the drill, the heat rises, and the bit fails. Swap or sharpen the bit instead.
- Wandering on the surface. No punch mark, no pilot, and the bit skates, scratching the finish and hardening the spot it touched.
Cooling deserves its own note. Let it cool on the bench, or keep a second bit in rotation so one is always cool.
When to Call a Pro or Change Approach
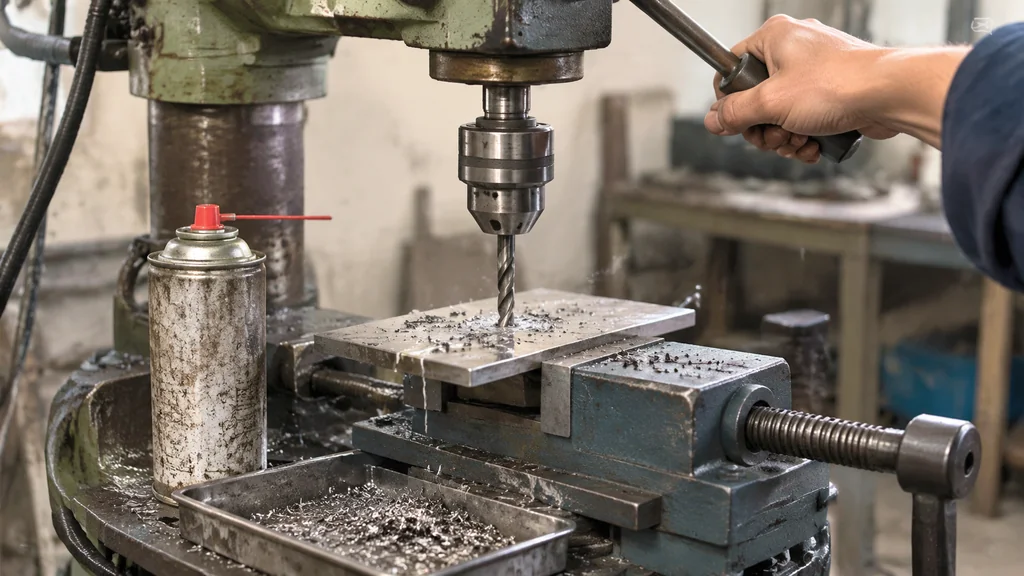
Some stainless jobs are not hand-drill jobs. Thick plate, large diameters, deep holes and production runs all push a cordless drill past what it can do well. A drill press or a professional setup can give you better control of feed and speed, and that control may reduce the damage to the bit and the workpiece.
Call in a pro or move to a machine shop when the hole is large relative to the bit length, when the material is a hard grade you cannot identify, or when the part is expensive enough that a ruined hole costs more than the drilling. The same judgement applies to structural or pressure-containing stainless parts. If the hole affects the strength or sealing of the assembly, use a controlled professional setup.
For anything you cannot clamp safely, stop. A spinning bit catching in a loose plate is how hands get cut. The rule is simple. If the work moves, the bit breaks, and the piece that breaks is often the one you are holding.
Bit Care Between Jobs
A bit that drills stainless well is a bit that stays sharp. Store bits so the edges do not knock against each other. A roll or an indexed case is enough.
Learn to recognise a dull edge before it costs you a hole. A sharp bit bites on contact and pulls a chip. A dull bit skates, squeals and heats up. If you catch it at the skate stage, a quick touch-up on a grinder or a sharpening jig restores the edge. If you catch it after the tip turns blue, the bit is done for stainless work.
Keep stainless bits separate from the ones you use on wood and drywall. A bit that has drilled abrasive material has a slightly rounded edge, and that edge will slide across stainless and generate heat. If you also cut sheet goods, the difference between jigsaw blade shanks is a useful reminder that the tool has to match the material and the machine. For joinery work, what a dovetail joint is and where it belongs explains why the cut and the material must suit the job.
Stainless Steel Drill Bits FAQ
Do I need a special bit to drill stainless steel?
Yes, a cobalt HSS bit is the standard choice. Plain HSS bits will cut it, but they dull faster and are more likely to burn at the tip. Check the label for the bit’s intended material before you buy.
What speed should I use for stainless steel?
Use the lowest speed your drill offers and a firm, steady feed. High speed generates heat faster than the metal can shed it, and the tip overheats. If the bit squeals and stops producing a chip, slow down further and increase pressure.
Why does my drill bit turn blue when drilling stainless?
The tip has overheated and lost its temper, which happens when the bit slides across the surface without producing a continuous chip. Too much speed, too little feed or no lubricant all cause it. A blue tip will not hold an edge in stainless again, so replace the bit.
Can I drill stainless steel with a regular drill?
Yes, for thin sheet and small holes, with a sharp cobalt bit, low speed and cutting oil. Thick plate, large diameters and deep holes call for a drill press or a machinist.
How do I stop the bit from wandering on stainless?
Centre punch the mark firmly and drill a small pilot hole first. A shallow point angle around 150 degrees also needs a starter hole to keep the bit from skating. Clamp the work so it cannot move under the bit.
Thank you for reading!