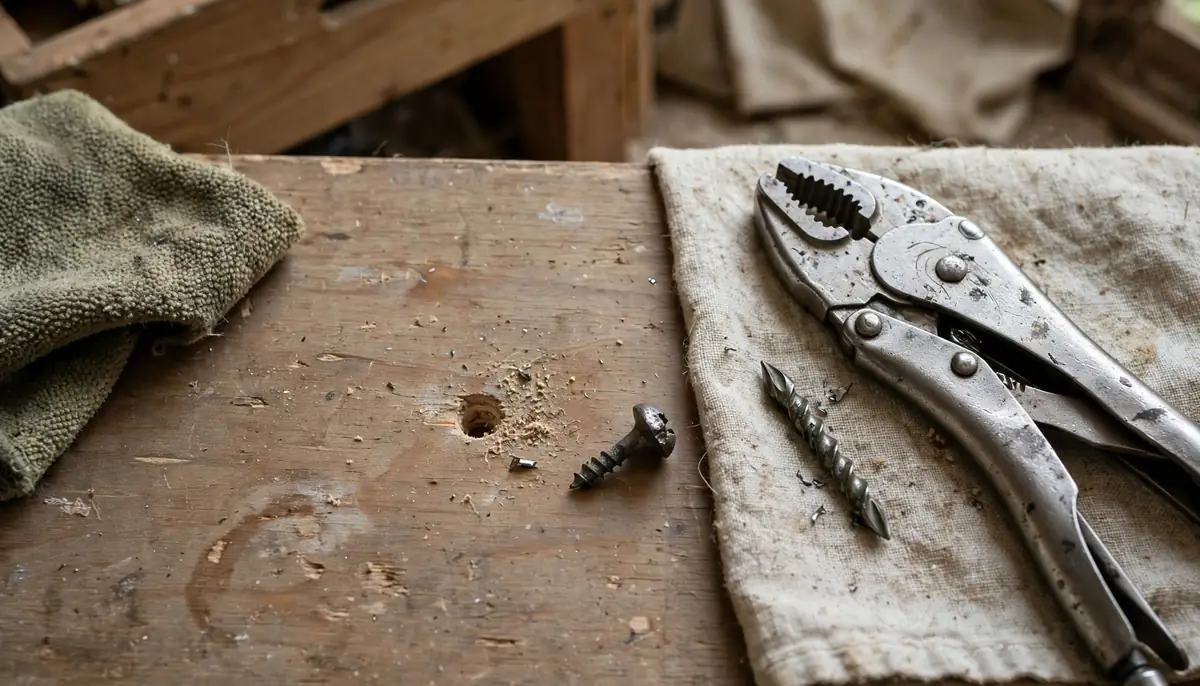
A stripped screw head has lost the crisp edges that let a driver bite, so the fix is always the same idea: create new grip or new rotation. You either add friction on top of the head, cut a fresh slot, or drill a pilot hole and drive an extractor into it counterclockwise. Work slowly, keep the driver square to the screw, and stop before you chew the head into a smooth dome.
Why Screws Strip in the First Place
A head strips for a handful of reasons, and the fix depends on which one applies.
- Worn or cheap bits. A bit with rounded corners cannot transmit torque, so it spins and polishes the recess.
- Corrosion or paint. A screw that has been painted over or has rusted into a hinge has effectively been glued in place.
The last one matters most on exterior work. A hinge screw on a painted door, or a machine screw in an aluminum frame, is tight and effectively bonded. Turning harder only makes the head worse.
Start With Grip, Not Force
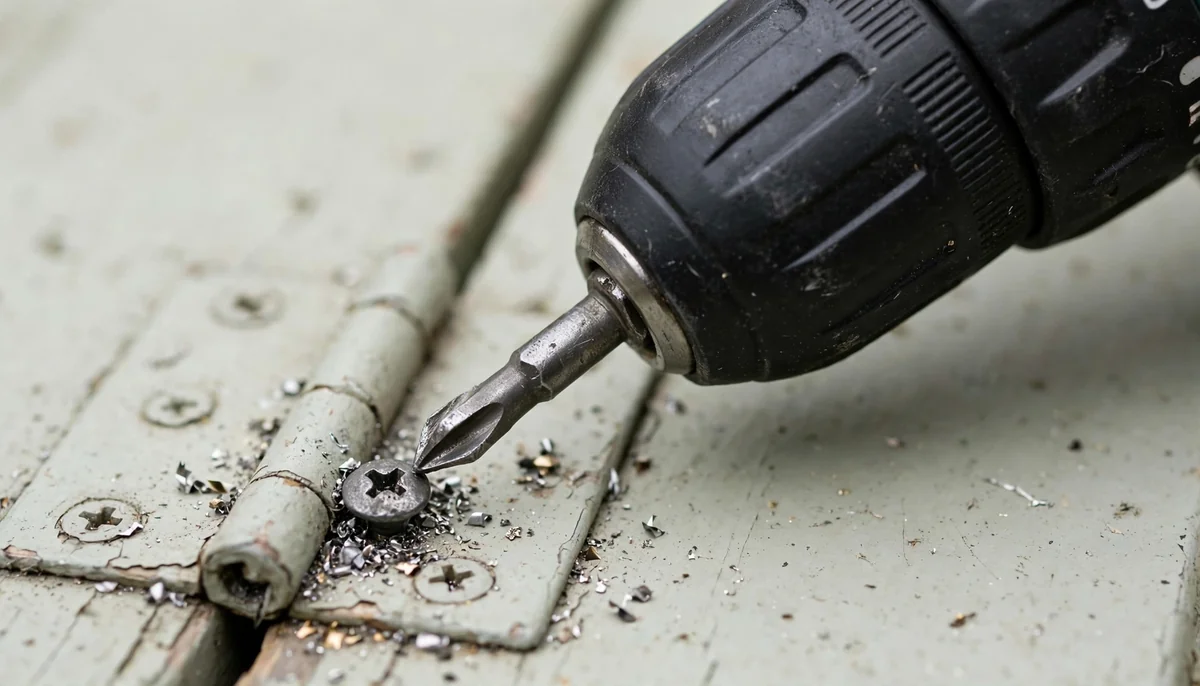
Before you reach for a drill, try the cheapest fix. It works more often than people expect, especially on a screw that is only slightly worn.
- Press harder than feels natural. Push the driver into the head with real body weight while turning slowly. Most cam-out happens because the bit climbs out of the recess.
- Switch to a fresh bit. A new #2 Phillips or the correct Torx bit often solves it outright.
- Add friction. A wide rubber band laid flat over the head gives the bit something to bite. So does a dab of valve grinding compound, which is abrasive grit in a paste.
- Try a different driver type. If the cross is gone but the head is intact, a slightly larger flathead may catch the remaining slots.
If the screw still will not move, stop. Every extra second of spinning removes more metal, and once the head is a smooth dome your options shrink fast.
Use an Extractor Bit the Right Way
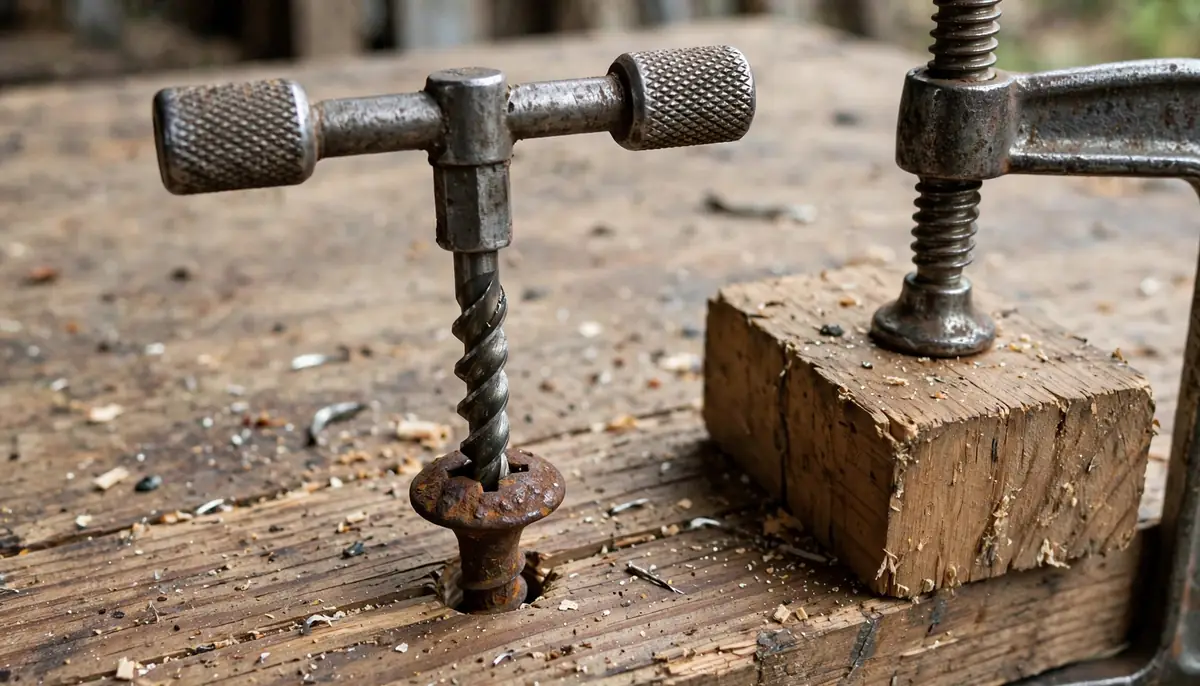
An extractor is a hardened, tapered bit with reverse flutes. It bites into a drilled hole and turns the screw counterclockwise.
The steps are not complicated, but the order matters.
- Center punch the head. A sharp tap with a center punch or a nail keeps the drill from wandering on a curved surface.
- On a broken screw shank, you drill into the shank itself.
- Seat the extractor. Tap it in lightly with a hammer so the flutes engage, then turn it counterclockwise with a tap wrench or a bit holder. Keep steady downward pressure.
- Back it out slowly. Once it grabs, keep turning counterclockwise with steady downward pressure.
Two rules keep you out of trouble. Use the extractor at low speed, and never drill deeper than the screw is long. A deeper hole will punch through the back of the material, and on a hollow-core door or a thin panel that means a hole you now have to patch.
Cut a New Slot When the Head Is Gone
If the head is too far gone for an extractor, or the screw is tiny, cut a slot and use a flathead driver. A rotary tool with a thin cutoff wheel, or a hacksaw blade for a screw that stands proud, will cut a groove across the head in a few seconds.
- Cut deep enough for the driver to seat, but not so deep you cut the head in half.
- Keep the wheel moving so you do not blue the metal or burn the surrounding finish.
- Use the widest flathead that fits the slot. A narrow driver will just wallow it out.
- On a screw set below the surface, protect the surrounding wood with a piece of tape or a metal shield.
For a screw that is stuck because of paint or corrosion, heat helps more than muscle. On a painted hinge, score the paint around the screw head with a utility knife first so the paint does not tear away with the screw.
If the screw is in a metal assembly and refuses to budge, a few drops of penetrating oil left to sit overnight is a reasonable next step. Avoid open flame near finished surfaces, and never heat a screw that sits near a fuel line or a gas fitting.
Left-Hand Drill Bits and Other Options
Other routes, roughly in order of escalation:
- Vise-Grip pliers on a screw head that stands above the surface. Clamp hard and turn.
- A screwdriver bit in a bit holder plus a wrench for extra leverage on a stubborn machine screw.
- Drilling out the head with a bit the same size as the shank, then removing the remaining stub with pliers once the parts separate.
- A plug cutter around a wood screw, so you can lift the screw with a plug of wood and glue in a matching dowel.
Drilling out is the last resort because you lose the head and may damage the threads. If the screw threads into metal, a tap of the same size may be needed to clean up the hole afterward. Check the thread pitch before you buy a tap, since metric and imperial sizes are not interchangeable.
Safety and the Mistakes That Cost You
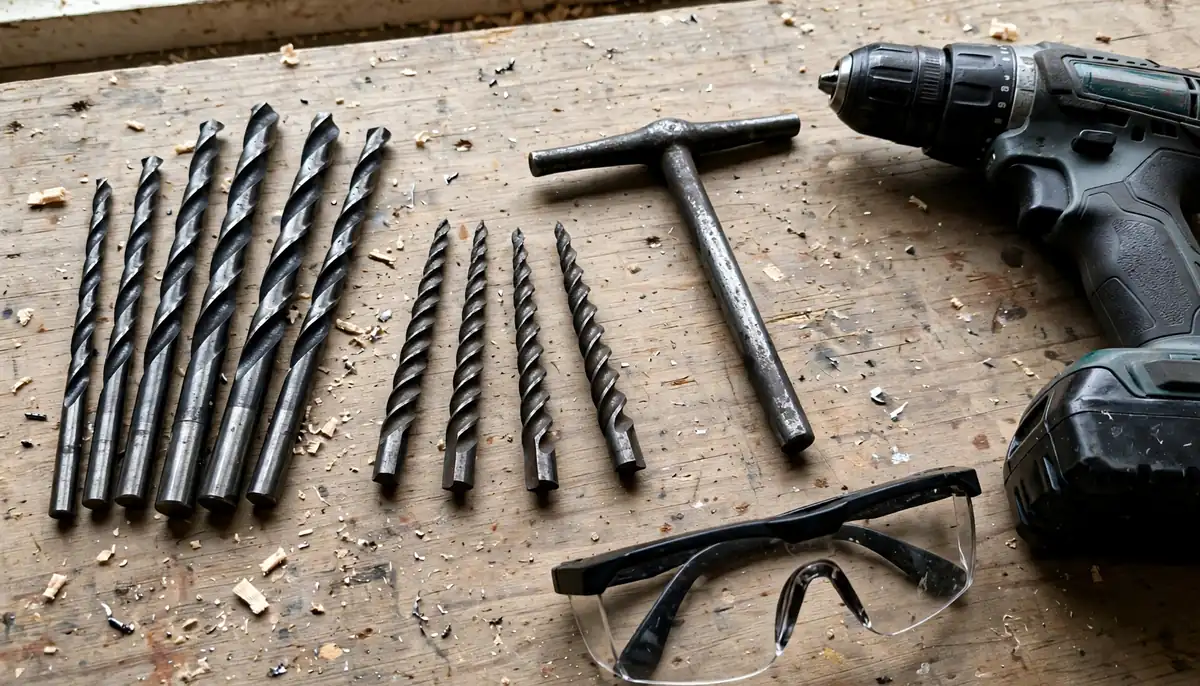
The drill hurts more people here than the screw does. A bit that snaps under load becomes a projectile, and a slipping driver can cut your hand.
- Wear safety glasses. Metal shavings from a cutoff wheel are hot and sharp.
- Never brace the work against your body. Clamp it, or set it on a bench.
- Do not use a cheater bar on a screwdriver. The tip will snap.
- Keep your fingers behind the bit line, not wrapped around the head.
- Unplug or pull the battery before you start poking at anything near wiring.
That last point is not optional. If the screw holds a cover plate, a device box, or any part of a circuit, killing power at the breaker comes first.
For projects where the screw is part of a larger installation, it pays to plan the whole run before you start fastening. The same discipline that keeps a screw from stripping keeps a circuit from being a mess, and our guide to wiring a dryer outlet walks through the sequence for a 4-prong and 3-prong connection. If you are running a dedicated circuit for a welder, our 220V outlet for a welder article may be useful. And if the job is really about building a business around this kind of work, starting an interior design business is a different skill set entirely, though the same habit of measuring twice applies.
When to Stop and Call a Pro
Some screws are not a DIY problem. Call a professional if any of these apply.
- The screw is part of a structural connection, such as a ledger board, a deck post bracket, or a beam hanger.
- The fastener is in a gas appliance, a fuel line, or a pressure vessel.
- The screw is seized in an engine block, a brake caliper, or another safety-critical assembly.
- You have already broken a tap or an extractor off inside the hole, which is now a machining job.
- The screw is one of several in a pattern, and the surrounding material is cracking.
Key Points at a Glance
- Add grip before force: press hard, use a fresh bit, or lay a rubber band over the head.
- Drill the pilot hole no deeper than the screw is long.
- Cut a new slot with a rotary tool when the head is too far gone for an extractor.
- Kill power at the breaker before touching a screw near wiring.
How to Remove a Stripped or Rounded Screw FAQ
Can I remove a stripped screw without an extractor?
Yes, in many cases. Extractors are for heads that are too far gone for those methods.
What size extractor do I need?
Follow the extractor manufacturer’s sizing instructions.
Does heating a screw help loosen it?
Yes, heat can help on a screw that is stuck because of paint or corrosion. Apply heat gently and keep open flame away from finishes, and never heat fasteners near fuel or gas lines.
What if the screw head breaks off completely?
Drill a pilot hole into the remaining shank and use an extractor, or cut a slot if any shank stands proud. If the shank is flush or below the surface, drilling out the threads may be the remaining option.
Can I reuse the hole after removing the screw?
In wood, yes, but the hole is usually enlarged. Glue in a hardwood dowel, let it cure, and drill a fresh pilot hole. In metal, chase the threads with a tap of the correct pitch, or move up one size if the threads are damaged.
Thank you for reading!