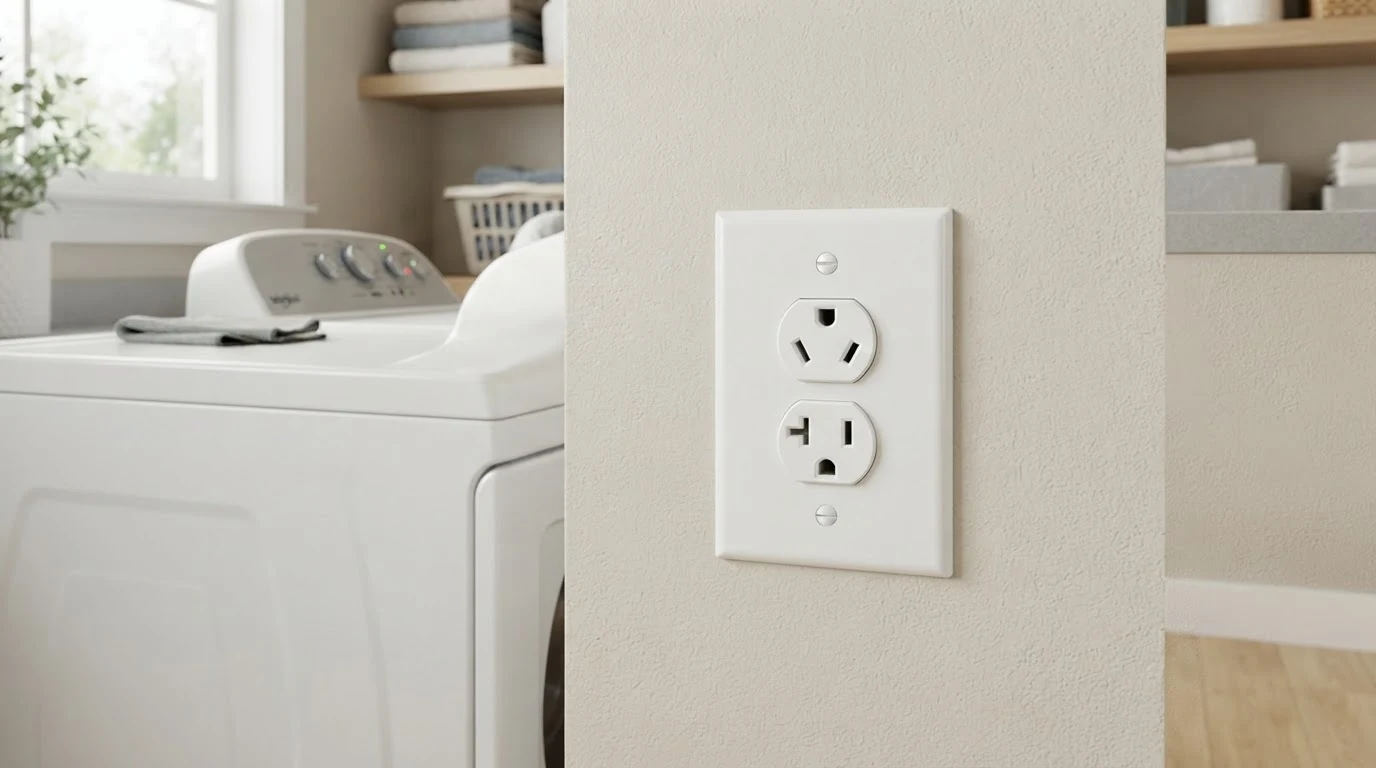
Updated July 2026. To wire a dryer outlet you need a dedicated 30-amp double-pole breaker, 10 AWG copper wire (10/3 NM-B for a modern 4-prong outlet), and a NEMA 14-30 receptacle. The job takes a confident DIYer 1 to 3 hours, depending on the run from your panel to the laundry area. The detail that trips up most people is the neutral-to-ground bonding strap on the dryer, and getting it wrong energizes the metal frame. This guide covers the modern 4-prong install, the older 3-prong outlet you may already have, and what to do when your dryer plug and wall outlet do not match.
A dryer runs on 240 volts for the heating element and 120 volts for the drum motor and controls. That mix is why a modern dryer outlet has four wires: two hots, a neutral, and a separate ground. Older homes were wired with three, and that difference causes nearly every dryer-outlet headache.
Before You Start: Tools, Materials, and Difficulty
This is a medium-difficulty project. You need to be comfortable working inside a breaker panel, landing wire on terminals, and running cable through a wall or floor. If you have never opened a panel, do this one alongside someone who has, or hand it to a licensed electrician. A dryer circuit is 240V, and mistakes at that voltage are unforgiving.
Tools You Need
- Non-contact voltage tester (Klein NCVT-3 or equivalent)
- Wire stripper rated for 10 AWG
- Flathead and Phillips screwdrivers, plus a nut driver set (dryer terminal blocks often use hex nuts)
- Drill with a 3/4-inch spade bit for boring through framing
- Fish tape if running through finished walls
- 240V outlet tester for final verification
Materials for a 4-Prong Outlet (NEMA 14-30)
- 30-amp double-pole breaker matched to your panel brand (Square D QO, Eaton BR, Siemens, or GE)
- 10/3 NM-B cable (black, red, white, plus bare ground), cut to your run length plus 24 inches of slack
- NEMA 14-30R receptacle (4-prong, 240V/30A) and a dryer receptacle box
- Cable clamp and 10 AWG staples
- A matching 4-prong dryer cord if your dryer still has a 3-prong cord
Permits and Code
Most US jurisdictions require an electrical permit for a new 240V circuit. Some areas let homeowners pull their own; others require a licensed electrician. Call your local building department first. Since the 1996 National Electrical Code, new dryer circuits must be 4-wire (NEC 250.140). The 3-prong setup is grandfathered on existing circuits only. You cannot install a new 3-prong dryer outlet today.
Method 1: The 4-Prong NEMA 14-30 Outlet
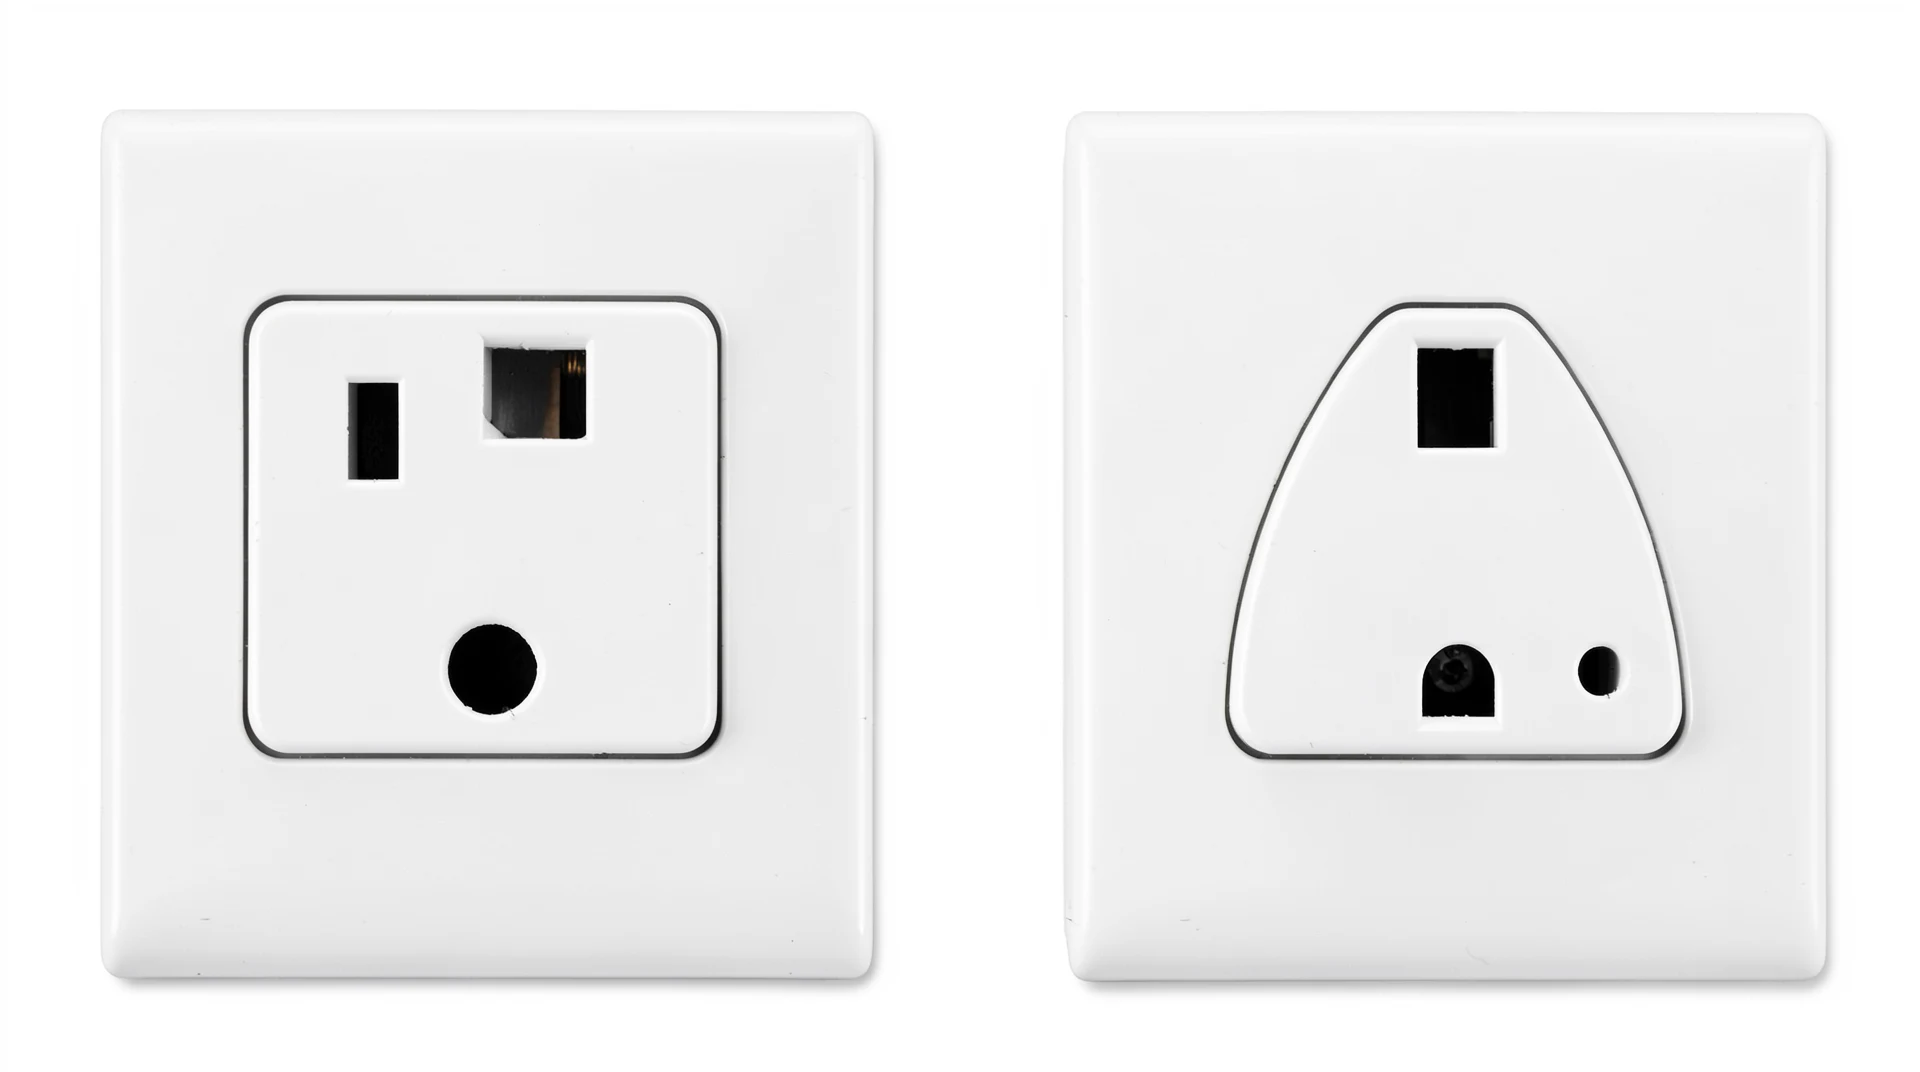
This is the correct install for any new dryer circuit and the goal whenever you can run a fresh cable. The four prongs give the dryer two hot legs, a neutral for its 120V components, and a dedicated ground kept completely separate from the neutral. That separation is the whole point of the 1996 code change.
Step 1: Turn Off the Main Breaker and Verify Dead
Flip the main breaker to OFF and wait 30 seconds. Hold your non-contact voltage tester near the bus bars, the service entrance terminals, and every breaker you plan to touch. If it beeps on a bus bar, stop and confirm the main is actually off. Labels lie. The first panel I ever worked on had a breaker marked “hallway” that fed half the bedrooms. Test every time.
Step 2: Find an Open Double-Pole Slot and Plan the Run
You need one open double-pole position, which is two adjacent slots. If your panel is full, a tandem breaker may work where the panel label allows it, or you may need a subpanel, which is a separate job worth an electrician. Mark the outlet behind where the dryer will sit, 6 to 42 inches off the floor, and plan the cable route back to the panel. In open framing, run along joists; in finished walls, fish through the top plate.
Step 3: Mount the Outlet Box
Mount a dryer receptacle box at the marked height. A surface box works in an unfinished basement; a recessed box gives a flush look and lets the dryer sit closer to the wall. Install a cable clamp in the knockout so the cable cannot pull out and the metal edge cannot bite the conductors.
Step 4: Run the 10 AWG Cable
Pull 10/3 NM-B from the outlet box to the panel. Leave about 12 inches of slack at the outlet and 18 to 24 inches at the panel. You can trim later; you cannot stretch. Staple the cable within 12 inches of every box and every 4.5 feet along the run, per NEC spacing. Drive staples gently. A staple hammered flat crimps the jacket and nicks the insulation underneath, and you will never see it once the wall is closed.
Step 5: Wire the NEMA 14-30 Receptacle
Strip 4 to 5 inches of outer jacket, then 3/4 inch of insulation from each conductor. The 10/3 cable has four conductors, and the 14-30R has four terminals.
- Black wire to one hot terminal (X)
- Red wire to the other hot terminal (Y)
- White wire to the silver neutral terminal (W), the L-shaped slot
- Bare copper to the green ground screw (G)
Tighten every terminal until the wire will not pull free with a firm tug. A loose 30-amp connection arcs, and arc faults start fires inside the wall where you cannot see them. Fold the wires in neatly and screw the receptacle in place.
Step 6: Land the Breaker in the Panel
With the main still off, remove the panel cover, run the cable through a clamp, and strip back about 12 inches of jacket inside the enclosure.
- Land the bare copper ground on the ground bus bar.
- Land the white neutral on the neutral bus bar. In a main panel the ground and neutral bars are bonded; in a subpanel they stay separate, and the ground goes to the ground bar only.
- Snap the 30-amp double-pole breaker into two adjacent slots so it seats on both bus stabs at once.
- Connect the black wire to one breaker terminal and the red to the other. On a double-pole breaker, either hot can go to either terminal.
- Tighten both breaker terminal screws firmly.
Route the cable neatly along the inside rail before replacing the cover.
Step 7: Set the Dryer’s Bonding Strap, Then Test
Before you plug in, open the small cover on the back of the dryer where the cord attaches. On a 4-prong install, the neutral-to-frame bonding strap or green bonding screw must be removed, so the frame is grounded only through the dedicated ground wire. Attach the 4-prong cord: the two hots to the outer terminals, the neutral to the center, and the green ground to the frame ground screw.
Now replace the panel cover, turn the main on, leave the new dryer breaker off, and plug a 240V-rated outlet tester into the receptacle. Flip the new breaker on. The tester should show two hot legs, a good neutral, and a good ground. A 120V tester will not read this outlet. If the breaker trips instantly, shut it off and recheck for a loose terminal or a wire on the wrong lug.
Method 2: The 3-Prong NEMA 10-30 Outlet (Existing Circuits Only)
If your home was wired before the mid-1990s, you probably have a 3-prong NEMA 10-30 outlet. It carries two hots and a neutral, with no separate ground, and the dryer frame bonds to the neutral instead. This is legal on the existing circuit, so you do not have to tear it out, but you cannot install a new one.
The receptacle wiring is simpler: two hots to the outer terminals, neutral to the center. The catch shows up when the plug and outlet do not match, which is what most people are actually trying to solve.
- New dryer (4-prong cord) meeting an old 3-prong outlet: swap the dryer’s cord for a 3-prong cord and install the bonding strap so the frame bonds to neutral. Do not force a 4-prong cord onto a 3-wire outlet.
- Old dryer (3-prong cord) meeting a new 4-prong outlet: swap the dryer’s cord for a 4-prong cord and remove the bonding strap, as in Method 1.
The rule is simple: the cord matches the outlet, and the bonding strap follows the cord. Three-prong cord means the strap stays in; four-prong cord means the strap comes out. Never leave the frame ungrounded on either setup.
The Bonding Strap: The One Detail That Bites People
Every dryer ships with a small metal strap or a green screw connecting the neutral terminal to the metal frame. It exists for the old 3-wire world, where the neutral doubles as the ground path.
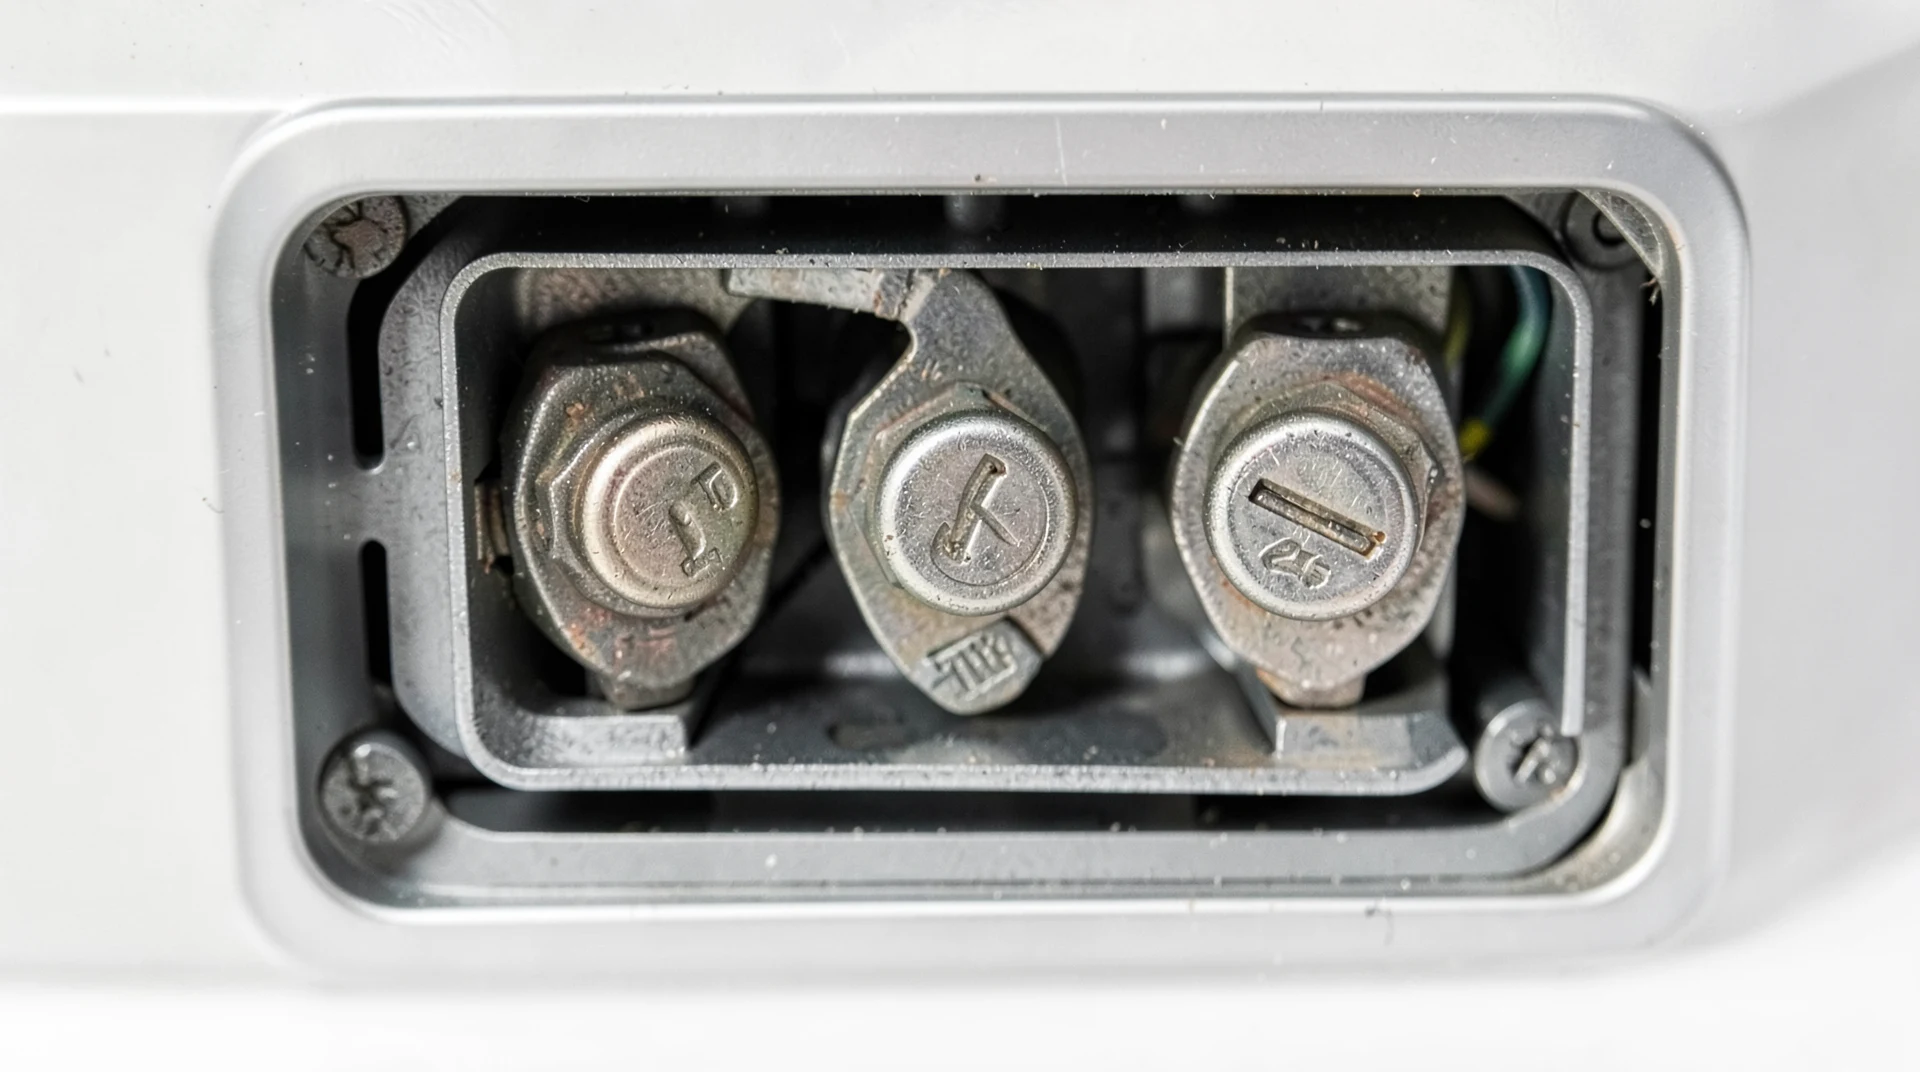
- 3-prong (10-30) install: the strap must be in place. The frame relies on the neutral for its ground.
- 4-prong (14-30) install: the strap must be removed. The frame grounds through the dedicated ground wire, and leaving the strap in ties neutral to the frame, so imbalance current can make the cabinet live.
I have opened up dryers where a previous installer left the strap in on a 4-prong cord, and a tester read the cabinet live to ground. It is a two-minute check people skip, and it is the difference between a safe install and a shock every laundry day. When in doubt, the dryer’s install manual spells out the strap position for each cord type.
What Does Not Work
Three shortcuts people reach for, and why each is a mistake.
Adding a Ground Prong to a 3-Wire Circuit
You cannot turn a 3-wire circuit into a true 4-wire outlet by jumping from the neutral to the ground screw on a 14-30 receptacle. That defeats the separate ground and puts neutral current on the ground path and the dryer frame. A real 4-prong outlet needs a new cable with a separate ground run back to the panel.
Using a 30-Amp Circuit Wired With 12 AWG
Twelve-gauge wire is rated for 20 amps, not 30. A dryer on a 30-amp breaker needs 10 AWG copper. Under-sized wire overheats before the breaker ever trips, which is exactly how wires melt inside a wall. Match the wire to the breaker: 10 AWG for 30 amps.
Cheater Adapters Between Plug Types
The little 3-to-4 and 4-to-3 dryer adapters sold online are a gamble. Some pass ground correctly, many do not, and none of them set the bonding strap on the dryer for you. The right fix costs about $15: buy the correct cord for your outlet and set the strap properly. Skip the adapter.
Tips for Wiring a Dryer Outlet
- Buy the cord that matches your outlet, not your dryer. Dryers ship without a cord for exactly this reason, and cords are cheap and easy to swap.
- Buy a breaker that matches your panel brand. Square D fits Square D, Eaton fits Eaton. Do not mix brands even if a breaker physically clicks in.
- Leave a few feet of cord slack behind the dryer so you can pull it out to clean the vent without unplugging it.
- If your panel wears a Federal Pacific or Zinsco label, call an electrician before adding any circuit. These panels have known breaker-failure problems.
- Label the new breaker clearly. “Dryer” beats a blank space for the next person who opens the panel.
Warnings You Should Not Ignore
- Never work on a live panel. Turn off the main, then verify dead with your tester, every time.
- Set the bonding strap to match the cord. The wrong position can energize the dryer frame.
- The NEC requires a dedicated 30-amp circuit for a dryer. Do not share the breaker with anything else.
- Do not reduce a 4-prong outlet to 3 prongs to avoid running a ground. Run the ground.
- If you hire an electrician, confirm they are licensed and insured in your state. Unlicensed work fails inspection and can void insurance.
Frequently Asked Questions
What size breaker and wire do I need for a dryer outlet?
A standard electric dryer needs a 30-amp double-pole breaker and 10 AWG copper wire. For a modern 4-prong outlet, use 10/3 NM-B cable, which has two hots, a neutral, and a ground. Never wire a 30-amp dryer circuit with 12 AWG wire, which is only rated for 20 amps.
Can I replace a 3-prong dryer outlet with a 4-prong one?
Only if a separate ground conductor runs all the way back to the panel. A true 4-prong outlet needs its own ground wire, and you cannot create one by jumping from the neutral. If your existing circuit is 3-wire, either keep the 3-prong outlet with a 3-prong cord, or run a new 10/3 cable with a dedicated ground.
What is the bonding strap on a dryer and when do I remove it?
The bonding strap connects the dryer neutral terminal to its metal frame. Remove it for a 4-prong (NEMA 14-30) install, where the frame grounds through a dedicated ground wire. Leave it in place for a 3-prong (NEMA 10-30) install, where the neutral is the ground path. Setting it wrong can make the dryer cabinet live.
Is a 3-prong dryer outlet still legal?
Yes, on existing circuits. The 3-prong NEMA 10-30 was grandfathered when the 1996 code required 4-wire dryer circuits. You can keep and use an existing 3-prong outlet, but you cannot install a new one. Any new dryer circuit must be 4-wire.
How much does it cost to wire a dryer outlet?
Materials for a DIY install run about $60 to $110: breaker, 10/3 cable, receptacle, box, and a matching cord. Hiring a licensed electrician typically costs $150 to $350 total, more if the run is long or the panel is full and needs a tandem breaker or subpanel.
References
- National Electrical Code (NEC) 2023 Edition, NFPA 70, Article 210 (Branch Circuits) and 250.140 (Frames of Ranges and Clothes Dryers)
- Whirlpool and GE dryer installation instructions (manufacturer specs for 3-prong vs 4-prong cord and bonding strap)
- US Consumer Product Safety Commission, home electrical and appliance safety resources
About the Author
Mike has been working on residential electrical projects and home workshops for over 15 years. He writes practical how-to guides that cover the details most articles skip: the exact wire gauge, the breaker brand compatibility, and the one step, like the dryer bonding strap, that quietly causes the real problems. All electrical guides on housebouse.com follow current NEC requirements and are written for homeowners who want to understand the job before they open the panel. If a project is beyond your comfort level, always call a licensed electrician in your area.
For more on home electrical systems and safety, our electrical category covers breaker panels, wiring basics, and outlet installation. If you are wiring a different appliance, see our guide on installing a 240-volt outlet for ranges, EV chargers, and other 240V equipment.
Thank you for reading!