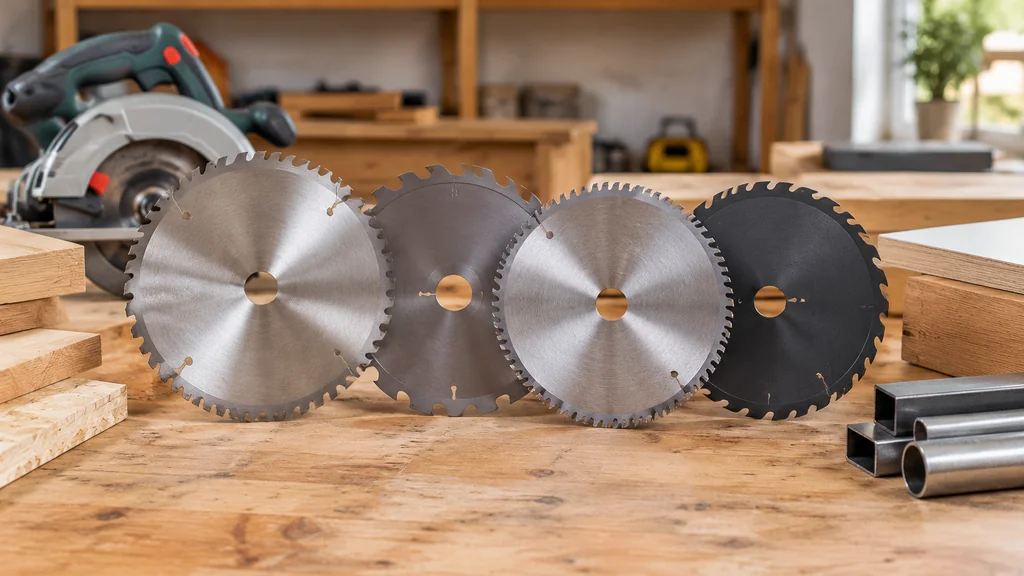
Tooth count decides how a circular blade saw cuts, and the material decides which count you need. Low tooth counts clear chips fast for ripping solid lumber, high counts leave a smooth edge on trim and plywood, and the wrong match burns the wood, dulls the blade early, or kicks back on you. Pick the blade for the job before you touch the trigger.
What Tooth Count Actually Does
Every tooth on a saw blade circle takes a small bite and carries the chip out of the kerf. Fewer teeth mean bigger bites and deeper gullets between them, so the blade clears waste quickly. More teeth mean smaller bites, a smoother cut, and slower feed.
That trade-off is the whole game. A rip blade with a low count cuts fast along the grain, but it leaves a rougher edge. A fine-tooth blade leaves a finish you can sand lightly and paint, but push it through thick stock and it heats up, because the gullets cannot clear the chips fast enough.
The material sets the target. Softwood, hardwood, plywood, melamine, aluminum, and PVC each behave differently under the same blade, and the count is where you match the tool to the stock.
Reading a Blade Before You Buy It
A blade label tells you more than the tooth count. Learn the numbers and you stop guessing in the aisle.
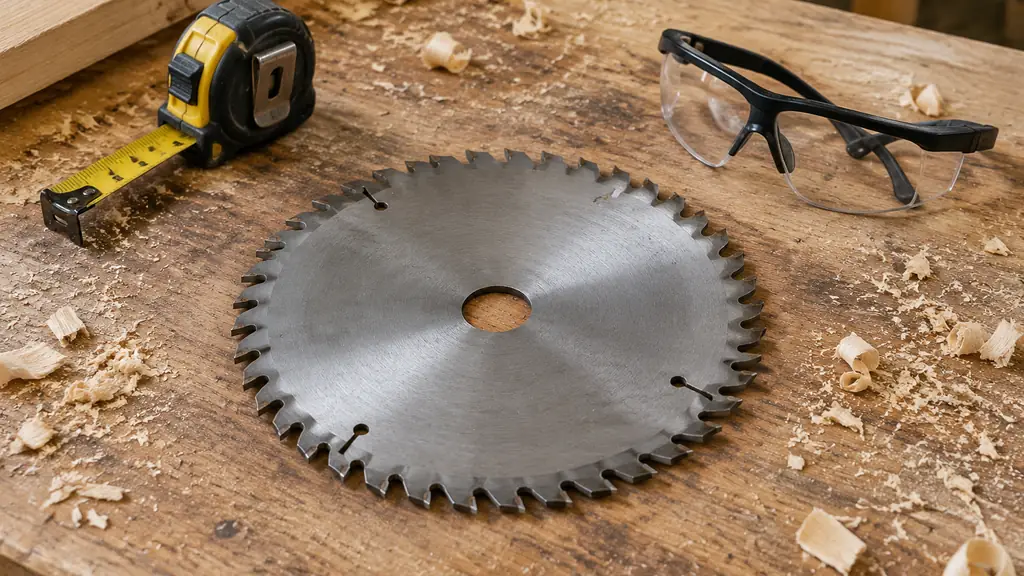
- Tooth count. Stamped on the blade, often as something like 24T or 60T. This is teeth per blade, not per inch.
- Kerf. The width of the cut the teeth make. A thin kerf takes less power from the saw and suits smaller motors.
- Hook angle. How aggressively each tooth leans into the work. A steep hook bites hard and suits fast ripping; a shallow hook is calmer for trim.
- Expansion slots. The cutouts in the plate that let the blade grow as it heats without warping.
- Arbor size. The center hole. It has to match your saw’s arbor, and an adapter ring is not a substitute for the right blade.
If a spec sheet lists a maximum rpm, respect it. Spinning a blade faster than its rating is how plates crack, and no cut is worth that.
Matching the Blade to the Material
Here is where most home cuts go wrong. People buy one blade and use it for everything, then wonder why the plywood splinters and the rip cut takes forever.
Ripping solid lumber. A low tooth count with deep gullets is the right call. It clears the long stringy chips that ripping produces along the grain, and it lets the saw keep its speed. This is the blade for framing and rough stock.
Crosscutting and general work. A middle count handles both directions reasonably well. It is the compromise blade that lives on the saw for most jobs around the house.
Plywood, trim, and finish work. A high tooth count gives you a clean edge with less tear-out on the top face. Feed it steadily; forcing it burns the wood and dulls the tips fast.
Melamine and laminate. These need a fine-tooth blade and a slow, steady push. The coating chips easily, so support the workpiece and let the teeth do the work.
Aluminum and non-ferrous metal. Use a blade made for metal, with a fine count and the right tooth geometry. Never cut metal with a wood blade, and never cut metal on a saw that is not rated for it.
PVC and plastic. A fine-tooth blade cuts cleanly, but plastic grabs and melts if you linger. Keep the blade moving.
For a saw that handles trim and bevels at the bench, the setup on our guide to miter saw sizes and bevel types is worth reading before you buy blades for it, since the saw and the blade have to suit each other.
Step by Step: Choosing and Fitting the Right Blade
- Identify the material and whether you are cutting along the grain or across it.
- Match the tooth count to that job: low for ripping, middle for general work, high for finish cuts.
- Check the arbor size and the maximum rpm against your saw’s spec plate.
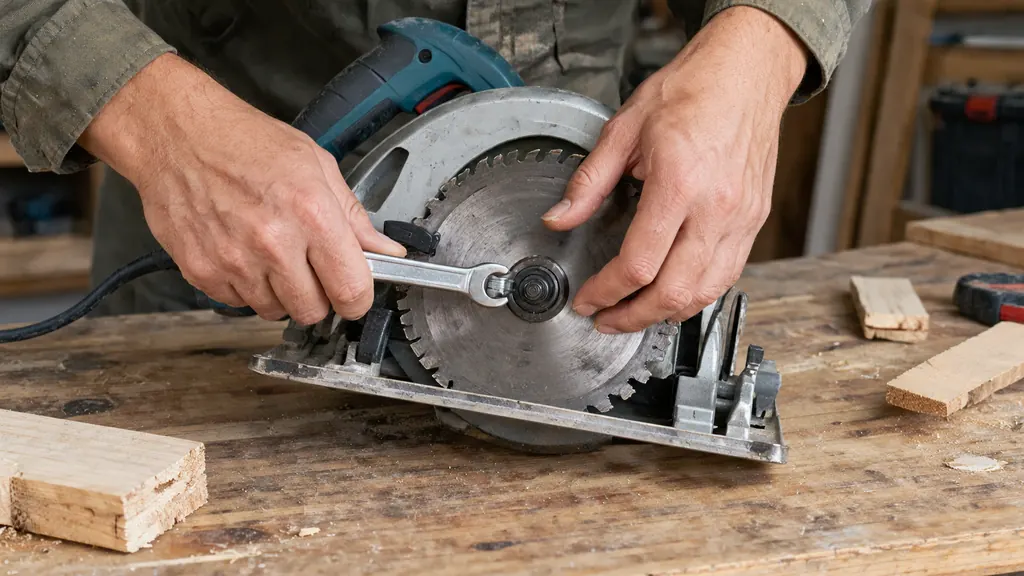
- Unplug the saw, or pull the battery, before you touch the blade.
- Retract the lower guard, loosen the arbor bolt with the correct wrench, and remove the old blade.
- Fit the new blade with the printed arrow matching the rotation arrow on the guard, then tighten the arbor bolt firmly.
- Check the blade spins free by hand, then make a test cut in scrap before you cut the real piece.
That test cut in scrap is not optional. It tells you whether the blade tracks true and whether the tooth count suits the material before you ruin a finished panel.
Mistakes That Ruin Blades and Cuts
Using a dull blade. A dull blade makes you push harder, and pushing harder is how you lose control. If the saw starts burning its way through instead of cutting, stop and change the blade.
Forcing the cut. Let the teeth set the pace. If you have to lean on the saw, the tooth count is wrong for the material or the blade is past its life.
Cutting without support. Both sides of the cut need support, or the offcut pinches the blade. Pinching causes kickback, and kickback is the injury that sends people to the emergency room.
Ignoring the guard. The retracting guard exists for a reason. Never tie it back, and never set the saw down before the blade stops.
Mixing materials on one blade. Cutting PVC or pressure-treated stock with your good finish blade leaves residue and dulls the tips. Keep a rough blade for rough work.
Wrong blade, wrong saw. A blade rated for a bench saw does not belong on a handheld circular saw. Check the rating every time.
If you are stacking blades for a wide groove, the rules change again, and our walkthrough of dado blades and stacks covers the setup and the safety side properly. Cordless saws also draw hard on their packs, so keep spare batteries charged and stored well; the storage advice in our piece on lithium-ion tool batteries will save you a pack or two.
When to Sharpen and When to Replace
Carbide tips last a long time in softwood and a much shorter time in manufactured board and treated lumber. When the cut starts burning, when you smell scorched wood, or when the saw needs real effort to move, the edge is gone.
A good shop can resharpen a carbide blade a few times, and for a quality blade that is money well spent. Cheap blades with brazed tips are usually not worth the sharpening fee. If a tooth is missing or the plate is bent or cracked, retire the blade. A cracked plate can come apart at speed, and no budget is worth that risk.
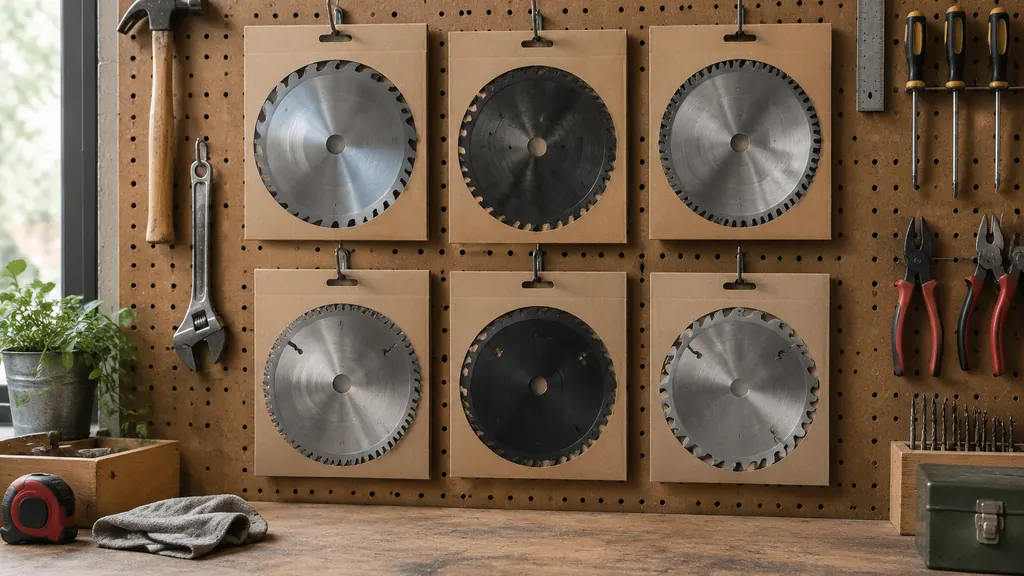
Store blades flat or hanging on a peg, not tossed in a drawer where teeth knock against each other. A blade guard or a simple sleeve keeps the tips intact between jobs.
Circular Saw Blade FAQ
Does a higher tooth count always give a cleaner cut?
Not by itself. A high count helps on plywood, trim, and veneered board, but only if you feed the saw steadily and support the work. Force a fine blade through thick hardwood and it burns the edge instead of smoothing it.
Can I use one blade for both ripping and crosscutting?
A middle count will get you through both, and that is why it is the blade most people leave on the saw. It will not rip as fast as a low count or finish as cleanly as a high count, so buy a second blade if you do much of either.
What blade cuts aluminum or PVC?
Use a blade made for the material, with a fine tooth count and the geometry the maker specifies. Never cut metal with a wood blade, and check the label for the materials the blade is rated to cut.
How do I know if my blade is dull?
Watch for burning, smell for scorched wood, and feel for the saw pushing back at you. A sharp blade pulls itself into the cut with light pressure. When you have to lean on it, it is done.
Is a thin kerf blade worth it?
On a saw with a smaller motor, yes. A thin kerf removes less material, so the motor works less and the cut goes easier. Check the spec sheet for your saw and blade before you assume they pair up.
Thank you for reading!