Ever wondered how to house electrical wiring in your home? With the rise of DIY projects, more homeowners are taking the plunge into the world of electrical wiring. According to the Electrical Safety Foundation International, home electrical fires account for an estimated 51,000 fires each year. Proper wiring can prevent these mishaps. Dive into our comprehensive guide and empower yourself with the knowledge to wire your home safely and efficiently.
Understanding the Basics of House Electrical Wiring
Ever tried to solve a jigsaw puzzle? Think of how to house electrical wiring as a complex puzzle where each piece plays a crucial role in lighting up your home.
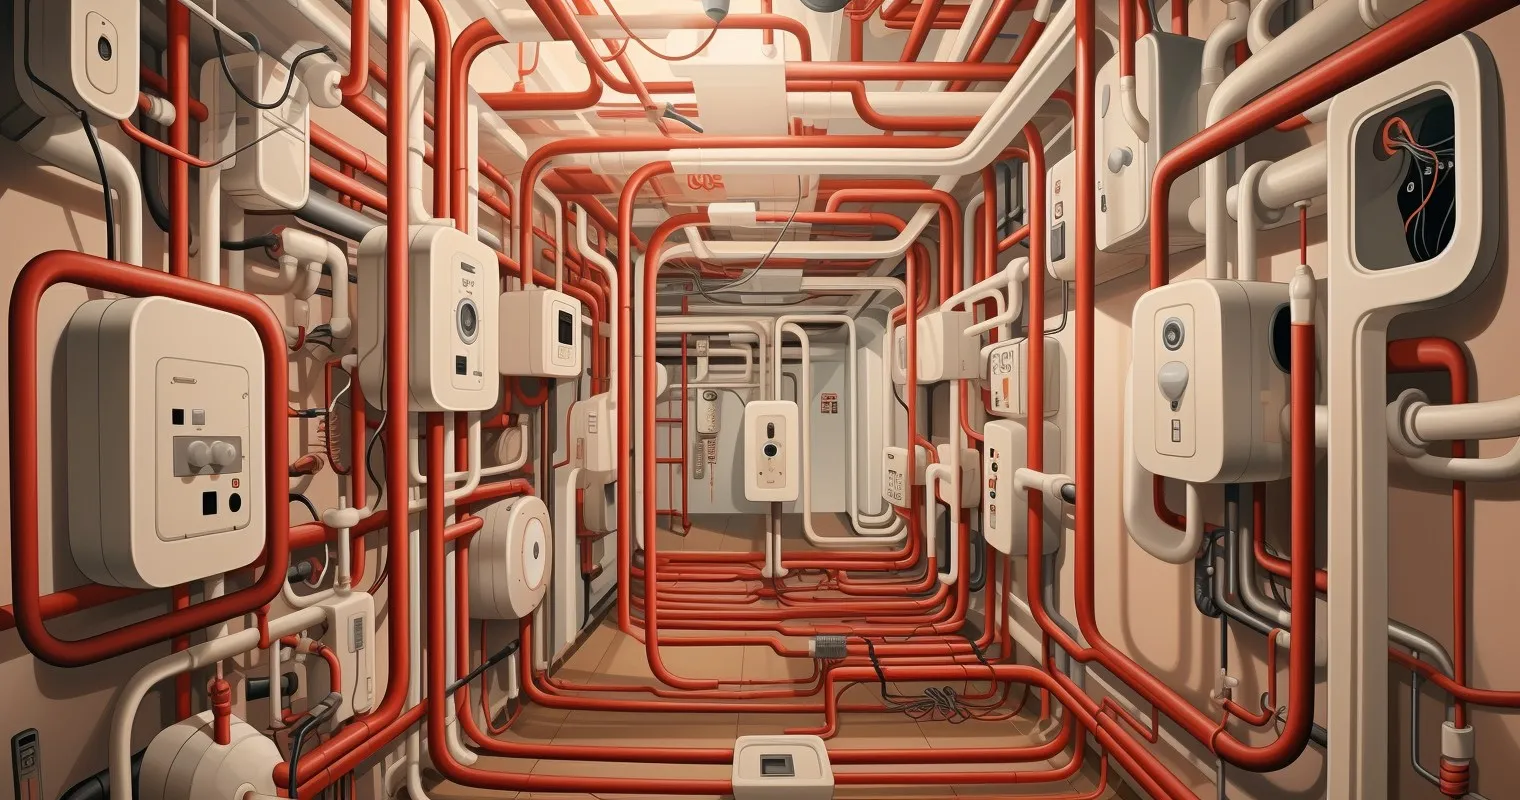
Electrical wiring is the backbone of your home’s electrical system. It’s the network of wires that transport electricity from the main panel to various outlets, ensuring your devices and appliances function seamlessly.
There are primarily three types of wires:
- Hot wires: Usually black or red, these carry electricity from the service panel to the destination.
- Neutral wires: Typically white, they complete the electrical circuit by returning the current back to the service panel.
- Ground wires: Often green or bare, they provide a safe path for electricity in case of any discrepancies.
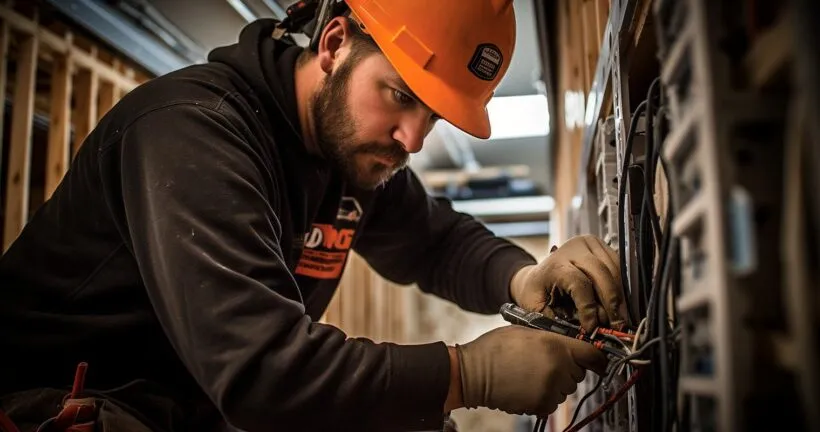
Safety first! Before diving into the world of wires, ensure you’re equipped with the right safety gear. Turn off the main power, wear insulated gloves, and always use tools with insulated handles.
Tools and Materials Needed
| Tool / Material | Purpose |
|---|---|
| Wire Strippers | Removes insulation from wires. |
| Voltage Testers | Checks for the presence of electrical current. |
| Needle-Nose Pliers | Bends and snips wires. |
| Cable and Wire Cutters | Cuts wires and cables. |
| Fish Tape | Pulls wires through conduits. |
| Copper Wires | High conductivity; comply with NEC standards. |
| Aluminum Wires | Lighter and more affordable option. |
Materials play a pivotal role in ensuring the safety and efficiency of your electrical system. Opt for wires that comply with the National Electrical Code (NEC) standards. While copper wires are a popular choice due to their conductivity, aluminum wires are lighter and more affordable.
Wondering where to buy? Local hardware stores or online marketplaces are your best bet. Always check for quality certifications and read reviews before making a purchase.
Setting Up the Electrical Panel
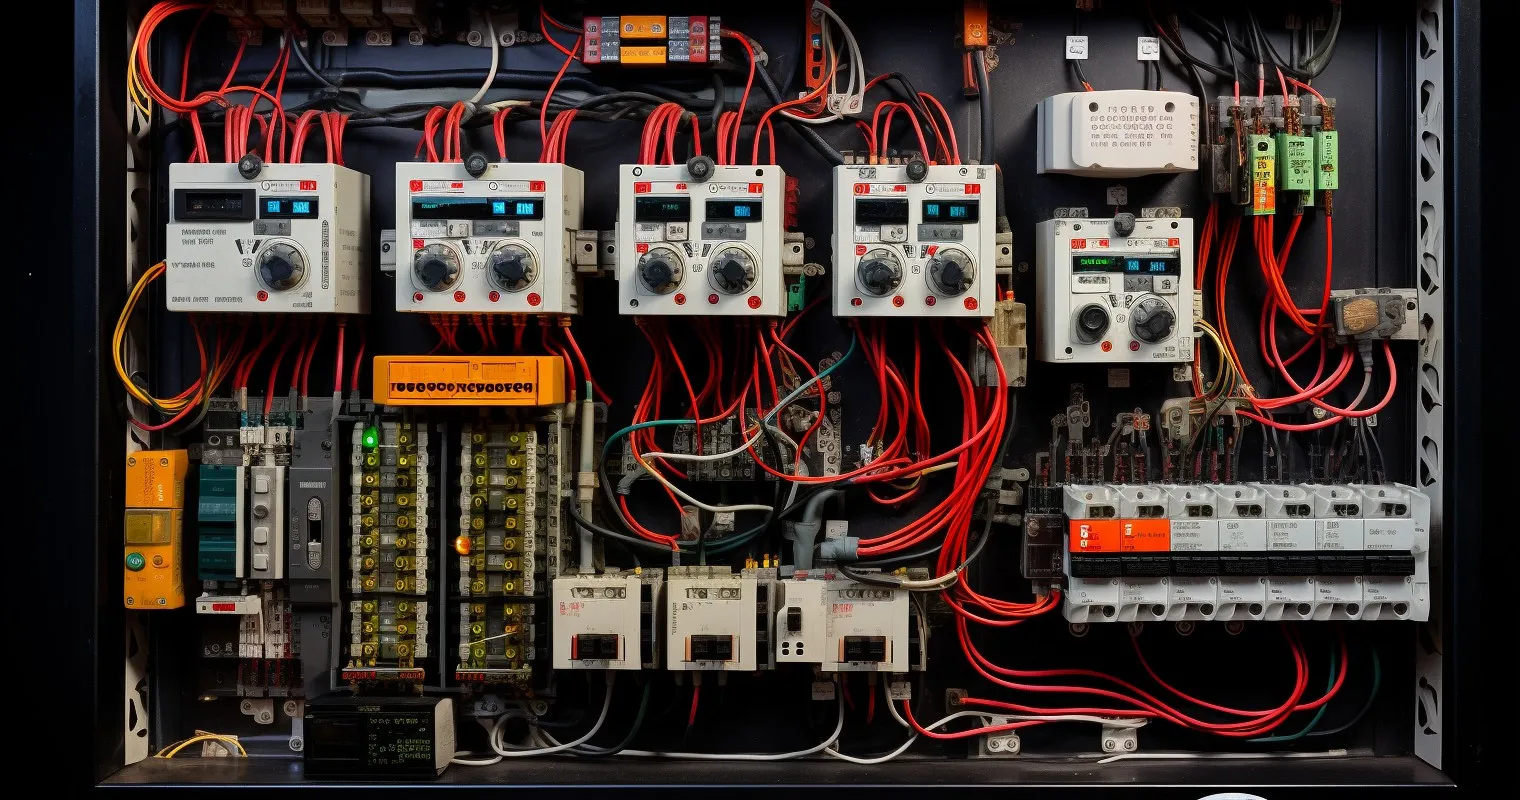
The electrical panel, often dubbed the “brain” of your home’s electrical system, is where the magic happens. It distributes power to various circuits in your home.
Setting up the panel involves:
- Mounting the panel box in a dry, accessible location.
- Installing circuit breakers corresponding to each circuit.
- Connecting the main power wires to the panel.
Organization is key! Label each circuit breaker to easily identify which part of your home it serves. This not only makes future troubleshooting easier but also ensures safety during maintenance. And if you’re looking for a step-by-step guide on roughing in electrical wiring, this article is a goldmine.
For those looking to install a 220-240 volt outlet, our comprehensive guide here has got you covered.
How To House Electrical Wiring: Step-by-Step Guide
| Step Number | Description |
|---|---|
| 1 | Turn off power and ensure safety gear is worn. |
| 2 | Drill holes in studs or joists for wire placement. |
| 3 | Run wires through holes and label them. |
| 4 | Connect wires to switches, outlets, and fixtures. |
| 5 | Double-check connections and test circuits. |
| 6 | Troubleshoot and address any issues. |
So, you’ve decided to take the plunge and learn how to house electrical wiring. Bravo! Let’s embark on this electrifying journey together, but remember, safety first!
1. Preparing the Area and Ensuring Safety: Before you even touch a wire, ensure the power is turned off. Use a voltage tester to double-check. Clear the area, gather your tools, and wear safety gear. Remember the golden rule: It’s better to be safe than zapped!
2. Running Wires Through Walls and Ceilings: This step is like threading a needle, but on a larger scale. Drill holes in the studs or joists and run the wires. Ensure you’re using the right type of wire for the job. Pro tip: Label wires as you go; it’ll save you a headache later.
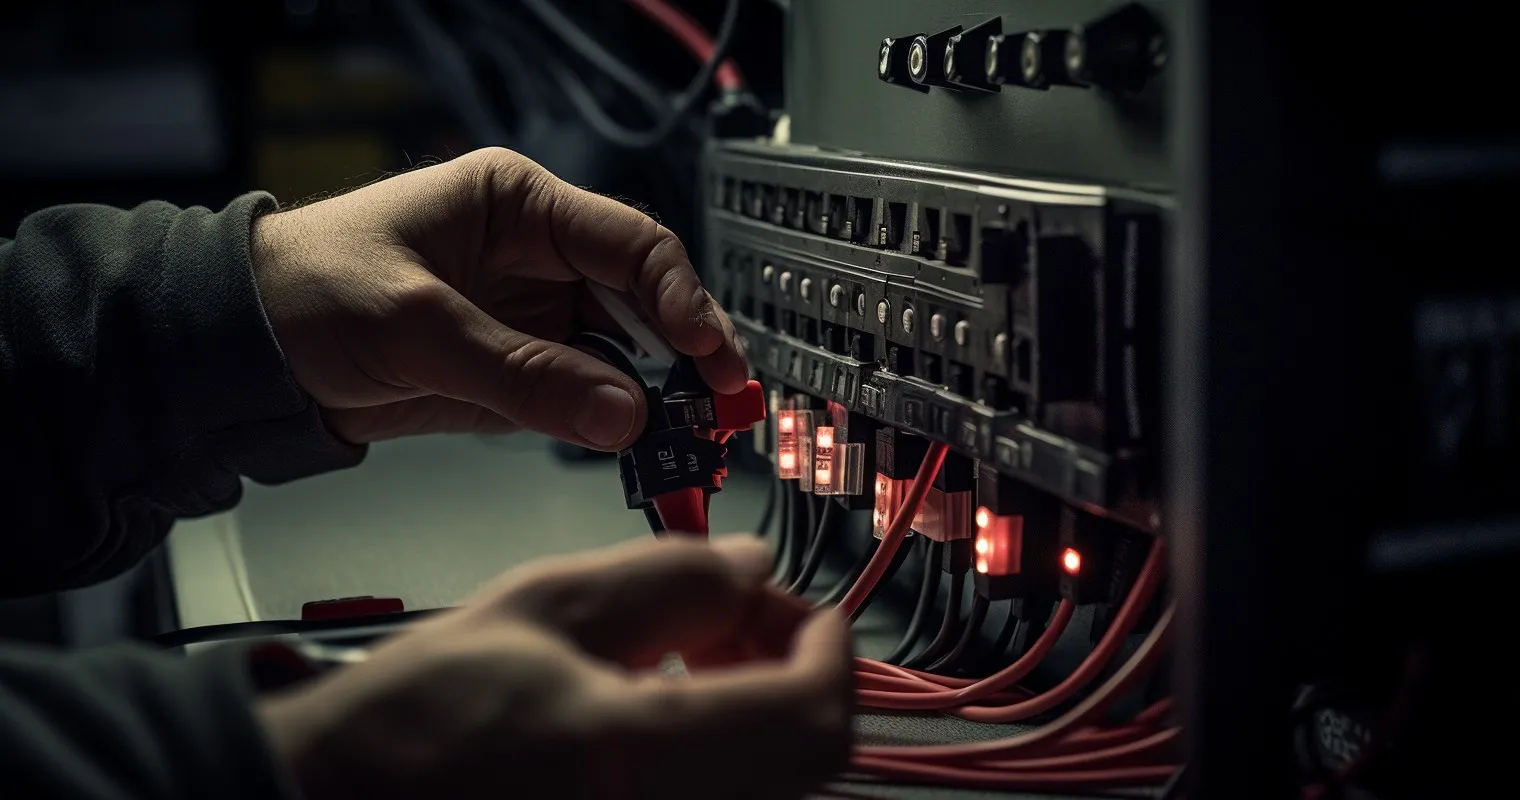
3. Connecting Switches, Outlets, and Fixtures: Now, the fun part! Connect the wires to outlets, switches, and fixtures following the manufacturer’s instructions. If you’re a visual learner, this tutorial video is a gem.
Common Mistakes and How to Avoid Them
Ah, mistakes. We’ve all been there, done that, and got the electric shock. Let’s ensure you don’t join the club.
1. Mistakes Homeowners Often Make: Some classics include overloading circuits, not securing wire connections, and using mismatched wire sizes. Remember, electricity isn’t a fan of shortcuts!
2. Tips to Avoid These Mistakes: Always read up or watch tutorials before starting. And if in doubt, consult a professional. This guide for homeowners is a treasure trove of information.
3. Solutions if a Mistake Has Already Been Made: Firstly, don’t panic. Turn off the main power, identify the issue, and rectify it. If it seems too complex, it’s time to call in the experts.
Maintenance and Troubleshooting
Your electrical system is like a car; it needs regular check-ups and love.
1. How to Maintain Your Electrical Wiring: Regularly inspect for any wear and tear. Ensure outlets aren’t overloaded and keep an eye out for any flickering lights or unusual sounds.
2. Common Issues and How to Troubleshoot Them: Facing issues with multiple outlets not working? Our detailed guide can help you troubleshoot. Remember, the solution often lies in understanding the problem.
3. When to Call a Professional: If you smell burning, see sparks, or if the problem persists even after troubleshooting, it’s time to call a professional.
Advanced Wiring Techniques for Homeowners
Diving deeper into the world of electrical wiring, there are advanced techniques that can elevate your home’s electrical system. But remember, with great power (pun intended) comes great responsibility!
Introduction to Advanced Techniques: Beyond the basics, advanced wiring techniques can offer more efficiency and flexibility. Techniques like home automation wiring, structured wiring, and integrated home systems are the talk of the town.
Benefits of Using These Techniques: Opting for advanced methods can lead to energy savings, increased home value, and a futuristic feel. Imagine controlling your lights, thermostat, and security system from your smartphone. That’s the magic of advanced wiring!
How to Implement Them Safely: Safety first! Always turn off the main power and use the right tools.
Future of Home Electrical Wiring
The future is electric, literally! Let’s peek into what the future holds for home electrical wiring.
Innovations in Electrical Wiring: From self-healing wires to eco-friendly materials, the innovations are endless. The rise of smart homes is pushing the boundaries of traditional wiring.
Smart Homes and Automation: The dream of having a Jarvis-like system (Iron Man fans, unite!) is closer than you think. Smart homes integrate various systems for seamless automation, from lights that adjust according to your mood to fridges that order groceries. Dive deeper into this topic with this informative article.
Preparing Your Home for Future Advancements: Stay updated with the latest trends. Ensure your wiring system is adaptable and scalable. Remember, the homes of the future are built on the decisions of today.
Resources and Further Reading
Knowledge is power, especially when it comes to electrical wiring. Equip yourself with the best resources.
Books and Online Resources for Homeowners: There’s a plethora of books and online resources. Websites, forums, and even YouTube channels can be goldmines of information. For starters, our article on why there’s no power to your thermostat is a must-read.
Workshops and Courses to Consider: Consider enrolling in local workshops or online courses. They offer hands-on experience and can boost your confidence.
Importance of Continuous Learning in Electrical Wiring: The world of electrical wiring is ever-evolving. Stay curious, stay updated, and remember, every wire you connect lights up a part of your home, and metaphorically, a part of your life.
Frequently Asked Questions
What is the first step in house electrical wiring?
The first step is always to turn off the power. Safety should be your top priority. Before starting any wiring project, ensure the main power source is off.
How often should I inspect my home’s electrical wiring?
It’s recommended to inspect your home’s electrical wiring every 3-5 years. Regular checks can prevent potential hazards.
Can I do electrical wiring myself?
Yes, many homeowners take on DIY electrical projects. However, always ensure you’re following safety guidelines and local regulations.
What are the signs of faulty electrical wiring?
Common signs include:
- Flickering lights.
- Burning smell near outlets.
- Frequent circuit breaker trips.
How do I choose the right wire for my home?
Choosing the right wire depends on the electrical load and purpose. Always refer to the National Electrical Code for guidance.
Are there any tools essential for house electrical wiring?
Absolutely! Essential tools include wire strippers, voltage testers, and needle-nose pliers, among others.
How can I ensure my house’s electrical wiring is safe?
Regular inspections, using quality materials, and adhering to safety guidelines are key. When in doubt, consult a professional.
Conclusion
Navigating the world of how to house electrical wiring can seem daunting. But with the right knowledge and tools, it’s a journey every homeowner can embark on. Remember, while DIY projects can be fulfilling, safety should never be compromised. Always stay updated with the latest safety guidelines and don’t hesitate to seek professional help when in doubt.
Thank you for reading!