Every appliance in your home has different voltage requirements. In case any of it is plugin into an outlet that does not correspond with that device’s voltage needs, it will not work accurately. So if you are buying a new appliance for your home or even if you are relocating any of your old machines, a proper understanding of the voltage is necessary.
There is a big debate on 220v VS 240v going on. However, you only need to consider your device’s voltage requirement before going with any one of them. If you are brooding which volt you should choose for your appliance or if you are planning to install any one of them on your own, then you have landed on the right page. Keep reading to learn how to install a 220 240 volt outlet.
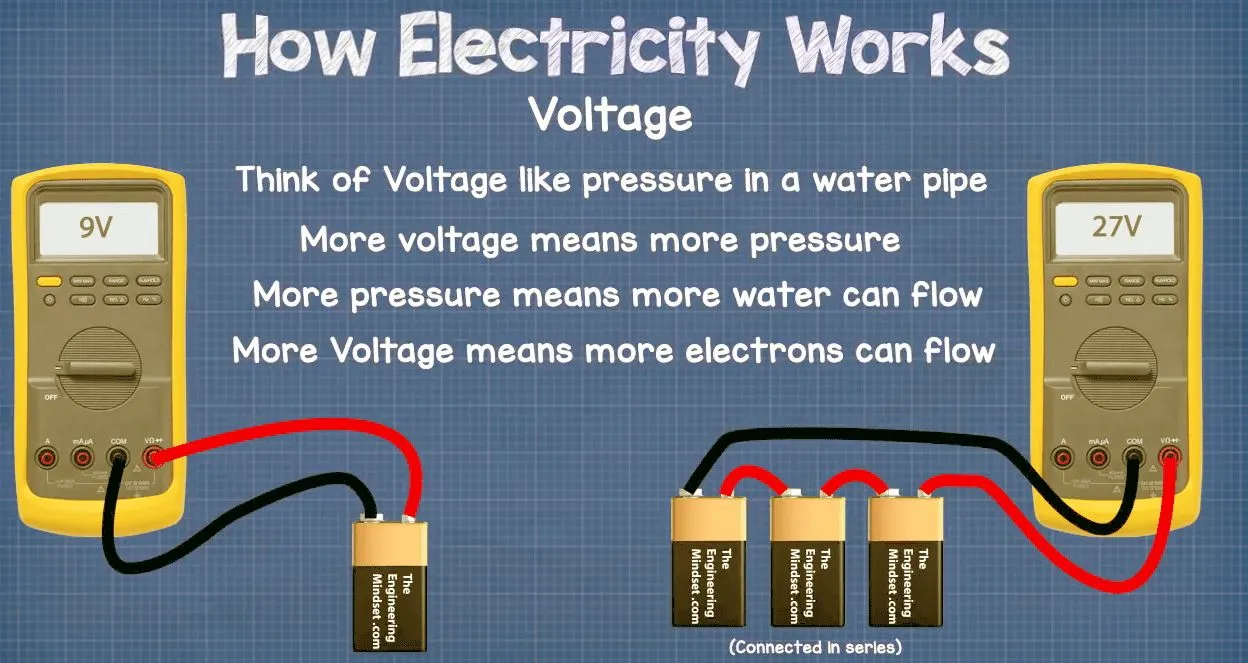
What Is Voltage?
Voltage (Volt) is the pressure that is pushed from an electrical circuit through wiring to reach the outlet so that a device can finally work. The higher voltage a machine demands, the higher the current pressure is required to flow from the circuit to the outlet. For a high volt to reach the electronic, a circuit breaker with greater load capacity will be needed.
Why is Considering Volt necessary Before Installing An Appliance?
Whenever you go shopping for some electronics for your home, it is always crucial to check the machine’s volt power. The right amount of power flow is required to run any device efficiently. If an appliance is attached to the plugin that offers less or more volt than required, a voltage breakdown can occur. It could lead to either overvoltage or under voltage.
Overvoltage
In overvoltage, the power is excessively supplied to the equipment. It can cause stress either on the circuit breaker or even on the device. Thus, it will result in damaging either or both of them.
Under Voltage
It is also referred to as brownout. Here, the device does not get the amount of power it actually seeks. Though sometimes the machine will work, soon the life of the product will reduce drastically.
What Is The Difference – 220v VS 240v?
Everyone is brooding on the most popular question that is 220v VS 240v. However, these two-volt powers are used interchangeably. This is because the current flow from these two-volt circuits is almost equal. When we consider 220v VS 240v, a few differences like the number of wires, size and design of plugin, and some different appliances requiring either 220v or 240v is noticed.
How To Install A 220 240 Volt Outlet?
We know that there is not much difference in 220v VS 240v, so the process of installing these two volts is also similar. All you have to do is follow the steps stated below.
Steps
Let’s directly jump onto the steps for installing a 220 240 volt.
· Step 1 – Turn Off The Power
Make sure to turn off the switch of the main breaker. You should confirm that no current is flowing through the circuit before installing the breaker. Use a voltage tester for checking the power flow in the circuit.
· Step 2 – Check The Circuit Breaker
At first, you need to check the circuit breaker in your home, whether it has a 220v or 240v openings or not. There must be at least two unused boxes beside each other. This is because you will be using a dual circuit breaker for a 220v and 240v.
For this, you will have to remove the safety panel that is on the front of the breaker box. Remember that power should be turned off before removing the panel.
· Step 3 – Strip The Circuit Wires
Remove the insulation around the wire. Make sure to strip approx. 1.3 cm from the end that will be fitted in the breaker.
· Step 4 – Install The Breaker
Attach the non-conducting side of the dual breaker in the breaker box. You will see metal slots in the box. Tilt the breaker and attach the top of it to those metal clips. Once the top is snapped correctly, push the bottom of the breaker
Confirm by pushing it once or twice that the breaker is snapped there appropriately. Otherwise, the current will not pass through the circuit to the outlet.
· Step 5 – Connect The Hotwires
A 220v circuit has three wires, out of which two are hot wire, and one is the ground wire. Generally, a 240v circuit also has the same three wires. However, sometimes the 240v circuit may have an extra wire called neutral wire.
You have to connect the two hot wires (Black and Red wires) into the terminals on the circuit breaker. Insert the wires into the ports and tighten them securely with the help of a screwdriver. Do not fret. You can put any of the hot wires in any of the terminals.
· Step 6 – Connect The Ground Wires
There is a bar with multiple screws inside the breaker box. It is called the grounding bar. Connect the grounding wires (White or copper wires) to this bar underneath a single screw. Make sure to tighten them.
· Step 7 – Knock Out The Breaker Box’s slots
The slot on the safety panel in front of the breaker should be removed. You can use piler to pull it out. Twist and turn the metal slot with the help of piler, and you are good to go.
Now, attach the safety panel again to the breaker box. Turn on the main breaker switch, and your outlet is affixed to the 220v or 240v circuit breaker.
Endnotes
Though there is not much difference in 220v VS 240v, still try to use the exact power outlet for the actual volt required by a machine.
With this guide, you can easily install a 220v or 240v outlet in your home. However, always bear in mind that electrical works are a bit risky so take all necessary precautions. If you have even a single doubt regarding the installation process, we would recommend hiring an electrician to install the outlets. Though calling a professional may cause you some penny, it might save you from any misfortune, along with saving a lot of time and effort.
Thank you for reading!