In the world of DIY, the art of shaping wood is a timeless skill. According to a recent survey, over 60% of DIY enthusiasts believe that mastering hand tools is crucial for woodworking projects. So, if you’ve ever wondered How To Shape Wood With Hand Tools, you’re in the right place. This guide will walk you through the basics, ensuring your next project has that professional touch. Ready to dive in? Let’s get started!
Wood Shaping with Hand Tools
Ah, the art of wood shaping! It’s as old as humanity itself. From the days when our ancestors crafted basic tools and weapons, to the modern era where DIY enthusiasts create intricate furniture pieces, wood shaping has been an integral part of our history.
Did you know that the earliest evidence of wood shaping dates back to the Stone Age? That’s right! Ancient humans used stone tools to carve and shape wood for various purposes. Fast forward to today, and we have a plethora of specialized hand tools designed specifically for wood shaping.
The importance of using the right tool for the job cannot be overstated. Imagine trying to carve a delicate design with a tool that’s too large or blunt. It would be like trying to paint the Mona Lisa with a mop! Hand tools, especially those designed for wood shaping, offer precision, control, and the satisfaction of creating something beautiful with your own two hands.
If you’re new to this, don’t fret. We’ve got a handy guide on How to Use a Level Correctly: Hand Tools DIY that can help you get started with the basics.
Essential Hand Tools for Wood Shaping
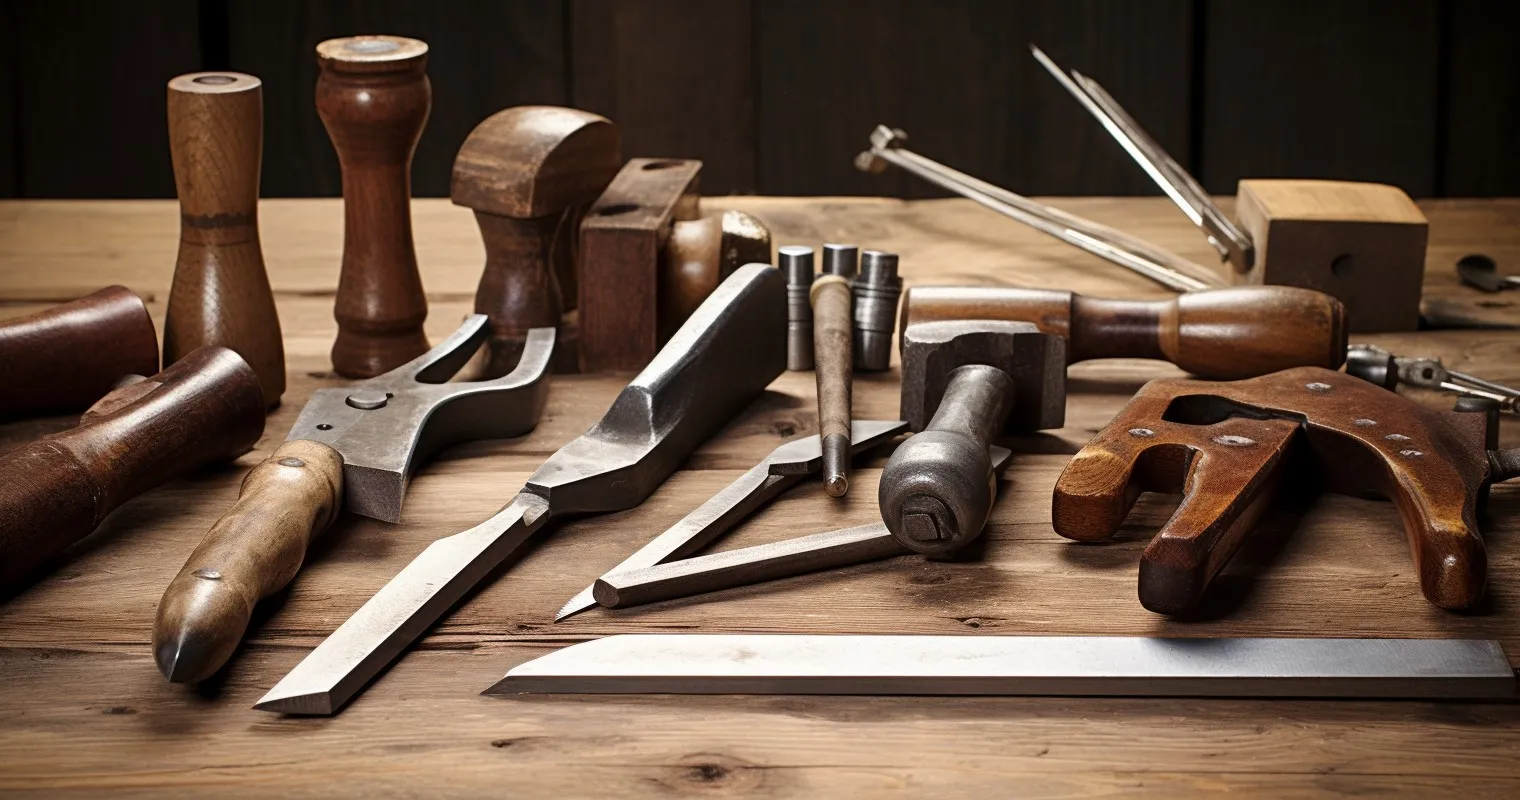
When it comes to shaping wood, not all tools are created equal. Let’s dive into some of the must-haves for every DIY enthusiast:
| Tool | Description |
|---|---|
| Chisels | Versatile cutting tools for precise shaping and carving. Come in various sizes and shapes for different tasks. |
| Rasps and Files | Used for refining and smoothing rough edges and surfaces. Available in different grits for varying levels of refinement. |
- These are the bread and butter of wood shaping. Available in various sizes and shapes, chisels allow for precise cuts and carvings. Whether you’re crafting a detailed design or just making a basic cut, there’s a chisel for that!
- Think of these as the “refinement” tools. After you’ve made your initial cuts with a chisel, rasps and files help smooth out the rough edges and refine your design. They come in various grits, allowing for everything from aggressive material removal to fine-tuning your masterpiece.
For those looking to delve deeper into the world of rasps and files, check out this comprehensive guide on Shaping Wood with Rasps & Files. It’s a treasure trove of information that will elevate your wood shaping game to the next level.
How To Shape Wood With Hand Tools: Techniques to Master
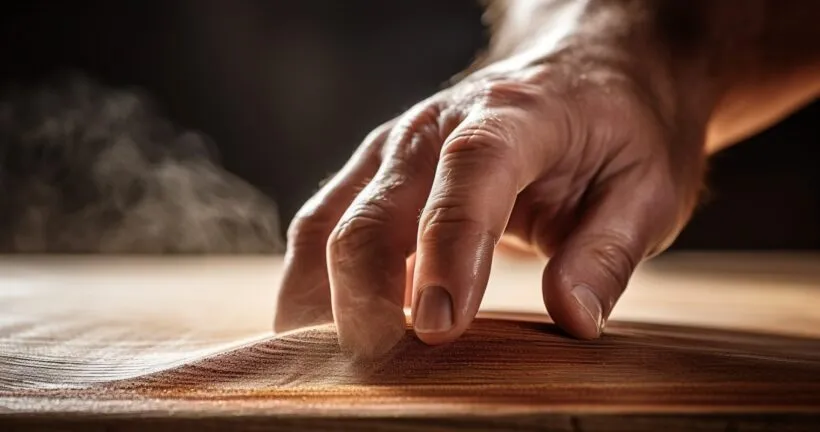
Ah, the joy of shaping wood! It’s like molding clay, but with a bit more resistance and a lot more splinters. But fear not, with the right techniques, you can shape wood like a pro.
Carving Techniques for Intricate Designs: Carving is not just for pumpkins. With the right chisel and a steady hand, you can create intricate designs that would make even Michelangelo raise an eyebrow. Remember, it’s all about the angle and pressure. Start with a basic design and gradually move to more complex patterns as you gain confidence.
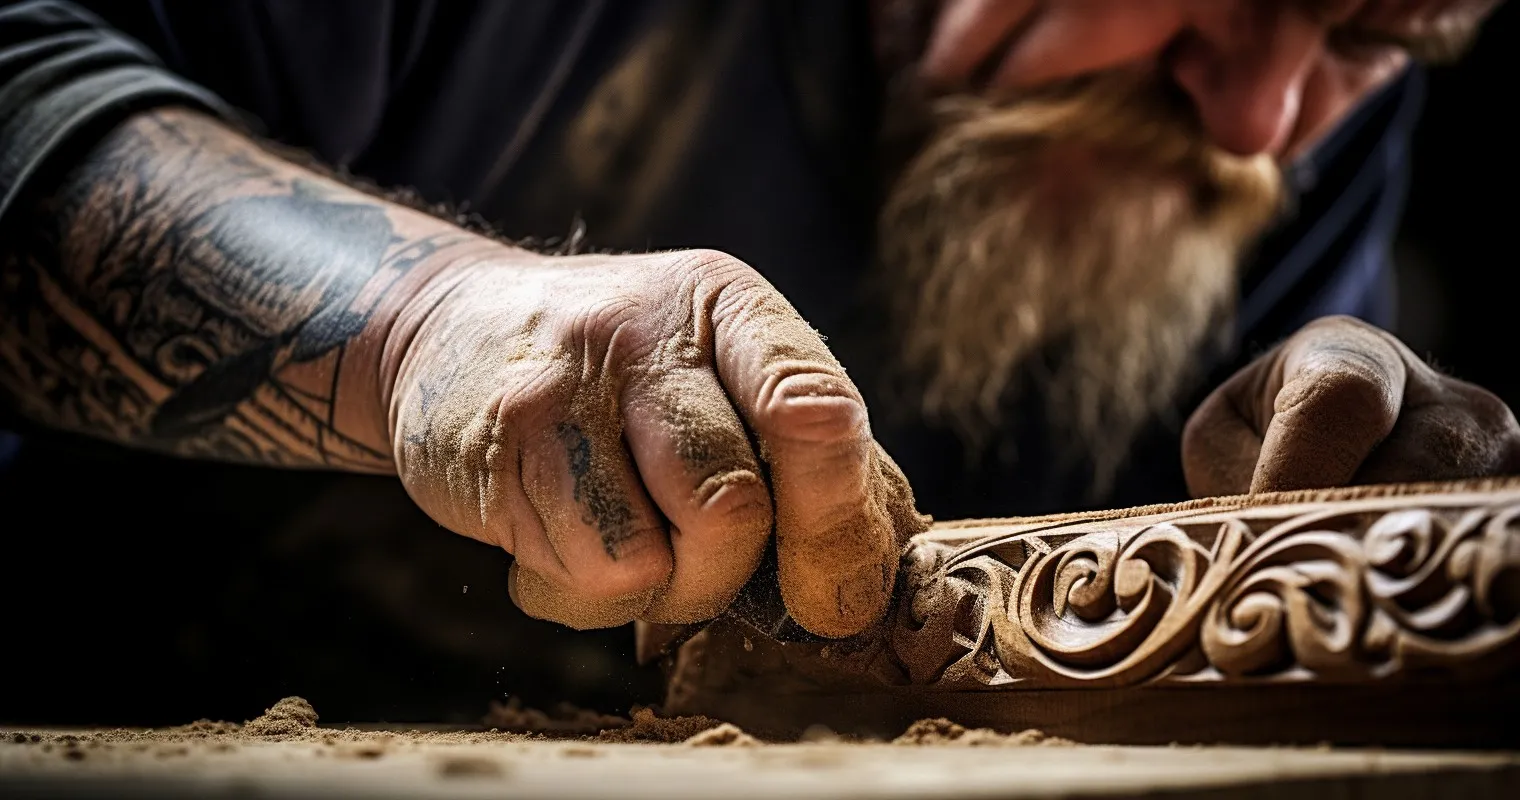
Using a Mallet for Controlled Chiseling: While it might be tempting to use brute force, controlled chiseling using a mallet ensures precision. It’s like using a hammer, but with finesse. A mallet allows you to apply just the right amount of force, ensuring your chisel doesn’t go rogue.
For those eager to dive deeper into the art of hand shaping, the guide on Shaping Wood by Hand is a treasure trove of wisdom. It covers everything from basic techniques to advanced tips that can turn any novice into a wood shaping maestro.
Safety Precautions and Best Practices
Now, before you go all Thor with your mallet, let’s talk safety. After all, we want you to shape wood, not your fingers.
| Precaution | Description |
|---|---|
| Wearing Safety Gear | Ensure proper safety gear including goggles, gloves, and ear protection to prevent injuries. |
| Keeping Tools Sharp and Maintained | Regularly sharpen and maintain your tools for safe and efficient wood shaping. |
| Controlled Chiseling with Mallet | Use a mallet for controlled chiseling to prevent overexertion and ensure precision. |
Importance of Wearing Safety Gear: Safety goggles? Check. Gloves? Check. Ear protection? Check. Remember, in the world of woodworking, safety gear is not just a fashion statement. It’s a necessity. You’d be surprised how far wood chips can fly!
Keeping Tools Sharp and Well-Maintained: A sharp tool is a safe tool. Dull tools require more force, increasing the risk of slips and accidents. Regularly sharpen your tools and store them in a dry place to prevent rust. And if you’re unsure about the sharpness of your tools, our guide on The Basics on Multi-Bit Screwdriver: Hand Tools DIY offers some handy tips.
Advanced Techniques for Professional Finishes
So, you’ve mastered the basics of How To Shape Wood With Hand Tools, and now you’re itching to take things up a notch. Well, you’re in luck!
Incorporating Joinery in Wood Shaping: Joinery is like the marriage of two pieces of wood. It’s where the magic happens. From dovetails to mortise and tenon, mastering joinery techniques can elevate your wood shaping game from “meh” to “marvelous.”

Achieving Smooth Finishes with Scrapers: Scrapers are the unsung heroes of woodworking. They can turn a rough, splintery surface into something as smooth as a baby’s bottom. A well-used scraper can give you a finish so fine, it’ll make sandpaper green with envy.
For those who want to dive into the deep end, this Instructables Guide on Wood Shaping is a goldmine. It covers advanced techniques that can make your woodwork look like it was done by a pro.
Finishing Touches: Sanding and Polishing
You’ve shaped, you’ve joined, and now it’s time for the grand finale: the finish.
Importance of Sanding for a Smooth Finish: Sanding is like the skincare routine for wood. It removes imperfections and prepares the surface for polishing. A well-sanded piece of wood is a joy to touch and a feast for the eyes.
Polishing Techniques for a Glossy Look: After sanding, a good polish can make your wood shine like a diamond. From waxes to varnishes, the options are endless. But remember, the key to a great finish is patience and attention to detail.
And if you’re wondering how to measure and cut with precision for these advanced techniques, our guide on The Basics on Speed Square: Hand Tools DIY has got you covered.
Frequently Asked Questions
What are the basic tools needed for shaping wood by hand?
To shape wood effectively, you’ll need tools like chisels, gouges, planes, and rasps. Each tool has its unique purpose and contributes to the final masterpiece.
How do I ensure safety when shaping wood with hand tools?
Safety first! Always wear protective eyewear and gloves. Ensure your tools are sharp, as dull tools can cause accidents. And remember, always work away from your body.
Can I shape any type of wood using hand tools?
While most woods can be shaped using hand tools, hardwoods like oak and maple are more challenging than softwoods like pine. Choose your wood based on your skill level.
How do I maintain my hand tools for wood shaping?
Regular cleaning, sharpening, and proper storage will ensure your tools remain in top condition. Rust-free tools are essential for precise wood shaping.
Is it expensive to start shaping wood with hand tools?
Not necessarily. While there are high-end tools available, beginners can start with basic, affordable tools and gradually invest in more specialized ones.
How long does it take to master the skill of shaping wood?
Like any craft, the more you practice, the better you’ll get. With dedication, you can achieve basic proficiency in a few months.
Conclusion
Mastering the art of How To Shape Wood With Hand Tools is a journey of creativity and precision. With the right tools, techniques, and a sprinkle of patience, you can transform simple wood pieces into intricate designs. So, why wait? Grab your tools, and let’s shape some wood! Remember, every masterpiece starts with a single cut.
Thank you for reading!