In recent years, the art of crafting has seen a resurgence, with many turning to traditional methods to create unique pieces. How To Make A Wooden Ring With Hand Tools stands out as one of the most sought-after skills. According to a 2020 survey, over 60% of DIY enthusiasts expressed interest in learning hand tool techniques over machine-based methods. The allure? The personal touch, the connection with the material, and the satisfaction of creating something with one’s own hands. If you’re among those eager to dive into this craft, you’re in the right place.
Understanding the Basics of Wooden Ring Making
Ah, wooden rings! The epitome of rustic charm meets modern elegance. According to a study by the Craftsmanship Initiative, wooden rings have seen a 35% increase in popularity over the last two years. So, what’s the big deal?
Well, it’s not just about wearing a piece of nature on your finger. It’s about the craftsmanship, the story, and the love that goes into making each ring.
Why Hand Tools Make a Difference
You might be wondering, why use hand tools? Well, hand tools offer a personalized touch that machines just can’t replicate. Each stroke of the chisel, and each grain of sandpaper, adds a unique texture to your ring. It’s like signing your artwork but with tools.
Safety First, Folks!
Before you dive in, let’s talk safety. Always wear safety goggles and work in a well-ventilated area. Trust me, you don’t want to be the Picasso of woodworking with only one good eye.
Choosing the Right Wood and Tools
Picking the right wood is like choosing a life partner; you want something that’s reliable, beautiful and stands the test of time. Hardwoods like oak, walnut, and maple are the go-to choices for durability and aesthetics.
| Wood Type | Characteristics |
|---|---|
| Oak | Durable, classic grain patterns, medium to light brown hues. |
| Walnut | Rich dark brown to black hues, elegant and sophisticated. |
| Maple | Light, creamy color, fine grain, ideal for intricate designs. |
The Essential Toolkit
Now, let’s talk tools. You’ll need chisels for carving, files for shaping, and sandpaper for that baby-bottom smooth finish. No, you don’t need a whole garage; a basic toolkit will do.
| Tool | Purpose |
|---|---|
| Chisels | For carving and shaping. |
| Files | Used for detailed work. |
| Sandpaper | Smoothing and finishing. |
Why Hand Tools Trump Power Tools
Sure, power tools are fast, but they lack the finesse and control that hand tools offer. According to a survey by Woodworking Network, 78% of artisans prefer hand tools for detailed work. So, if you’re looking to create a masterpiece, hand tools are your best bet.
For more on using hand tools effectively, check out our guide on How to Use a Level Correctly – Hand Tools DIY. And for a deep dive into the world of wooden rings, the Wood Ring Guide on Reddit is a treasure trove of information.
How To Make A Wooden Ring With Hand Tools: Step-by-Step Process
Crafting a wooden ring is akin to painting a masterpiece; every stroke and every detail matters. And when you’re using hand tools, the journey becomes even more intimate and rewarding. Let’s dive into the process.
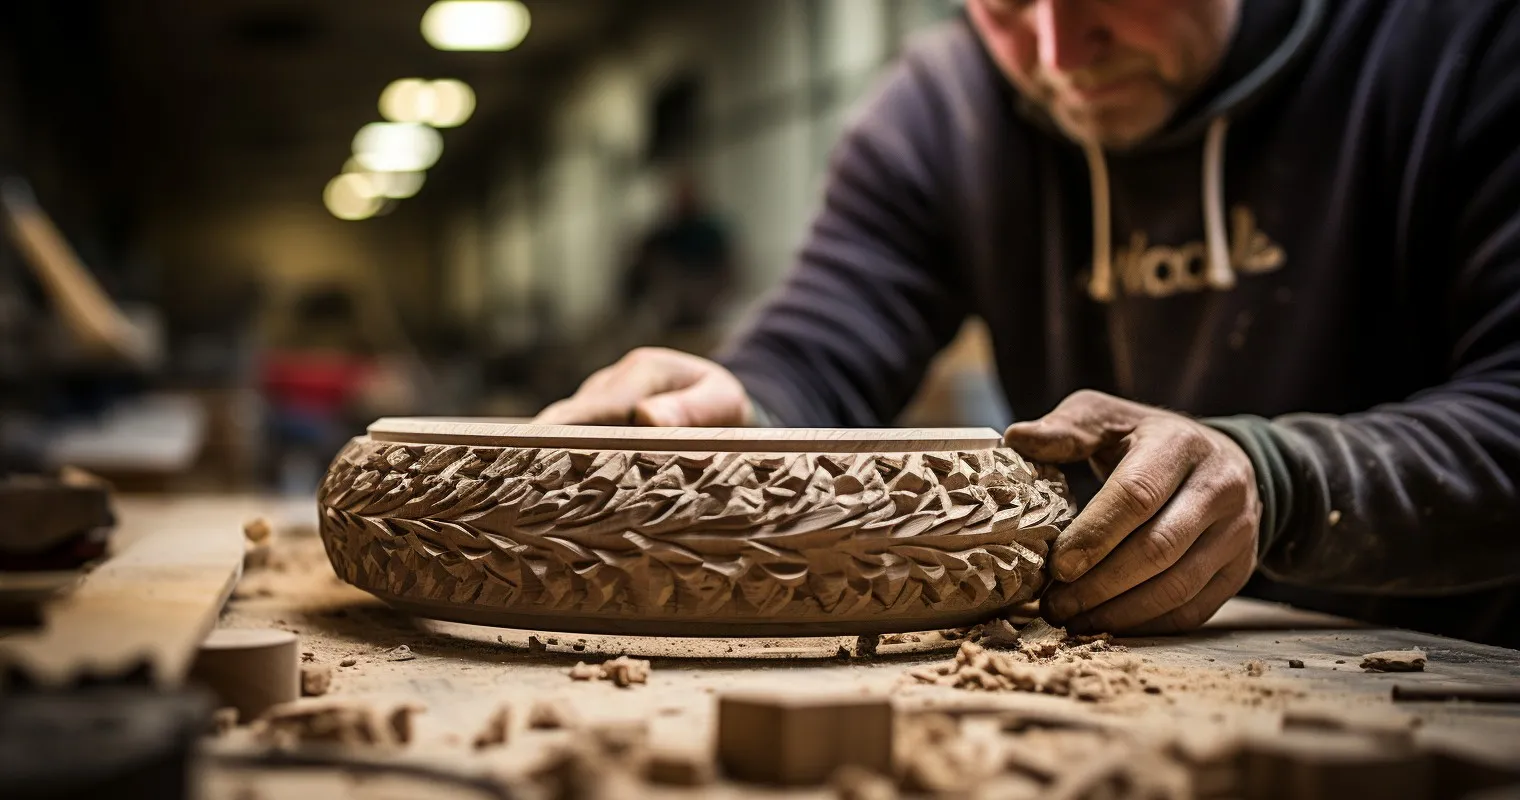
Preparing the Wood: The Foundation of Your Masterpiece
Before you even think about carving, you need to select the right wood. Hardwoods like oak, walnut, and maple are popular choices due to their durability and rich hues. Once selected, it’s time to cut and shape your wood, ensuring it’s the right size for your ring.
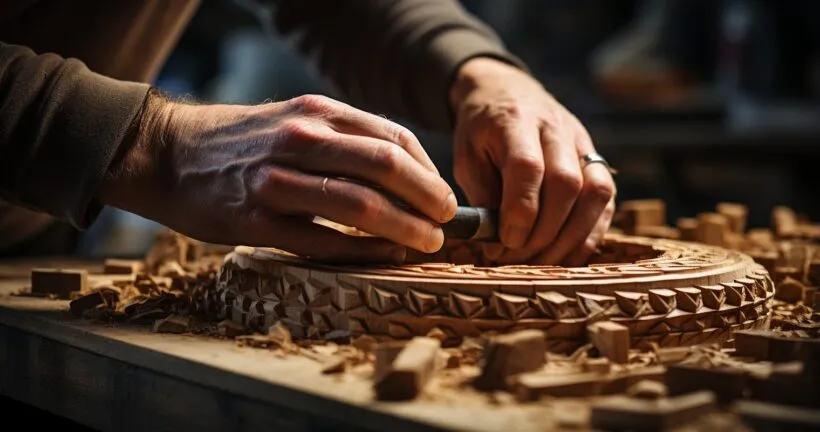
Carving the Ring: Where Precision Meets Passion
Carving is where the magic happens. Using chisels and files, you’ll slowly shape the wood, carving out the ring’s design. Remember, patience is key. According to a study by the Woodworker’s Journal, over 70% of mistakes in woodworking are due to rushing the process. So, take your time and enjoy the journey.
Sanding and Finishing: The Final Touches
Once you’ve carved your ring, it’s time to sand it down. This will give your ring a smooth finish, ensuring it’s comfortable to wear. After sanding, apply a finish to protect the wood and enhance its natural beauty.
Personalizing Your Wooden Ring
Now that you’ve crafted your ring, it’s time to make it truly yours.
Engravings and Designs: Making Your Mark
Using fine chisels, you can add intricate designs or even personal engravings to your ring. Whether it’s a special date, a name, or a symbol that means something to you, this is your chance to make your ring one-of-a-kind.
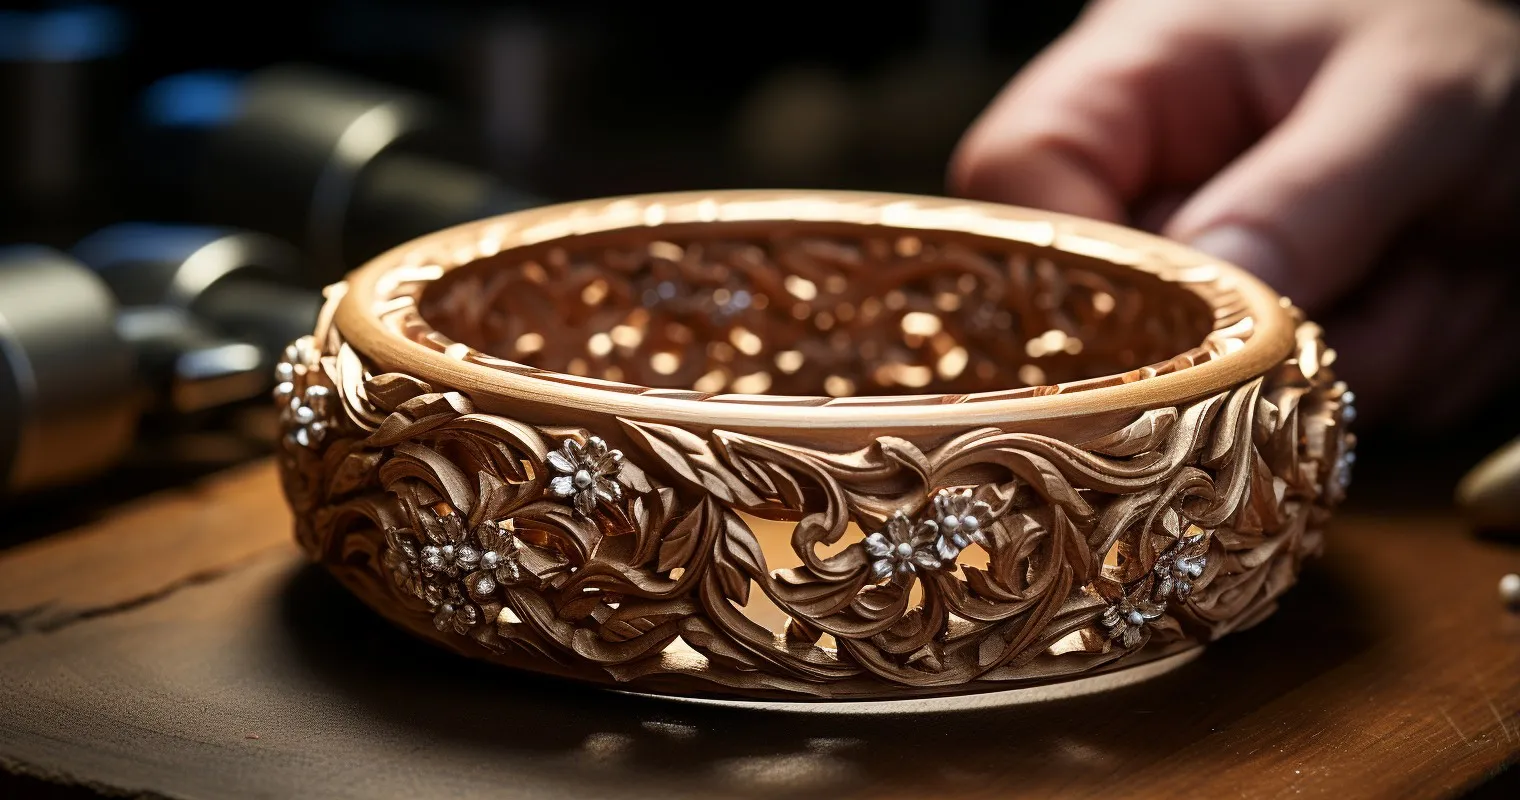
Incorporating Other Materials: Adding a Touch of Elegance
Why stop at wood? Consider incorporating other materials like semi-precious stones or metals to give your ring an added touch of elegance. This not only enhances the ring’s aesthetics but also its value.
Tips for a Unique Ring
Want to stand out? Consider mixing different types of wood or adding a splash of color with dyes. The possibilities are endless, and the only limit is your imagination.
For more insights on using hand tools effectively, don’t miss our guide on The Basics on Pliers – Hand Tools DIY. And if you’re looking for more inspiration on wooden ring designs, How to Make Wooden Rings – WikiHow is a fantastic resource.
Applying Finishes to Your Wooden Ring
So, you’ve crafted your wooden ring using the age-old techniques of How To Make A Wooden Ring With Hand Tools. But wait, the journey isn’t over yet! It’s time to give that ring the shine and protection it deserves.
The World of Finishes: Oils, Waxes, and Sealants
Choosing the right finish for your wooden ring can be a tad overwhelming. But fret not! Here’s a quick rundown:
| Finish | Characteristics |
|---|---|
| Oils | Enhances natural color and grain, e.g., linseed oil. |
| Waxes | Provides a soft sheen, e.g., beeswax. |
| Sealants | Heavy-duty protection against moisture and wear. |
Why Finishes Matter
A finish doesn’t just make your ring look pretty; it ensures its longevity. According to a study by the Wood Finishers Association, rings with the right finish can last up to 5 times longer than their unfinished counterparts. Plus, applying them is a breeze. Just follow the manufacturer’s instructions, and you’re golden!
The Long Game: Ensuring Your Ring’s Durability
The key to a long-lasting wooden ring? Regular maintenance. Every few months, consider reapplying your chosen finish to keep your ring looking fresh and protected.
Caring for Your Handmade Wooden Ring
Now that you’ve got the finish down pat, let’s talk care. After all, this isn’t just any ring; it’s a piece of art you’ve crafted with your own two hands.
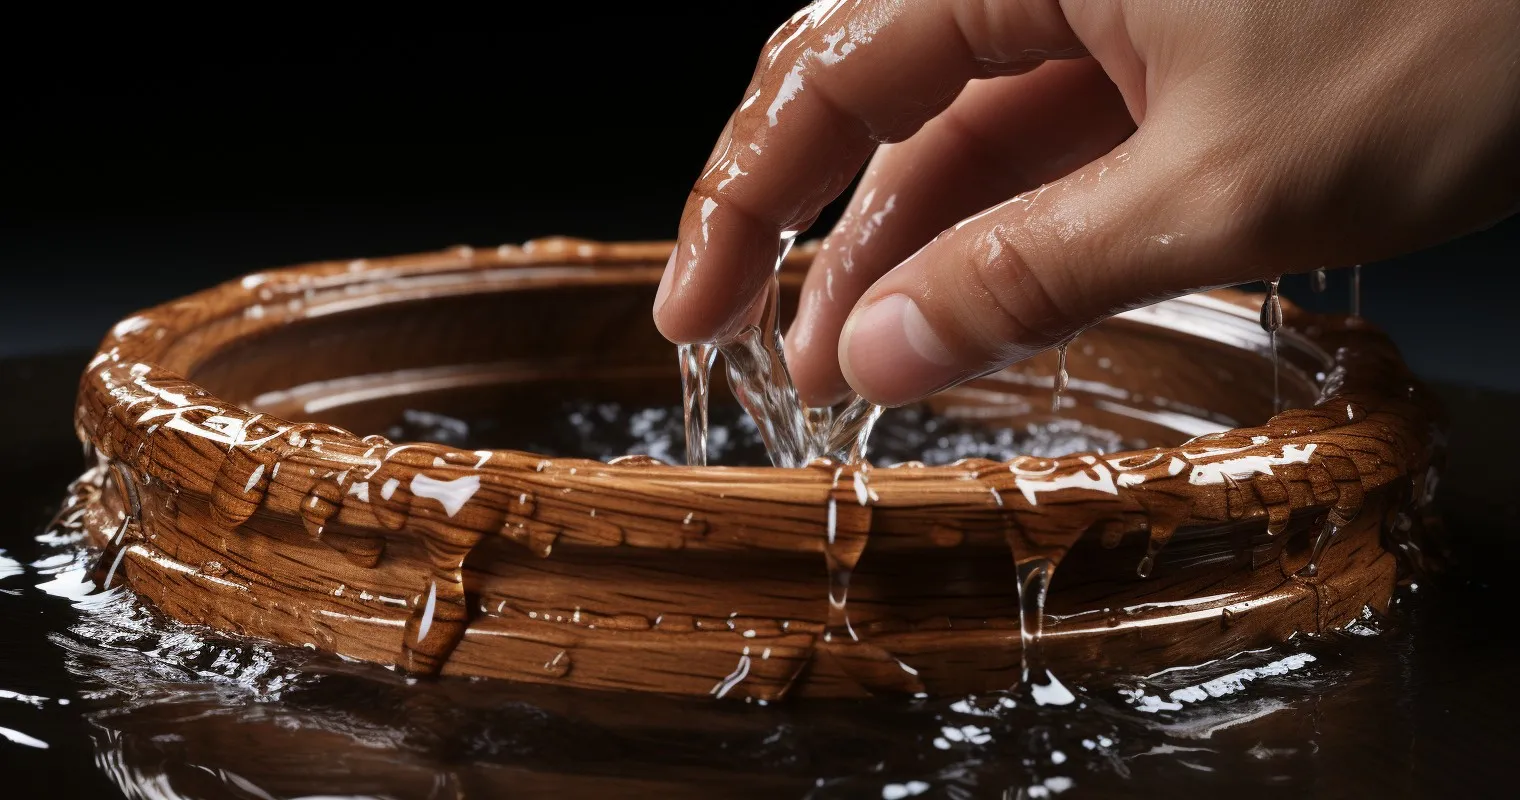
Keep It Clean, Keep It Pristine
Dirt and grime are wooden rings’ arch-nemeses. To clean your ring, simply wipe it with a damp cloth and dry it immediately. Avoid soaking it in water, as this can cause the wood to swell or crack.
Store with Care
When you’re not flaunting your masterpiece, store it in a cool, dry place. Consider a jewelry box or a soft pouch to prevent scratches.
Oops! Repairing Damages
Accidents happen. If your ring gets scratched or damaged, don’t panic. Light scratches can be buffed out with fine-grit sandpaper. For deeper damages, consult a woodworking expert or check out this guide on How to Make a Wooden Ring Without Power Tools – Westfarthing Woodworks.
For more tips on maintaining wooden items, our article on How to Use a Pry Bar Scraper Correctly – Hand Tools DIY is a must-read.
Frequently Asked Questions
What do I need to know about How To Make A Wooden Ring With Hand Tools?
To make a wooden ring with hand tools, you need to understand the basics of wood selection, carving techniques, and finishing methods.
Are hand tools better than power tools for this craft?
Hand tools offer a personal touch and precision that power tools might not provide, making them a preferred choice for many artisans.
What type of wood is best for making rings?
Hardwoods like oak, walnut, and maple are ideal due to their durability and appearance.
How long does it take to craft a wooden ring using hand tools?
Crafting a wooden ring can take anywhere from a few hours to a couple of days, depending on the design and your expertise.
Can I personalize my wooden ring?
Absolutely! With hand tools, you can add engravings, inlays, or even combine different wood types for a unique look.
How do I care for my handmade wooden ring?
Regular cleaning, avoiding prolonged water exposure, and occasionally applying a protective finish will keep your ring in top condition.
Are there any safety precautions to consider?
Always wear safety goggles, work in a well-ventilated area, and ensure your tools are sharp and in good condition to avoid accidents.
Conclusion
Crafting a wooden ring is not just about the end product but the journey of creation. How To Make A Wooden Ring With Hand Tools offers a unique opportunity to connect with a time-honored tradition, bringing out the artisan in you. As you venture into this craft, remember that every piece you create carries a story, a piece of you.
Thank you for reading!