In a world dominated by mass-produced items, the art of craftsmanship holds a special place in our hearts. There is something incredibly satisfying about creating something with your own two hands, and one of the most rewarding projects is learning How To Make A Wooden Bowl With Hand Tools. According to a survey, 73% of people find woodworking as a stress-relieving hobby. Embarking on this journey not only provides a sense of accomplishment but also results in a functional piece of art that can be used or gifted.
Choosing the Right Wood and Tools
Before you dive headfirst into carving, selecting the proper wood is crucial. Hardwood, like maple or cherry, is often recommended due to its durability and resistance to wear and tear. While softer woods may be easier to carve, they tend to dent and scratch easily. Check out this guide on How To Cut A Hole In Wood Without Power Tools: A Handy Diy Guide
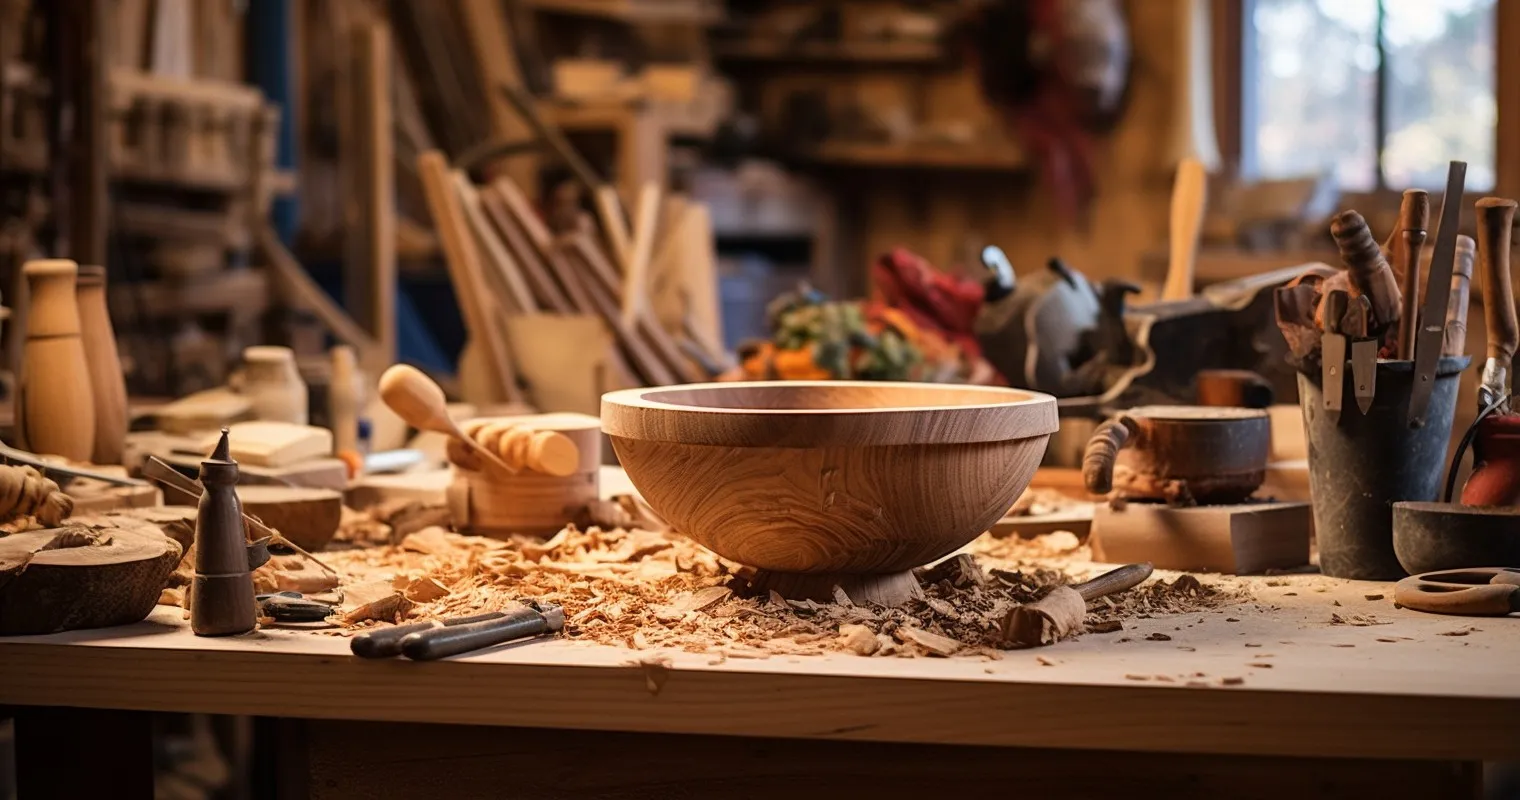
Equally important is assembling your toolkit. Essential hand tools for this project include carving knives, gouges, a mallet, and sandpaper. Each tool plays a pivotal role in the process, from removing large chunks of wood to smoothing the surface for a finished look. Also, don’t forget about safety! Always wear safety glasses and gloves to protect yourself from splinters and wood chips. A helpful tutorial can be found here to further guide you on essential tools and safety precautions.
Preparing the Wood for Carving
Once you’ve selected your wood and gathered your tools, it’s time to prepare the wood for carving. Start by cutting the wood into a blank that will be carved into a bowl. The size of the blank will depend on the desired size of your bowl. A general guideline is to make the blank at least 2 inches larger than the finished bowl.
Draw the design of the bowl on the wood blank. This will serve as your roadmap during the carving process. Be sure to mark the center of the bowl, as this will be your starting point for carving. For more tips on Everything You Need To Know About Loft Beds, visit this link.
You’ll need to securely clamp the wood blank to your work surface. This is crucial as it will prevent the wood from moving while you carve, ensuring both safety and precision. A sturdy workbench with clamps is ideal for this purpose.
Master The Art Of Craftsmanship: How To Make A Wooden Bowl With Hand Tools
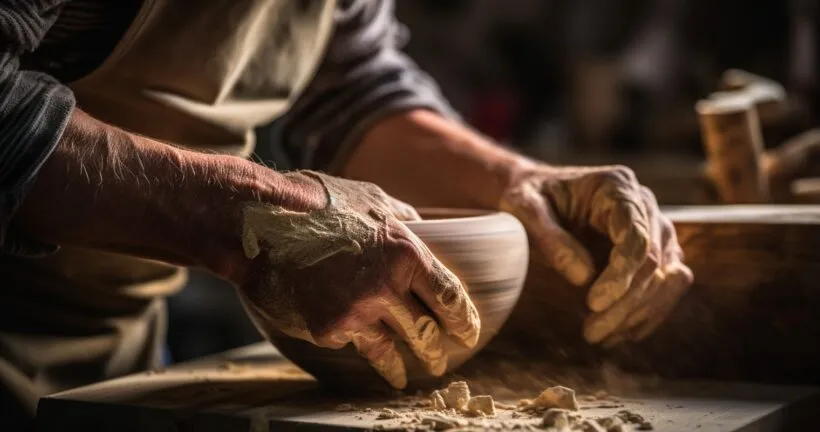
Now that you have your wood prepared, it’s time to dive into the actual carving process. This is where you transform a simple piece of wood into a functional and beautiful bowl.
Start by carving the inside of the bowl using gouges and a mallet. The gouge is your best friend when it comes to hollowing out the bowl. Begin at the center of the wood blank and work your way towards the edges. Be sure to take your time and remove small amounts of wood with each stroke. This will help you maintain control and avoid any unwanted gouges or cracks.
Focus on carving the outside of the bowl, creating the desired shape and design. This step is where you can get creative and add your personal touch to the bowl. Whether you want a simple, classic design or something more intricate, the possibilities are endless.
Refine the bowl’s surface and remove any tool marks. This is a crucial step as it will determine the final look of your bowl. Use a smaller gouge or a scraper to smooth out the surface and remove any remaining tool marks.
Sanding and Finishing the Bowl
Once you have carved your bowl, it’s time to sand the surface to a smooth finish. Start with a coarse grit sandpaper (around 80 grit) and work your way up to a finer grit (220-320 grit). This will remove any remaining tool marks and prepare the surface for finishing. Don’t rush this step, as a smooth surface will result in a better finish. For more tips on sanding, check out this forum.
Now that your bowl is smooth, it’s time to select the right finish for your bowl. There are several options available, such as oil, wax, or a combination of both. Oil finishes, like linseed or tung oil, penetrate the wood and provide a durable, water-resistant finish. Wax finishes, on the other hand, sit on the surface of the wood and provide a soft, satin sheen.
Apply the finish to the bowl. Use a clean, lint-free cloth to apply the finish in thin, even coats. Allow each coat to dry thoroughly before applying the next one. The number of coats needed will depend on the type of finish you are using and the desired look you are going for.
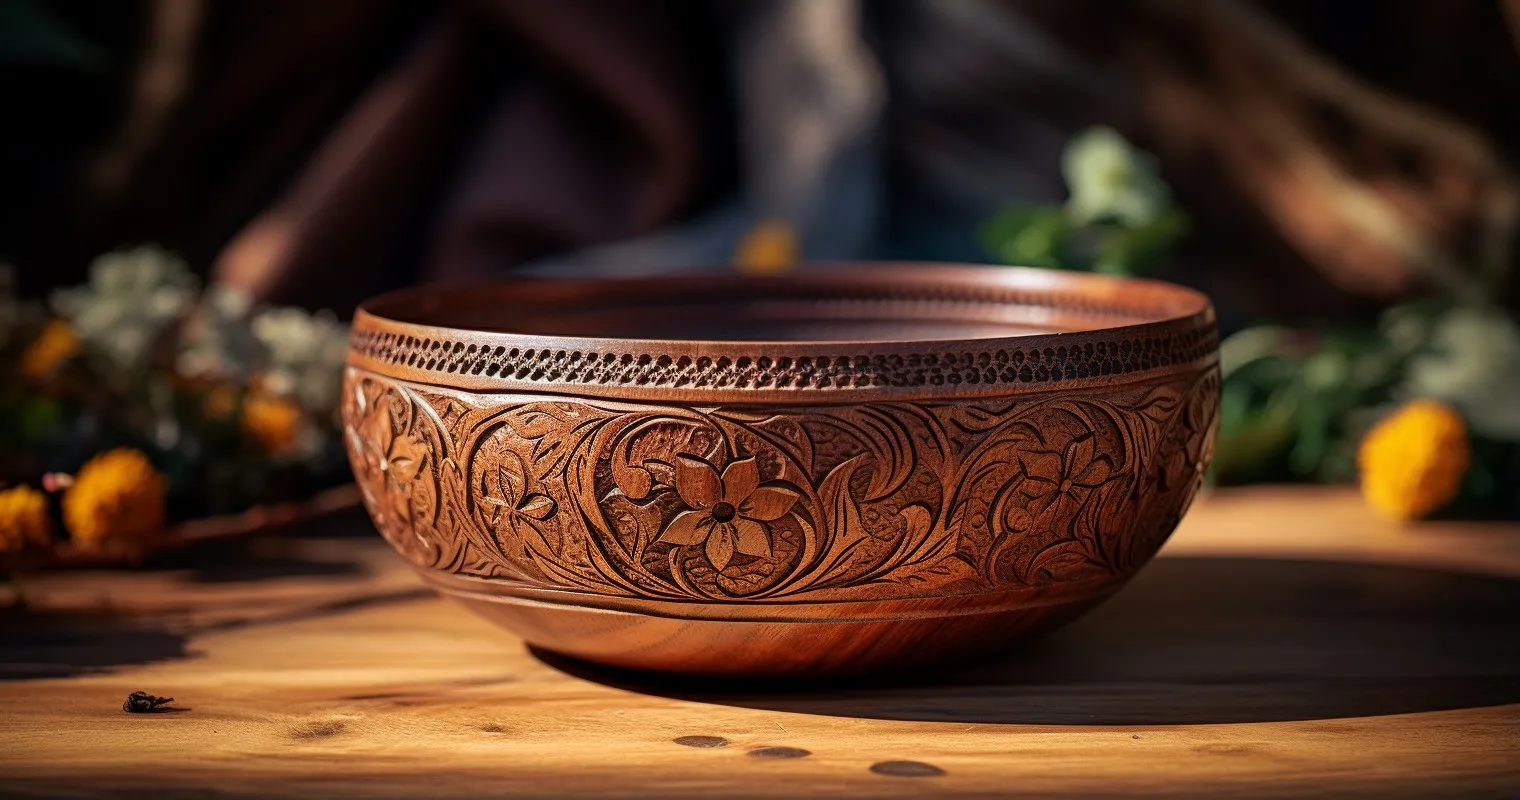
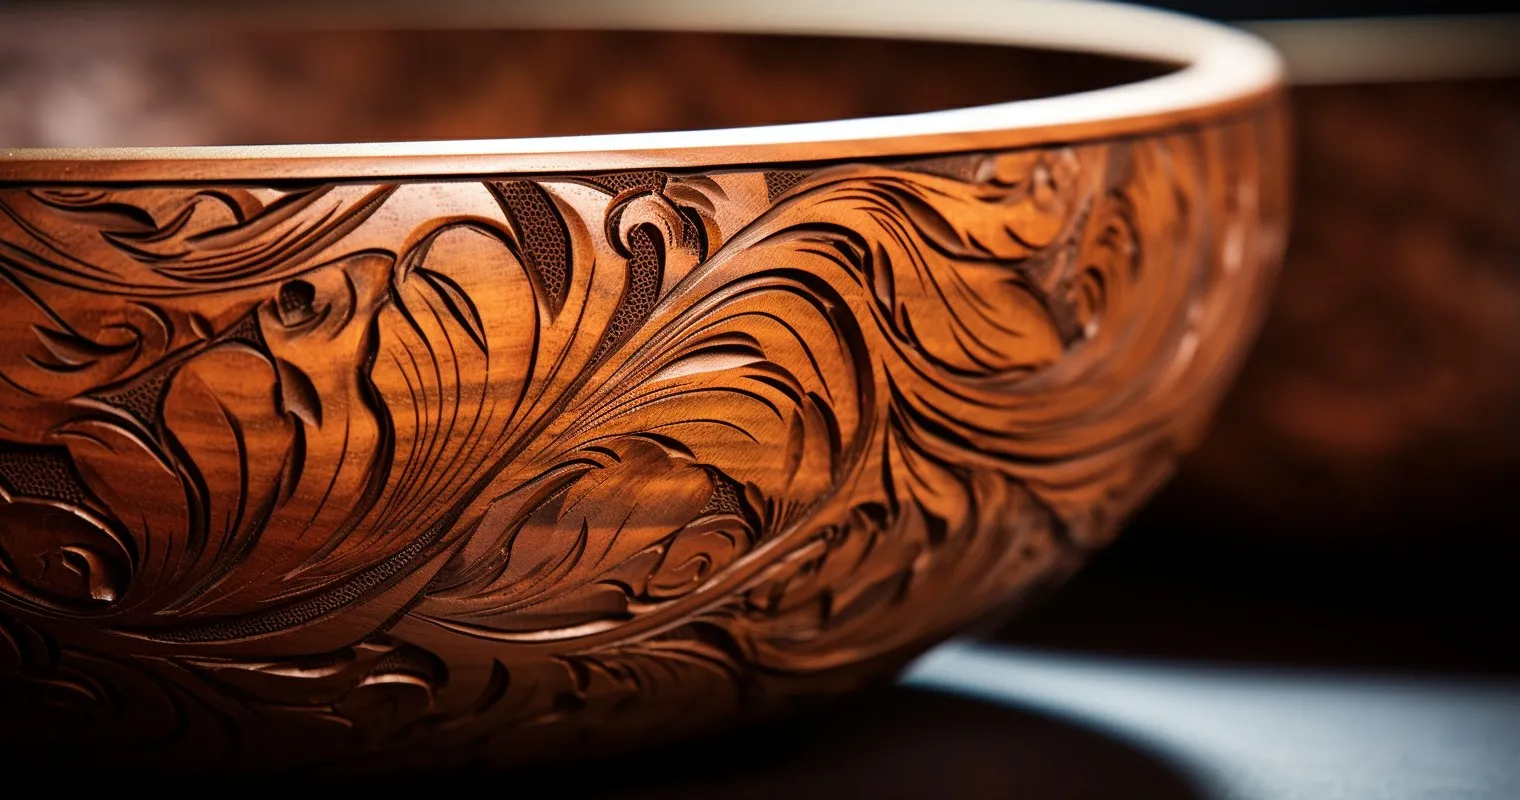
Decorating Your Bowl
Once you’ve carved, sanded, and finished your bowl, you might think you’re done, but hold your horses! Now comes the fun part – decorating your bowl. This is where you can truly make your bowl one-of-a-kind. You can paint it, stain it, carve intricate designs, or even inlay it with precious stones or metals.
Now, let’s talk about adding a personal touch to your bowl. This could be as simple as carving your initials or a special date into the bottom of the bowl, or as elaborate as painting a detailed scene on the inside or outside of the bowl. Whatever you choose, make sure it has meaning to you. This will make your bowl truly special and something you will cherish for years to come.
Caring for Your Hand-Carved Bowl
You’ve made it to the final step – caring for your hand-carved bowl. Just like any other piece of art, your bowl needs proper care and maintenance to stay in tip-top shape.
It’s important to regularly clean your bowl. Dust and dirt can accumulate on the surface of the bowl and can dull the finish over time. A soft, dry cloth is usually all you need to remove surface dust. If your bowl gets dirty, you can clean it with mild soap and water, but make sure to dry it thoroughly afterward.
Let’s talk about common issues that might occur with your bowl and how to address them. Over time, the finish on your bowl may begin to wear or chip. If this happens, you can lightly sand the surface and reapply the finish. Cracks or splits may also occur, especially if the wood was not properly dried before carving. If this happens, you can fill the cracks with wood filler or epoxy and sand the surface smooth before refinishing.
Let’s discuss how to restore an old or damaged bowl. If you have an old bowl that has seen better days, don’t despair! With a little bit of elbow grease, you can restore it to its former glory. Start by cleaning the bowl thoroughly and removing any old finish or paint. Sand the surface smooth and address any cracks or splits as mentioned above. Once the bowl is repaired, you can refinish and redecorate it as desired.
Frequently Asked Questions
What are the essential hand tools needed to make a wooden bowl?
The essential hand tools needed to make a wooden bowl include carving knives, gouges, mallets, sandpaper, and a compass or template for creating the bowl’s shape.
Can I use any type of wood to make a bowl?
Use hardwoods like maple or cherry for bowl carving as they are durable and hold up well to the carving process. Avoid using softwoods as they can crack or split easily.
What safety precautions should I consider when making a wooden bowl with hand tools?
Safety is paramount when working with hand tools. Always wear safety goggles to protect your eyes from wood chips and dust. Wear a dust mask to avoid inhaling wood dust. Make sure to work in a well-lit and well-ventilated area. Lastly, always keep your tools sharp as dull tools require more force to use and can lead to accidents.
How can I decorate my hand-carved bowl?
There are several ways to decorate your hand-carved bowl. You can paint it, stain it, carve intricate designs, or even inlay it with precious stones or metals. Make sure to seal and protect the decorations with a clear coat of finish.
How do I care for my hand-carved bowl?
Proper care and maintenance will ensure your hand-carved bowl lasts for generations. Regularly clean your bowl with a soft, dry cloth to remove surface dust. If your bowl gets dirty, clean it with mild soap and water, then dry it thoroughly. Reapply a coat of finish as needed to protect the wood and maintain its luster.
Conclusion
Mastering the art of craftsmanship by learning How To Make A Wooden Bowl With Hand Tools is a journey worth embarking on. Not only will you develop new skills and a deeper appreciation for the art of woodworking, but you will also create a functional piece of art that can be cherished for years to come.
Thank you for reading!