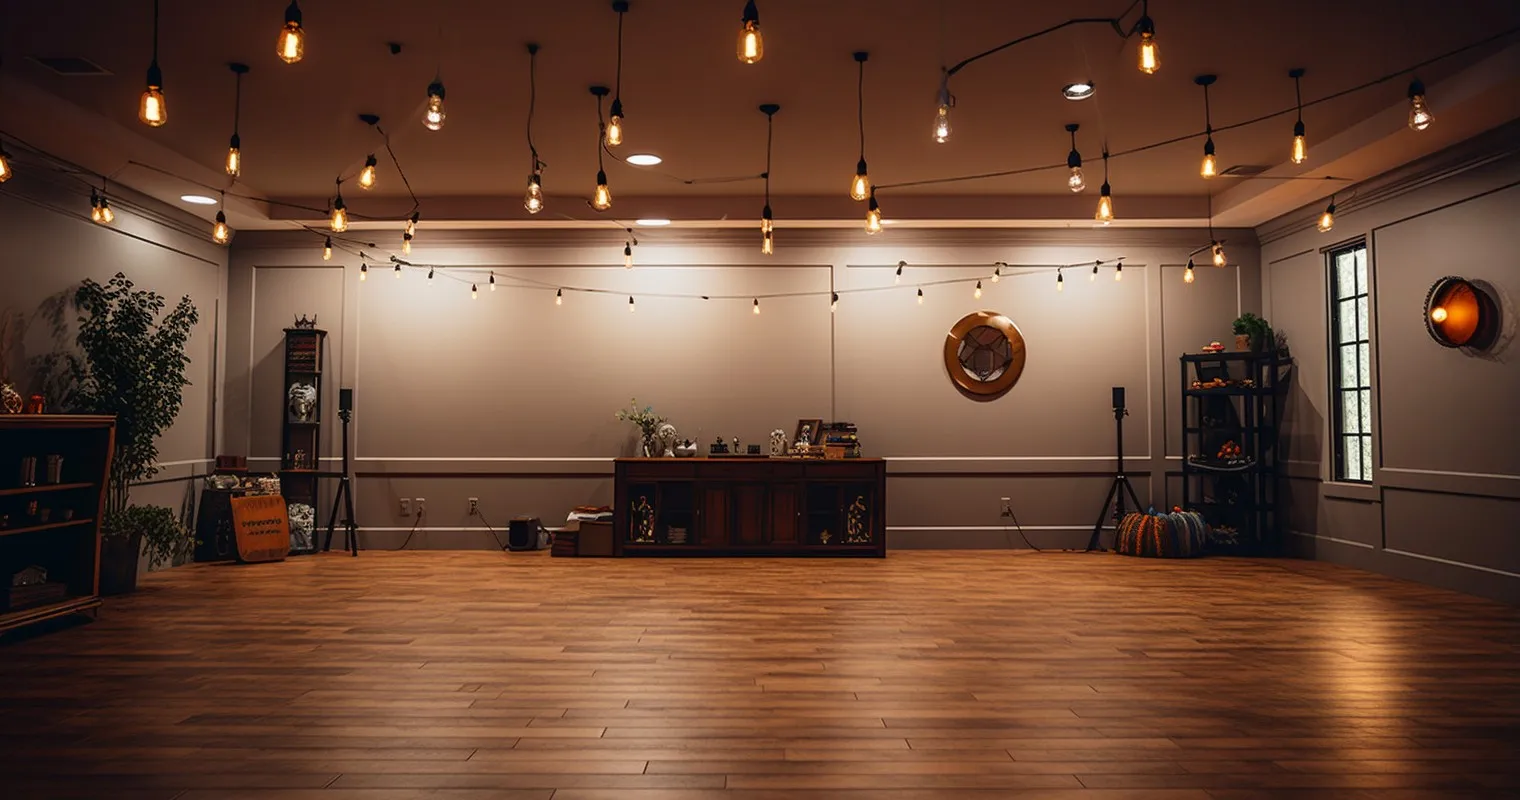
Moving to a new house and want to customize your lights? Or perhaps just looking to revamp your current space? With over 30% of house renters expressing a desire to DIY home projects, understanding How To Install Electrical Wiring For Lights is an invaluable skill! Moreover, doing it correctly not only ensures safety but also adds a personal touch to your home.
Understanding the Basics of Electrical Wiring for Lights
Light bulbs are more than just a bright idea! But to make them shine safely and efficiently, understanding the basics of electrical wiring is essential. So, before you jump into rewiring your abode, let’s get the lowdown on lights.
Importance of Correct Electrical Wiring
Electrical wiring is more than just colorful threads running through your walls.
- Safety first! Incorrect wiring is like inviting a bull into a china shop; things can get destructive. Proper wiring prevents accidents, ensuring you don’t turn your home into a mini fireworks display.
- Efficient Energy Consumption: Think of wiring as a highway. Proper highways mean smooth traffic, and in the world of wiring, it means efficient energy consumption. Better wiring, less waste.
- Longevity of Lights: Good wiring is the secret to immortalizing your bulbs, or at least extending their life. Invest time in understanding How To Install Electrical Wiring For Lights, and those bulbs will thank you for glowing longer.
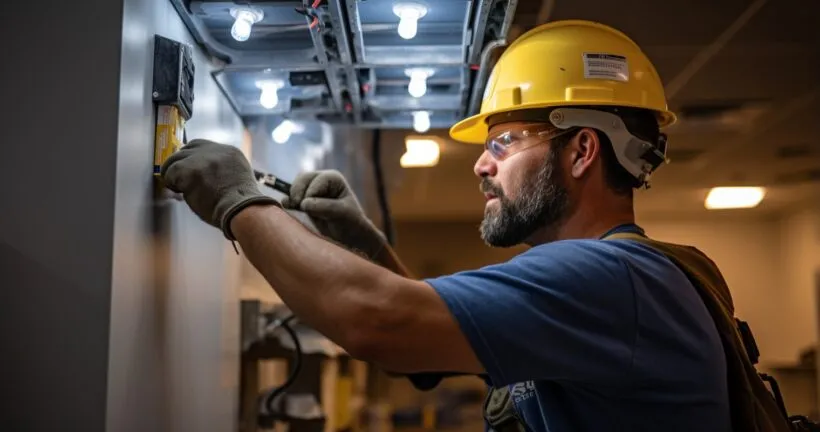
Tools and Materials Needed
Embarking on a DIY wiring journey? Here’s your treasure map:
- Essential Tools: Wire strippers and screwdrivers are the Batman and Robin of your toolkit. You can’t save Gotham – err, light up your room – without them.
- Wires Galore: Just like pasta, wires come in different types. Understand the spaghetti from the linguine to pick the right one for your lighting needs.
- Safety Gear: Before you play with wires, gear up! Rubber gloves prevent shocking experiences, and goggles make sure your eyes stay on the prize (and not on stray sparks).
Preparing for the Installation
Before you dive in, let’s prep up. DIY is fun, but only when done right.
Safety Precautions to Take Before Starting
Safety isn’t just a word; it’s a lifestyle, especially when you’re playing with wires.
- Power Down: Before embarking on your electrical expedition, ensure the main power is turned off. Surprise shocks aren’t the kind of jolts we want in life.
- Gear Up: It’s fashion with a purpose! Rubber gloves and shoes are your BFFs in this venture. They give you a shield against unwanted shocks.
- The Dry Zone: Water and electricity? Not a good cocktail. Make sure your workspace is as dry as humor in a science textbook.
Assessing Your Current Wiring System
Know where you stand before taking the next step.
- Age Matters: Older wires might be like that vintage wine, but they might also be worn out. Recognizing the type and age of existing wires is the first step.
- Potential Problems: Not all issues come with visible sparks. Some are silently lurking in your walls. Keep an eye out for them.
- Curious about more tips? Here’s a helpful guide from Bob Vila on how to install a light fixture. It’s like the cherry on top of this electrical sundae.
Step-by-Step Guide on How To Install Electrical Wiring For Lights
So you’ve prepped, and you’re ready to dive deep into the DIY jungle. Here’s your trusty step-by-step guide on How To Install Electrical Wiring For Lights without turning it into a jumbled spaghetti mess.
Mapping Out Your Wiring Route
You wouldn’t set off on a road trip without a map, would you? The same principle applies here.
- Clear Plan, Clear Mind: Just like plotting your next vacation, mapping your wiring route eliminates unwanted detours and potential electrical faux pas.
- Switch & Socket Strategy: Placement is the name of the game. Think of your light switches and outlets as rest stops along the highway. Convenient locations mean easy accessibility. And honestly, nobody wants to perform acrobatics just to turn on a light.
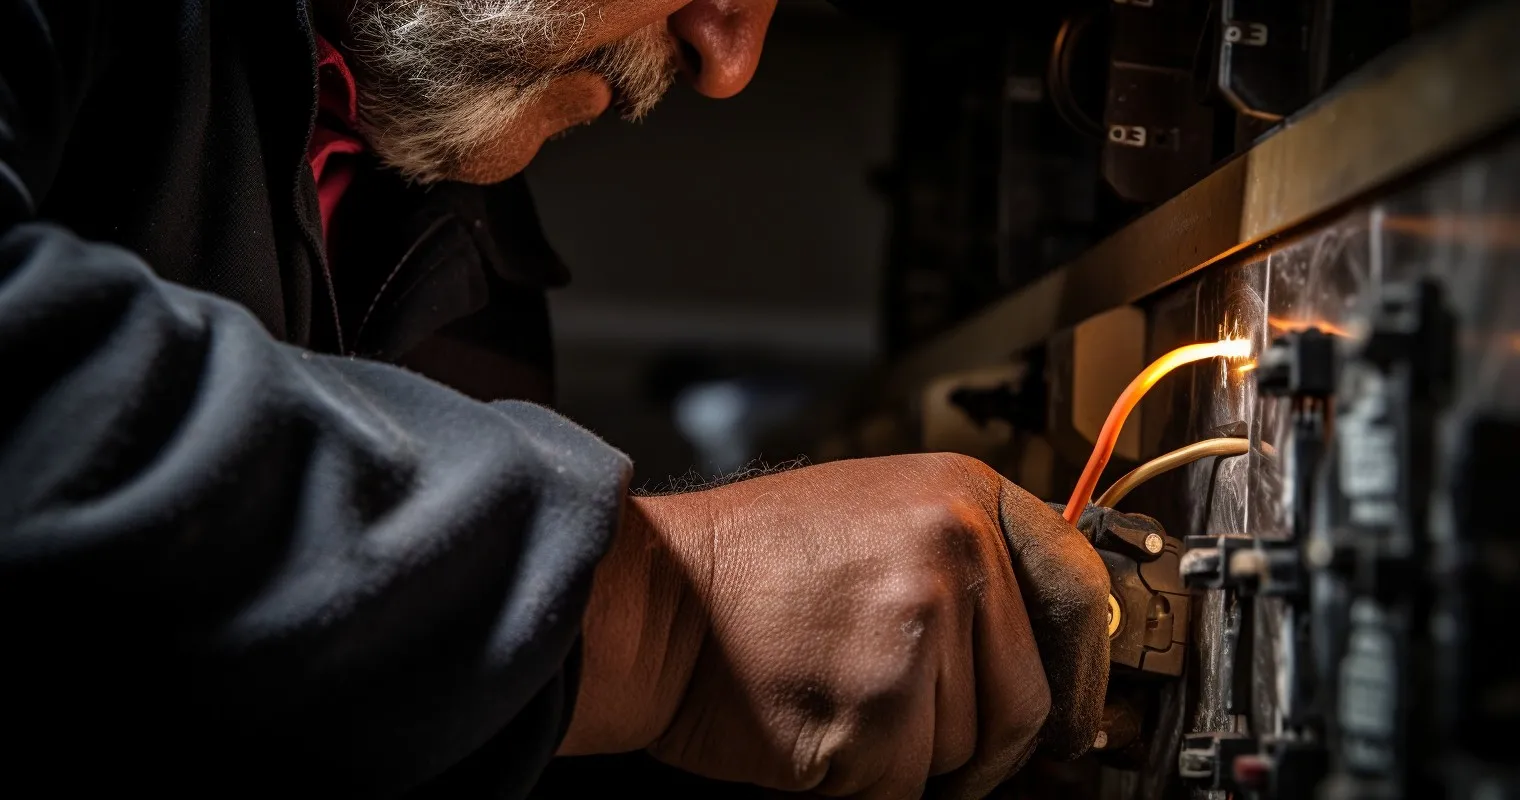
Running the Wires
Alright, time to thread the needle (or, in this case, the wire).
- Wire Gauge is the Rage: Not all wires are created equal. It’s like choosing between skinny jeans and bell bottoms – both have their place. Knowing the right wire gauge is crucial for safety and efficiency.
- Wire-Pulling Wizardry: Getting wires through walls can feel like trying to squeeze a cat into a bath (good luck with that). But with the right tools and tricks, it’s smoother than you think. For a handy guide that spills all the wire secrets, check out this piece from WikiHow on wiring a light.
Connecting the Wires to the Light Fixture
The grand finale! It’s like connecting Lego, but with electricity.
- Polarity Patrol: Opposites attract. Ensuring the right polarity is like making sure your puzzle pieces fit. It’s crucial, lest you want a surprise light show.
- Wire Nut Ninjutsu: Twisting and turning is not just for dance floors. Securely attach those wires with wire nuts. It’s the handshake that seals the deal between your wires and light fixture.
- Need some visual aid to make this clearer? The good folks at Home Depot have a detailed guide on installing light fixtures. It’s like the illustrated manual to our heart’s content!
Troubleshooting Common Issues and Maintenance
Oh, the lights are acting like strobe lights at a disco? Or maybe, they’re just shy and not turning on at all? Don’t fret. The world of electrical DIY isn’t without its speed bumps, but that’s what makes the journey thrilling (and well-illuminated). Let’s dive into some of those pesky issues and how to deal with them.
Identifying Common Wiring Mistakes
In the epic tale of “How To Install Electrical Wiring For Lights,” even heroes can make mistakes.
- Doppelganger Wires: Ah, the classic switcheroo. Reversed wires or wrong connections can play tricks on your lighting system. It’s like putting salt in your coffee instead of sugar.
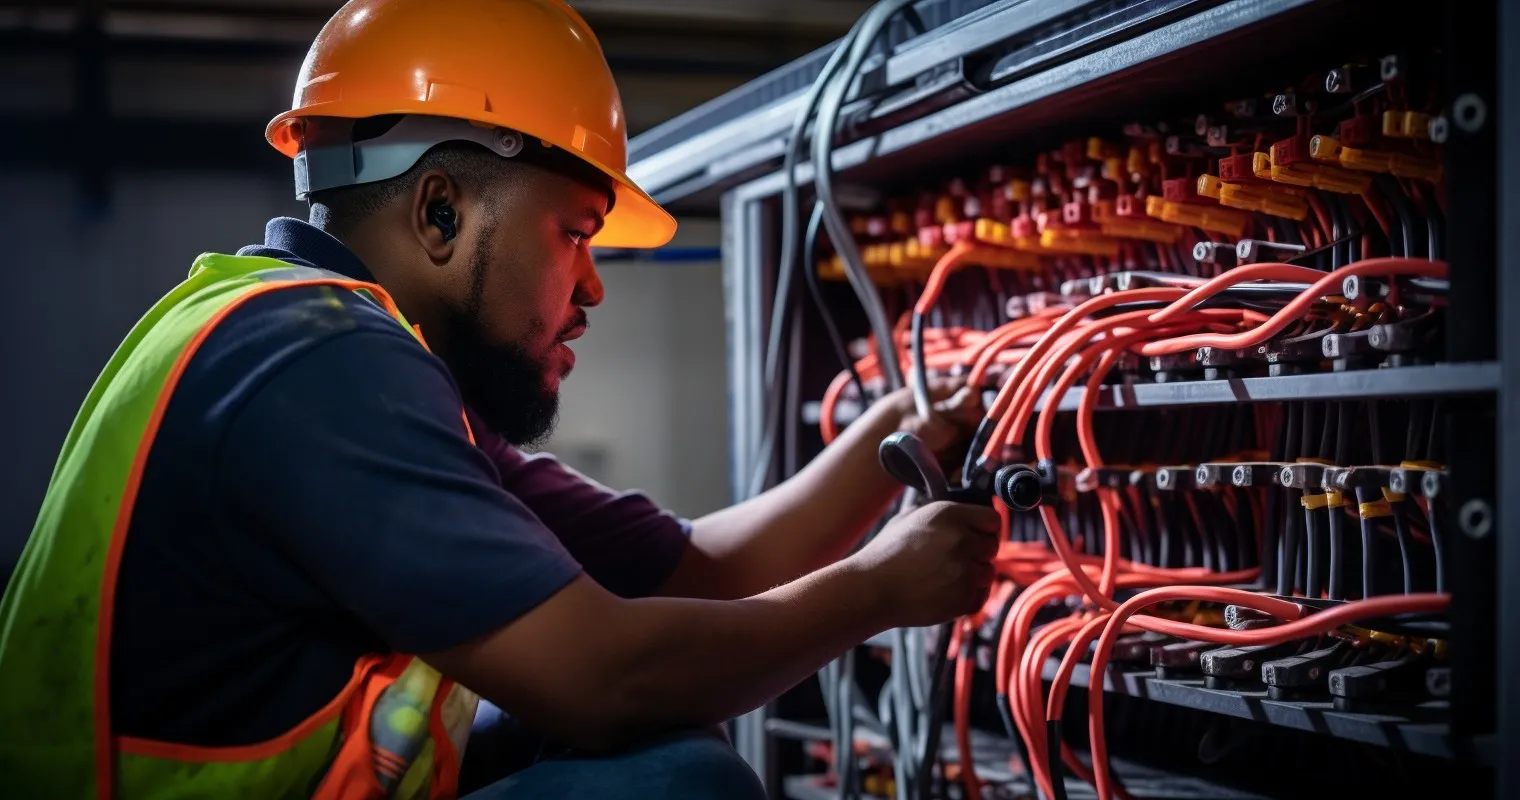
- The Greedy Circuit: Overloading a circuit is a rookie mistake. There’s no buffet for circuits; don’t let them bite off more than they can chew.
- The Shaky Handshake: Loose connections can be as frustrating as a weak Wi-Fi signal. A firm bond is the key. For more details refer to this article on Electrician’s Guide: What Size Hole For Electrical Wiring?
Solutions for Common Wiring Problems
Every problem has a solution, except maybe for socks disappearing in the laundry.
- Righting the Wrongs: Incorrect wire connections? It’s not a life sentence. Knowing the map of your wiring can help you trace back to the culprit. Untangle, recheck and re-connect.
- Flickering Fiascos: Lights that flicker or shy away from turning on can be due to various reasons, from a mere bulb issue to a deeper wiring problem. Ensure all connections are tight, and if in doubt, take a moment to re-evaluate your work. Need a visual guide? Here’s a helpful tutorial on understanding those flickering fiascos.
Maintaining Your Light Wiring System
You’ve built it; now keep it shining bright.
- Routine Check-Ups: Like going to the dentist, albeit less painful. Regularly checking your wiring for wear and tear keeps major issues at bay.
- Ring the Pros: Sometimes, it’s okay to phone a friend, especially if that friend is a professional electrician. When things get too complex, calling in the cavalry can save the day.
- Timely Tinkering: Regular maintenance and checks can be the difference between a well-lit room and sitting in the dark reminiscing about the time the lights worked. Curious about why maintenance is so pivotal? Dive into this enlightening discussion to know more.
Frequently Asked Questions
What is the first step in ‘How To Install Electrical Wiring For Lights’?
The first step in ‘How To Install Electrical Wiring For Lights’ is to turn off the main power to ensure safety.
Do I need any special tools?
Yes, essential tools include wire strippers, screwdrivers, and safety gear such as gloves and goggles.
How can I identify potential wiring problems?
Look for signs like flickering lights, buzzing sounds, or frequent bulb replacements.
How crucial is the polarity when connecting wires?
Maintaining the right polarity is crucial. Incorrect polarity can lead to short circuits or malfunctions.
What type of wire is best for lighting systems?
Typically, a 14-gauge wire is standard for lighting circuits in residential spaces.
When should I call a professional?
If you’re uncertain about any step, or if lights flicker/don’t turn on post-installation, it’s best to consult a professional.
Can I overload a circuit with too many lights?
Yes, overloading can cause tripped breakers or even fires. Ensure you distribute the load appropriately.
Conclusion
Navigating How To Install Electrical Wiring For Lights doesn’t need to leave you in the dark. With the right tools, precautions, and guidance, your space can shine brightly with your unique touch. Safety first, and when in doubt, seeking professional advice is always a bright idea!
Thank you for reading!