In the ever-evolving landscape of home renovations and DIY projects, one topic that often surfaces is How To Extend Existing Electrical Wiring. With older homes making up a significant portion of the housing market, many homeowners find themselves facing the challenge of updating their electrical systems. In fact, according to the Electrical Safety Foundation International, over 50% of homes built before 1970 may not have the electrical capacity to support modern-day appliances.
Understanding Electrical Wiring Basics
| Wire Type | Color | Function |
|---|---|---|
| Hot Wire | Black/Red | Carries electrical current from source. |
| Neutral Wire | White | Returns current to the source. |
| Ground Wire | Green/Bare | Provides safety by grounding electrical currents. |
It’s like the veins of your home, pulsating with energy and bringing life to every corner. But before you dive into the world of extending wires, it’s essential to grasp the basics.
Electrical wiring is the medium through which electricity travels from the main power source to various appliances and outlets in your home. It’s the unsung hero, often hidden behind walls, ensuring your coffee maker brews that perfect cup every morning. Safety, however, is paramount. One wrong move, and you could be in for a shocking experience.
Different types of wires serve various purposes. From grounding wires that prevent electrical shocks to hot wires that carry current, understanding their roles is crucial.
Why Would You Need to Extend Electrical Wiring?
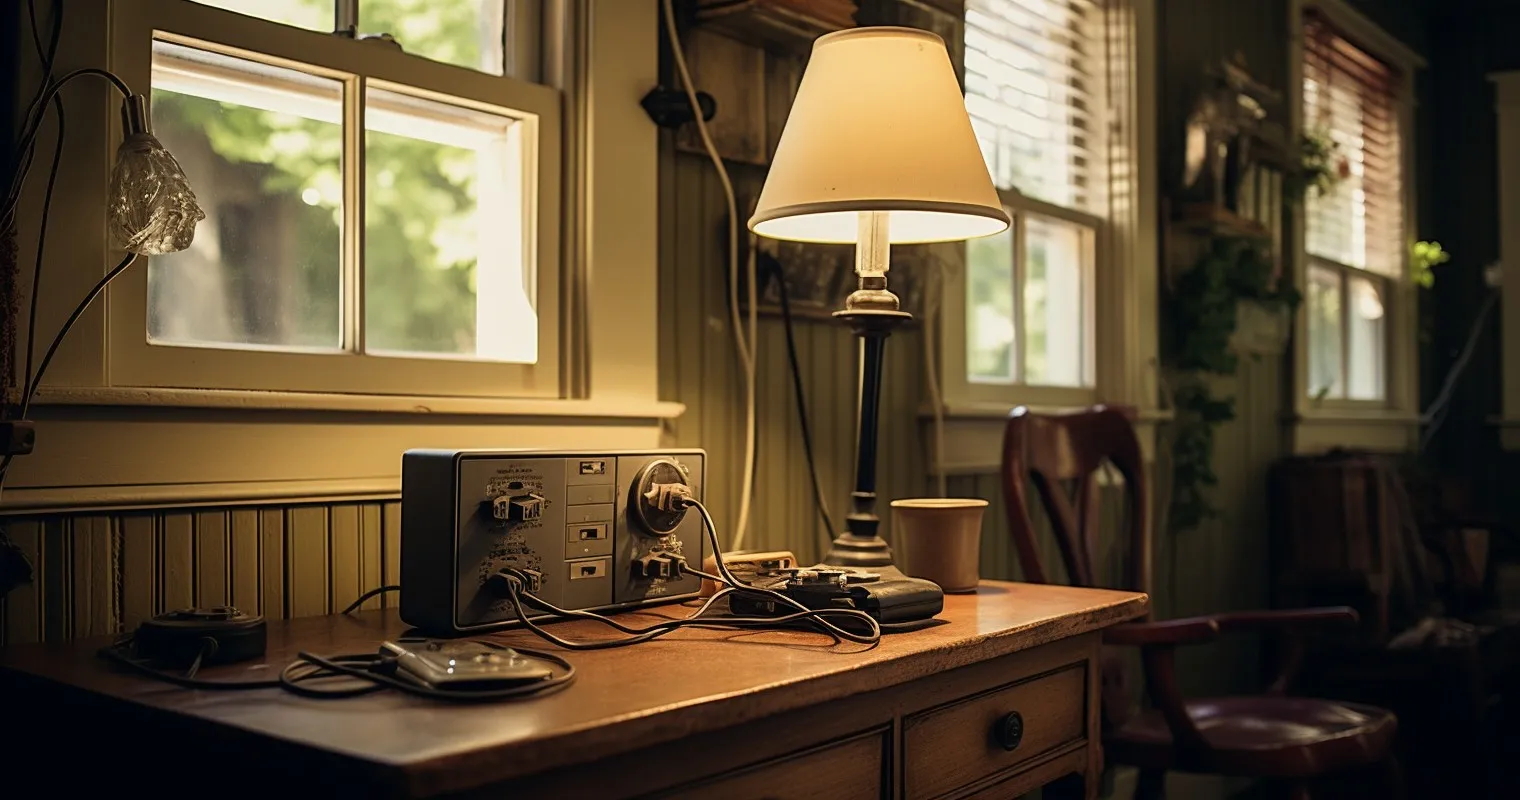
So, why might someone need to extend their electrical wiring? Imagine adding a swanky new home theater system in your renovated basement. Or perhaps you’re finally getting that dream kitchen with all the high-tech appliances. Both scenarios would require additional electrical outlets and, consequently, extended wiring.
Older homes, with their charm and character, often come with outdated electrical systems. If you’re looking to upgrade and modernize, extending the wiring becomes inevitable.
Tools and Materials Required
If you’re venturing into the realm of electrical work, you’ll need some gadgets in your arsenal. Essential tools include wire strippers (for cleanly exposing wire ends), connectors (to join wires together), and a trusty circuit tester (to ensure there’s no live current).
When it comes to wires, there’s a smorgasbord to choose from. You’ve got your hot wires (typically black or red), neutral wires (usually white), and grounding wires (often green or bare). Each serves a unique purpose, and knowing which to use is crucial.
Safety first! Always wear protective gloves and goggles when working with electrical systems. And if you’re ever in doubt, remember that there’s no shame in calling a professional. After all, it’s better to be safe than sorry.
For more DIY tips, check out our guide on How to Use a Level Correctly – Hand Tools DIY. And if you’re looking for a deep dive into extending electrical wires, this external source is a goldmine of information.
Step-by-Step Guide on How To Extend Existing Electrical Wiring

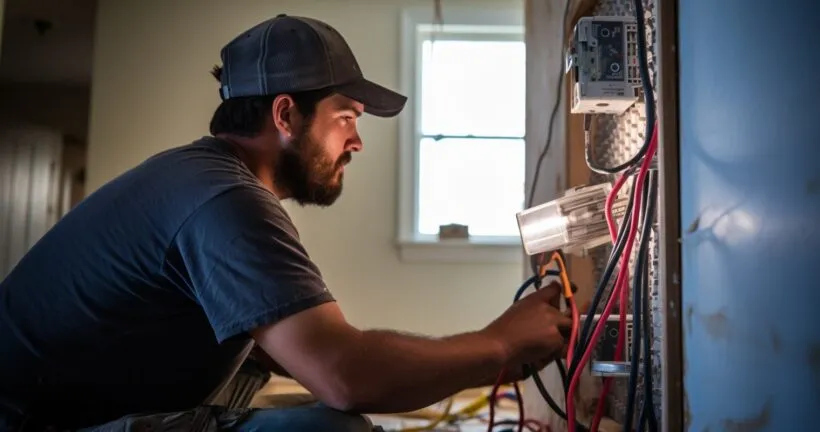
Whether you’re adding a new room or just need an extra outlet for that fancy espresso machine, extending your electrical wiring can be a thrilling DIY project. But, like any adventure, it’s best undertaken with a map in hand. So, let’s dive into the step-by-step guide on How To Extend Existing Electrical Wiring.
- Turning off the power and ensuring safety.
Before you even think about touching a wire, make sure the power is off. It’s not just a good idea; it’s a life-saving one. Use a circuit tester to double-check. Remember, safety goggles and gloves aren’t just fashion statements in the DIY world! - Identifying and preparing the existing wire.
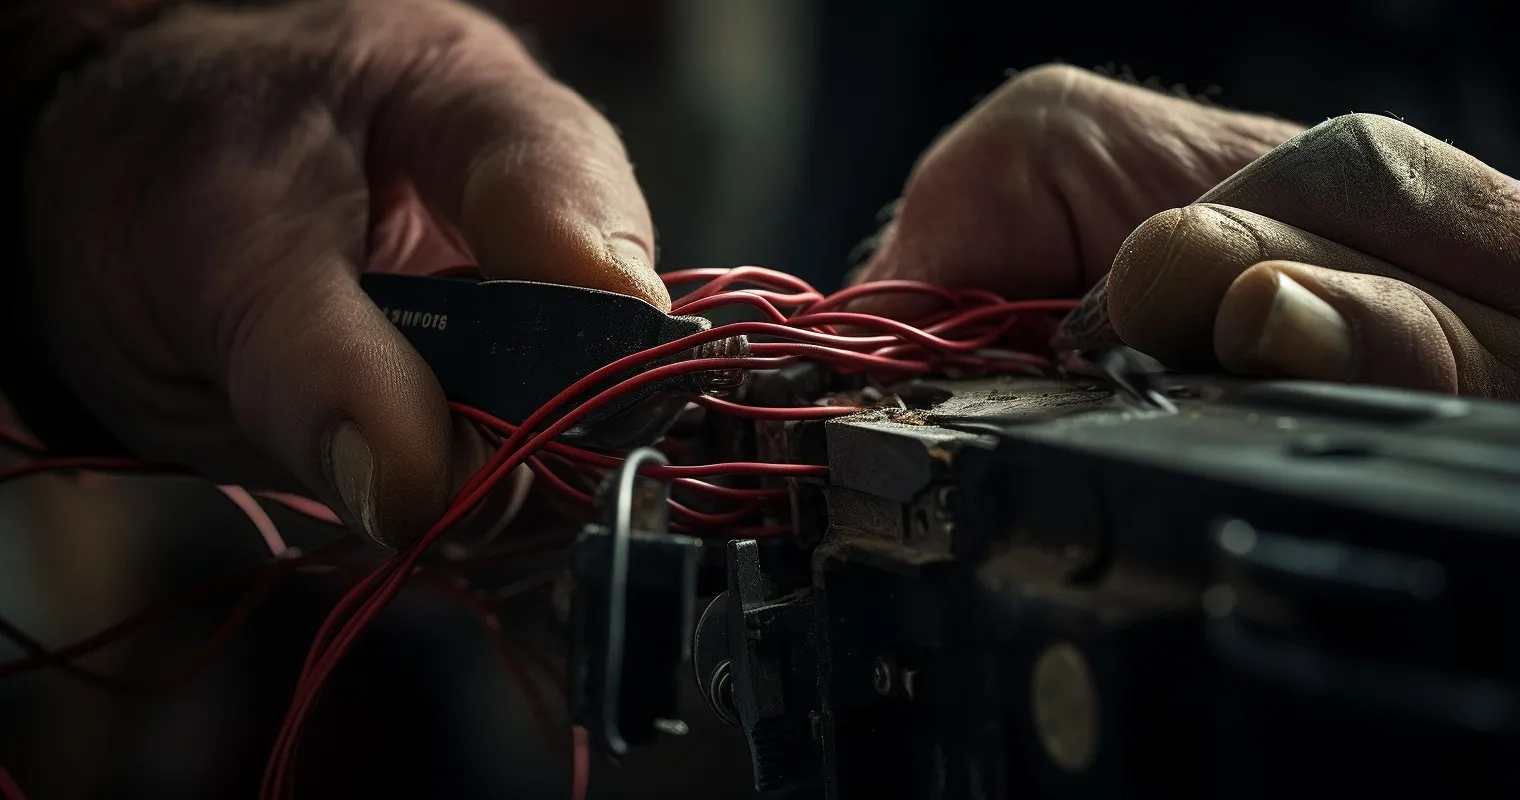
Locate the wire you wish to extend. Once found, strip about half an inch off the end, revealing the metal inside. This is where your wire stripper earns its keep! - Connecting the new wire: techniques and best practices.
Now, it’s time to introduce the old wire to the new one. Twist their metal ends together and secure them with a wire connector. For extra security, wrap the connection in electrical tape. It’s like setting up a blind date for your wires, but with a higher success rate. - Testing the extended wiring.
Before celebrating, turn the power back on and test the extended wiring. If everything’s working, give yourself a pat on the back! If not, retrace your steps and ensure all connections are secure.
Common Mistakes to Avoid
Even seasoned DIY enthusiasts can make mistakes. Here are some common pitfalls to watch out for:
- Not turning off the power.
It might seem obvious, but you’d be surprised how many folks skip this step. Remember, electricity isn’t something to mess with. Always double-check! - Using the wrong type of wire or connector.
Not all wires are created equal. Ensure you’re using the right type for your project. When in doubt, consult the experts at your local hardware store. - Not securing connections properly.
Loose connections can lead to electrical fires. Always double-check your work and ensure everything’s snug and secure.
For more insights on potential electrical issues, check out our article on Multiple Electrical Outlets Not Working – Why?. And if you’re a visual learner, this video tutorial is a fantastic resource.
Ensuring Safety and Compliance
When it comes to How To Extend Existing Electrical Wiring, it’s not just about connecting A to B. It’s about ensuring A and B have a safe and compliant relationship.
- Importance of following local electrical codes.
Did you know that every city has its own set of electrical codes? It’s like the rulebook for electrical dating. Before you make any moves, ensure you’re familiar with these codes. It’s not just about safety; it’s also about avoiding those pesky fines. - Getting inspections if required.
Think of inspections as relationship counseling for your wires. Sometimes, you need an expert to tell you everything’s okay. If your local codes require it, don’t skip this step. - Tips for maintaining electrical safety at home.
Always turn off the power before starting. Use insulated tools. And for heaven’s sake, don’t work in a puddle of water! Common sense? Yes. Common practice? You’d be surprised.
Benefits of Properly Extended Electrical Wiring
Ah, the sweet rewards of a job well done!
- Enhanced safety and reduced risk of electrical fires.
Properly extended wiring is like a well-behaved pet. It sits, stays, and doesn’t start fires. - Efficient power distribution.
No more flickering lights or appliances that act like they’re possessed. Proper wiring ensures everything runs smoothly. - Increased property value.
Think of it as a facelift for your home’s electrical system. Future buyers will thank you.
When to Call a Professional
While DIY is all the rage, there are times when it’s best to call in the pros.
- Situations where DIY might not be advisable.
If you’re looking at a tangled mess of wires and thinking, “This looks like spaghetti,” it’s time to call a professional. - Benefits of hiring a professional electrician.
They’ve got the tools, the knowledge, and the experience. Plus, they can probably get the job done without turning your home into a scene from a slapstick comedy. - Signs that your electrical system needs a professional touch.
Flickering lights, buzzing sounds, and outlets that give you a shock (and not the good kind) are all signs you need an expert.
For more insights on potential electrical issues, check out our article on No Power to Thermostat – 5 Reasons and Solutions. And if you’re still on the fence about DIY vs. professional help, this forum discussion might shed some light.
Frequently Asked Questions
Why would I need to extend my electrical wiring?
Extending electrical wiring is often necessary when renovating or adding new appliances. It ensures safety and meets power demands.
Is it safe to DIY electrical wiring extensions?
While it’s possible to DIY, always prioritize safety. If unsure, consult a professional electrician.
What tools are essential for extending electrical wiring?
You’ll need wire strippers, connectors, and a circuit tester, among other tools.
How do I know if my existing wiring is outdated?
Outdated wiring often includes two-prong outlets, frequent circuit breaks, or visible wear and tear.
Can I extend wiring without replacing the entire system?
Yes, you can extend parts of the system, but ensure it’s done safely and adheres to local codes.
How long does it typically take to extend electrical wiring in a room?
The duration varies based on the room’s size and complexity, but typically it can take a day or two.
Are there legal restrictions on DIY electrical work?
Yes, many regions require permits or professional inspections for electrical work. Always check local regulations.
Conclusion
Understanding How To Extend Existing Electrical Wiring is crucial for homeowners, especially those with older properties. With the right knowledge and tools, you can ensure that your home’s electrical system is safe, efficient, and up-to-date. Whether you choose to take on this task yourself or hire a professional, always prioritize safety and adhere to local regulations. Remember, a well-grounded home is not just about stability; it’s about ensuring every spark of electricity flows where it should.
Thank you for reading!