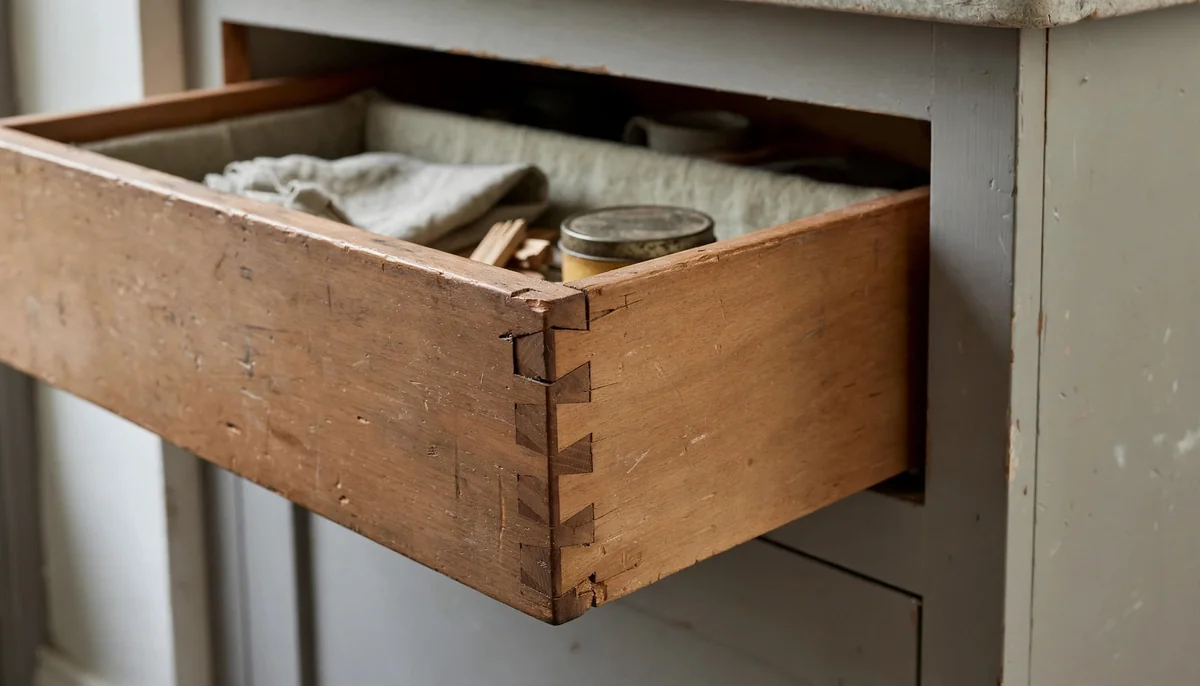
A dovetail joint is a woodworking joint that locks two boards together with interlocking wedge-shaped pins and tails. The tails flare outward like a dove’s tail, and that flare is the whole trick. Once the pins slide in from the side, the joint resists being pulled straight apart, so it holds through the interlocking shape alone.
It is also why they take longer to cut than a butt joint and a couple of screws. Cutting them well is the part that separates a Saturday project from a career.
The dovetail meaning in plain terms
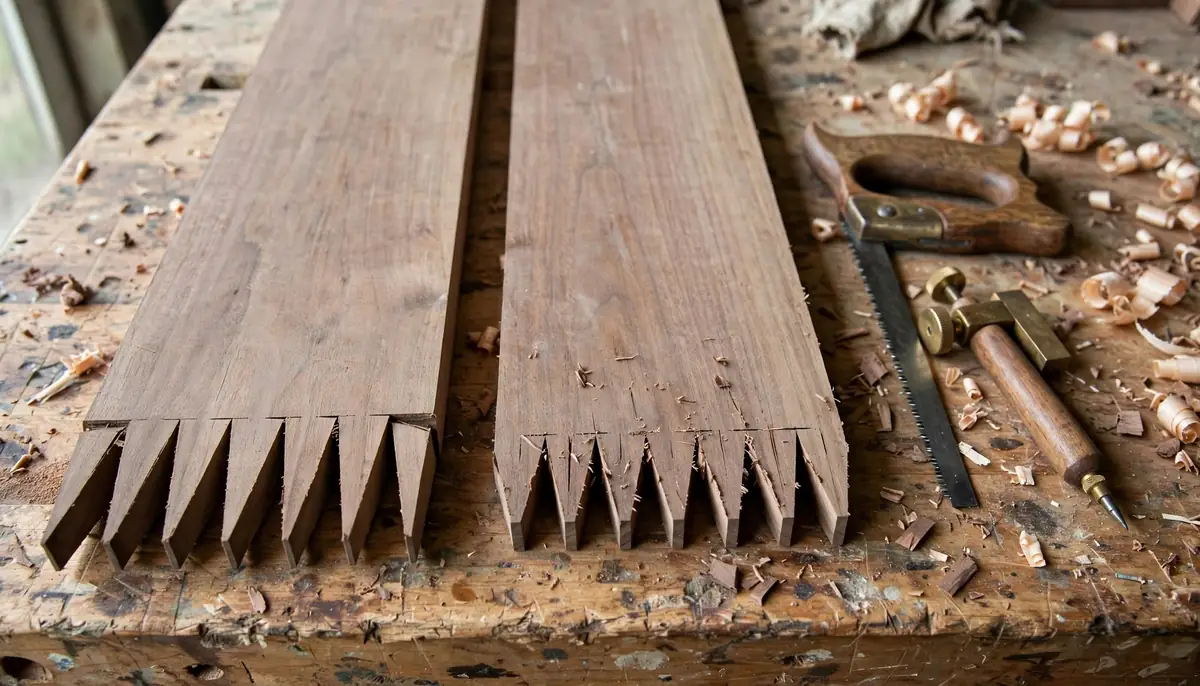
A tail is the flared piece. A pin is the narrow piece that fits between two tails. Cut them on matching angles and they slide together from the side, then stop dead when you try to pull them apart lengthwise. Dovetail angles vary by wood and preference. Some gauges indicate dovetail angles.
Two details do the real work. The first is the shoulder line, the flat face where the boards meet. The second is the fit. A dovetail that rattles is a dovetail that will loosen. A dovetail you have to hammer into place splits the pin board, and you get to start over on a fresh piece of stock.
Glue helps, nails help a little, but a well-fitted dovetail holds together even without them, because the interlocking shape carries the load. A Marking Gauge and a Bevel Gauge set the layout that makes that fit possible.
Proportions matter as much as the angle. Spacing is where hand-cut work earns its keep.
Where dovetails belong, and where they do not
Drawer fronts grab and yank the front of the box every time the drawer opens, so the front corners of a drawer are the classic home for Half-Blind Dovetails.
They also belong in places where the joint will be seen, because a clean dovetail is a signature.
Where they do not belong is anywhere the load runs with the grain in tension across a short cross section. For a chair leg or a door stile, pick the joint that suits the load and the grain direction, because the short grain at the pins can be a weak point under racking stress.
If you are choosing between joint types for a project, it helps to see the whole family side by side, and this rundown of types of wood joints covers where each one earns its place.
Through, half-blind, and sliding dovetails
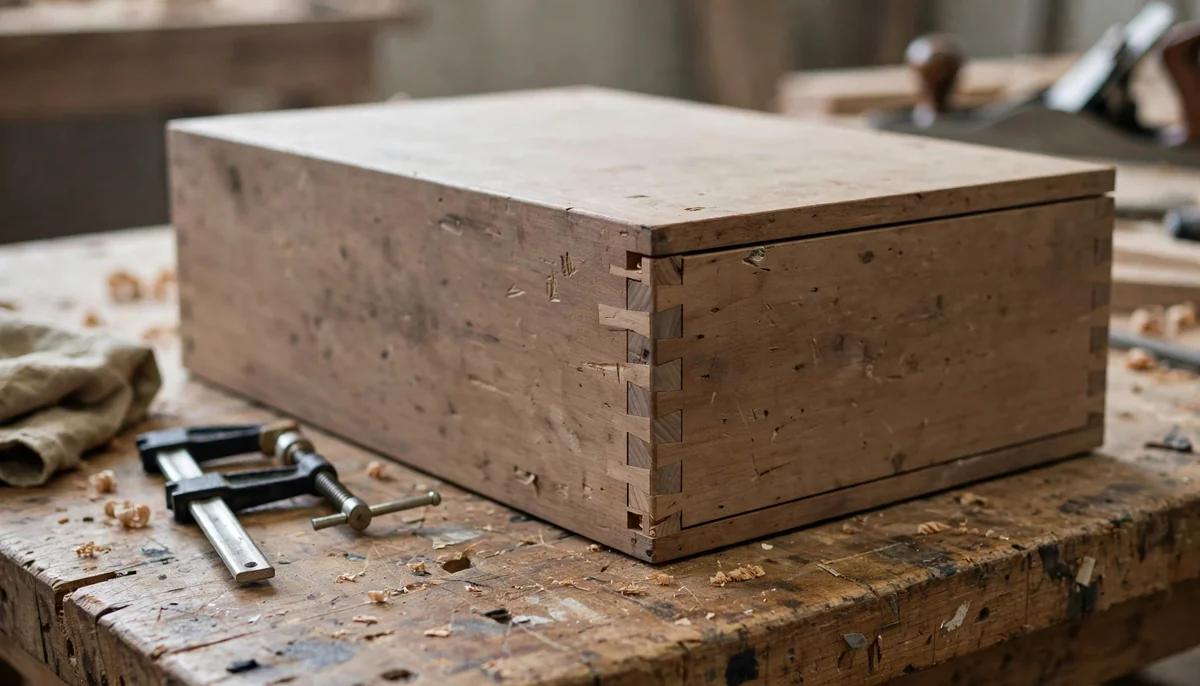
Through dovetails show on both faces of the corner. You can see both boards meeting as you lay them out, and the interlock runs the full length of the tail. Half-blind dovetails stop before they reach the front face, so the drawer front looks solid from the outside. The tails sit in sockets chopped partway into the pin board, and the shoulder of the drawer front covers the end grain. This is a common choice for drawer front corners. Layout takes a little more care because you cannot see the sockets until they are cut, and the depth stop on your marking gauge becomes the whole game.
Sliding dovetails run a tail along a long groove, so the joint sits along the grain of the case side. A shelf tail drops into a housing cut across the case side and slides down into place. The catch is assembly. A long sliding dovetail has to be fitted carefully and driven home in one motion, because there is no clamping it once it binds halfway.
There is also the mitred dovetail, which hides the end grain behind a mitre on the corner. It is beautiful and unforgiving, and I would not start there.
Cutting them by hand, step by step
- Square and thickness your stock first. Dovetails do not fix a board that is out of square, they just make the error permanent.
- Mark the baseline all the way around with a marking gauge. This line is your depth stop for every saw cut.
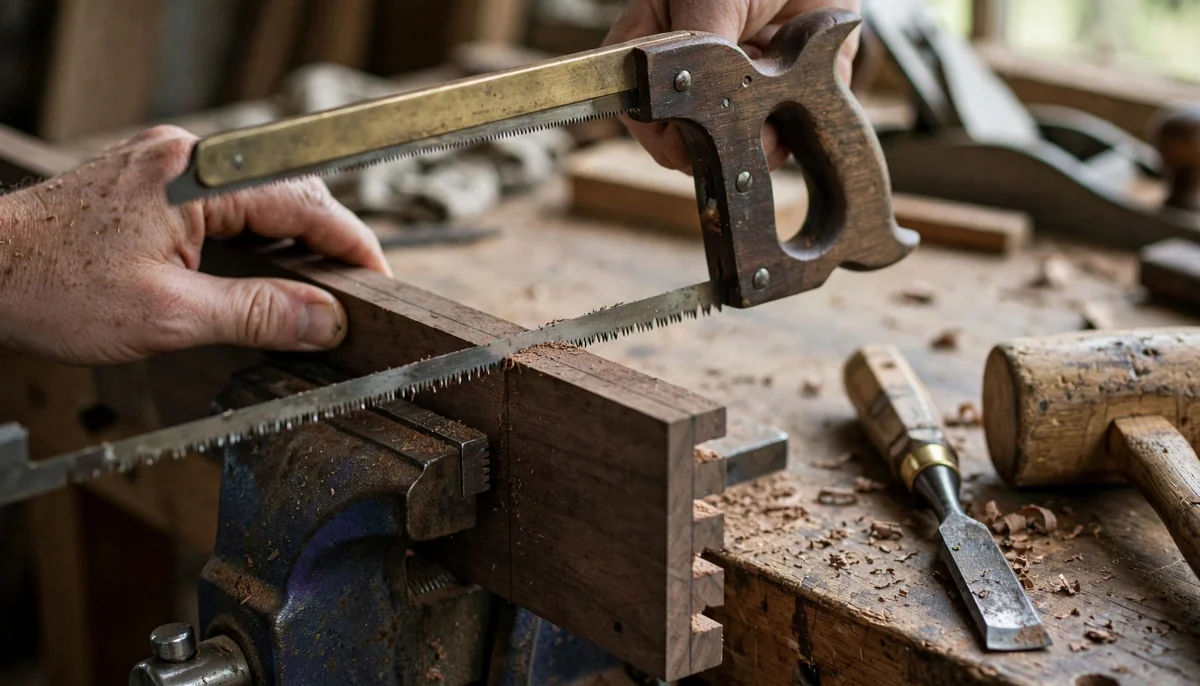
- Lay out the tails with a bevel gauge set to your angle, then saw just on the waste side of the line.
- Chop out the waste with a sharp chisel, working from both faces toward the middle to avoid blowing out the back.
- Trace the tails onto the pin board with a sharp knife, then saw and chop the pins.
- Test the fit dry. It should go together with light taps from a mallet.
- Glue, assemble, and check for square before the clamp pressure comes off.
A few notes on the steps that the list cannot carry. On step 3, saw vertically and let the saw do the work; a dovetail saw with a rip-filed tooth pattern follows the baseline well if you start the kerf with a thumb or a chisel corner. On step 4, a sharp chisel takes a shaving you can see light through. If the chisel needs force, stop and hone it, because a dull chisel crushes the fibres at the baseline and the joint will show a gap there forever.
On step 6, the dry fit tells you everything. Assemble it fully, look at the fit of every shoulder, and mark any tight spot with a pencil before you take it apart. Pare those spots, test again, and only glue when the joint goes together with hand pressure and a tap or two. On step 7, use a glue that gives you some open time. Hide Glue and standard Yellow Glue both work; the trick is coating both faces thinly and getting the clamps on before the glue grabs.
After the glue sets, level the joints. A block plane or a card scraper takes the pins and tails flush to the face without tearing the end grain. Skip this step and every gap you could not see during assembly shows up under the finish.
A Dovetail Saw with fine teeth and a stiff back does most of the work. A sharp Chisel does the rest. You can cut acceptable dovetails with an inexpensive saw and a good sharpening setup, and you cannot cut good ones with a dull chisel no matter what the saw cost.
Choosing the stock
Wood choice decides half the outcome before you touch a saw.
Avoid boards with grain that runs out at the ends. The pins and tails sit in short grain, so a board with sloping grain at the end is more likely to split along the tail line. Check the end grain before you cut.
Thickness matters too. Very thin stock leaves tails fragile, and very thick stock makes the chopping slow and the angles awkward. If the drawer sides and the drawer front differ in thickness, which is common, lay out the tails on the thinner board and cut the sockets in the thicker one.
Machine-cut and router jigs
A router jig works at a fixed angle and a fixed spacing, and the joint looks machine-made because it is.
For furniture where the joint is part of the design, hand-cut wins. The spacing follows the width of the drawer, and the pins can be sized to look right.
One safety note that matters more than the joint itself. Follow the router and personal-protective-equipment safety guidance that comes with your tools.
Mistakes that ruin a dovetail
- Cutting on the line instead of beside it. The saw kerf removes material. If the kerf sits on the line, the joint is loose before you start.
- Skipping the baseline. Without a gauge line around all four faces, the pins end up at different depths and the joint will not seat.
- Chiseling from one side only. Work from both faces toward the centre, or the back edge blows out.
- Forcing a tight joint together. If it needs a hammer, something is wrong. Pare a shaving off the pin and try again.
- Glueing before the dry fit. Test it dry every time, because glue hides a poor fit and makes it permanent.
- Using the wrong stock. Short grain, cracked ends, and plywood edges all fail here.
Practice that actually builds the skill
The fastest progress comes from cutting the same joint repeatedly in one session. Keep every practice joint and compare them as you go. The gaps shrink, the saw lines straighten, and the chisel work cleans up on its own as your hands learn the pressure.
Somewhere in that sequence the joints start going together with hand pressure alone, and that is the moment the skill has landed.
Budget the time honestly. Early corners take longer, and speed comes from the layout and the sawing as practice accumulates, so chase accuracy first.
When to call it and when to do it yourself
If you are unsure which one you are looking at, stop and ask someone who knows.
Dovetail joint FAQ
What is the dovetail meaning in woodworking?
It describes a joint where flared tails on one board interlock with matching pins on the other. The shape resists being pulled apart in one direction while sliding together easily from the side.
Do I need a router jig to cut dovetails?
No. A dovetail saw, a bevel gauge, a marking gauge, and a sharp chisel will do it. A jig buys speed and repeatability, and the quality still comes down to the fit.
What angle should a dovetail be?
The angle varies by wood and preference.
Can you cut dovetails in plywood?
Plywood may be unsuitable for this joint, and solid hardwood is the usual material.
How strong is a dovetail joint?
A well-fitted dovetail resists being pulled apart in one direction by its shape alone. The weak direction is sideways across the pins, where the short grain can split under racking force. In drawer and box work the load typically runs in the strong direction.
What tools do I need to cut dovetails by hand?
Four tools carry the job. You need a Dovetail Saw, a Marking Gauge, a Bevel Gauge, and a sharp Chisel. A marking knife, a mallet, and a block plane for flushing the joints round out the kit. None of them need to be expensive, and the sharpening setup matters more than the price tag on any of them.
Why do my dovetails have gaps at the baseline?
Gaps at the baseline come from a chisel that crushed the fibres past the gauge line, usually because it was dull or because it was cutting from one face only. Work from both faces toward the middle, hone the chisel before every session, and chop to the line with light taps. A gap at the shoulder can also come from a saw kerf that wandered below the baseline, so saw high and pare down to the line.
Thank you for reading!