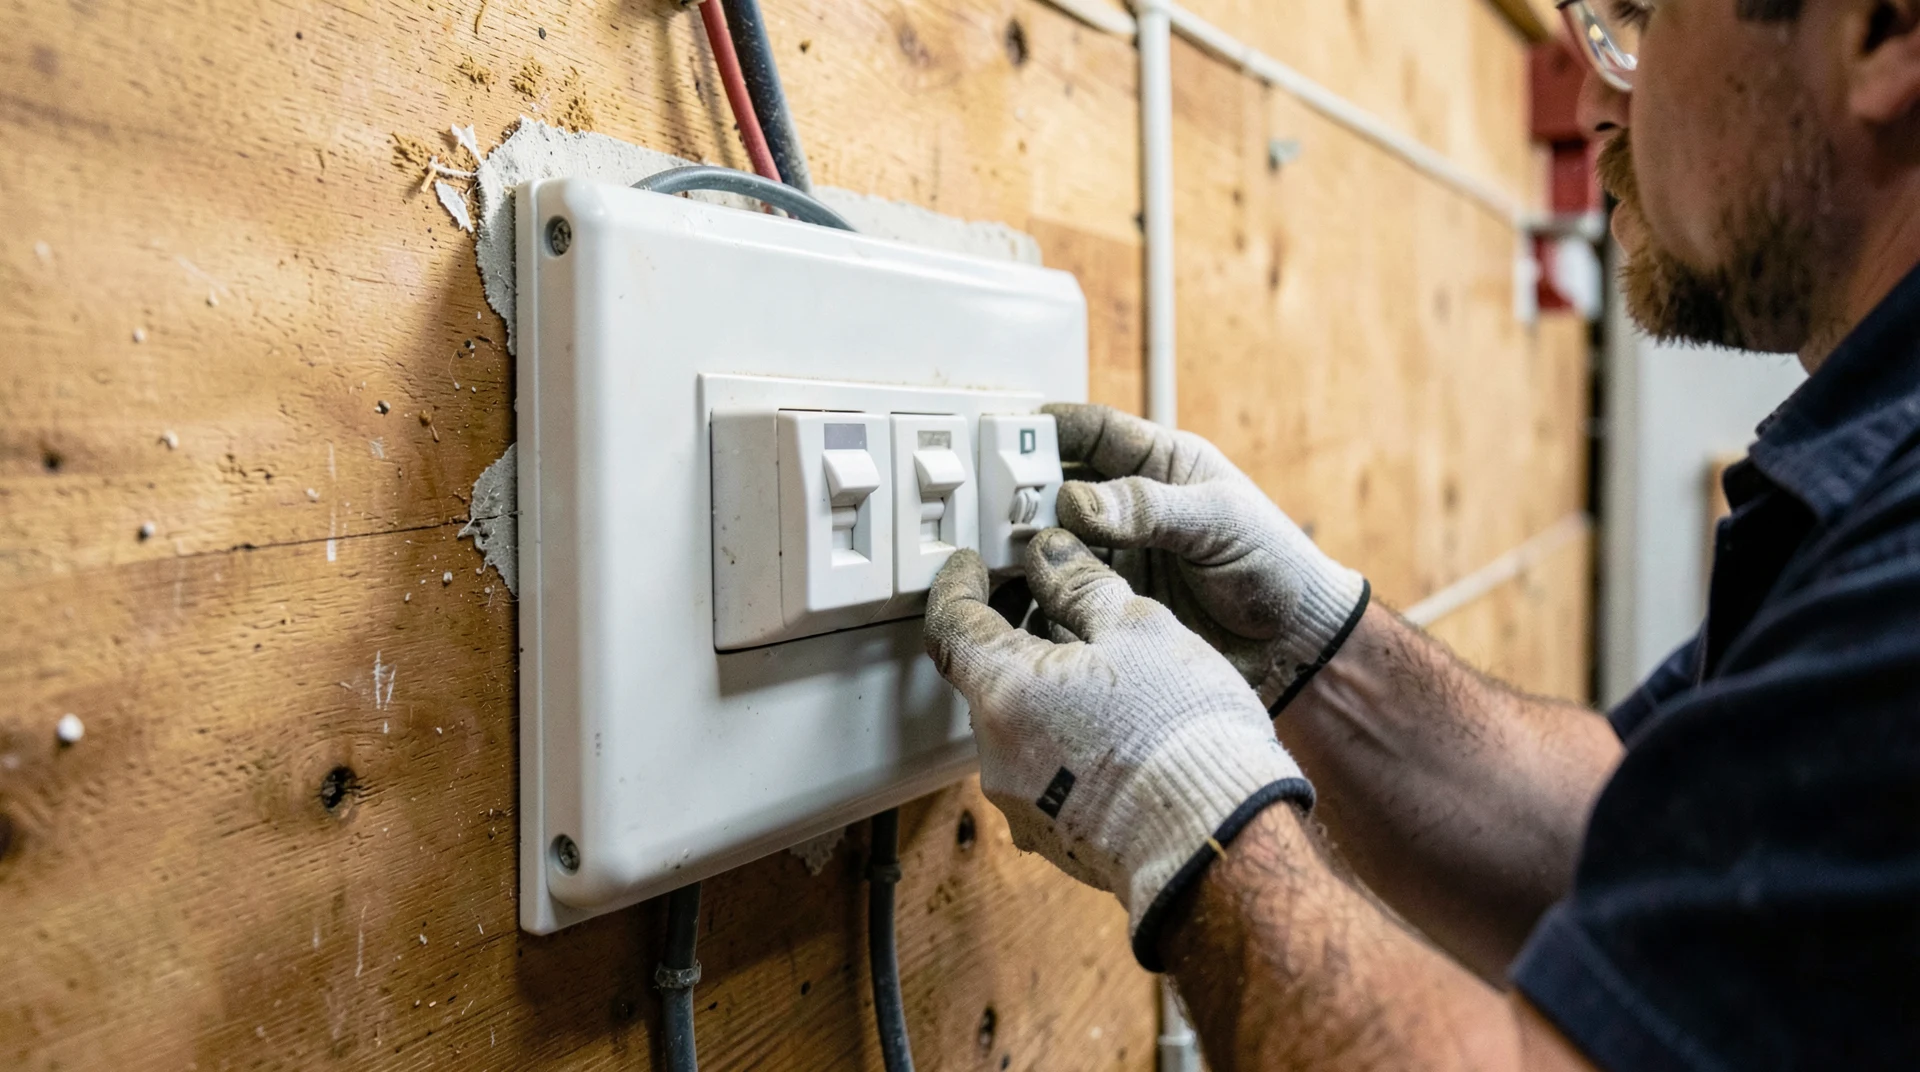
Updated July 2026. To wire a 220V outlet for a welder, you need a dedicated 50-amp double-pole breaker, 8 AWG copper wire (NM-B 6/2 with ground for most machines), and a NEMA 6-50 receptacle. The job takes a competent DIYer about 2 to 4 hours, assuming the run from the panel to the outlet location is straightforward. If your welder draws more than 40 amps at 220V, bump up to 6 AWG wire and a 60-amp breaker. The outlet shape and wiring layout stay the same either way.
This guide walks you through two proven setups: the standard NEMA 6-50 outlet most welders use, and a NEMA 14-50 outlet if you also want to charge an EV from the same circuit. Both methods follow current NEC requirements for 2026.
Before You Start: Tools, Materials, and Difficulty
This is a medium-difficulty project. You need experience reading a breaker panel, stripping and landing wire on terminals, and running cable through a garage or basement. If you have never opened an electrical panel before, pair up with someone who has or hire a licensed electrician for this one. Mistakes at 220V do not give you a second chance the way 120V sometimes does.
Tools You Need
- Non-contact voltage tester (Klein NCVT-3 or equivalent)
- Wire stripper rated for 6 and 8 AWG
- Flathead and Phillips screwdrivers
- Drill with a 3/4-inch spade bit for boring through framing
- Fish tape if running cable through finished walls
- Cable ripper or utility knife
- Torque screwdriver or a firm hand for terminal screws
- 240V outlet tester for final verification
Materials for Method 1 (NEMA 6-50)
- 50-amp double-pole breaker matched to your panel brand (Square D QO, Eaton BR, Siemens, or GE)
- 8 AWG NM-B cable (6/2 Romex with ground), cut to the length of your run plus 24 inches of slack
- NEMA 6-50R receptacle (3-prong, 220V/50A, no neutral)
- Single-gang electrical box rated for 8 AWG
- Cable clamp and staples sized for 8 AWG
- EMT conduit and fittings if running exposed in a garage
Permits and Code
Most US jurisdictions require an electrical permit for a new 220V circuit. Some areas let homeowners pull their own permits; others require a licensed electrician. Check with your local building department before starting. An unpermitted installation can void your homeowner insurance if something goes wrong, and it creates real headaches when you sell the house. Your local inspector may also require a rough-in inspection before you close up walls.
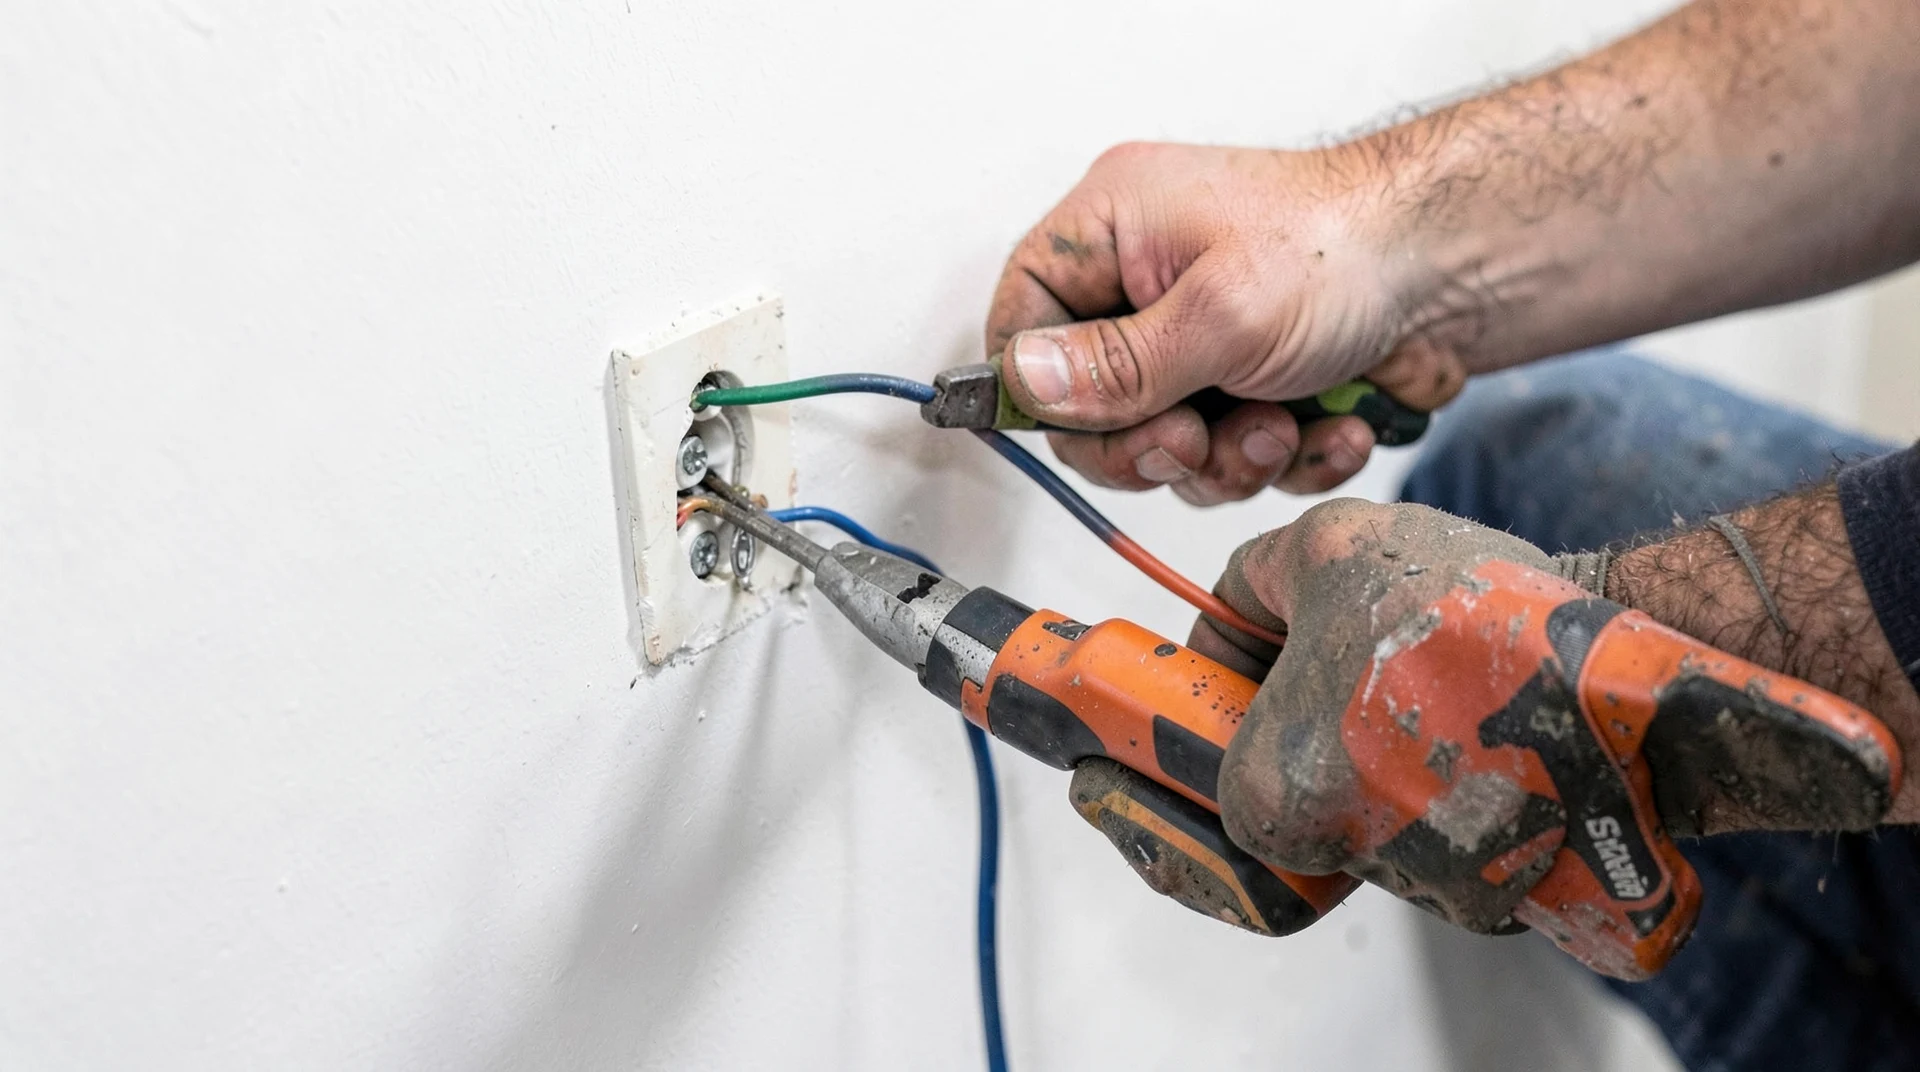
Method 1: NEMA 6-50 Outlet for Most Welders
This is the standard setup for MIG, TIG, and stick welders rated up to about 10,000 watts at 220V. The NEMA 6-50 outlet has three prongs (two hot legs plus ground, no neutral). Most household welders do not need a neutral since they run purely on 220V.
Step 1: Turn Off the Main Breaker and Verify Dead
Go to your panel and flip the main breaker to OFF. Wait 30 seconds for any stored energy to dissipate. Place your non-contact voltage tester near the bus bars, near the service entrance terminals, and near every breaker you plan to touch. If the tester beeps on any bus bar, stop and confirm the main is truly off. Mislabeled breakers are common. I had a panel where the “AC” breaker actually fed the kitchen outlets. Never trust the label until you test.
Step 2: Find an Open Slot and Plan the Cable Route
You need one open double-pole slot in your panel. A double-pole breaker takes two adjacent spaces. If your panel is full, you have two options: install a tandem breaker (only if your panel label permits it for that slot) or add a subpanel. If you need a subpanel, that is a separate project and worth bringing in a licensed electrician for.
Mark your outlet location on the garage wall, typically 4 feet off the floor so the cord does not drag on a concrete floor. Plan the cable route from the panel to the outlet location. In unfinished framing, run NM-B along joists and staple it every 4.5 feet, which is the NEC requirement. In finished walls, use fish tape through the top plate.
Step 3: Mount the Outlet Box
Cut a drywall opening for the single-gang metal box. Mount it securely with drywall screws or toggle anchors depending on your wall construction. Install a cable clamp in the knockout hole of the box. The clamp keeps the cable from pulling out under tension and protects the conductors from the sharp metal edge.
Step 4: Run the 8 AWG Cable
Pull 6/2 NM-B from the outlet box to the panel location. Leave at least 12 inches of extra cable at the outlet box end and 18 to 24 inches at the panel end. You can always trim excess. You cannot add length. Secure the cable with 8 AWG-rated staples within 12 inches of every box and every 4.5 feet along the run. Drive staples with a light touch. A staple hammered too hard crimps the cable jacket and can nick the insulation underneath.
If running through exterior studs in an unconditioned garage, consider running the cable inside EMT conduit where it is exposed. NM-B is not rated for wet or physical-damage locations. A conduit run protects the cable from bump damage and meets NEC requirements for exposed installations.
Step 5: Wire the NEMA 6-50 Receptacle
Strip 6 inches of outer jacket off the cable. Strip 3/4 inch of insulation from each conductor. The 6/2 NM-B has three conductors: black (hot), red or white (second hot leg, mark white wire with black tape if used as hot), and bare copper (ground).
On a NEMA 6-50 receptacle, the terminals are labeled X and Y for the hot legs and a green screw for ground.
- Black wire to X terminal (one hot leg)
- Red or marked-white wire to Y terminal (second hot leg)
- Bare copper to green ground screw
Tighten every terminal screw until the wire will not pull free with a firm tug. Loose connections arc, and arc faults start fires. On a 50-amp circuit, a loose terminal is not a nuisance. It is a genuine hazard. Fold the wires neatly into the box (ground first, then the two hots), seat the receptacle, and attach the cover plate.
Step 6: Land the Breaker in the Panel
With the main breaker still off, remove the panel cover. Run the cable through a cable clamp into the panel. Strip the jacket back about 12 inches inside the enclosure.
- Connect the bare copper ground to the ground bus bar. In a main panel, the ground bar and neutral bar are often bonded together. In a subpanel, they must remain separate.
- If you used 6/2 with a white conductor marked as a hot leg, it lands on the breaker terminal, not on the neutral bar. A 6-50 circuit has no neutral. If you are running 6/3 (with a dedicated neutral wire and planning a future 14-50), cap the neutral at both ends for now.
- Snap the 50-amp double-pole breaker into two adjacent slots. It should click onto both bus bar stabs at once.
- Connect the black wire to one brass terminal on the breaker and the other hot wire to the second brass terminal. On a double-pole breaker, it does not matter which hot goes to which terminal.
- Tighten both terminal screws firmly.
Route the wire neatly along the inside rail of the panel before replacing the cover. Messy panels make future work harder and are a red flag during inspection.
Step 7: Test Before Plugging In the Welder
Do a final visual check inside the panel. Replace the cover. Turn the main breaker on. Leave the new double-pole breaker off for now. Plug a 240V-rated outlet tester into the new receptacle. Flip the new breaker on.
The tester should indicate two hot legs of 120V each to ground, with correct polarity and ground. A standard 120V tester will not work here. You need a tester rated for 220V. If the breaker trips immediately, turn everything off and recheck your connections. The two most common errors are a loose terminal screw or a ground wire touching a hot terminal.
Once the tester reads correct, you are ready to plug in the welder. Confirm the welder’s input rating matches the circuit: most 220V MIG welders rated 140 to 210 amps output draw between 20 and 35 amps at 220V input, which this 50-amp circuit handles comfortably.
Method 2: NEMA 14-50 Outlet If You Want Welding and EV Charging
If you also plan to charge a Level 2 EV from the same garage circuit, a NEMA 14-50 outlet gives you the flexibility. It has four prongs (two hots, one neutral, one ground) and supports both welder plugs with an adapter and standard EV charger plugs.
The installation is almost identical to Method 1, with three differences:
- Use 6/3 NM-B cable instead of 6/2. The extra conductor provides a dedicated neutral, which a 14-50 requires. This costs roughly 30 percent more per foot than 6/2.
- Use a NEMA 14-50R receptacle instead of a 6-50. The terminal layout gives you X (black hot), Y (red hot), W (white neutral, the L-shaped slot), and green ground.
- Land the white neutral on the neutral bus bar in the panel, not on a breaker terminal.
You can buy a simple 14-50 to 6-50 adapter plug for the welder if it originally came with a 6-50 plug. This adapter simply bridges the welder’s three pins into the four-pin 14-50 outlet, leaving the neutral pin unused on the welder side. It is a code-compliant approach when the equipment nameplate does not require a neutral.
For EV charging, verify that your charger’s maximum amperage fits within the 50-amp circuit. A ChargePoint Home Flex or most JuiceBox units draw between 32 and 40 amps at 240V, which a 50-amp circuit handles without issue.
What Does Not Work
Three shortcuts people try, and why every one of them is a bad idea.
Extension Cords for Welding
A standard extension cord on a 220V welder is a fire waiting to happen. Even a heavy-duty 10-gauge extension cord rated for 30 amps will overheat when a welder draws 35 to 40 amps continuously. Welders are not like lamps. They pull peak current every time you strike an arc. Voltage drop over a long extension cord also reduces arc stability and weld quality. Run a dedicated outlet at the welding location.
Adapter Plugs to Step Down to 120V
Cheap adapter plugs that convert a 220V dryer outlet to 120V are a code violation and a hazard. They bypass the breaker protection the circuit was designed around. If your welder has a 220V plug, wire a proper 220V outlet for it. Do not jury-rig an adapter.
Aluminum Wire on Branch Circuits
Aluminum wire is still used for feeder cables and service entrances, but on a 50-amp branch circuit to a single outlet, use copper. Aluminum branch circuit wiring from the 1960s and 1970s required special connectors and anti-oxidant compound because aluminum creeps under pressure and loosens terminals over time. Unless a licensed electrician installs aluminum wire with CO/ALR-rated devices and proper compound, stick with 8 AWG copper for this job.
Tips for Wiring a Welder Outlet
- Check the welder nameplate before buying anything. The input amperage determines your wire gauge and breaker size. Most 120/220V dual-voltage welders specify their draw at 220V in the manual.
- Leave at least 6 feet of cable slack behind the welder outlet. Welders get moved around, and you will appreciate the extra length if you rearrange the shop later.
- Buy a breaker that matches your panel brand. Square D breakers fit Square D panels. Eaton breakers fit Eaton panels. Do not mix brands even if the breaker physically slots in.
- If your panel has a Federal Pacific or Zinsco label, call an electrician before doing any work. These panels have known breaker failure problems and adding circuits to them is risky.
- Run the cable inside EMT conduit wherever it is exposed to bump damage. NM-B cable on a concrete wall is one forklift bump away from a dead short.
Warnings You Should Not Ignore
- Never work on a live panel. Turn off the main, then verify dead with your tester. Test every single time.
- A 220V shock is more dangerous than 120V because it drives more current through your body. There is no room for sloppy connections or guesswork at this voltage.
- The NEC requires a dedicated circuit for a welder. Do not share the breaker with another appliance.
- If you hire an electrician, make sure they are licensed and insured in your state. Unlicensed work does not pass inspection and does not meet your insurance requirements.
- Ground fault circuit interrupter (GFCI) protection is not always required for 220V outlets in garages, but some local codes now mandate it. Check your AHJ before finalizing the install.
Frequently Asked Questions
What size breaker do I need to wire a 220V outlet for a welder?
Most household MIG and stick welders need a 50-amp double-pole breaker with 8 AWG copper wire. Smaller welders under 20 amps input can run on a 30-amp breaker with 10 AWG wire. Always size the breaker to match the welder’s nameplate input rating, and never go smaller than the manufacturer specifies.
Can I use a 14-50 outlet for a welder?
Yes. A NEMA 14-50 outlet works fine if your welder can accept a 14-50 plug or if you use a listed adapter. The advantage of a 14-50 is that the same circuit can also run a Level 2 EV charger without rewiring. You will need 6/3 NM-B cable instead of 6/2, which adds about 30 percent to the wire cost.
How much does it cost to wire a 220V outlet for a welder?
Materials for a DIY installation run about $75 to $120 (breaker, cable, receptacle, box, conduit). If you hire an electrician, expect $200 to $500 total depending on the cable run length and local labor rates. A long run through finished walls or a crowded panel costs more.
Do I need a neutral wire for a 220V welder outlet?
Most welders running on a NEMA 6-50 outlet do not need a neutral. They use two hot legs and ground only. If you want the flexibility to also charge an EV or run a range, use a NEMA 14-50 which includes a dedicated neutral wire. Check the welder’s manual to confirm it does not require a neutral connection.
Why does my welder trip the breaker when I start welding?
Two common causes. First, the breaker is undersized for the welder’s actual draw. Check the nameplate input amperage and make sure the breaker matches. Second, the welder is on a circuit shared with another load like a compressor or lights. A welder needs a dedicated circuit. If both the breaker size and circuit are correct, the breaker itself may be worn out. Breakers degrade over years of thermal cycling.
References
- National Electrical Code (NEC) 2023 Edition, NFPA 70, Article 210 (Branch Circuits) and Article 630 (Electric Welders)
- Lincoln Electric, Pacific Welding Power Operator Manual (manufacturer specs for 220V input)
- US Consumer Product Safety Commission, electrical outlet and circuit safety resources
About the Author
Mike has been working on residential electrical projects and home workshops for over 15 years. He writes practical how-to guides that cover the real details most articles skip: the exact wire gauge, the breaker brand compatibility, and the mistakes that actually cause problems. All electrical guides on housebouse.com follow current NEC requirements and are written for homeowners who want to understand what they are doing before they open the panel. If a project is beyond your comfort level, always call a licensed electrician in your area.
For more on home electrical systems and safety, our electrical category covers breaker panels, wiring basics, and outlet installation. We also have a detailed guide on installing a 220/240V outlet for general use if you are wiring a dryer, EV charger, or range instead of a welder.
Thank you for reading!