When it comes to homeownership, one crucial aspect that often gets overlooked is the electrical system. Residential Electrical Wiring How To is an essential guide for homeowners who want to understand and get involved in the wiring of their homes. According to the Electrical Safety Foundation International, home electrical fires account for an estimated 51,000 fires each year. It’s not just about having the power to light up your home or run your appliances; it’s about ensuring the safety of your loved ones and your property. It will provide you with essential tips and tricks, safety precautions, and step-by-step instructions on planning, installing, and testing your residential electrical wiring.
Understanding the Basics of Residential Electrical Wiring
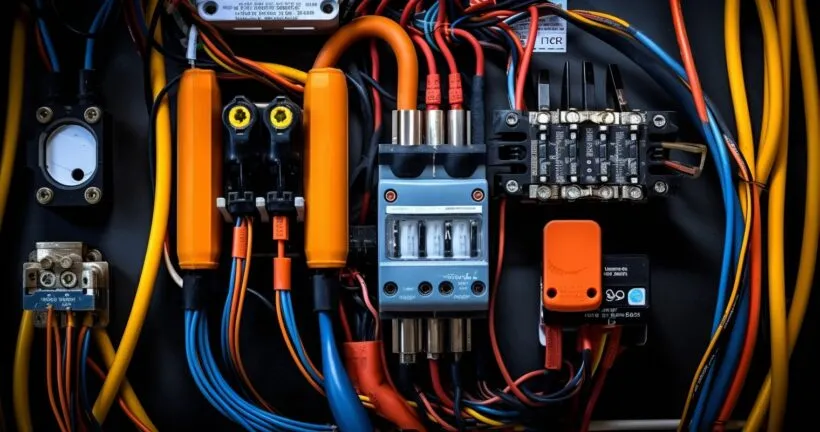
Wiring your home might seem like a daunting task, but understanding the basics of residential electrical wiring can make it much simpler. Let’s start with its importance. Proper wiring ensures that electricity flows safely and efficiently to every corner of your home. It involves the installation of various types of wires, each designed for a specific purpose.
| Type of Wiring | Description |
|---|---|
| Non-Metallic (NM) Cable | Also known as Romex, commonly used for indoor residential wiring. Designed for various applications, such as lighting and outlets. |
| Underground Feeder (UF) | Waterproof cable used for outdoor wiring, such as garden lighting or outdoor outlets. |
| Armored Cable (AC) | Flexible metal-covered cable is suitable for environments where mechanical protection is required. |
| Knob and Tube Wiring | Older wiring method involving porcelain knobs and tubes for routing wires. Common in homes built before the 1930s. |
| Cloth-Insulated Wiring | Wires with fabric insulation, often in black or brown, are prone to deterioration over time. Found in older homes. |
| Aluminum Wiring | Used as a substitute for copper in the past, susceptible to oxidation and corrosion, requiring special considerations. |
For example, black wires usually denote live wires, white wires are neutral, and green or bare wires are ground wires. These codes help electricians and homeowners to install and troubleshoot electrical wiring accurately. For more information on this, refer to our detailed guide on What Is A Home Run In Electrical? A Simple Explanation.
Tools and Materials Needed for Residential Electrical Wiring
Before you dive into the world of residential electrical wiring, make sure you have all the necessary tools and materials. Some of the essential tools include a wire stripper, voltage tester, lineman’s pliers, and fish tape. A wire stripper is used to remove the insulation from the wire, a voltage tester checks for the presence of electricity in the wires, a lineman’s pliers are used for cutting and bending wires, and a fish tape helps in pulling wires through conduits and walls.
Besides tools, you will also need various materials such as wires, electrical boxes, switches, and outlets. Each material has its specific use and characteristics. For example, electrical boxes are used to house switches, outlets, and wire connections, protecting them from damage. For more detailed information on tools and materials needed for residential electrical wiring.
Steps to Plan Residential Electrical Wiring
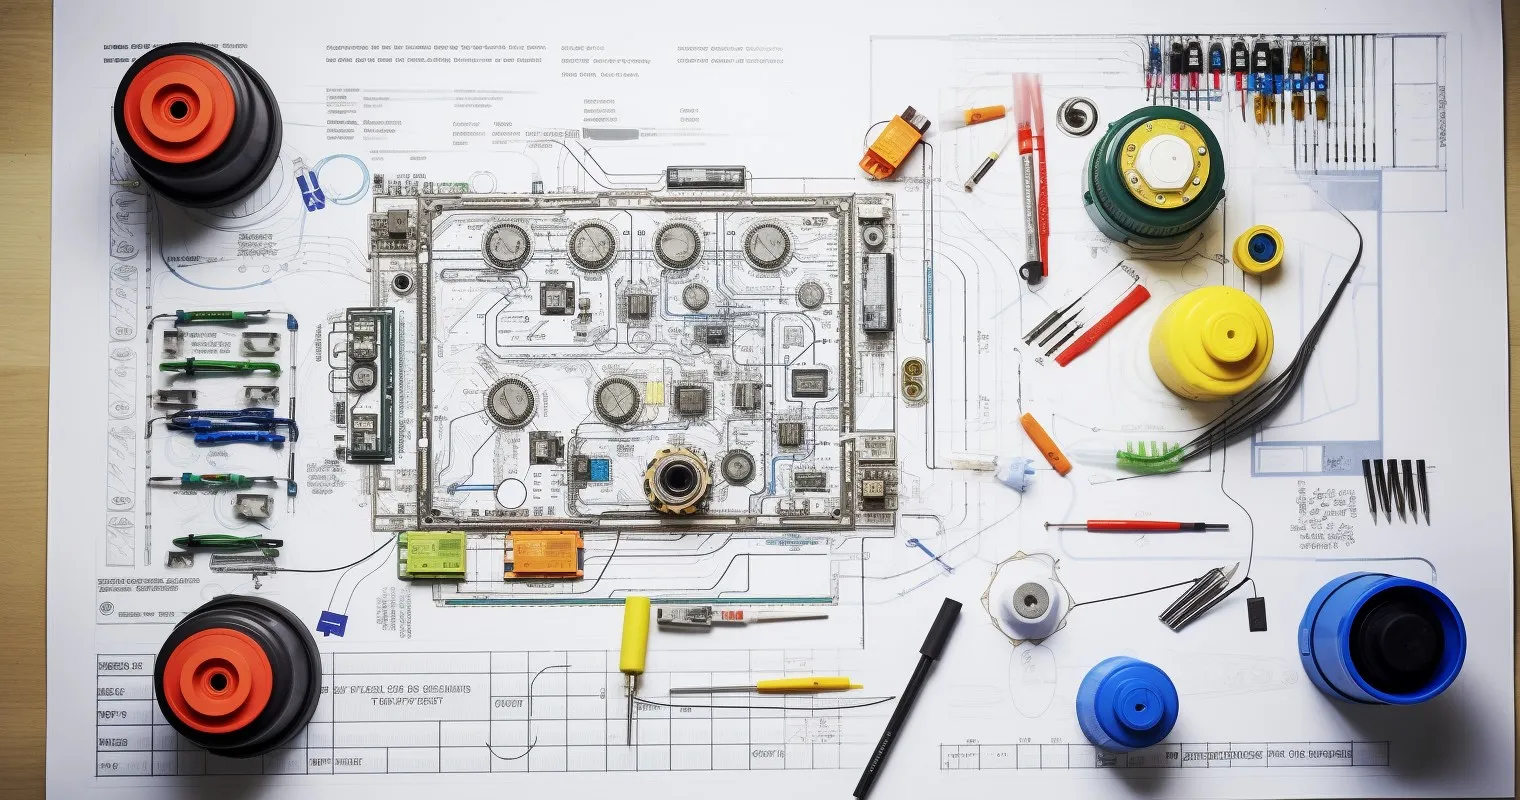
Proper planning is crucial before starting any task, and residential electrical wiring is no exception. A well-laid plan will not only make the wiring process smoother but also ensure safety and compliance with local electrical codes. The first step in planning is to create a wiring diagram or a blueprint of the electrical wiring. This diagram should include the location of all electrical components such as outlets, switches, and light fixtures.
Determine the type and amount of wire and other materials needed. Make sure to choose the appropriate wire size and type based on the electrical load and local codes. Also, plan the route of the wires carefully to avoid any obstacles and ensure a neat and organized installation.
Obtain the necessary permits and approvals from the local authorities before starting the work. It’s always better to be safe than sorry! For more tips on planning the electrical wiring of a house, visit 4Front Energy’s blog.
Residential Electrical Wiring: How To Install Wires and Cables
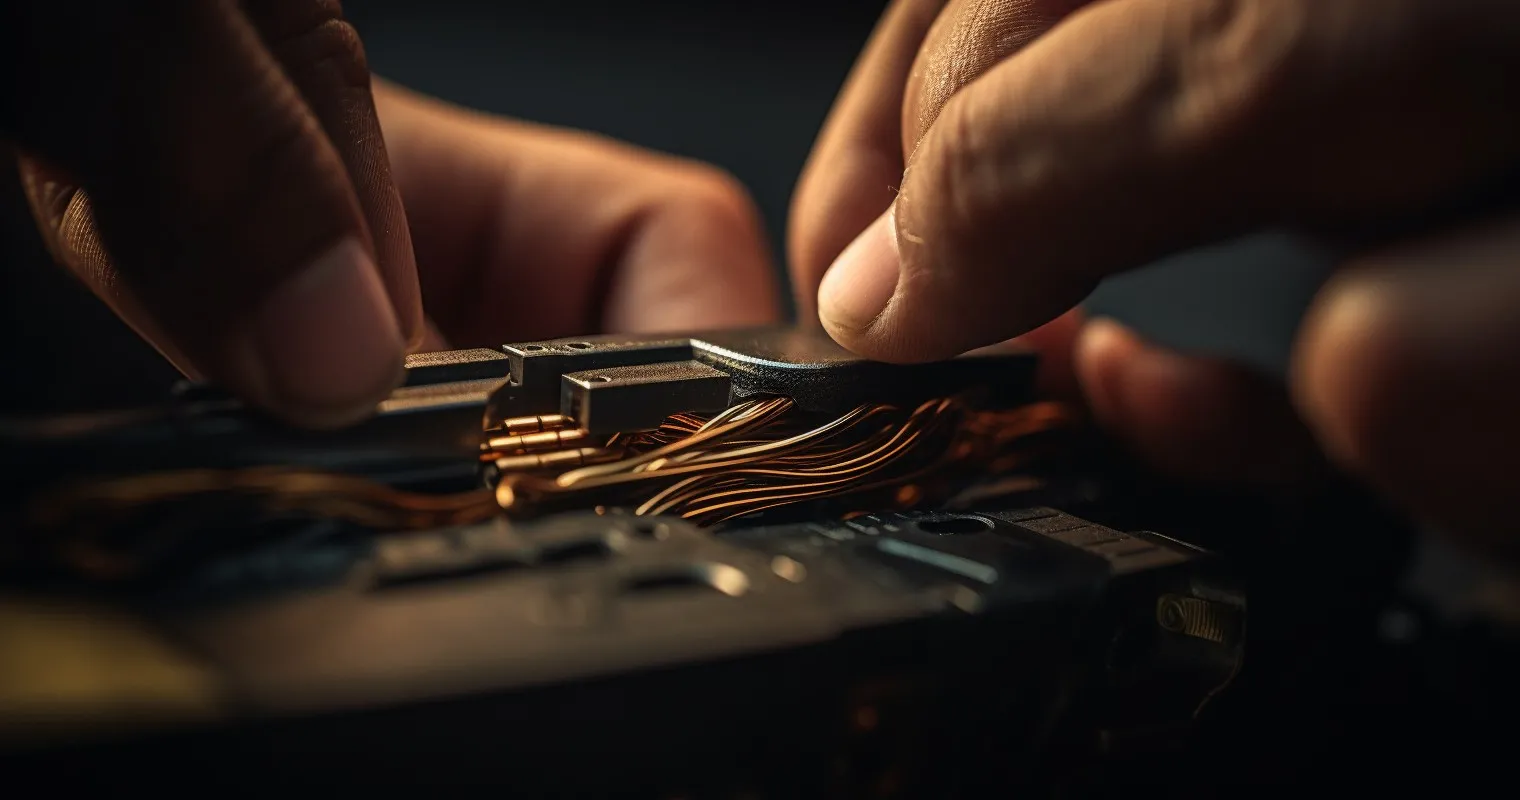
Installing wires and cables is a crucial part of residential electrical wiring. Here’s a detailed guide on how to do it right:
- Turn Off the Power: First and foremost, turn off the power from the main switchboard. It’s better to be safe than sorry!
- Use the Right Tools: Make sure you have all the necessary tools like wire strippers, needle-nose pliers, and cable cutters.
- Select the Appropriate Wire: Choose the right type and size of the wire based on the load it will carry.
- Install the Conduit: Run a conduit from the distribution board to the point where you need the wiring.
- Pull the Wires: Carefully pull the wires through the conduit. Make sure not to damage the insulation.
Safety should be your priority. Always wear safety gloves and goggles. For more tips on ensuring safety while installing wires and cables, check out this extensive guide.
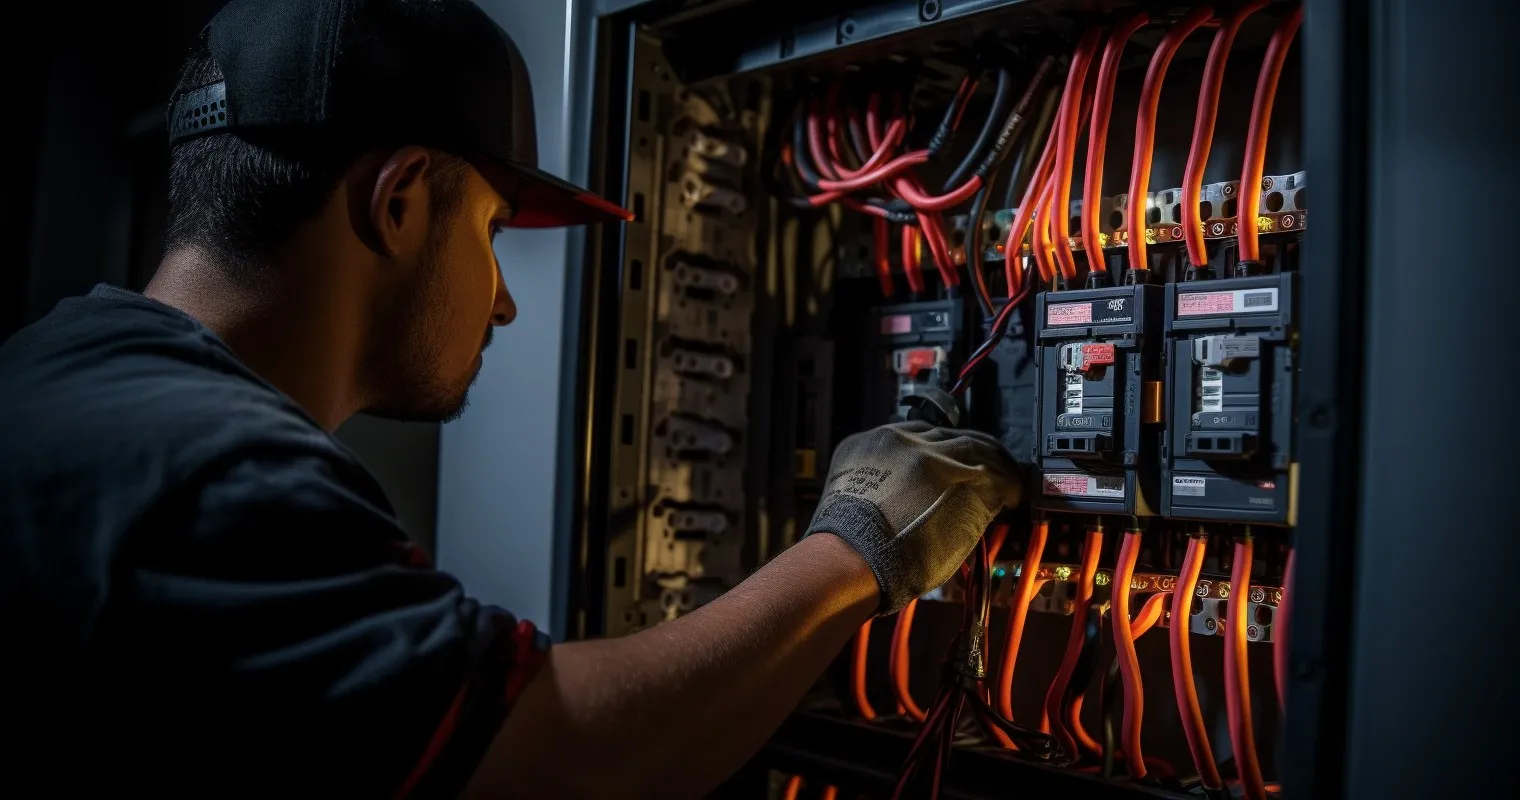
Installing Electrical Boxes and Panels
Electrical boxes and panels are essential components of a home’s electrical system. They house the electrical connections and protect them from damage. Here’s how you can install them:
- Select the Appropriate Location: Choose a location that is easily accessible and complies with local building codes.
- Mark the Spot: Mark the spot where you will install the electrical box or panel.
- Cut the Drywall: Carefully cut the drywall using a drywall saw.
- Install the Box or Panel: Secure the box or panel to the wall using screws.
- Connect the Wires: Connect the wires as per the wiring diagram.
Make sure to use the right type of box or panel for your specific needs.
Grounding Your Electrical Wiring
Grounding is a crucial aspect of residential electrical wiring. It provides a safe path for excess electricity to travel back to the ground. Here’s how you can ground your electrical wiring:
- Identify the Grounding Wire: The grounding wire is typically green or bare copper.
- Connect the Grounding Wire: Connect the grounding wire to the grounding terminal on the outlet, switch, or fixture.
- Connect to the Ground Rod: Connect the other end of the grounding wire to a ground rod driven into the earth.
Grounding helps prevent electric shocks and electrical fires. For a step-by-step guide on grounding your electrical wiring, visit This Old House.
If you are not comfortable working with electricity, it’s always best to consult a professional. Residential electrical wiring is not a DIY task unless you are qualified. Proper planning, careful installation, and grounding are essential for a safe and efficient electrical system.
Tips to Ensure Safety While Working on Residential Electrical Wiring
Safety should always be a priority when working on residential electrical wiring. Here are some tips to ensure your safety:
- Turn Off the Power: Always turn off the power from the main switchboard before starting any electrical work.
- Use the Right Tools: Make sure to use insulated tools designed for electrical work.
- Wear Safety Gear: Wear safety gloves, goggles, and shoes with insulated soles.
- Never Work Alone: Always have someone nearby who can help in case of an emergency.
- Avoid Water: Never work in wet or damp areas.
Common mistakes to avoid include overloading circuits, not grounding the electrical system properly, and not securing wires and cables correctly.
Troubleshooting Common Residential Electrical Wiring Problems
Residential electrical wiring can sometimes be problematic. Here are some common problems and their solutions:
- Flickering Lights: This may be due to a loose bulb, loose wire, or a problem with the circuit.
- Frequent Tripping of Circuit Breakers: This could be because of an overloaded circuit or a faulty appliance.
- Outlets Not Working: This may be due to a tripped circuit breaker, a blown fuse, or a loose wire.
- Buzzing Sounds: This could be because of loose wires, a damaged outlet, or a faulty circuit breaker.
If you are not comfortable troubleshooting electrical problems, it’s always best to consult a professional. For a detailed guide on how to troubleshoot and fix common problems, watch this informative video.
Checks and Testing
After completing the residential electrical wiring, it is essential to perform final checks and testing.
- Visual Inspection: Check that all wires and cables are properly secured and that there are no exposed wires.
- Check Connections: Make sure that all connections are tight and secure.
- Test Outlets and Switches: Use a tester to check that all outlets and switches are working correctly.
- Check Circuit Breakers: Make sure that all circuit breakers are functioning correctly.
- Check Grounding: Ensure that the grounding is done correctly.
After performing these checks, it is advisable to get the wiring inspected by a professional electrician. For a detailed guide on final checks and testing, watch this helpful video.
Frequently Asked Questions
What is the importance of planning in residential electrical wiring?
Planning is crucial in residential electrical wiring to ensure safety, efficiency, and compliance with local building codes. It involves creating a wiring diagram or blueprint, which helps in organizing the installation process and identifying potential problems before starting the work.
What are the common residential electrical wiring problems?
Common residential electrical wiring problems include flickering lights, frequent tripping of circuit breakers, non-working outlets, and buzzing sounds. These problems could be due to loose wires, overloaded circuits, damaged outlets, or faulty circuit breakers.
What are the essential safety tips to follow while working on residential electrical wiring?
Essential safety tips include turning off the power from the main switchboard, using insulated tools, wearing safety gear like gloves, goggles, and insulated shoes, avoiding wet or damp areas, and never working alone.
How to troubleshoot common residential electrical wiring problems?
To troubleshoot common problems, start by performing a visual inspection to check for loose wires, damaged outlets, or faulty circuit breakers. Use a tester to check the outlets and switches. If you are not comfortable troubleshooting electrical problems, it is always best to consult a professional.
What are the final checks and tests to be performed after completing the residential electrical wiring?
Final checks and tests include a visual inspection to ensure all wires and cables are properly secured, checking connections to make sure they are tight and secure, testing outlets and switches, checking circuit breakers, and ensuring correct grounding. It is advisable to get the wiring inspected by a professional electrician after performing these checks.
Conclusion
Understanding and implementing Residential Electrical Wiring How To is not just about ensuring that your appliances and gadgets work efficiently; it’s about ensuring the safety of your home and your loved ones. Remember to always prioritize safety, plan carefully, troubleshoot any problems, and perform final checks and testing. Don’t hesitate to consult a professional if you are not comfortable doing it yourself.
Thank you for reading!