Running electrical home runs is a crucial part of any household electrical system. In 2020, electrical issues accounted for 20% of house fires in the United States. Learning How To Run Electrical Home Runs can not only save you money on an electrician but also make your home safer. It will take you through the process from start to finish, ensuring that you can complete the job safely and effectively.
Understanding Electrical Home Runs
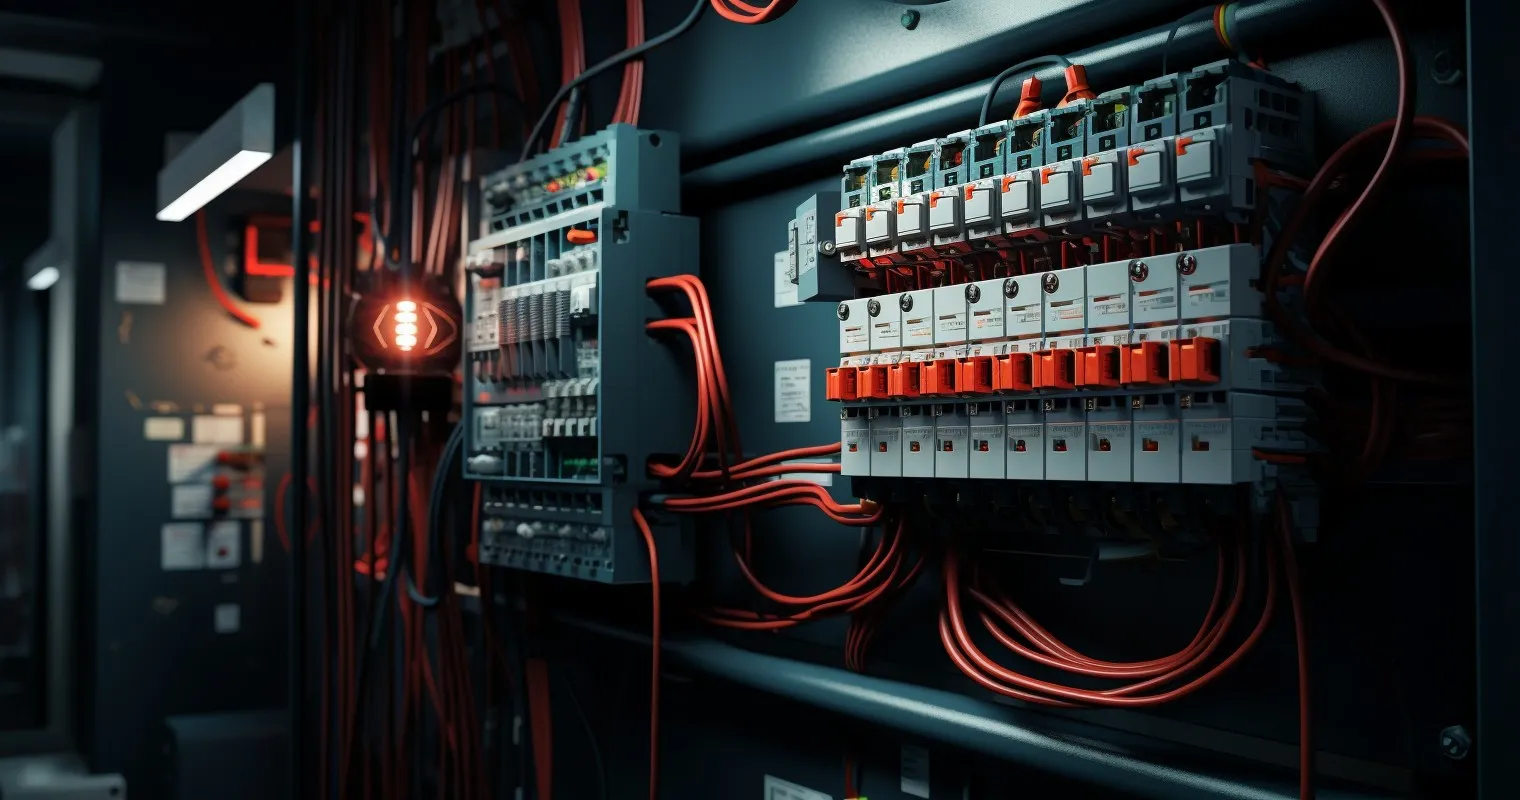
When it comes to wiring your house, understanding the basics of electrical home runs is crucial. But what exactly is meant by ‘Electrical Home Runs’? Essentially, an electrical home run is a wiring run that goes straight from the circuit breaker panel to a specific outlet, without any junctions. For a more detailed explanation, visit this link.
Now, you may wonder, why are electrical home runs so important. Well, they are essential in a household electrical system for a few reasons. Firstly, they help in minimizing the resistance and heat build-up, which is crucial for the safety of your home. Secondly, it helps in maintaining a stable voltage across all outlets, ensuring your devices run smoothly. Lastly, it simplifies the troubleshooting process as it’s easier to identify issues in a straight run compared to a circuit with multiple junctions.
Necessary Tools and Materials
Before you start with the process of running electrical home runs, you need to gather all the necessary tools and materials. Here’s a list to get you started:
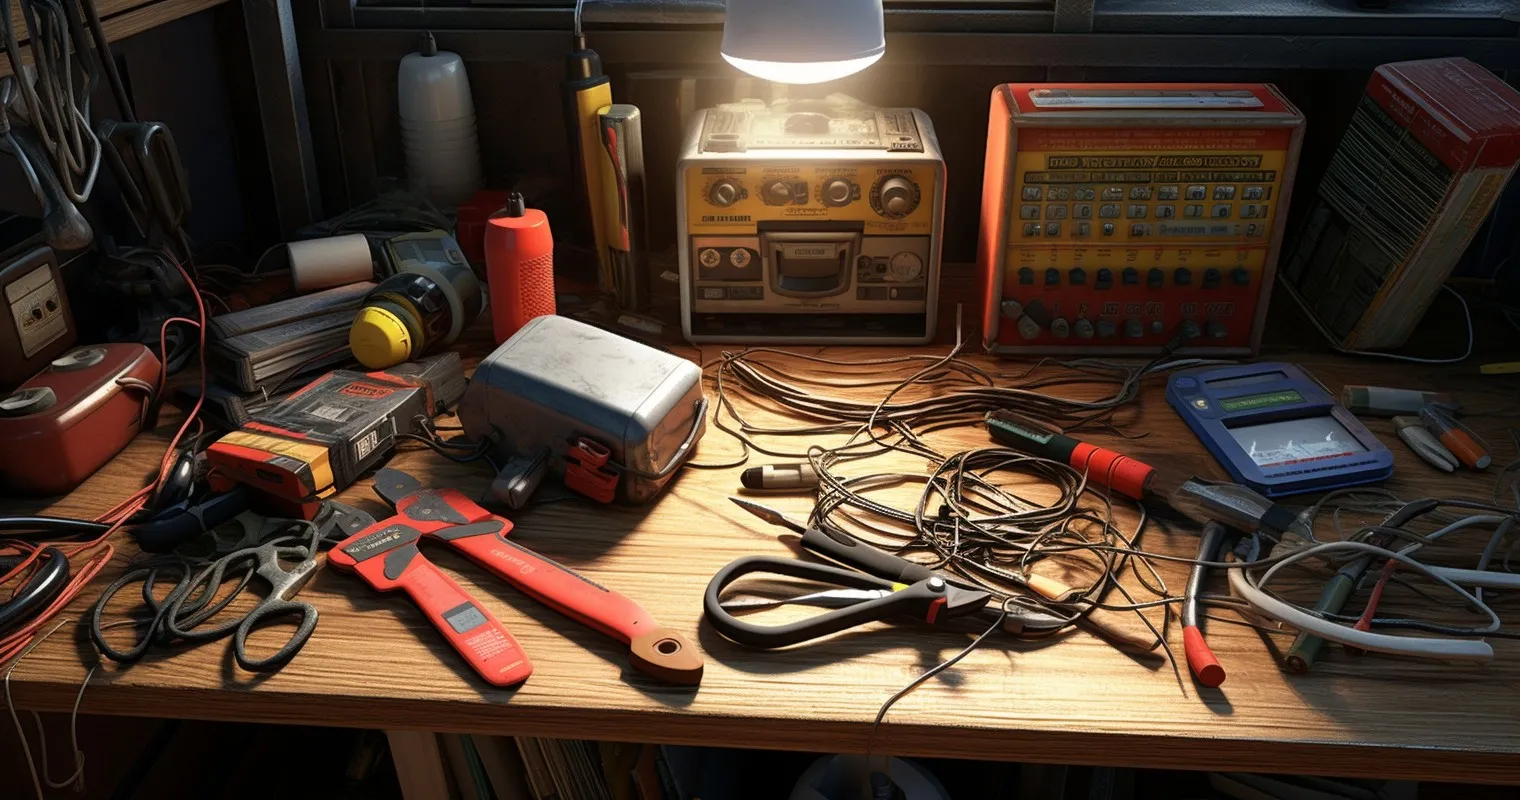
Tools Required:
| Tool | Purpose |
|---|---|
| Wire Stripper | Removes insulation from wires |
| Drill | Creates holes for wires and conduits |
| Fish Tape | Pulls wire through conduits or walls |
| Screwdriver | Secures boxes, outlets, and switches |
| Tape Measure | Measures distance for wire runs |
| Pliers | Grips and bends wires |
| Hammer | Secures staples or clips |
| Utility Knife | Cuts insulation or drywall |
Materials Needed:
- Wire: Make sure to use the correct gauge wire for the load it will carry.
- Electrical Boxes: For outlets, switches, and junctions.
- Conduit: For protecting the wire in exposed locations.
- Staples or Clips: For securing the wire along the run.
- Outlets and Switches: Make sure they are rated for the load they will carry.
- Wire Nuts: For connecting wires together.
- Screws: For securing boxes, outlets, and switches.
Safety should always be your number one priority. So, make sure to turn off the power before you start, and always double-check with a voltage tester. Also, it’s always a good idea to have a helper, especially for long runs.
Finally, don’t forget to check your local electrical codes and get any necessary permits before you start. Electrical work is not something to take lightly, and it’s always better to be safe than sorry.
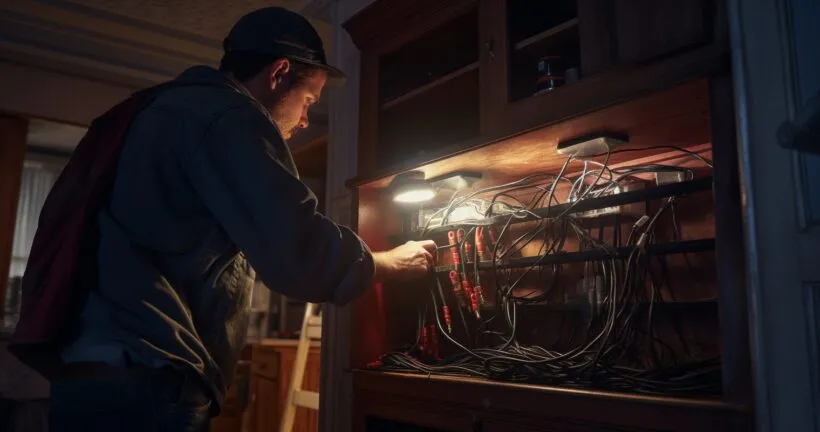
How To Run Electrical Home Runs: A Step-By-Step Guide
Running electrical home runs can seem like a daunting task, but with a little planning and care, you can do it safely and efficiently. Here’s a step-by-step guide on How To Run Electrical Home Runs.
Planning:
Before you start any electrical work, planning is crucial. You need to draw a wiring diagram that shows the path of the wires from the panel to the outlets and fixtures. This will help you determine the amount and type of wire you need, the locations of the outlets and fixtures, and the path the wire will take. Make sure to check your local electrical codes and get any necessary permits before you start.
Running the Wires:
- Turn off the power to the area you are working on and double-check with a voltage tester.
- Start by running the wire from the panel to the first outlet or fixture. Use fish tape to pull the wire through the conduit or holes in the wall.
- Secure the wire along the run with staples or clips. Make sure not to staple the wire too tightly, as it can damage the insulation.
- Continue running the wire to the next outlet or fixture until you have completed the run. For a visual guide on running the wires, check out this video.
Connecting the Wires:
- Strip the insulation from the ends of the wires using wire strippers.
- Connect the wires to the outlets, fixtures, and panel according to your wiring diagram. Use wire nuts to connect the wires together and screws to secure the outlets and fixtures to the boxes.
- Make sure to connect the ground wire to the ground screw on the outlets and fixtures and to the ground bar in the panel.
- Once all the connections are made, turn the power back on and test the circuit to make sure everything is working correctly. For more details refer to this article on Electrician’s Guide: What Size Hole For Electrical Wiring?
Tips and Best Practices
| Mistake | Consequences |
|---|---|
| Overloading the circuit | Increased risk of electrical fires |
| Using the wrong gauge wire | Inefficient operation, overheating |
| Not securing wire along run | Potential for loose connections |
| Incorrect polarity at outlet | Unsafe wiring, risk of electric shock |
Safety Tips:
- Always turn off the power before starting any electrical work and double-check with a voltage tester.
- Use insulated tools and wear rubber-soled shoes to protect yourself from electric shock.
- Do not work in wet or damp areas.
- Make sure to use the correct gauge wire for the load it will carry.
Common Mistakes:
- Not planning the run properly.
- Not securing the wire along the run.
- Stapling the wire too tightly.
- Not connecting the ground wire properly.
- Overloading the circuit.
For more common mistakes to avoid, visit this forum thread.
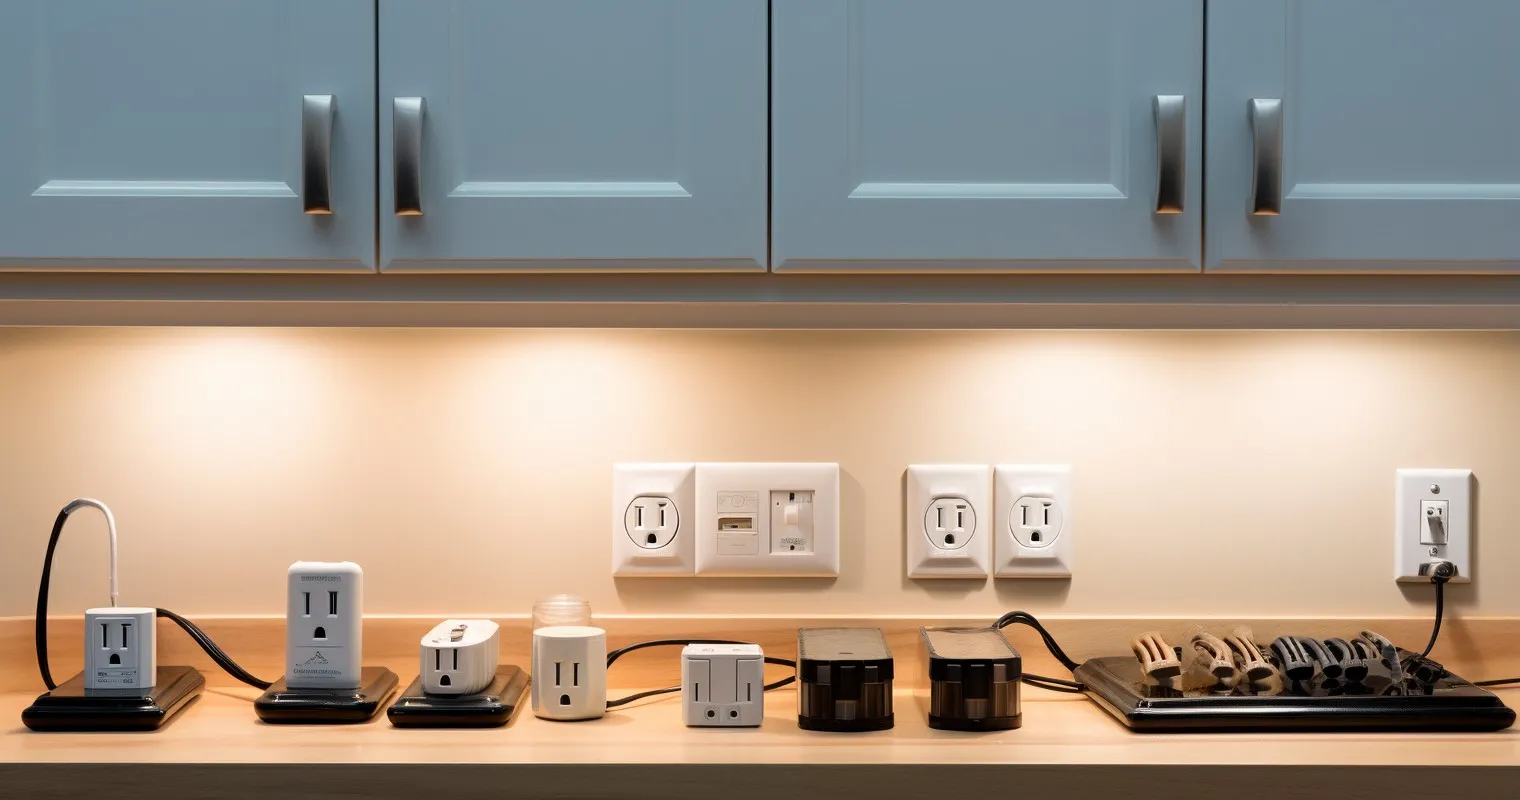
Testing and Troubleshooting
After you have completed the process of running electrical home runs, it is essential to test the connections and troubleshoot any common issues that may arise.
Testing the Connections:
- Turn off the power to the circuit you have been working on.
- Use a multimeter to check the voltage at each outlet and fixture. The voltage should be within the specified range for your country (e.g., 110-120 volts in the US).
- Check the continuity of the circuit by connecting one lead of the multimeter to the hot wire and the other lead to the ground wire. The multimeter should read zero ohms.
- Turn the power back on and use a plug-in circuit tester to check the polarity of the outlets. The lights on the tester should indicate the correct polarity.
For a visual guide on testing the connections, check out this video.
Troubleshooting Common Issues:
- No power at the outlet or fixture: Check the connections at the panel, outlet, and fixture. Make sure all the wires are securely connected and the circuit breaker is on.
- Intermittent power: This may be caused by a loose connection. Check all the connections along the run to ensure they are secure.
- Incorrect polarity: Reverse the hot and neutral wires at the outlet or fixture.
- Overloaded circuit: Make sure the total load on the circuit does not exceed the rating of the circuit breaker.
Maintenance and Prevention
Regular maintenance and prevention are key to ensuring your electrical home runs remain in good condition and safe to use.
Regular Maintenance:
- Check the connections at the panel, outlets, and fixtures regularly to ensure they are secure.
- Check the insulation of the wires for any signs of wear or damage.
- Test the outlets and fixtures to ensure they are working correctly.
Preventing Common Issues:
- Use the correct gauge wire for the load it will carry.
- Secure the wire along the run with staples or clips to prevent it from moving and causing a loose connection.
- Do not overload the circuit. Be mindful of the total load on the circuit and do not exceed the rating of the circuit breaker.
For a visual guide on troubleshooting common issues, check out this video.
Frequently Asked Questions
What is meant by ‘Electrical Home Runs’?
An ‘Electrical Home Run’ is a term used to describe a wiring run that is not branched off anywhere along its path and goes directly from the circuit breaker to the outlet or fixture it serves.
Why are Electrical Home Runs important?
Electrical home runs are essential in a household electrical system as they ensure that each circuit runs directly from the fixture or outlet to the panel, reducing the risk of overload and electrical fires.
What are the tools required for running Electrical Home Runs?
The tools required for running electrical home runs include:
- Wire stripper
- Drill
- Fish tape
- Screwdriver
- Tape measure
- Pliers
- Hammer
How can I test the connections after running Electrical Home Runs?
After running electrical home runs, you can test the connections by using a multimeter to check the voltage at each outlet and fixture and a plug-in circuit tester to check the polarity of the outlets.
What are some tips for maintaining Electrical Home Runs?
To maintain electrical home runs:
- Check the connections regularly to ensure they are secure.
- Check the insulation of the wires for any signs of wear or damage.
- Test the outlets and fixtures to ensure they are working correctly.
How can I prevent common issues with Electrical Home Runs?
To prevent common issues with electrical home runs:
- Use the correct gauge wire for the load it will carry.
- Secure the wire along the run with staples or clips.
- Do not overload the circuit.
Conclusion
Now that you know How To Run Electrical Home Runs, you can ensure that your home’s electrical system is safe and efficient. Remember to regularly check and maintain your electrical home runs to prevent any issues. If you’re unsure about any step of the process, don’t hesitate to consult a professional.
Thank you for reading!