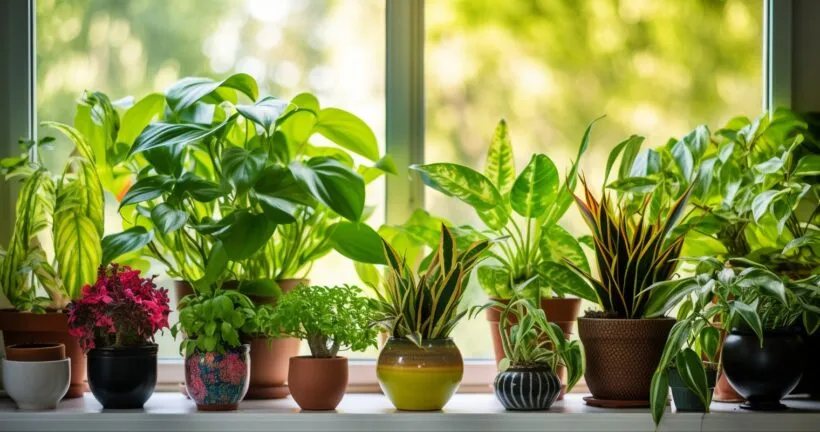
In today’s bustling urban environment, the concept of renting houses with gardens has risen in popularity. Did you know that 73% of urban renters now prefer homes with a touch of greenery? When considering indoor gardening, one challenge you might face is ensuring the soil is free from pathogens. That’s where knowing How To Sterilize Soil For Houseplants comes in handy. Let’s delve into some DIY tips that will make this process seamless for you. Stick around and equip yourself with knowledge that will not only benefit your houseplants but also boost the overall ambiance of your rented space.
Why Sterilizing Soil for Houseplants is Essential
Did you ever wonder why your seemingly healthy houseplant suddenly wilted away? Well, it’s not always about the water and sunlight. Soil plays a pivotal role in ensuring your green buddy’s well-being.
Sterile soil is the foundation of healthy indoor gardening. When your soil is free from harmful elements, your plants get a fresh, pure start, allowing them to flourish and brighten up your space. It’s like having a clean slate for your plant to scribble its growth story on.
Now, let’s delve into some pressing reasons to ensure your houseplant’s soil is sterilized.
Pests and Pathogens?
No, Thank You! Plant pests are the uninvited guests that crash your plant’s growth party. From tiny gnats to menacing mealybugs, these tiny culprits can wreak havoc. Similarly, pathogens like fungi and bacteria stealthily damage plant health from within. Ever seen a plant with yellowing leaves? That’s a pathogenic masterpiece! If you’re still curious about the culprits behind declining plant health, take a look here.
| Pest/Pathogen | Description |
|---|---|
| Fungus Gnats | Tiny flying insects that lay eggs in moist soil. |
| Mealybugs | Cottony, white insects that suck plant sap. |
| Root Rot | Fungal infection causing root decay and wilting. |
| Powdery Mildew | White powdery growth on leaves, caused by fungi. |
| Aphids | Small insects that feed on plant sap. |
| Pythium | Water mold causes damping-off and root rot. |
Weeding Out The Weeds Though a bit of wild greenery might seem charming, the presence of weeds can be detrimental. They are the attention seekers of the plant world, hogging nutrients, water, and sunlight. Without proper care, your precious houseplant may suffer in a nutrient-deprived environment, overshadowed by these self-invited plants.
Sterilization = Assurance By sterilizing soil, you’re equipping your plant with a protective shield, minimizing threats from pests, pathogens, and weeds. You’re not just adding a layer of protection but amplifying the growth potential of your beloved green friends.
The Science Behind Soil Sterilization
Burn Baby Burn, Inferno! Okay, maybe not an actual inferno, but heating soil is a tried-and-true method to nix those pesky pathogens. Soil-borne pathogens can’t withstand extreme heat, making them bite the dust once exposed. It’s nature’s way of saying, “Not today, pathogens!”
A Structure to Applaud Apart from getting rid of unwanted organisms, sterilization enhances the soil’s overall structure. When soil undergoes the sterilization process, it often becomes fluffier and more aerated. This improved structure ensures better water retention, drainage, and root growth. If the soil were a cake, think of sterilization as the baking soda, making everything rise beautifully.
Craving some nerdy details on potting mixes and their wonders? Dive deep into this enriching article, and I bet you’ll look at your potted plant with newfound respect.
Oven Sterilization Technique
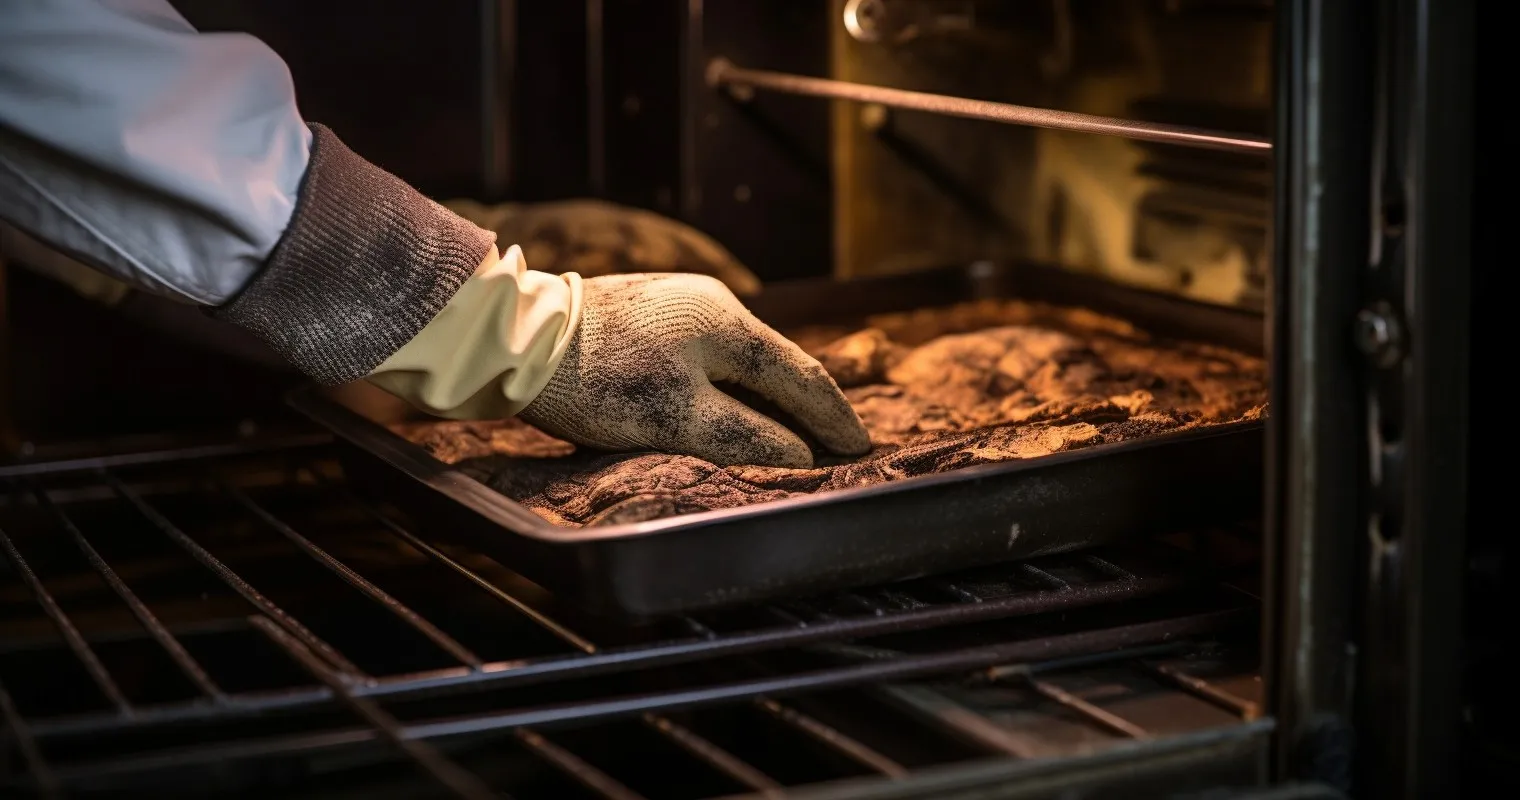
So, you’ve decided to venture into the world of “How To Sterilize Soil For Houseplants”. If your oven isn’t just for those delightful weekend brownies, let’s turn it into a soil-sterilizing machine!
Step-by-Step Oven Sterilization:
- Preheat your oven to around 200°F (93°C).
- Fill an oven-proof dish with about 2-3 inches of soil.
- Cover the dish with aluminum foil.
- Insert a meat or candy thermometer into the soil.
- Place the dish in the oven and monitor the temperature. Once it hits 180°F (82°C) – maintain this heat for 30 minutes.
- Remove, let it cool, and voila, sterilize the soil!
However, before you’re crowned the “Oven Sterilizing Maestro”, there are some safety precautions to bear in mind. Make sure you:
- Ventilate your kitchen properly; soil sterilization can release some, let’s say, aromatic smells.
- Use gloves when handling the hot soil.
- Don’t overheat, as it can damage the soil structure.
So, oven sterilization: Yay or Nay? Pros:
- Efficient at killing pathogens.
- Suitable for larger soil batches.
Cons:
- Can be time-consuming.
- Those “lovely” smells (I warned you).
Still hungry for more info? Here’s a treasure trove of knowledge on the oven sterilization method.
Microwave Sterilization Process
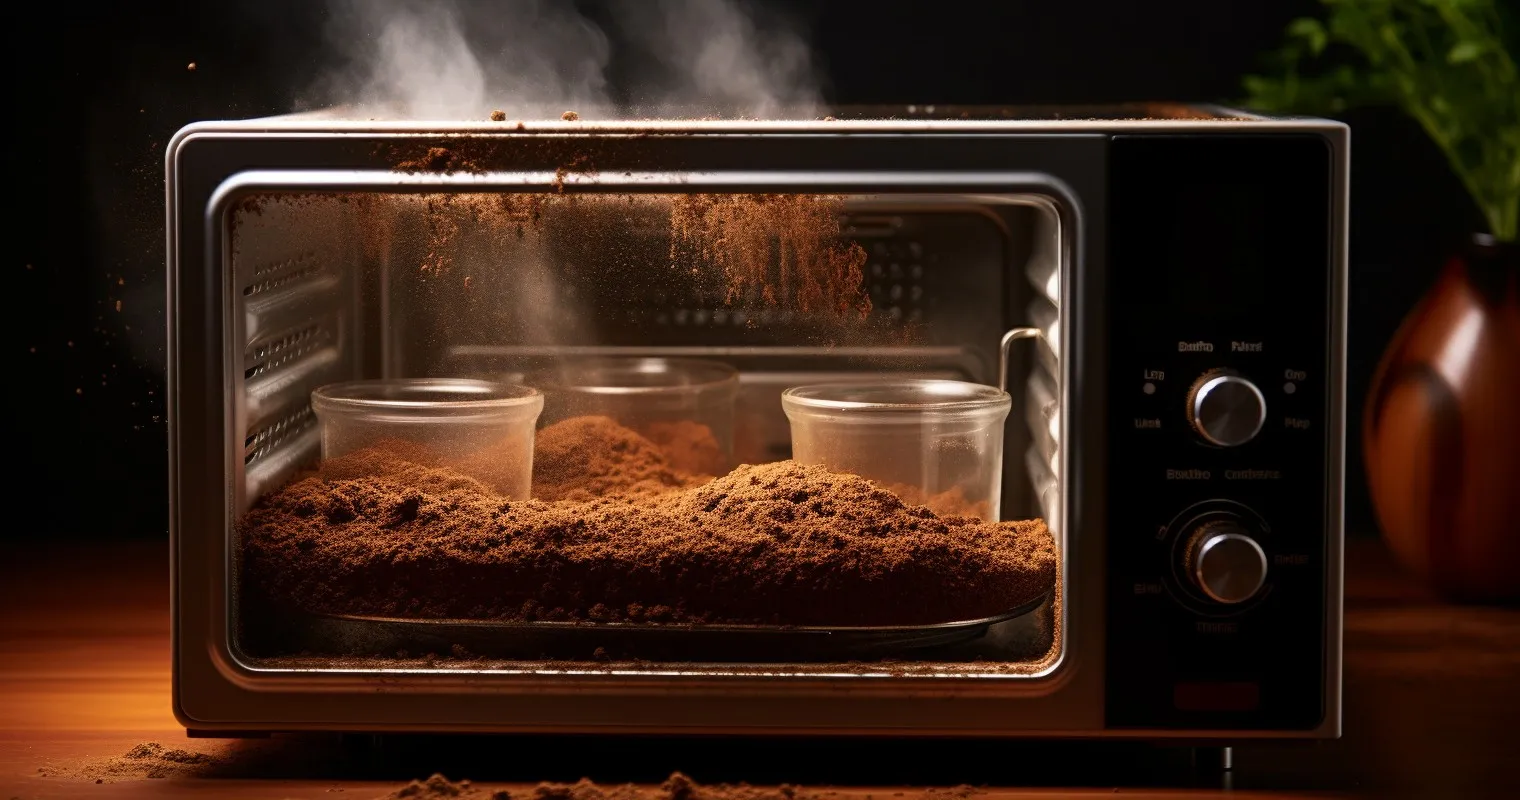
If time isn’t your best friend and you want a quick fix, your microwave isn’t just for reheating yesterday’s pizza!
Here’s How to Nail Microwave Sterilization:
- Moisten about 2 cups of soil. We’re going for the consistency of a wrung-out sponge.
- Place the damp soil in a microwave-safe container.
- Slide in a small cup of water alongside the soil container (to prevent any fires).
- Set your microwave on high for about 5 minutes.
- Stir midway to ensure even heating.
Now, if you’re scratching your head, thinking about the perfect microwave settings, here’s a nugget of wisdom: Different microwaves have varying powers. Aim for a soil temperature of about 180°F (82°C) to ensure those pesky pathogens perish. Curious about how moisture plays a role? Find out here.
Tips for Sterilization Superstars:
| Method | Tips |
|---|---|
| Oven Sterilization | Ventilate the kitchen; use gloves; monitor heat. |
| Microwave Sterilization | Evenly spread soil; use a thermometer. |
| Solar Sterilization | Choose a sunny location; use clear plastic sheets. |
- Make sure the soil is evenly spread in the container.
- Always, I repeat, always check the temperature using a thermometer.
- Let the soil cool before using.
And, because knowledge is power, here’s another gem to quench your soil sterilization thirst. Dive in and elevate your houseplant game!
Solar Sterilization: Using Sun’s Heat
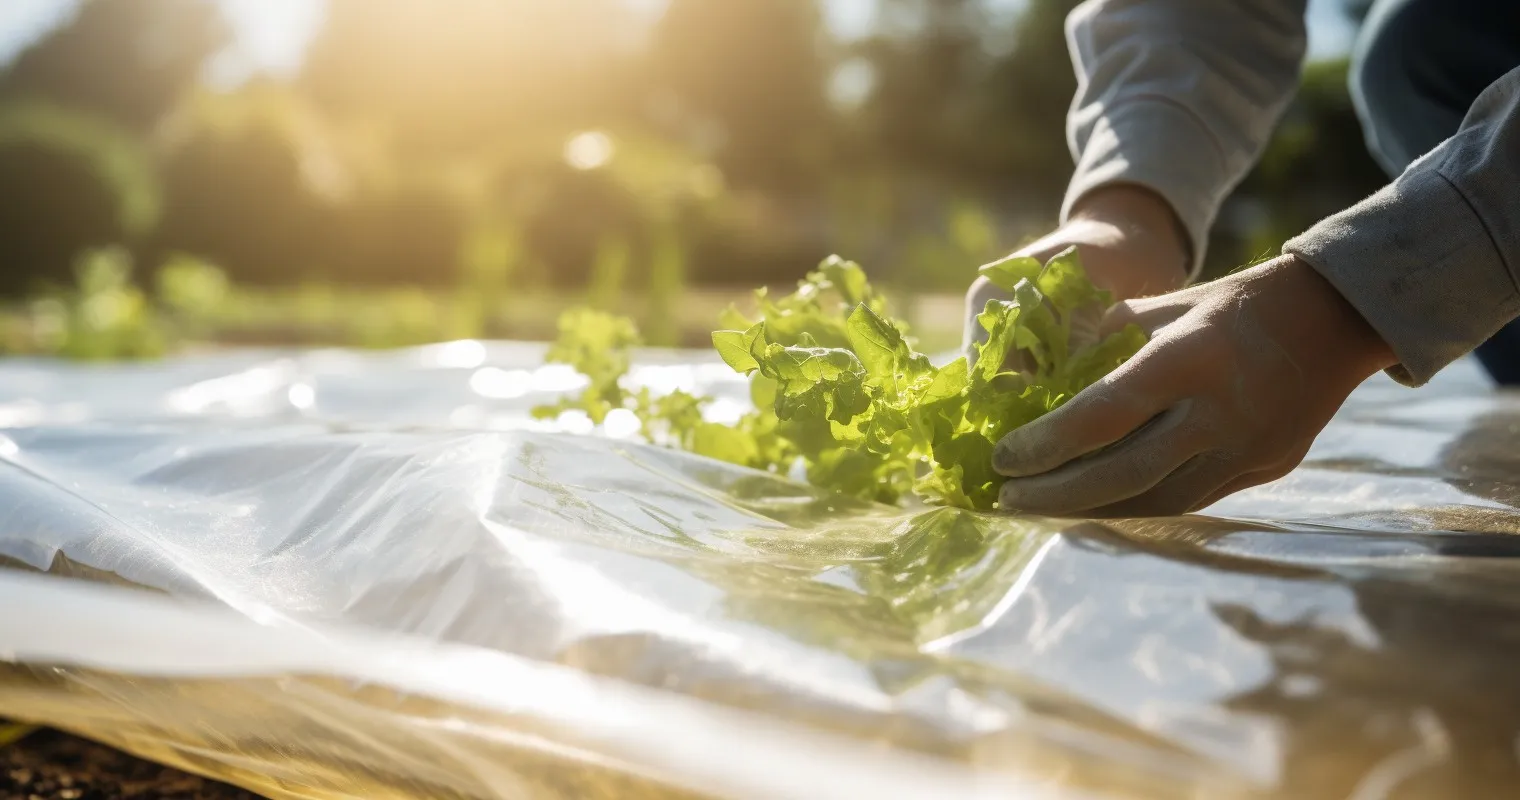
Forget about baking in the sun to get that summer tan. Let’s put those powerful rays to a more “productive” use: sterilizing soil. Solar sterilization isn’t just eco-friendly; it’s practically free!
So, how does solar sterilization work? Solar sterilization, also known as solarization, involves trapping the sun’s heat in the soil. Just like how a car becomes an oven on a hot day, the soil heats up under a clear plastic tarp, effectively killing pests, diseases, and weeds.
For top-notch results, here’s what Mother Nature recommends:
- A sunny location (obviously!).
- Warm temperatures, preferably 85°F (30°C) and above.
- Clear plastic sheets (they’re better than black ones in magnifying the heat).
So, how long does this sunny magic take? For most gardeners, 4 to 6 weeks in peak summer does the trick. However, results can vary depending on how sunny your location is and the initial condition of your soil. And in case you’re pondering on its effectiveness, studies have shown it can kill up to 99% of pests and pathogens. Beat that, oven!
Solar sterilization sounds enticing, doesn’t it? For a deeper dive into this sun-soaked method, hop over here.
Post-Sterilization Soil Care
You’ve zapped, baked, or sunned your soil to perfection. Now what? Just like after a good workout, your soil needs some post-sterilization TLC.
Letting the soil cool down isn’t just a random step; it’s a must-do! Introducing plants to hot soil could shock their delicate roots. Imagine diving into a jacuzzi when you expected a swimming pool; it’s the same shock for the plants!
Once cooled, consider mixing sterilized soil with compost or organic matter. This not only rejuvenates the soil but also makes it more fertile. Think of it as a post-spa smoothie for your garden. Want to learn about the perfect blend? Find out here.
Last but by no means least, let’s talk storage.
- Keep sterilized soil in a clean, sealed container.
- Store in a cool, dry place.
- Avoid cross-contamination with non-sterilized soil.
Eager to turn your sterilized soil into the bedrock of a thriving garden? Here’s a guide that spills the beans on maintaining the pristine quality of your soil.
Frequently Asked Questions
Why is it necessary to know How To Sterilize Soil For Houseplants?
It’s crucial to understand How To Sterilize Soil For Houseplants because it prevents soil-borne diseases and provides a healthy environment for plants.
What are the benefits of sterilizing soil?
Sterilizing soil:
- Eliminates harmful bacteria and fungi.
- Reduces weed seeds.
- Protects plants from pests.
Can I sterilize soil using kitchen equipment?
Yes, common kitchen equipment like ovens and microwaves can be used for soil sterilization, provided you follow safety measures.
How often should I sterilize the soil for my houseplants?
It’s best to sterilize soil whenever you’re repotting or introducing new plants to ensure they start in a disease-free environment.
Are there natural methods to sterilize soil?
Absolutely, solar sterilization is a natural method that uses the sun’s heat to disinfect soil.
After sterilizing, can I plant immediately?
After sterilizing, allow the soil to cool completely before planting. This ensures optimal conditions for your houseplants.
Conclusion
Mastering How To Sterilize Soil For Houseplants can be your secret weapon in maintaining a healthy indoor garden. Especially if you’re renting, ensuring your houseplants thrive can be a testament to your dedication as a tenant. Whether it’s using the oven or harnessing the power of the sun, there’s a method tailored for you. Ready to embark on a journey towards healthier houseplants? Dive into our detailed guide and make your indoor garden flourish.
Thank you for reading!