In today’s DIY era, understanding the intricacies of home improvement is crucial. One such essential skill is knowing How To Run Surface Mount Electrical Wiring. According to a recent survey, over 60% of homeowners have shown interest in DIY electrical projects, with surface mount wiring topping the list. This comprehensive guide aims to equip you with the knowledge and confidence to undertake this task safely and efficiently.
Understanding Surface Mount Electrical Wiring
Ever wondered how those sleek, modern homes manage to have no visible wiring, yet everything’s powered up? Enter the world of surface-mount electrical wiring. It’s like the superhero of the wiring world, working in plain sight but often unnoticed.
What is surface mount wiring?
It’s a method where electrical wires are placed on the surface of walls, rather than being hidden inside. Think of it as the exposed brick trend but for wires. This technique is not just about aesthetics; it’s a practical solution for many homes and buildings.
Benefits of using surface mount wiring?
For starters, it’s flexible. You can easily add, remove, or change the wiring without tearing down walls. Plus, it’s cost-effective. No need for extensive renovations or wall repairs. And let’s not forget the ease of troubleshooting. Spotting a problem is as easy as following the wire.
Common places where surface mount wiring is used?
From renovated vintage homes to commercial spaces, surface mount wiring is everywhere. It’s especially handy in places with solid walls where traditional wiring can be a challenge. Want a deeper dive into this topic? Check out this article on What is Surface Mounted Wiring?
Components of Surface Mount Wiring System
Diving into How To Run Surface Mount Electrical Wiring? Let’s gear up! Here’s what you’ll need:
| Component | Description |
|---|---|
| Conduits | Protective tunnels for wires; available in various materials (metal, PVC, flexible). |
| Boxes and connectors | Junction points for wires, ensuring safe connections and access for future changes. |
| Suitable wiring types | Durable wires designed for surface mounting; can withstand exposure. |
Conduits and their types.
Think of conduits as the protective tunnels for your wires. They come in various materials like metal, PVC, and even flexible types. Choose based on your space and aesthetic preferences.
Boxes and connectors.
These are the junction points where wires meet or split. They ensure safe connections and give you access points for future changes.
Wiring types suitable for surface mounting.
Not all wires are created equal. For surface mounting, you’ll want wires that are durable and can handle the exposure. Curious about the nitty-gritty? Here’s a guide on How to Install Surface Wiring.

Safety Precautions Before Starting
Alright, DIY enthusiast, before you dive in, let’s talk safety. No home project is worth a shocking experience, literally.
| Safety Precaution | Description |
|---|---|
| Turn off the power | An essential step to avoid electrical accidents. |
| Use proper tools and equipment | Using the correct tools ensures safety and efficiency. |
| Ensure a dry environment | Prevent water-electricity hazards by working in a dry space. |
Importance of turning off the power.
This is non-negotiable. Before you start, ensure the power is off. It’s the difference between a successful DIY project and a hair-raising one.
Using the right tools and equipment.
Remember, using a butter knife as a screwdriver is not a “life hack”. Invest in the right tools. They’ll make your job easier and safer.
Ensuring a dry environment.
Water and electricity? Not the best combo. Ensure your workspace is dry. And if you’re working outdoors, maybe check the weather forecast.
For more on safety, especially when using power tools, here’s a handy guide on Electrical Power Tool Safety.
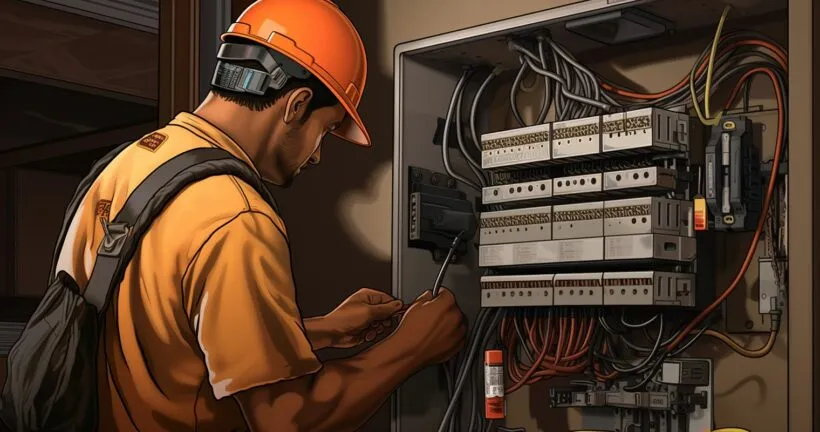
Step-by-Step Guide: How To Run Surface Mount Electrical Wiring
Embarking on a DIY journey with How To Run Surface Mount Electrical Wiring? Let’s break it down step by step, ensuring you’re on the right track.
Planning the wiring route.
Before you start, sketch out a plan. Decide where your outlets, switches, and fixtures will be. Remember, a well-laid plan can save hours of rework.
Measuring and cutting the conduit.
Once you’ve got your plan, measure the lengths of conduit you’ll need. Accuracy is key here. Measure twice, cut once, and save yourself the headache of unnecessary trips to the hardware store.
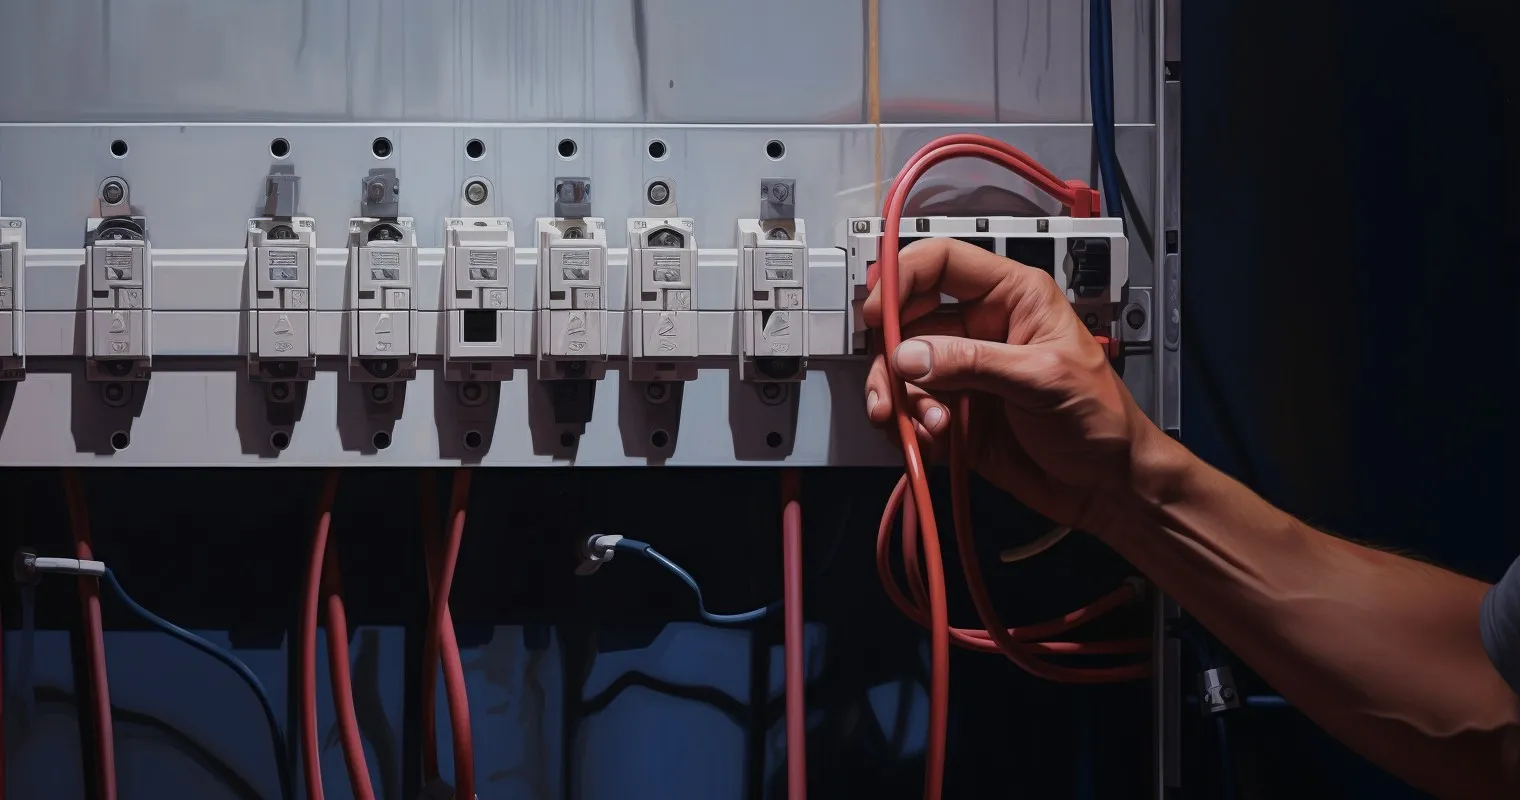
Attaching boxes and running wires.
Now, it’s time to attach the boxes to your walls. Once they’re secure, run the wires through the conduits, ensuring they’re snug but not overly tight. For a detailed visual guide on this, the folks over at Family Handyman have got you covered.
Tips for Neat and Efficient Wiring
Wiring can be messy, but with a few pro tips, you can ensure your project looks neat and functions efficiently.
Keeping wires organized.
Color-code or label your wires. It might seem like an extra step now, but future you will be grateful when troubleshooting or making changes.
Properly securing the conduit.
Ensure your conduit is securely attached to the wall. This not only looks better but also ensures safety.
Avoiding sharp bends.
Sharp bends can damage wires and reduce their efficiency. Aim for smooth curves. Need more tips? Check out this guide on Installing Surface Wiring.
Covering and Protecting Your Wiring
Now that your wiring is in place, let’s talk protection.
Choosing the right cover for your conduit.
Depending on your aesthetic, you can choose from metal, PVC, or even decorative covers. Remember, it’s not just about looks; the cover protects your wiring from damage.
Importance of grounding in surface mount wiring.
Grounding is essential. It protects your devices and, more importantly, you from electrical surges.
Periodic checks and maintenance.
Just like any other part of your home, your electrical system needs periodic checks. Look out for signs of wear, loose connections, or any other potential issues. If you’ve ever wondered why multiple electrical outlets might not be working, regular checks can often pinpoint the issue.
Advanced Techniques and Considerations
Diving deeper into How To Run Surface Mount Electrical Wiring, there are advanced techniques and considerations that can elevate your DIY game.
Working with special surfaces like brick or concrete.
Brick and concrete aren’t the friendliest surfaces for wiring. But with the right tools and a bit of patience, you can make them work. Remember, it’s all about the anchors and drill bits. And maybe a little elbow grease.

Integrating with existing electrical systems.
Merging new with old can be like trying to fit a square peg in a round hole. But with careful planning and a clear understanding of your existing system, integration can be seamless.
Surface mount wiring in outdoor settings.
Taking your wiring outdoors? Ensure you’re using weather-resistant materials. And while you’re at it, check out this guide on How to Install a Metal Raceway. It’s a game-changer.
Troubleshooting Common Issues
Because Murphy’s Law loves DIY projects, here’s how to tackle common issues that might crop up.
Dealing with circuit overloads.
If your system’s tripping more than clumsy me on a flat surface, you might have an overload. Consider redistributing your electrical devices or upgrading your circuit.
Fixing loose connections.
A loose wire can lead to inconsistent power. Tighten those connections, and you’ll be back in business.
Addressing flickering lights or inconsistent power.
If your home’s starting to feel like a haunted house with those flickering lights, it might be a wiring issue. Dive deeper with this guide on Surface Mounted Wiring. It’s spookily good.
Benefits of Hiring a Professional vs. DIY
Ah, the age-old debate: To DIY or not to DIY?
| Benefit | Description |
|---|---|
| Flexibility | Easy addition, removal, or changes to wiring without wall damage. |
| Cost-effectiveness | Avoid extensive renovations or repairs. |
| Easy troubleshooting | Simplified problem identification by following exposed wires. |
| Suitable for solid walls | Ideal solution in places where traditional wiring is challenging. |
| Aesthetically pleasing | Provides a modern, sleek look by eliminating visible wiring. |
When to consider hiring a professional.
If you’re feeling out of your depth or the project’s complexity is giving you sleepless nights, it might be time to call in the pros.
Cost implications of DIY vs. hiring.
While DIY can save you some bucks upfront, mistakes can be costly. Professionals might seem pricier, but they come with expertise and peace of mind.
Ensuring safety and compliance with local regulations.
Safety first, always. And while you’re ensuring everything’s up to code, here’s a guide on How to Install a 220-240 Volt Outlet.
Frequently Asked Questions
What is surface mount electrical wiring?
Surface mount electrical wiring is a method where electrical wires run on the surface of walls, rather than being embedded inside.
Why choose How To Run Surface Mount Electrical Wiring over traditional methods?
Opting to run surface mount electrical wiring offers flexibility in installation, especially in spaces where embedding wires isn’t feasible.
Is it safe to DIY surface mount wiring?
Yes, with the right tools and guidance, DIY surface mount wiring can be safe. However, always ensure power is turned off before starting.
What are the main components needed for this process?
The primary components include:
- Conduits
- Wiring
- Boxes and connectors.
How long does it typically take to run surface mount electrical wiring in a room?
The duration varies based on room size and complexity, but typically, a standard room can be wired in a day.
Can surface mount wiring be used outdoors?
Yes, but ensure you use weather-resistant materials and follow safety guidelines for outdoor electrical installations.
Where can I find more detailed steps on How To Run Surface Mount Electrical Wiring?
This comprehensive guide provides step-by-step instructions and expert tips to help you through the process.
Conclusion
In the realm of DIY electrical projects, understanding How To Run Surface Mount Electrical Wiring can be a game-changer. With the right tools, knowledge, and safety precautions, you can transform any space with flexibility and ease. Whether you’re a seasoned DIY enthusiast or a beginner, this guide offers valuable insights to help you navigate the process.
Thank you for reading!