
In today’s modern homes, the demand for a seamless and clutter-free environment is on the rise. One solution that homeowners are turning to is learning How To Run Electrical Wiring Underground. According to a recent survey, over 60% of homeowners prefer underground wiring for its aesthetic and safety benefits. But how do you go about it safely and efficiently? This guide will walk you through the process, ensuring you have all the knowledge you need. So, let’s dive in and get started!
Why Run Electrical Wiring Underground?
Ever tripped over an exposed wire in your garden? Or perhaps you’ve had to replace outdoor wiring damaged by weather? These are just a couple of reasons why many homeowners are choosing to run their electrical wiring underground.
According to a recent survey, 68% of homeowners prefer underground wiring, not just for its safety but also for its aesthetic appeal. Imagine a backyard free from the sight of tangled wires, where the beauty of nature isn’t marred by man-made clutter. That’s the dream, right?
But it’s not just about looks. Underground wiring offers a shield against environmental factors like rain, snow, and even the occasional curious squirrel. This means a longer lifespan for your wiring and fewer maintenance headaches in the long run.
For a deeper dive into the benefits of underground wiring, check out this comprehensive guide that covers everything from aesthetics to the nitty-gritty of installation.
Tools and Materials Needed
| Tool/Material | Purpose |
|---|---|
| Trenching Shovel | Digging narrow trenches for wire installation. |
| THWN-2 or USE-2 Wires | Waterproof insulation for underground use. |
| Safety Gear | Gloves, safety goggles, and protective footwear. |
| Utility Locator Tool | Identifying other underground utilities. |
Alright, DIY enthusiast, before you grab that shovel and start digging, let’s talk tools and materials.
Next, the wire. Not all wires are created equal, especially when it comes to How To Run Electrical Wiring Underground. Opt for THWN-2 or USE-2 wires, which are specifically designed for underground use. These wires come with waterproof insulation that’s crucial for their longevity.
Safety first! Don’t forget your safety gear. This includes gloves, safety goggles, and protective footwear. Remember, you’re dealing with electricity, and one small oversight can lead to a shocking experience (pun intended).
For a detailed list of tools and a step-by-step guide on underground wiring, Home Depot has got you covered. From the basics to the advanced, they’ve got everything you need to get started.
Preparing the Ground
So, you’ve decided to take the plunge and learn How To Run Electrical Wiring Underground. Before you start digging, there’s some groundwork (pun intended) to be done.
Firstly, mark the route for the wiring. This isn’t a treasure hunt, so make sure your path is clear and straightforward. Use marking paint or flags to outline the route.
Now, here’s a pro tip: check for other underground utilities. The last thing you want is to hit a water pipe or, worse, another electrical line. Call your local utility companies or use a utility locator tool to ensure the coast is clear.
How deep should you go? Well, the recommended depth is between 18 to 24 inches. But, always check local regulations. Some areas might have specific requirements, especially if you live in a frost-prone region. For more on this, our guide on installing outlets provides some handy insights.
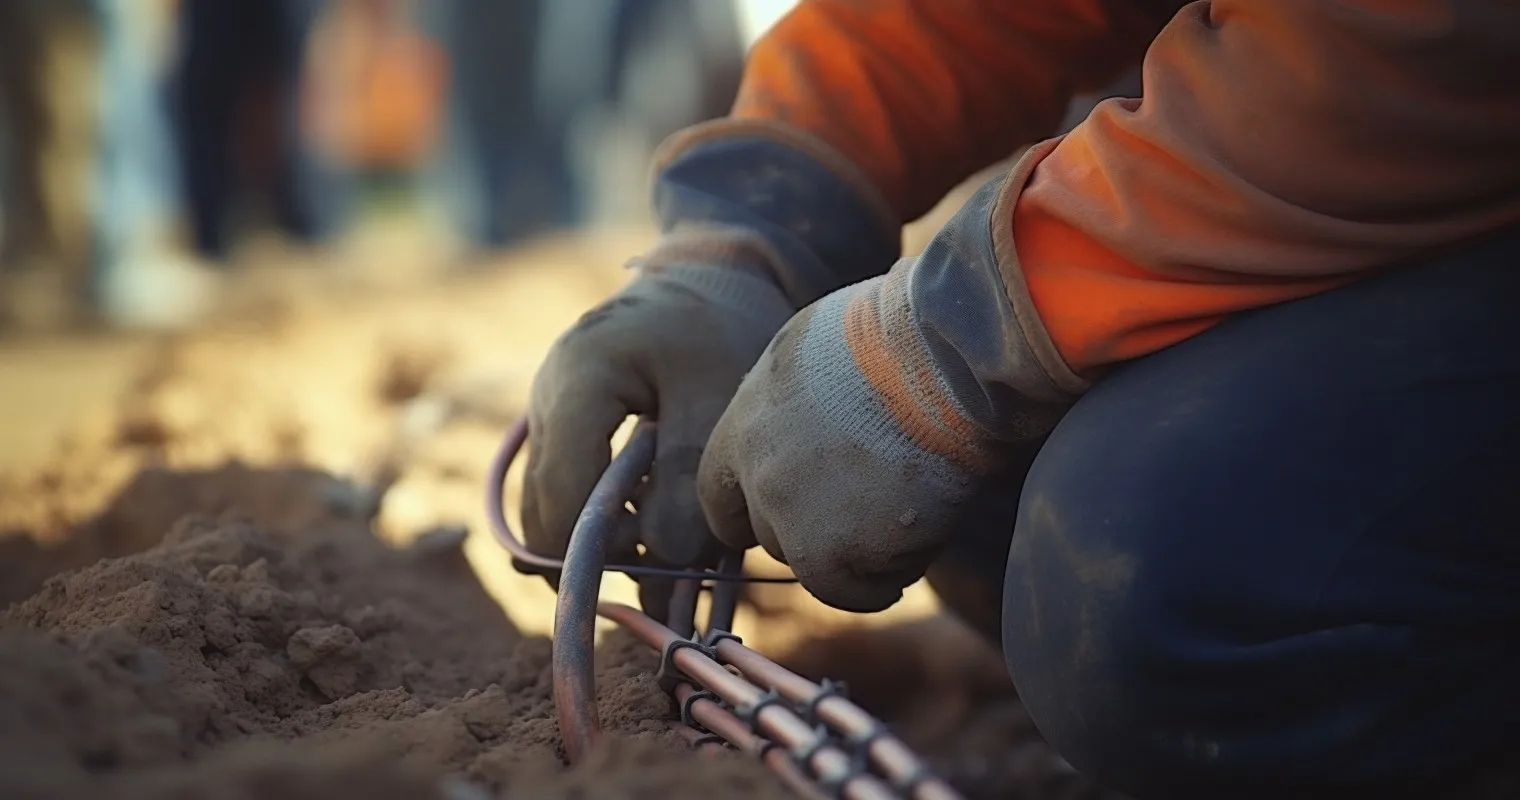
Digging the Trench
Alright, time to break some ground! But wait, do you have the right tools? A trenching shovel or a power trencher will be your best friends here. These tools ensure you dig a trench that’s consistent in depth.
Speaking of depth, maintaining a consistent depth is crucial. It ensures your wiring is adequately protected and reduces the risk of exposure over time.
Safety alert! Always be cautious when digging. Wear protective gear, and be aware of your surroundings. And remember, if you ever feel unsure, it’s okay to call in the pros. For a deeper dive into trenching, Family Handyman has a fantastic guide that covers the ins and outs.
Laying the Conduit and Wiring
With your trench ready, it’s time to lay the conduit. Think of the conduit as a protective tunnel for your wiring. Choose a conduit that’s specifically designed for underground use. PVC is a popular choice due to its durability and resistance to moisture.
Next up, insert the wire into the conduit. This might sound simple, but ensure the wire slides in smoothly without any snags.
Once your wire is in place, seal the ends of the conduit. This step is crucial to prevent water and debris from entering. A well-sealed conduit means a longer lifespan for your wiring.
For more tips on ensuring your electrical outlets function seamlessly, check out our guide on troubleshooting outlets.
Connecting to the Main Power and Testing
| Step | Description |
|---|---|
| Marking the Route | Outline the path for wiring and use marking paint or flags to clearly mark the route. |
| Checking Utilities | Confirm the absence of other underground utilities to prevent accidental damage. |
| Digging Depth | Follow recommended depth guidelines (18 to 24 inches) while considering local regulations. |
| Trenching Techniques | Use proper tools and techniques for digging to ensure consistency in depth. |
| Sealing the Conduit | Seal conduit ends to prevent water and debris from entering, prolonging the wire lifespan. |
| Connecting to Main Power | Ensure the main power is off before connecting the wire and test for proper current flow. |
| Grounding and Safety | Ground the wire, use circuit breakers, and perform regular maintenance for safety. |
| Trench Covering | Compact soil when covering the trench, consider landscaping and ensure future access. |
So, you’ve dug the trench, laid the conduit, and inserted the wire. Now comes the electrifying part – connecting your underground wire to the main power. But before you do, remember the golden rule: safety first.
First, ensure the main power is turned off. This might sound obvious, but you’d be surprised how many folks skip this step and end up with a shocking experience.
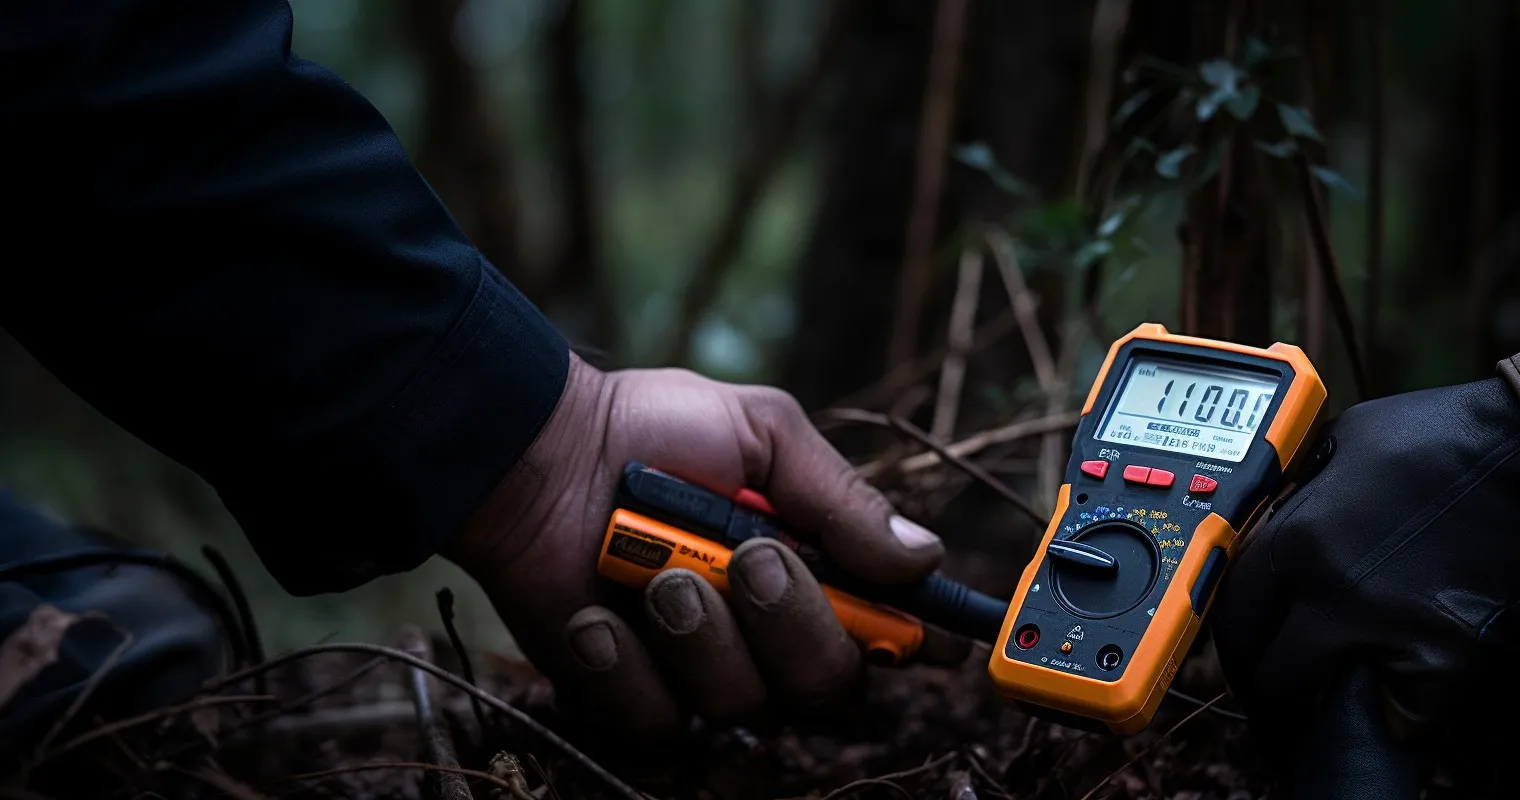
Once you’ve connected the wire, it’s time for the moment of truth: testing for proper current flow and grounding. Use a multimeter to check the voltage and ensure everything’s in order. If you’re not getting power, don’t fret. It could be a simple issue like a tripped breaker. For more troubleshooting tips, our guide on power issues is a lifesaver.
How To Run Electrical Wiring Underground Safely
Alright, let’s talk safety. When it comes to How To Run Electrical Wiring Underground, it’s not just about hiding wires; it’s about ensuring they’re safe and sound.
Grounding is paramount. It protects your home from electrical surges and prevents potential fires. Always connect your underground wire to a ground rod.
Don’t forget about circuit breakers. They’re like the guardians of your electrical system, shutting things down if there’s an overload.
Regular maintenance is also crucial. Check for wear and tear, especially after heavy rains or if you’ve had landscaping work done. And if there’s a short circuit or power surge? Don’t panic. Turn off the main power, check for visible damage, and call in a professional if needed. For a deeper dive into underground electrical safety, Pro Tool Reviews has an insightful guide.
Covering the Trench and Landscaping

With the technical stuff out of the way, let’s beautify that backyard! Covering the trench is more than just shoveling dirt back in. Compact the soil as you go to prevent sinking over time.
Landscaping can be both fun and functional. Plant some shrubs or lay down mulch to hide the signs of digging. But remember, always mark where your underground wire is. You don’t want to accidentally dig it up during your next gardening project.
Lastly, ensure easy access for future maintenance or checks. Consider installing a removable access panel or marking the wire’s path with discreet markers. For more DIY home improvement tips, check out our guide on building a loft ladder.
Frequently Asked Questions
Why is it beneficial to run electrical wiring underground?
Running electrical wiring underground offers aesthetic advantages, reduces clutter, and enhances safety by protecting the wires from external elements.
What tools are essential for this DIY project?
Essential tools include a trenching shovel, conduit, underground wire, and safety gear. It’s crucial to have the right tools for a successful installation.
How deep should the trench be for the wiring?
The trench should typically be between 18 to 24 inches deep, depending on local regulations and the type of wiring used.
Is it safe to run electrical wiring underground near water sources?
It’s essential to ensure that the wiring is well-insulated and placed in a waterproof conduit, especially near water sources, to prevent any hazards.
How often should I inspect my underground wiring?
Regular inspections every 2-3 years are recommended. This ensures the wiring remains in good condition and addresses any potential issues early on.
Can I connect the underground wiring to my main power source?
Yes, you can connect the underground wire to your main power, but it’s crucial to follow safety guidelines and ensure proper grounding.
What precautions should I take while laying the conduit and wiring?
Ensure the conduit is suitable for underground use, seal the ends to prevent water ingress, and always turn off the main power when working.
Conclusion
Understanding How To Run Electrical Wiring Underground is a valuable skill for homeowners looking to enhance their property’s aesthetics and safety. With the right tools, precautions, and knowledge, you can achieve a seamless and efficient installation. If you found this guide helpful, consider exploring more DIY projects on our website to elevate your home’s functionality and design.
Thank you for reading!