How To Replace Electrical Wiring In Wall: Replacing electrical wiring in your home is a task that requires careful planning and execution.
According to the U.S. Fire Administration, faulty wiring accounts for 20% of residential fires.
The guide on How To Replace Electrical Wiring In the Wall will provide you with a step-by-step process to ensure safety and efficiency.
Whether you’re dealing with old wiring or planning a renovation, understanding how to replace electrical wiring is essential.
Understanding the Basics of Electrical Wiring
Electricity is the lifeblood of our homes, and the wiring is its arteries.
Understanding How To Replace Electrical Wiring In a Wall is like knowing the plumbing of your house’s circulatory system.
| Wiring Type | Description |
|---|---|
| Non-Metallic (NM) | Commonly known as Romex, NM cables are widely used for general indoor wiring. They consist of multiple insulated wires bundled together within a plastic sheath. |
| Armored Cable | Also known as AC or BX cable, armored cables have a metal outer covering that provides additional protection against physical damage. |
| Underground | Designed for outdoor and underground installations, this type of wiring is insulated and weather-resistant to withstand harsh conditions. |
| Conduit Wiring | Conduit systems involve running wires through metal or PVC pipes. It’s often used in industrial settings and areas where wires need extra protection. |
A brief overview of electrical wiring and its importance.
Electrical wiring is the network of conductors that distribute power to every corner of your home. It’s like the internet, but for electricity. Without it, you’d be living in the dark ages, literally.
Different types of wiring are used in homes.
From non-metallic (NM) cables to armored cables, the types of wiring are as diverse as the characters in a soap opera. Each has its role, and knowing which one to use is key to a successful electrical project.
Signs that indicate the need for wiring replacement.
Old wiring doesn’t age like fine wine. Signs like flickering lights, burning smells, or frequent circuit breaker trips are your home’s way of saying, “Hey, I need new wires!” Ignoring these signs can lead to a 20% chance of residential fires, according to the U.S. Fire Administration.
Safety Precautions Before Starting
First Safety is important, or as electricians say, “Don’t zap yourself!”
| Safety Precaution | Description |
|---|---|
| Turn Off the Main Power | Always turn off the main power supply before starting any electrical work to avoid electric shock. |
| Wear Protective Gear | Wear appropriate protective gear, such as insulated gloves, safety goggles, and non-conductive footwear. |
| Use Proper Tools | Ensure you have the right tools for the job, including wire strippers, pliers, screwdrivers, and more. |
| Keep Workspace Clean | Maintain a clean and organized workspace to minimize hazards and prevent accidents. |
| Test Before Proceeding | Test wires with a voltage tester to confirm that there is no electric current flowing before handling. |
Importance of turning off the main power.
Turning off the main power is like putting your house to sleep. It ensures that you won’t get a shocking surprise while working. Always double-check with a voltage tester.
Using the right tools and protective gear.
You wouldn’t use a spoon to dig a hole, would you? Using the right tools like wire strippers, pliers, and protective gear is essential. It’s like dressing up for a date with electricity.
Ensuring a safe working environment.
Keep your workspace clean and dry. A wet floor and electrical work are a combination as bad as pineapple on pizza.
Tools and Materials Needed
List of essential tools like wire strippers, pliers, etc.
You’ll need a superhero toolkit, including wire strippers, pliers, screwdrivers, and more. Check out our guide on How to Use a Level Correctly – Hand Tools DIY for more insights.
Types of wires and connectors.
Choosing the right wires and connectors is like picking the right outfit. It has to match the occasion, or in this case, the electrical requirements.
Other materials like electrical tape, wire nuts, etc.
These are the accessories to your electrical outfit. They ensure everything stays in place and looks good.
For more detailed information on replacing wires behind walls, visit this DIY StackExchange post.
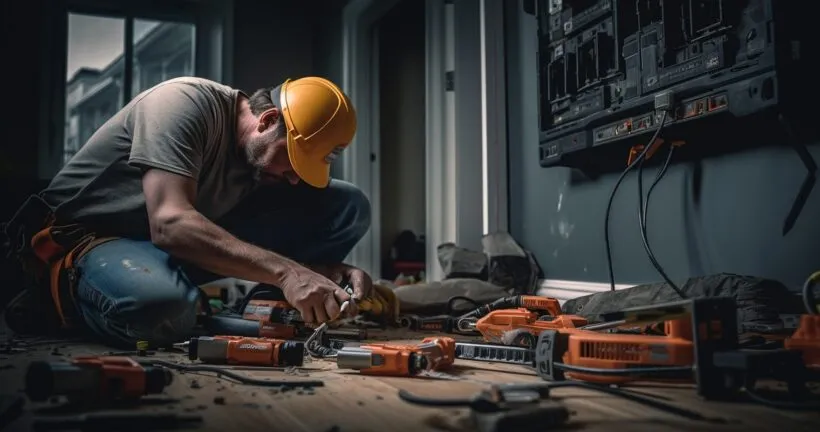
Step-by-Step Guide: How To Replace Electrical Wiring In Wall
How To Replace Electrical Wiring In Wall is not just a DIY project; it’s an adventure in your own home. Grab your tools, and let’s dive in!
Step 1: Planning and marking the wiring route.
Before you start tearing down walls, plan your route like a GPS for wires. Sketch it out, mark the walls, and make sure you know where you’re going. It’s like a treasure map, but for electricity.
Step 2: Removing old wiring safely.
Old wiring is like that outdated hairstyle – it’s got to go! But be gentle; you don’t want to damage the walls. And remember safety first. Always turn off the power.
Step 3: Installing new wiring.
Now comes the fun part! Installing new wiring is like threading a giant needle through your house. Use fish tape to guide the wires, and don’t be afraid to call a friend for help. Teamwork makes the dream work!
Step 4: Connect to outlets, switches, and fixtures.
This is where your home starts to come alive again. Connect the wires to outlets, switches, and fixtures. It’s like reconnecting with old friends but with less talking and more twisting.
Step 5: Testing the new installation.
You wouldn’t drive a car without testing the brakes, would you? Test your new wiring to make sure everything is working perfectly. A successful test is like a standing ovation for your hard work.
Tips for Efficient Wiring
Wiring is an art, and like any masterpiece, it requires some finesse. Here are some pro tips to make your wiring project a smashing success.
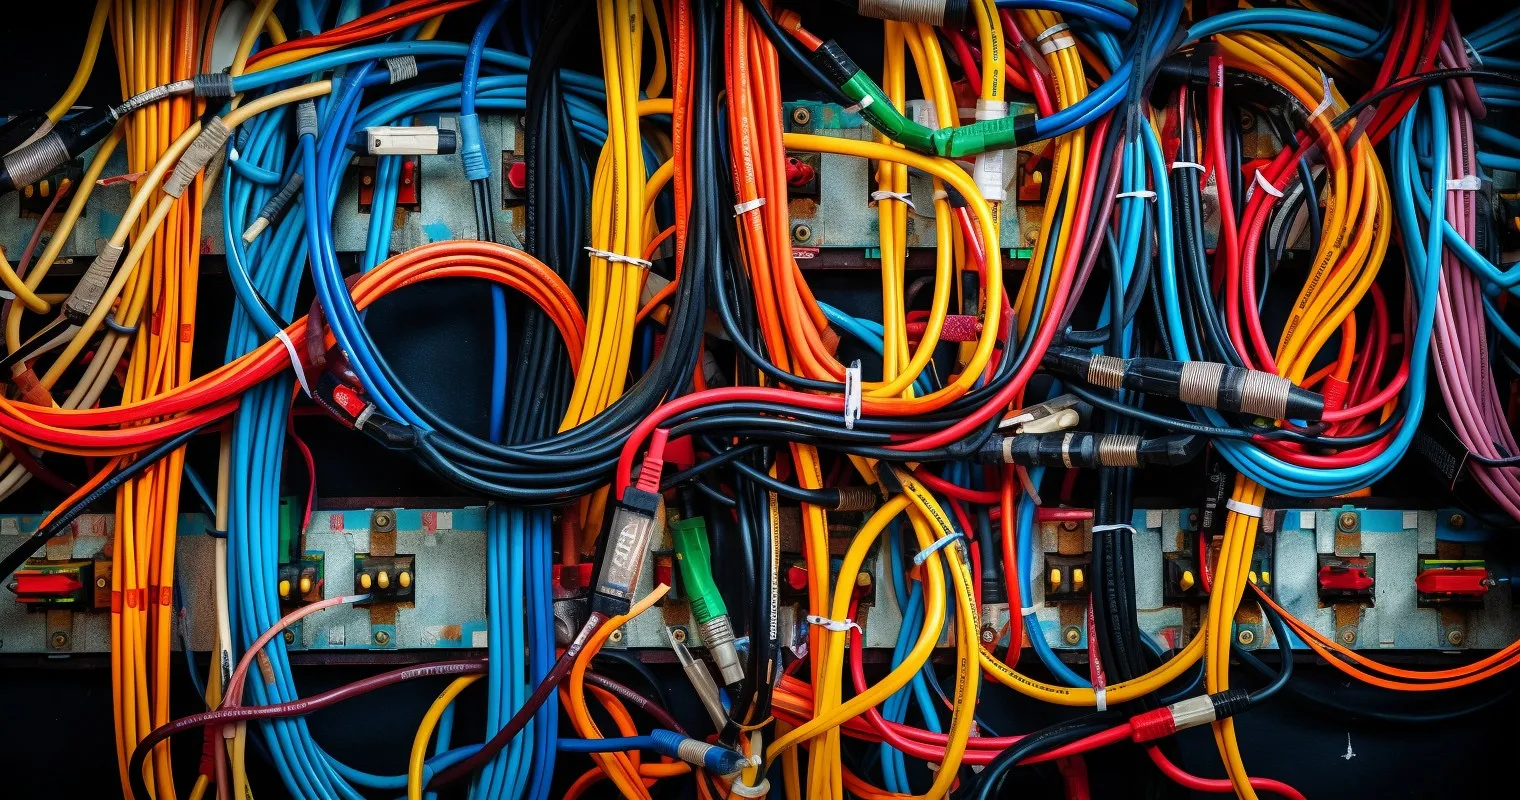
Keeping the wiring organized.
Organized wiring is like a well-arranged wardrobe. You know where everything is, and it looks great. Use cable ties and labels to keep things tidy.
Properly labeling wires.
Labeling wires is like naming your pets; it helps you identify them later. Use colored tape or markers to make sure you know which wire is which.
Avoiding common mistakes.
Mistakes happen, but they don’t have to ruin your day. Avoid common errors like overloading circuits or using mismatched wire sizes. Learn more about common electrical issues from our guide on Multiple Electrical Outlets Not Working – Why?.
For more insights on replacing old wiring, check out Wagner Mechanical – Replacing Old Wiring.
Advanced Techniques for Complex Wiring Scenarios
Wiring is not always a walk in the park. Sometimes, it’s more like a hike up a mountain. Here’s How To Replace Electrical Wiring In the Wall when things get a bit tricky.

Dealing with multi-story homes.
Multi-story homes are like the skyscrapers of the residential world. Wiring them requires careful planning and a head for heights. Use a conduit to guide wires between floors, and don’t be afraid to ask for professional help.
Wiring in tight spaces or older homes.
Tight spaces and older homes are the escape rooms of the wiring world. Patience, creativity, and flexible conduit are your best friends here. Learn more about fishing wires through walls from The Spruce.
Integrating with existing home automation systems.
Integrating new wiring with home automation is like adding a new member to a well-rehearsed orchestra. It requires harmony and precision. Label everything, and consult the manuals of your existing systems.
Maintenance and Regular Checks
Maintenance is to wiring what exercise is to the body. It keeps things running smoothly.

Importance of regular checks.
Regular checks are like dental cleanings for your home. They prevent small issues from becoming big problems. A bi-annual check is a good rule of thumb.
Spotting potential issues early.
Early detection is key. Look for signs like flickering lights or buzzing sounds. If your thermostat is acting up, check out No Power to Thermostat – 5 Reasons and Solutions.
When to call a professional.
Sometimes, DIY turns into “Don’t Injure Yourself.” Know when to call a professional. It’s like knowing when to see a doctor; if you’re unsure, it’s time to call.
The Future of Home Wiring
The future of home wiring is as bright as a well-lit LED bulb.
Upcoming trends in home wiring.
From smart homes to energy efficiency, the trends in home wiring are evolving faster than a cat chasing a laser pointer. Stay updated, and don’t be afraid to embrace new technologies.
Smart homes and integrated systems.
Smart homes are the Jetsons’ dream come true. Integrated systems require careful planning and compatibility checks. It’s like matchmaking for your home’s gadgets.
Importance of staying updated.
Staying updated is like keeping up with fashion; you don’t want to be left behind. Attend workshops, read blogs, and consult professionals like Penna Electric to stay in the loop.
Frequently Asked Questions
What is the process of How To Replace Electrical Wiring In a Wall?
The process of How To Replace Electrical Wiring In the Wall involves planning, removing old wiring, installing new wires, and testing the connections.
Can I replace the electrical wiring myself?
Yes, you can replace electrical wiring yourself, but it’s recommended to follow proper guidelines or consult a professional if unsure.
What tools are needed to replace electrical wiring in the wall?
To replace electrical wiring in the wall, you’ll need tools like wire strippers, pliers, screwdrivers, and a voltage tester.
How much does it cost to replace electrical wiring?
The cost to replace electrical wiring varies depending on the area and complexity, ranging from $500 to $4,000.
How long does it take to replace the electrical wiring in the wall?
Replacing electrical wiring in the wall typically takes a few hours to a day, depending on the project’s size and complexity.
Is it safe to replace electrical wiring in the wall?
Yes, it’s safe to replace electrical wiring in the wall if proper safety precautions are followed, such as turning off the main power.
What are the signs that electrical wiring needs replacement?
Signs that electrical wiring needs replacement include frequent tripping of circuit breakers, discolored outlets, and flickering lights.
Conclusion
Understanding How To Replace Electrical Wiring In Walls is crucial for maintaining a safe and efficient home.
This guide has provided you with the essential steps and considerations to undertake this task confidently.
Whether you’re a DIY enthusiast or seeking professional guidance, the information here will serve as a valuable resource.
Don’t hesitate to revisit this guide or reach out to a professional if you have any concerns.
Thank you for reading!