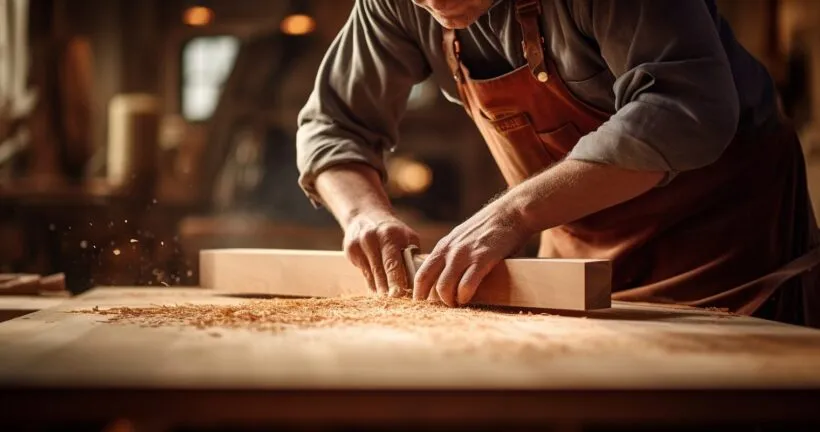
In the world of handcrafted home essentials, there’s a certain charm to creating your own cutting board. The process of How To Make A Cutting Board With Hand Tools is not only a test of your craftsmanship but also a journey into the world of woodworking. According to a survey by Woodworking Network, 65% of woodworkers find making their own tools and accessories to be a rewarding experience.
Understanding the Basics of Handcrafted Cutting Boards
Handcrafted cutting boards are more than just kitchen tools. They’re a testament to your craftsmanship, a conversation starter, and a unique piece of functional art.
The process of learning How To Make A Cutting Board With Hand Tools can be a rewarding journey into the world of woodworking.
According to a survey by Woodworking Network, 65% of woodworkers find making their own tools and accessories to be a rewarding experience.
The tools you’ll need for this project are quite basic: a saw, a chisel, a mallet, and sandpaper. Don’t worry if you’re a beginner. With patience and practice, you’ll be able to create a beautiful and functional cutting board.
Selecting the Right Wood for Your Cutting Board
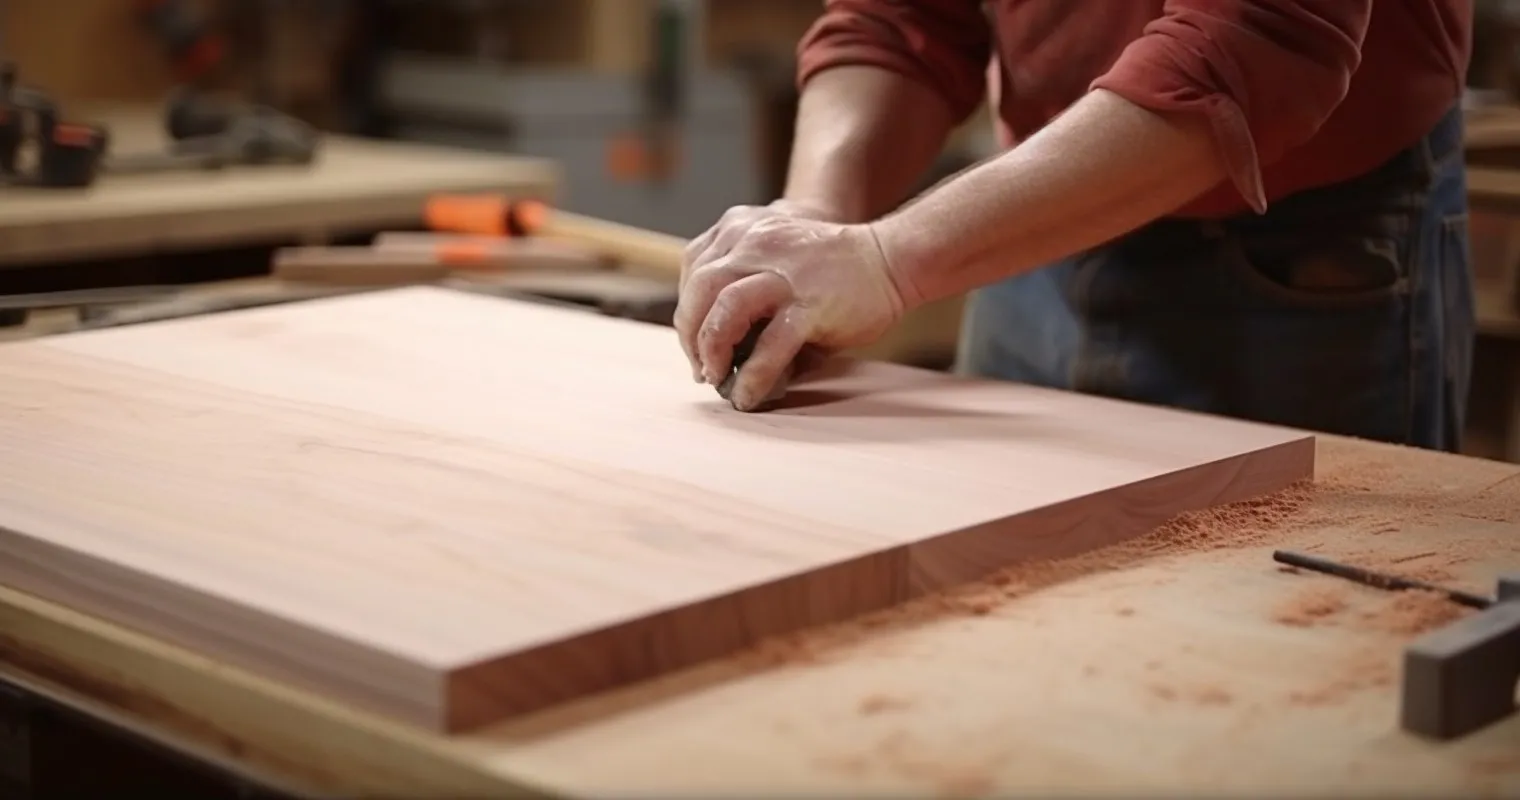
Choosing the right wood is crucial when making a cutting board. The best woods for cutting boards are hardwoods like maple, walnut, or cherry. These woods are durable, resistant to cuts, and safe for food preparation.
When choosing wood, consider its hardness, grain, and toxicity. Hardwoods with a tight grain are best as they’re less likely to harbor bacteria. Also, ensure the wood is not toxic. Some woods, like black locust or yew, can be toxic and should not be used for cutting boards.
Sourcing quality wood can be a challenge, but don’t worry. You can find a great selection of suitable woods at your local home improvement store or online. For more information on choosing the right wood for your cutting board, check out this guide.
How To Make A Cutting Board With Hand Tools: Step-by-Step Guide
Making a cutting board with hand tools is a process that requires patience and precision. But don’t worry, we’ve got you covered with a step-by-step guide.
| Step | Description |
|---|---|
| 1 | Choose Your Wood: Select hardwoods like maple, walnut, or cherry. |
| 2 | Measure and Cut: Mark the desired size on the wood and cut it with a hand saw. |
| 3 | Smooth the Surface: Use a plane and sandpaper to achieve a smooth surface and rounded edges. |
| 4 | Assemble the Board: If using multiple pieces, glue them together and clamp until dry. |
| 5 | Finish the Board: Sand the board with varying grits and apply a food-safe finish like mineral oil or beeswax. |
| 6 | Buff the Board: After the finish has dried, buff the board with a cloth for a professional shine. |
For more detailed steps and tips, check out this guide.
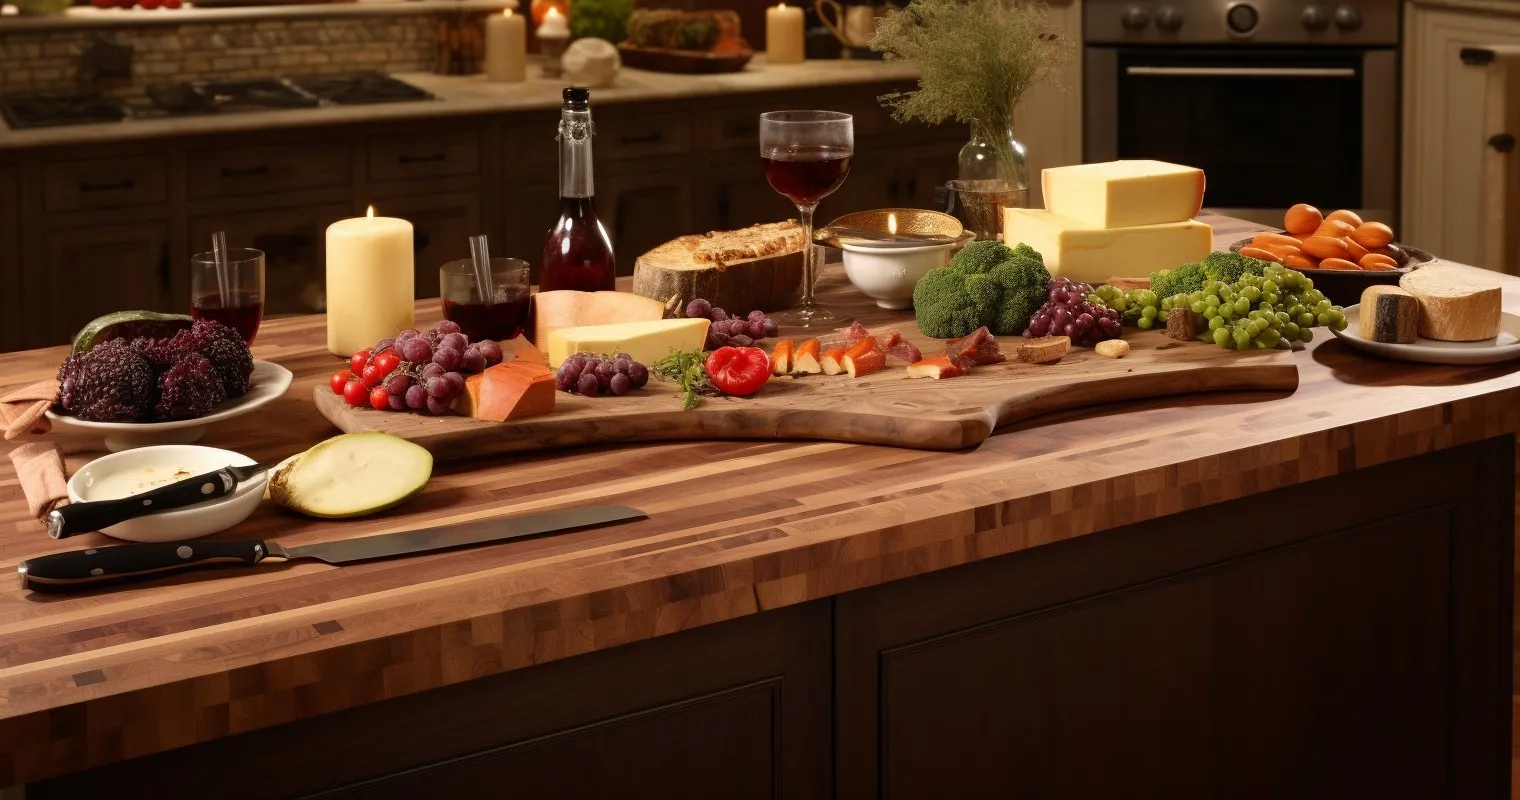
Finishing Your Handcrafted Cutting Board
Once you’ve assembled your cutting board, it’s time to finish it. This will give your board a professional look and protect it from damage.
Sand the Board
Start with a coarse-grit sandpaper and work your way up to a fine-grit. This will ensure a smooth and even surface.
Apply the Finish
There are many types of food-safe finishes you can use, such as mineral oil or beeswax. Apply the finish evenly and let it soak in.
Buff the Board
After the finish has dried, buff the board with a cloth. This will give it a nice shine.
Remember, the finish is not just for looks. It also protects your board and makes it easier to clean. For more information on finishing your cutting board, check out this article.
Maintaining Your Handcrafted Cutting Board
Once you’ve mastered How To Make A Cutting Board With Hand Tools, it’s important to maintain it properly.
| Maintenance Task | Description |
|---|---|
| Cleaning | Gently scrub the board with warm soapy water after each use. Avoid soaking or dishwasher use. |
| Drying | Dry the board immediately after washing, allowing it to air dry standing up to prevent moisture from being trapped under the board. |
| Re-Oiling | Reapply food-safe oil or wax to the board periodically to maintain the finish and prevent drying out. |
Cleaning your cutting board is simple. After each use, gently scrub the board with warm soapy water. Avoid soaking the board in water or putting it in the dishwasher, as this can cause the wood to warp or crack.
Drying your cutting board is equally important. After washing, dry it immediately with a towel and let it air dry standing up. This prevents moisture from being trapped under the board, which can lead to mold.
Maintaining the finish of your cutting board is crucial for its longevity. Over time, the finish will wear off and the board will need to be re-oiled.
To reapply the finish, clean and dry the board, then apply a generous amount of food-safe oil or wax. Let it soak in overnight, then wipe off any excess.
For more tips on maintaining your cutting board Hand Tools, check out this guide.

Troubleshooting Common Issues
Even with careful crafting and maintenance, you might encounter some issues with your cutting board.
Warped boards are a common issue. This is often caused by uneven drying. To fix this, you can try wetting the board and then drying it under pressure.
Cracks or splits can occur if the board dries out too much. To prevent this, regularly oil your board to keep it hydrated. If a crack does appear, you can fill it with a mixture of sawdust and wood glue.
A rough surface can be a problem if the board isn’t sanded properly. If your board feels rough, simply sand it down with fine-grit sandpaper until smooth.
Remember, prevention is the best cure. Regular maintenance can prevent most of these issues.
For more troubleshooting tips, check out this discussion.
Frequently Asked Questions
What tools do I need to make a cutting board by hand?
You’ll need a variety of hand tools, including a saw, chisel, and sandpaper. We’ll provide a detailed list in the article.
How long does it take to make a cutting board with hand tools?
The process can take anywhere from a few hours to a couple of days, depending on your skill level and the complexity of the design.
Is it cheaper to make your own cutting board?
Yes, making your own cutting board can be cost-effective, especially if you already have the necessary tools.
What type of wood is best for a cutting board?
Hardwoods like maple, walnut, or cherry are ideal for cutting boards due to their durability and resistance to cuts.
How do I maintain my handcrafted cutting board?
Regular cleaning and occasional oiling will keep your cutting board in top shape. We’ll discuss this in more detail in the article.
Can I make a cutting board with just hand tools?
Absolutely! Our guide on How To Make A Cutting Board With Hand Tools will show you how.
Conclusion
Creating your own cutting board is a rewarding project that combines practicality with craftsmanship. By following our guide on How To Make A Cutting Board With Hand Tools, you’ll not only have a functional kitchen tool but also a story to tell.
Thank you for reading!