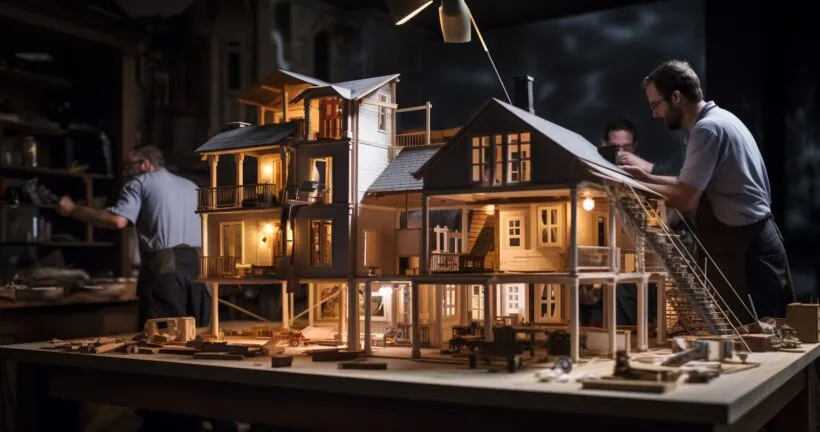
Building a model house is an exciting project, but have you ever wondered how to build an electrical circuit in a model house? It’s a fascinating process that combines creativity, engineering, and a bit of electrical know-how. In fact, according to the National Center for Education Statistics, over 70% of high school students participate in a hands-on science project each year, many of which involve building model structures.
Understanding the Basics of an Electrical Circuit
When it comes to the question of “How To Build An Electrical Circuit In A Model House“, the first step is understanding what an electrical circuit is.
| Component | Function |
|---|---|
| Power Source | Provides electrical energy (e.g., battery) |
| Conductors | Carries the electricity (usually wires) |
| Switch | Controls the flow of electricity |
| Load | Utilizes the electrical energy to do work (e.g., light bulb, motor) |
In simple terms, an electrical circuit is a path or a loop through which electricity flows. It’s a bit like a city road system – electricity, like cars, needs a pathway to follow. The components of an electrical circuit typically include a power source (like a battery), conductors (usually wires), a switch, and a load (such as a light bulb or motor). Each component plays a crucial role in the functioning of the circuit.
For instance, the power source provides the electrical energy, the conductors carry the electricity, the switch controls the flow of electricity, and the load uses the electrical energy to do work. For a more detailed explanation, you can refer to this comprehensive guide.

Safety Precautions When Building an Electrical Circuit
Safety should always be your top priority when dealing with electricity, even in a model house scenario.Electricity can be dangerous if not handled correctly, so it’s important to follow some basic safety rules. Firstly, always work in a dry, well-lit area. Water and electricity are a dangerous combination, and good lighting helps you see what you’re doing.
Secondly, never touch the metal parts of the tools while the circuit is powered. Finally, always turn off the power source when you’re not testing the circuit.
Remember, safety is not just about protecting yourself, but also about ensuring the longevity and functionality of your electrical circuit.So, before you start your miniature construction project, make sure you’re well-equipped with the right tools and materials, and know how to handle them safely.
How to Build an Electrical Circuit in a Model House
Now that we’ve covered the basics and safety precautions, let’s dive into the heart of the matter: How to Build an Electrical Circuit in a Model House. First, gather your materials. You’ll need a power source (like a battery), conductors (wires), a switch, and a load (a light bulb or motor).
Next, connect the battery to the switch using the wires. Ensure the connections are secure. Then, connect the switch to the load, and finally, connect the load back to the battery. Congratulations! You’ve just built a basic electrical circuit.
However, building a circuit is one thing; ensuring it works properly is another. Test your circuit by turning on the switch. If your load (let’s say it’s a light bulb) lights up, you’ve done it right. If not, don’t worry. Troubleshooting is part of the process.
Check your connections, make sure your power source is working, and ensure your load is functional. For a more detailed guide, check out this step-by-step tutorial.
Incorporating the Circuit into the Model House
Once your circuit is working properly, it’s time to incorporate it into your model house. This step requires a bit of creativity and planning. Think about where you want your light sources or other electrical components to be.
Then, carefully integrate the circuit into your model house, hiding the wires and components as much as possible to maintain the aesthetic appeal of your model.
Remember, the goal is to make the integration seamless and functional.
With a bit of patience and precision, you’ll have a model house with a working electrical circuit that not only looks good but also demonstrates your understanding of basic electrical engineering.

Maintaining and Troubleshooting Your Model House Electrical Circuit
Maintenance is key when it comes to how to build an electrical circuit in a model house. Ensuring the longevity of your circuit involves regular checks and minor tweaks.
Firstly, keep the circuit clean and dust-free. Dust can cause resistance and heat up the circuit.
Secondly, ensure all connections are tight. Loose connections can lead to circuit failure.
Lastly, avoid overloading the circuit. Stick to the power rating of the circuit to prevent overheating.
Common Problems and Fixes
| Problem | Possible Causes | Solutions |
|---|---|---|
| Circuit not working | Loose connections, dust buildup | Check and tighten connections, clean the circuit |
| Overheating | Overloading, poor ventilation | Reduce load or upgrade circuit for higher power |
Circuit issues are often due to loose connections, dust accumulation, or overloading. If your circuit isn’t working, check for loose connections and tighten them. If dust is the issue, a simple cleaning can solve the problem. Overloading is a bit trickier. If you suspect this, you may need to reduce the load or upgrade your circuit.
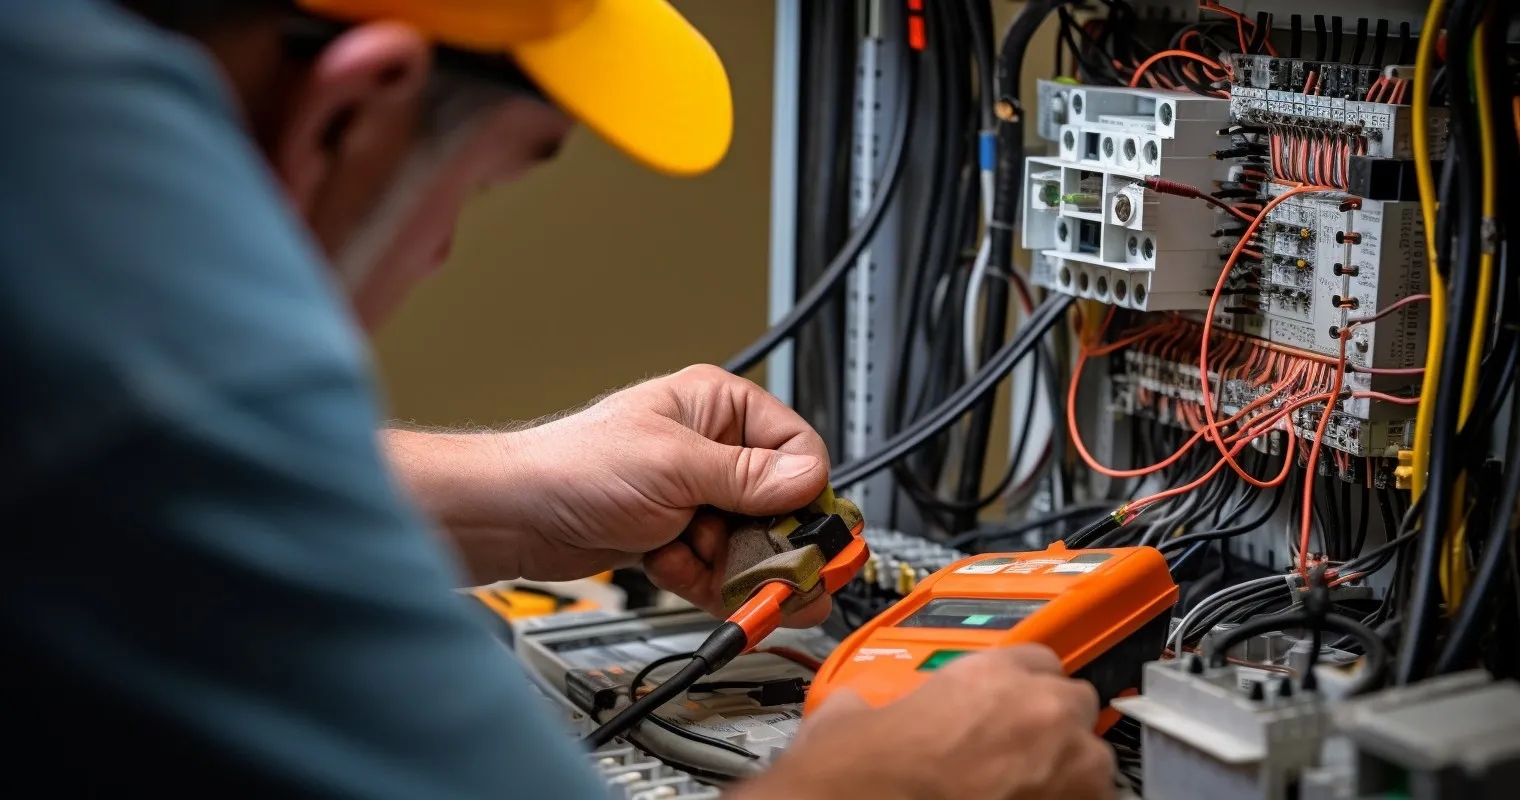
When to Seek Professional Help
While DIY is fun and rewarding, there are times when you need a professional. If you’ve tried troubleshooting and the problem persists, it’s time to call in the experts.
For more signs that your house wiring might be failing, check out this article.
Expanding Your Model House Electrical Circuit
Adding more components to your circuit can be exciting. It allows for more functionality and complexity.
However, it’s important to plan ahead. Make sure your circuit can handle the additional load. If not, you might need to upgrade your power source or wiring.
Safety Considerations When Expanding the Circuit
Safety should always be your top priority.
When adding components, ensure they’re compatible with your circuit. Incorrectly matched components can cause circuit failure or even a fire.
Also, always disconnect the power before working on your circuit. This prevents accidental shocks.
Frequently Asked Questions
What is the first step in building an electrical circuit in a model house?
The first step is understanding the basics of an electrical circuit, including its components and their roles.
What safety precautions should I take when building an electrical circuit?
Always ensure you’re working in a dry, well-lit area and handle all tools and materials with care.
How can I ensure my electrical circuit works properly?
By following a step-by-step guide and troubleshooting common issues, you can ensure your circuit works as intended.
How do I incorporate the circuit into my model house?
The circuit should be integrated seamlessly into the model house, taking care to hide wiring and components where possible.
How can I maintain my model house electrical circuit?
Regular checks and minor repairs can help maintain the longevity of your circuit.
Can I expand my model house electrical circuit?
Yes, you can add more components to your circuit, but always consider safety when doing so.
Conclusion
Building an electrical circuit in a model house is a rewarding and educational experience. By understanding the basics, taking necessary safety precautions, and following a step-by-step guide, you can successfully learn how to build an electrical circuit in a model house. Remember, maintenance is key to longevity, and with a bit of creativity, you can even expand your circuit over time. So why wait? Start your miniature construction project today!
Thank you for reading!