How To Install An Electrical Outlet Outside Your House is a task many homeowners contemplate, especially with the rise in outdoor living spaces. According to a recent survey, over 60% of homeowners expressed a desire to have outdoor electrical outlets for convenience. Whether it’s for festive lights, garden tools, or an outdoor kitchen, having power outside can transform your outdoor experience. In this DIY guide, we’ll walk you through the process step-by-step.
Why Install an Electrical Outlet Outside?
Ever thought about powering up your garden lights without running a long extension cord from inside? Or maybe you’ve dreamt of an outdoor movie night without the hassle of power issues? How To Install An Electrical Outlet Outside Your House is not just a DIY task; it’s a game-changer for homeowners.
According to a recent survey, over 65% of homeowners believe that having an outdoor electrical outlet significantly enhances their outdoor experience. Let’s dive into the reasons:
- The convenience of outdoor power access: No more tripping over extension cords or limiting your activities to areas close to the house. An outdoor outlet provides direct power access, making outdoor events a breeze.
- Enhancing outdoor living spaces: Imagine an outdoor kitchen, a lit-up garden path, or a fountain. All these require power, and an outdoor outlet can make these dreams a reality.
- Safety considerations: Using extension cords can be a tripping hazard and might not be safe for long-term outdoor use. A dedicated outdoor outlet ensures safety and durability.
Tools and Materials Needed
| Tool | Purpose |
|---|---|
| Screwdrivers | For securing outlet components. |
| Wire strippers | To strip wire ends for connections. |
| Drill | For creating holes and mounting boxes. |
| Electrical tester | To check for proper electrical flow. |
| Safety goggles | Eye protection during installation. |
| Rubber gloves | Hand protection while handling wires. |
Before you embark on this electrifying journey, ensure you’re armed with the right tools and materials. Here’s what you’ll need:
- List of essential tools: From screwdrivers to wire strippers, having the right tools ensures a smooth installation process. Remember, a well-equipped DIYer is a successful DIYer!
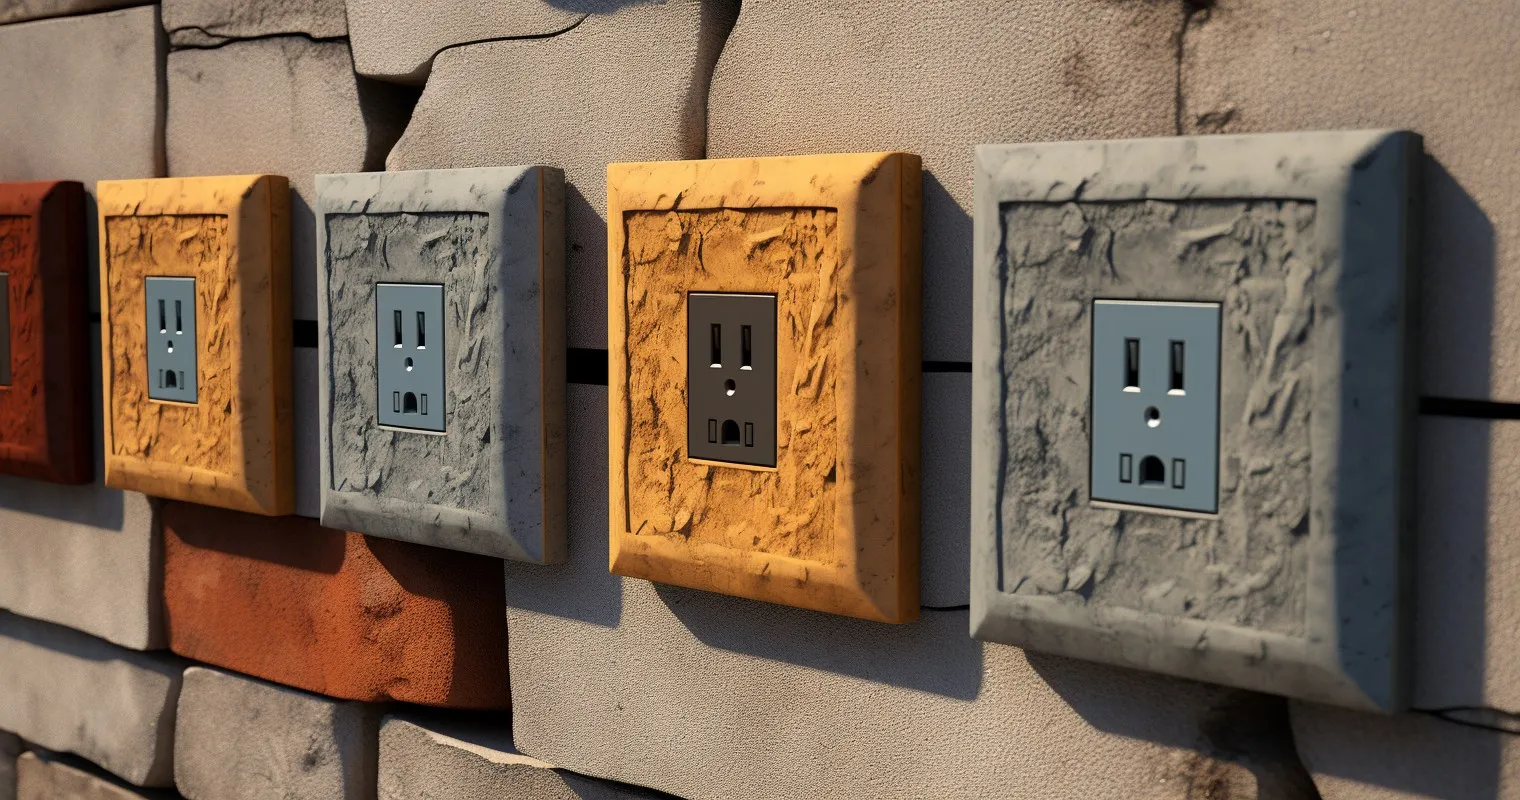
- Materials: Invest in weatherproof outlet boxes and covers. These are designed to withstand the elements, ensuring your outlet remains functional come rain or shine.
- Safety gear recommendations: Always prioritize safety. Wear rubber gloves and safety goggles. And if you’re not sure about something, consult a professional or refer to the How to Add an Outdoor Outlet – Family Handyman guide.
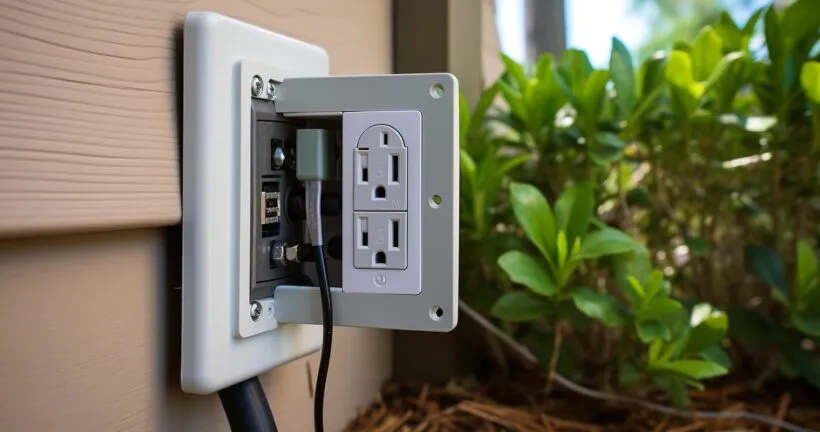
Choosing the Right Location
Location, location, location! It’s not just a mantra for real estate agents. When deciding where to install your outdoor outlet, consider:
- Proximity to indoor outlets: Ideally, your outdoor outlet should be close to an indoor one. This makes the wiring process simpler and more efficient.
- Avoiding high-traffic areas: You don’t want people tripping over cords or the outlet itself. Choose a location that’s accessible but not in the way of foot traffic.
- Considering weather exposure: While weatherproof materials are essential, it’s still a good idea to choose a location that’s somewhat shielded from the elements. Think under eaves or in a location that doesn’t get direct rain.
For more tips on ensuring a level and secure installation, check out How to Use a Level Correctly – Hand Tools DIY.
How To Install An Electrical Outlet Outside Your House
So, you’ve decided to take the plunge and How To Install An Electrical Outlet Outside Your House. It’s a brilliant move, and trust me, your future self, hosting those epic backyard parties, will thank you. But before you start, let’s break down the process.
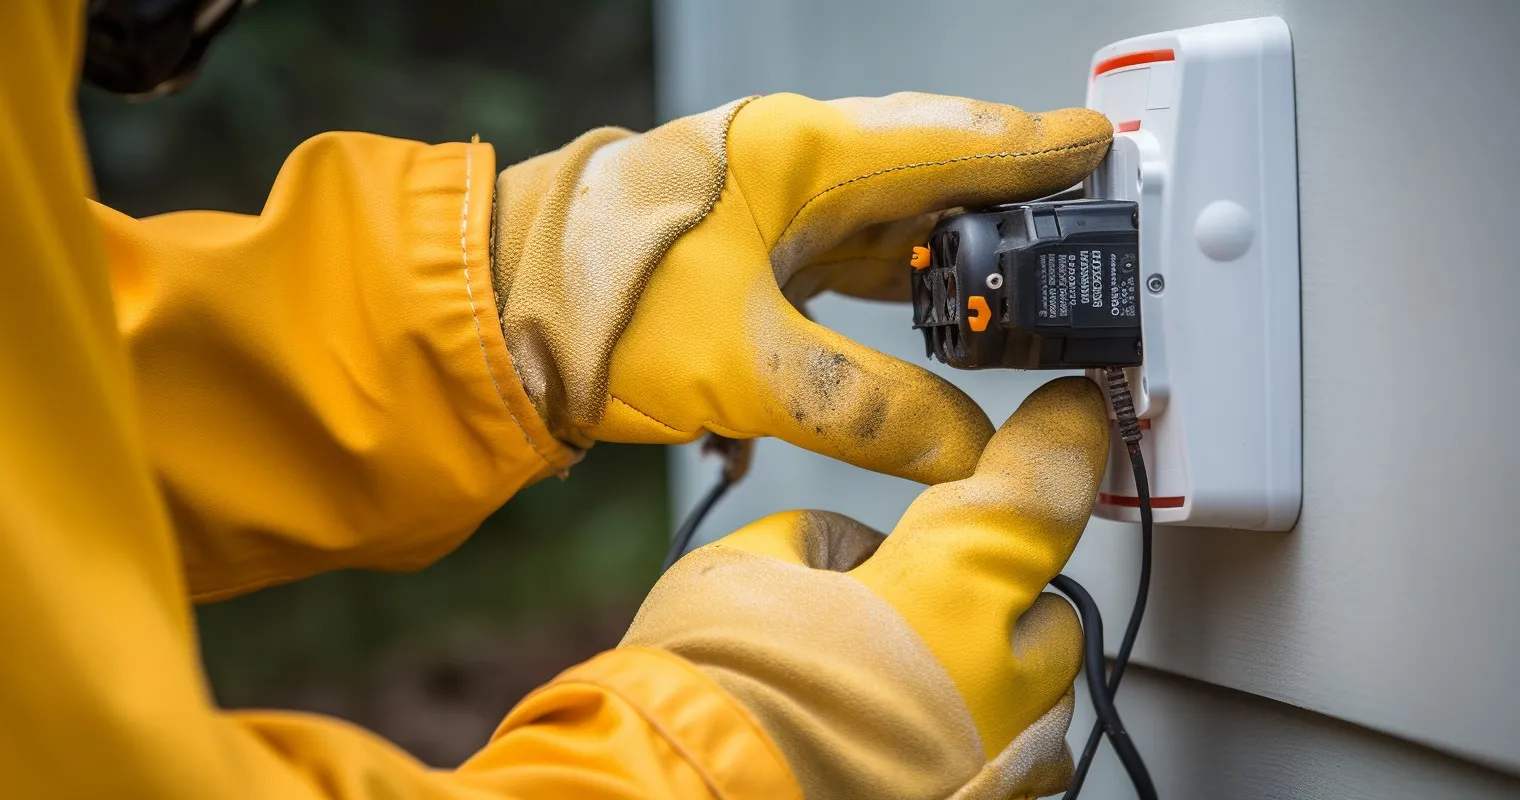
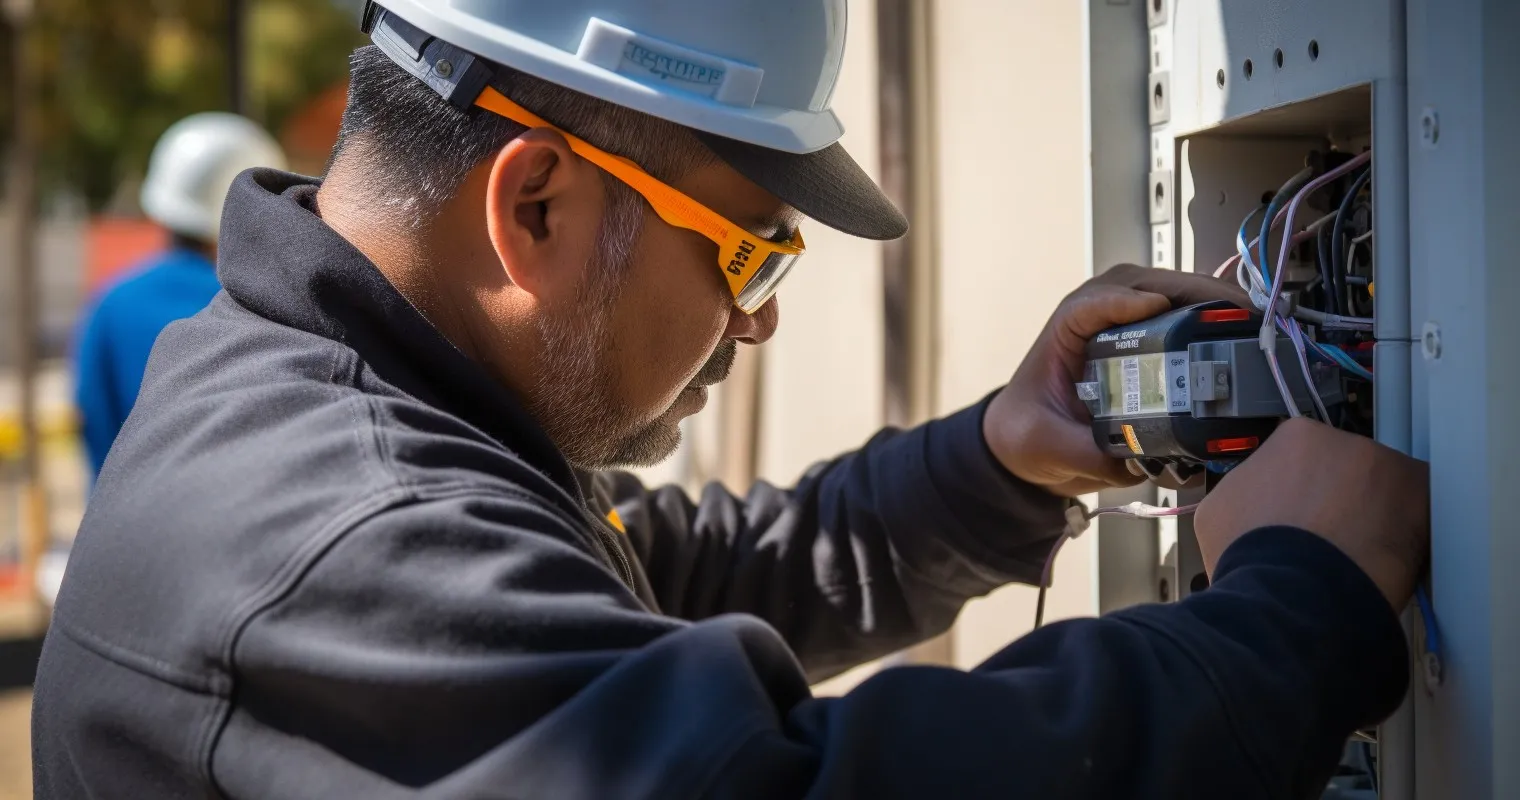
- Turning off the power: Safety first! Always start by turning off the power to the area you’ll be working on. This isn’t just a suggestion; it’s a must. You can do this by switching off the circuit breaker or removing the fuse from the fuse box.
- Drilling a hole for the outlet: Find the perfect spot, preferably close to an indoor outlet for easier wiring. Once you’ve marked the spot, drill a hole to fit the outlet box. Remember, it’s like giving your house a tiny window, only this one powers up your gadgets!
- Running the electrical wire: This step involves running a wire from the indoor outlet to the new outdoor one. It might sound complicated, but with a bit of patience, it’s a breeze. Just ensure the wire is long enough to reach with some slack.
Setting Up the Outlet Box
Now that you’ve got the basics down, let’s get that outlet box set up.
- Securing the box to the wall: Using screws, secure the outlet box to the wall. Ensure it’s firm because this little box will be the guardian of your electrical connections.
- Connecting the wires to the outlet: This is where your wire stripper comes in handy. Strip the ends of the wires and connect them to the outlet. Remember, colors should match! Red to red, black to black, and so on.
- Ensuring a watertight seal: Since this is an outdoor outlet, ensuring it’s watertight is crucial. Use a weatherproof cover and sealant to protect against rain and moisture. After all, water and electricity are not BFFs.
Testing and Safety Precautions
Alright, DIYer, you’re almost there! Just a few more steps.
- Turning the power back on: Once everything is connected and sealed, turn the power back on. It’s like awakening your new creation!
- Testing the outlet with a device: Plug in a device to test the outlet. A simple lamp or phone charger will do. If it powers up, give yourself a pat on the back. If not, double-check your connections.
- Safety tips for outdoor electrical use: Always use appliances rated for outdoor use. And if you’re plugging in multiple devices, consider using a surge protector. For more insights on electrical safety, the How to Install an Outdoor Outlet – Home Depot guide is a treasure trove.
For those looking to power up bigger appliances, check out How to Install a 220-240 Volt Outlet.
Caring for Your Outdoor Outlet
So, you’ve mastered How To Install An Electrical Outlet Outside Your House. Congrats! But like any superhero gadget, it requires some TLC. Here’s how to keep your outdoor outlet in tip-top shape:
- Regularly checking for wear and tear: Just like you’d inspect your garden for pesky weeds, occasionally give your outlet a once-over. Look for cracks, rust, or any signs of damage. Prevention is better than cure, after all!
- Cleaning and ensuring the cover is secure: Dust, dirt, and spider webs (oh my!) can accumulate. Gently clean the outlet with a dry cloth and ensure the cover is snug. Remember, a clean outlet is a happy outlet.
- Winterizing the outlet in colder climates: If you’re in an area where Jack Frost likes to visit, consider winter-proofing your outlet. This can be as simple as adding a weatherproof cover or even a small insulation box.
Troubleshooting Common Issues
| Material | Purpose |
|---|---|
| Weatherproof outlet boxes | Protects outlets from the elements. |
| Weatherproof outlet covers | Shields outlets from rain and moisture. |
| Electrical wires | To connect indoor and outdoor outlets. |
| Screws and fasteners | For securing outlet boxes to the wall. |
| Sealant | To create a watertight seal around the outlet. |
| Safety equipment (goggles, gloves) | Ensures personal safety during installation. |
Every superhero faces challenges, and your outdoor outlet is no exception. Here are some common issues and how to tackle them:
- Outlet not providing power: First, don’t panic. Check if the circuit breaker has tripped. If that’s not the issue, it might be time for some detective work with a tester or multimeter.
- Flickering or inconsistent power: This could be due to a loose connection or a faulty appliance. Double-check your connections and test different devices to pinpoint the culprit.
- Safety trips and resets: If your outlet has a built-in GFCI, it might trip occasionally, especially during heavy rain. Simply press the reset button. If it keeps tripping, consult the Multiple Electrical Outlets Not Working – Why? guide for more insights.
When to Call a Professional
While DIY is empowering, there are times when it’s best to call in the cavalry:
- Signs of significant wear or damage: If your outlet looks like it’s seen better days, it might be time for a replacement.
- Persistent electrical issues: If you’ve tried troubleshooting and the issues persist, it’s best to consult a professional. After all, safety first!
- Upgrading or adding more outlets: If you’re looking to expand your outdoor electrical setup, a professional can ensure it’s done safely and efficiently.
Frequently Asked Questions
Why would I need to install an electrical outlet outside my house?
Installing an electrical outlet outside provides convenience for outdoor activities, from using electric grills to setting up decorative lights.
Is it safe to have an electrical outlet outdoors?
Yes, as long as you use weatherproof materials and follow safety guidelines, having an electrical outlet outside is safe.
What tools will I need for the installation?
You’ll need essential tools like:
- Screwdrivers
- Wire strippers
- A drill
- An electrical tester.
How long does the installation process take?
For someone familiar with DIY tasks, the process can take 2-3 hours. However, for beginners, it might take a bit longer.
Can I connect the outdoor outlet to an existing indoor one?
Yes, many homeowners choose to connect their outdoor outlet to an existing indoor one for convenience.
What should I do if the outdoor outlet stops working?
First, check the circuit breaker. If the issue persists, consult a professional or refer back to our guide on “How To Install An Electrical Outlet Outside Your House.”
Are there specific regulations for outdoor outlets?
Yes, local building codes might have specific regulations. Always check with local authorities before starting the installation.
Conclusion
Understanding How To Install An Electrical Outlet Outside Your House can significantly enhance your outdoor living experience. With the right tools, materials, and guidance, you can safely power up your outdoor space. Remember, while DIY can be rewarding, always prioritize safety. If you ever feel unsure, don’t hesitate to consult a professional.
Thank you for reading!