In the age of DIY home projects, understanding the intricacies of your home’s electrical system is both empowering and essential. How To Electrical Wiring A House is a question that’s been on the minds of many homeowners. According to a recent survey, over 60% of homeowners have considered undertaking an electrical DIY project. But with electricity, there’s no room for errors. This guide aims to shed light on the process, ensuring safety and efficiency every step of the way. Ready to illuminate your DIY skills? Let’s dive in!
Understanding the Basics of Home Electrical Systems

Diving into the world of DIY projects can be electrifying, especially when it comes to wiring your own house. But before you start channeling your inner electrician, it’s crucial to grasp the basics of home electrical systems. At its core, an electrical system is the heartbeat of your home, powering everything from your fridge to your favorite reading lamp.
Safety, as they say, is no accident. When dealing with electricity, understanding the importance of safety and precautions can’t be overstated. One wrong move, and you could be in for a shocking experience (pun intended). So, always ensure the power is off before you start any work.
Now, let’s get charged up about currents. You might have heard of AC and DC, and no, we’re not talking about the rock band. In the electrical world, AC stands for Alternating Current, which is what powers most of our homes. On the other hand, DC, or Direct Current, is typically found in batteries. Knowing the difference is crucial, especially when setting up specific appliances or systems.
Tools and Materials Needed
| Wire Type | Conductor Material | Applications |
|---|---|---|
| Romex (NM-B) | Copper | General household wiring |
| THHN/THWN | Copper or Aluminum | Indoor/outdoor conduit wiring |
| IF | Copper | Underground and outdoor wiring |
| BX/AC | Aluminum | Armored cable for indoor use |
| RG6/RG59 Coaxial | Copper | TV and internet connections |
Every craftsman knows the importance of the right tools. When it comes to electrical wiring, this adage holds even truer. From wire strippers to voltage testers, having the essential tools at your disposal can make the process smoother and safer.
But tools are just one part of the equation. You’ll also need the right materials, such as wires of the correct gauge, switches, and outlets. And remember, not all wires are created equal. Depending on your needs, you might opt for solid or stranded wires, each with its own set of advantages.
Safety first! When working with electricity, it’s essential to gear up. Think of safety gloves and goggles as your trusty sidekicks, protecting you from potential hazards. For a deeper dive into the tools of the trade, check out this Hand Tools DIY Guide. And if you’re looking for a comprehensive guide on wiring a house, EdrawMax has got you covered.
Planning Your Electrical Wiring Layout
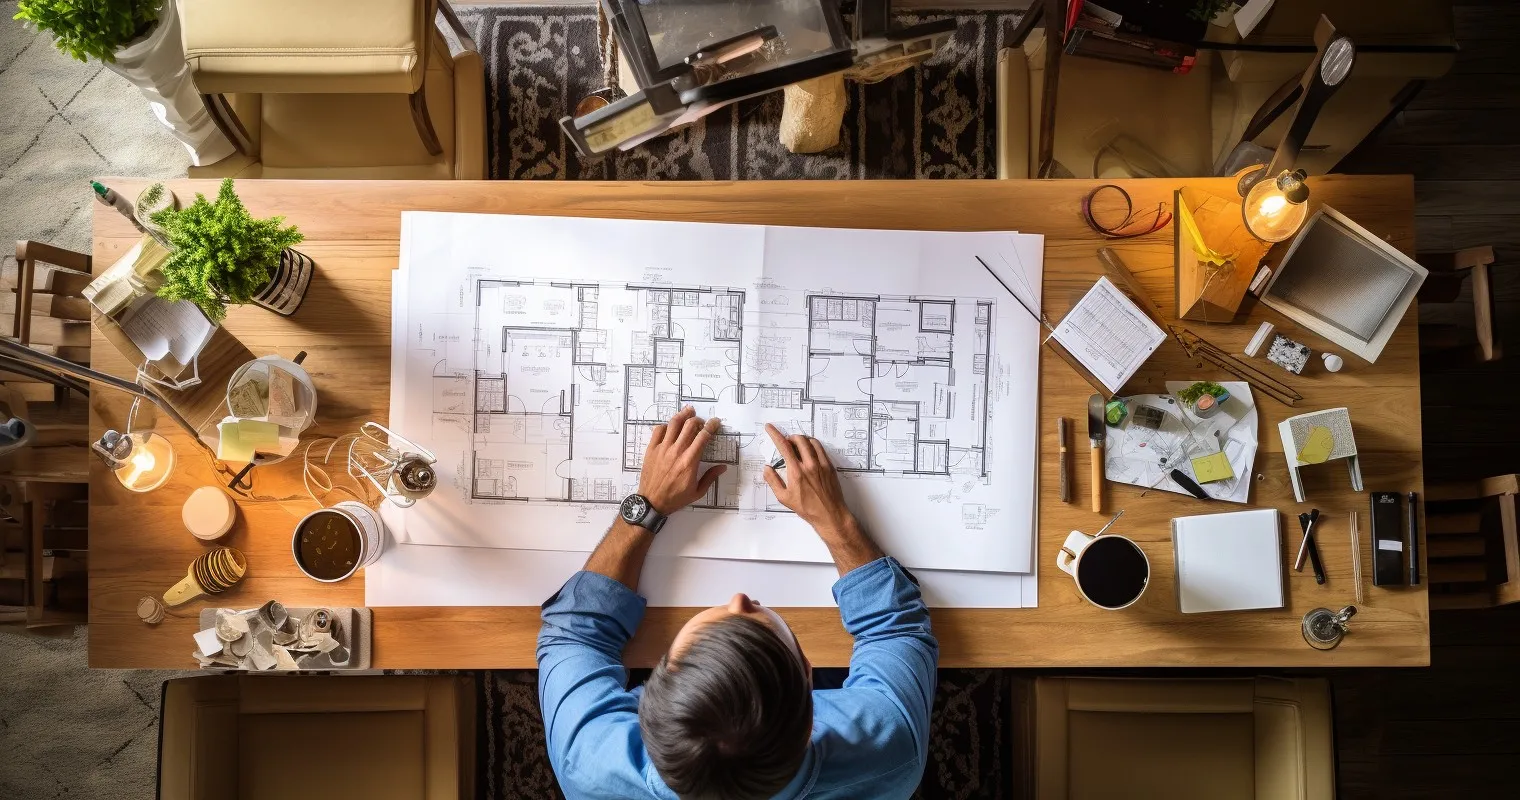
A well-thought-out plan is the foundation of any successful DIY project. When it comes to electrical wiring layout, this planning phase is even more critical. It’s not just about where to place the outlets or switches; it’s about creating a cohesive system that’s both efficient and safe.
Start by sketching out your home’s layout, marking the placement of furniture and appliances. This will give you a clear idea of where you’ll need outlets and switches. Remember, it’s always better to have an outlet too many than one too few.
Step-by-Step Guide: How To Electrical Wiring A House
Embarking on the journey of electrical wiring can be both exhilarating and, let’s be honest, a tad intimidating. But fear not, dear reader, for we’re here to illuminate the path (pun intended) of How To Electrical Wiring A House.
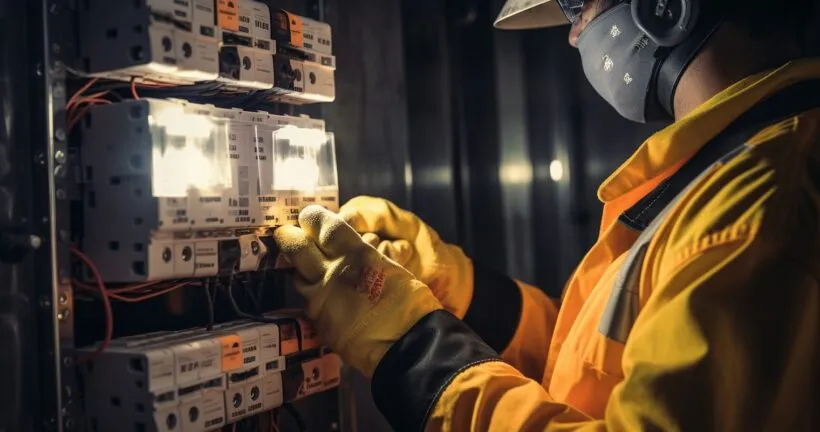
First things first, preparing the workspace and ensuring safety is paramount. Before you even think about touching a wire, make sure the power is off. A simple voltage tester can be your best friend here. And remember, a clutter-free workspace isn’t just about aesthetics; it’s a safety necessity.
Next up, running wires through walls and ceilings. This step is where your inner artist might emerge, visualizing the paths your wires will take. But it’s not all about creativity; precision is key. Measure twice, cut once, and always ensure you’re using the right type of wire for the job.
Now, the fun part: installing outlets, switches, and fixtures. This step is where your house starts to come alive, lighting up with every switch you install. But remember, patience is a virtue. Ensure each installation is secure and correctly wired.
Wiring Different Rooms in the House
| Outlet Type | Features and Benefits | Suitable Locations |
|---|---|---|
| Standard Outlet | General use, two-prong or three-prong | Living rooms, bedrooms, offices |
| GFCI Outlet | Ground fault protection, prevents shocks | Kitchens, bathrooms, outdoors |
| AFCI Outlet | Arc fault protection, prevents fires | Bedrooms, living rooms |
| USB Outlet | USB charging ports alongside AC sockets | Bedrooms, living rooms, kitchens |
Different rooms have different needs. When it comes to kitchens, bathrooms, and outdoor spaces, there are special considerations to keep in mind. These areas often come into contact with water, making electrical safety even more crucial.
Enter the hero of wet areas: the GFCI outlet. These outlets are designed to trip (or shut off) when they come into contact with moisture, preventing potential shocks. If you’re curious about more advanced electrical installations, check out this guide on Installing a 220-240 Volt Outlet. And for a deep dive into the world of electrical wiring, This Old House has an excellent resource.
Common Mistakes to Avoid
Ah, mistakes. We’ve all made them. But when it comes to electrical wiring, some errors can be, well, shocking. One of the most common pitfalls is overloading circuits. Just because there’s an open slot in your breaker doesn’t mean it’s an invitation to add more load.
Next, ensuring proper grounding is crucial. Grounding provides a path for excess electrical current to return safely to the ground without harming you or your appliances.
Lastly, the importance of regular maintenance and checks cannot be overstated. Think of it as a spa day for your home’s electrical system. Regular check-ups can prevent potential issues and ensure everything is running smoothly.
Advanced Tips and Techniques

So, you’ve got the basics down, and you’re ready to elevate your electrical game? Welcome to the world of advanced electrical wiring, where neatness reigns supreme, and the future is, well, smart.
One of the hallmarks of a professional wiring job is the art of hiding wires. Nobody wants to see a spaghetti mess of cables running along their walls. Techniques like using raceways, conduits, or even going wireless can make your installations look sleek and modern.
Speaking of modern, let’s talk smart home integrations. With the rise of smart devices, modern wiring solutions have evolved to accommodate them. From smart thermostats to voice-controlled lighting, integrating these gadgets requires a bit of foresight and planning in your wiring process.
Lastly, for those living in older homes, upgrading old electrical systems is not just about convenience; it’s about safety. Old wiring can be a fire hazard, and updating it can give you peace of mind and a boost in property value.
Dealing with Electrical Issues
Ah, the joys of homeownership. Just when you think everything’s perfect, breaker trips or an outlet stops working. But fear not, for we’re here to shed light on common problems like short circuits and those pesky tripping breakers. And if you’re scratching your head over multiple outlets giving you the silent treatment, this guide might have the answers you seek.
But remember, while DIY is empowering, there are times when it’s best to wave the white flag and call a professional electrician. Some issues are beyond the scope of DIY fixes, and there’s no shame in seeking expert help. For a deeper dive into electrical basics and troubleshooting, Extreme How To has a comprehensive guide.
Final Safety Checks and Testing
You’re almost at the finish line! But before you take a victory lap, it’s time for testing all installations. A simple voltage tester can be invaluable here, ensuring that everything’s powered as it should be.
Safety, as always, is paramount. Ensuring all systems are grounded and safe is crucial. Grounding helps protect you from potential electrical shocks, and it’s a step that should never be skipped.
Lastly, like any other system in your home, your electrical setup needs some TLC. Regular maintenance, like checking for frayed wires or testing outlets, can go a long way in ensuring longevity. For a detailed guide on roughing-in electrical wiring and maintaining it, Family Handyman has got you covered.
Frequently Asked Questions
What is the first step in ‘How To Electrical Wiring A House’?
The first step is always safety. Before starting, ensure the power is turned off and you’re equipped with the necessary safety gear.
How do I choose the right wires for my home?
Choosing the right wires depends on the electrical load and purpose. For most home applications, 12-gauge or 14-gauge wires are suitable.
Can I mix different wire gauges in my house?
It’s not recommended. Mixing wire gauges can lead to overloading and potential fire hazards.
How often should I check my home’s electrical wiring?
It’s good practice to inspect your home’s electrical wiring every 3-5 years, especially if you live in an older home.
Are there any legal restrictions on DIY electrical wiring?
Yes, many regions require permits or licensed electricians for major electrical work. Always check local regulations before starting.
How can I ensure my electrical wiring is safe?
Always follow safety guidelines, use the right tools, and consider hiring a professional for inspections or complex tasks.
Conclusion
Embarking on a journey to understand How To Electrical Wiring A House is both challenging and rewarding. With the right knowledge and tools, you can ensure the safety and efficiency of your home’s electrical system. Remember, while DIY projects can be fulfilling, never compromise on safety. If in doubt, always consult a professional. Ready to power up your DIY game? Your home awaits its electrical transformation!
Thank you for reading!