
In the realm of house renting, ensuring the safety of your tenants is paramount. One aspect often overlooked is the significance of electrical earthing. How To Do A Good Electrical Earthing At Home is not just a technical necessity but a lifesaver. According to the Electrical Safety Foundation International, proper earthing can prevent nearly 30% of home electrical accidents.
So, why is it so crucial?
Electrical earthing acts as a safeguard, directing any unwanted electrical currents safely into the ground. This not only protects your appliances but also significantly reduces the risk of electrical shocks. Dive into our step-by-step guide and ensure your rental property is not just attractive but also safe.
Understanding the Importance of Electrical Earthing
Ever tried to imagine a world without the ground beneath your feet? Scary, right? Similarly, in the electrical world, earthing (or grounding) is that solid ground. Electrical earthing is the process of connecting the non-electrical part of your appliances and fixtures to the earth’s surface. But why is it so crucial?
Well, imagine you touch an electrical appliance and get a shock. Not a pleasant experience, is it? Earthing plays a pivotal role in preventing such mishaps. It acts as a protective shield, ensuring that any unwanted electrical currents are safely directed into the ground. This not only keeps you safe from unexpected shocks but also prevents potential fires.
Statistics from the Electrical Safety Foundation International reveal that proper earthing can prevent nearly 30% of home electrical accidents. And if you’re thinking about your pricey gadgets and appliances, earthing has got them covered too. It ensures that your devices are not damaged by unexpected electrical surges.
Different Types of Earthing Systems

Now that we’ve established the importance of earthing, let’s delve into the different types available. It’s like choosing the right foundation for your house; each type has its unique strengths.
Pipe Earthing
This is the most common type of earthing. Here, galvanized steel and perforated pipe are buried vertically in the earth (usually 2.5 meters deep). The moisture in the soil acts as a good conductor and ensures that unwanted currents are safely dissipated.
Advantages? It’s cost-effective and easy to install. Plus, it’s highly effective in places with high soil moisture.
Plate Earthing
In this method, a copper plate or a galvanized iron plate is buried horizontally at a depth of about 8 feet. It’s typically used in areas where the soil is of low moisture content.
When to use it? If you’re in a dry area with rocky terrain, this might be your best bet.
Rod Earthing
This involves inserting rod electrodes, usually made of copper or galvanized iron, vertically into the ground. These rods, often used in multiples, ensure a good connection with the earth, providing a safe path for electrical energy.
Benefits? It’s highly efficient, especially in areas where the water table is just below the surface.
For those DIY enthusiasts, if you’re looking to set up a new electrical connection, you might want to check out how to install a 220-240 volt outlet. And for a deeper dive into the types and methods of earthing, this guide is a goldmine.
Step-By-Step Guide: How To Do A Good Electrical Earthing At Home
So, you’ve decided to take the plunge and ensure your home’s electrical safety. Kudos! But where do you start? Let’s break it down step-by-step.
Selecting the Right Location for Earthing
Choosing the right spot is like picking the perfect parking space – it’s all about location, location, location. Ideally, you’d want a spot away from the building’s foundation, ensuring minimal interference.
Materials and Tools You’ll Need
Before you dive in, make sure you’re armed with the right tools. You’ll need:
- An earthing electrode (copper or galvanized iron).
- A hammer and digging tools.
- Connecting wires and earth pit cover.
Remember, a craftsman is only as good as his tools!
Installing the Earthing Electrode
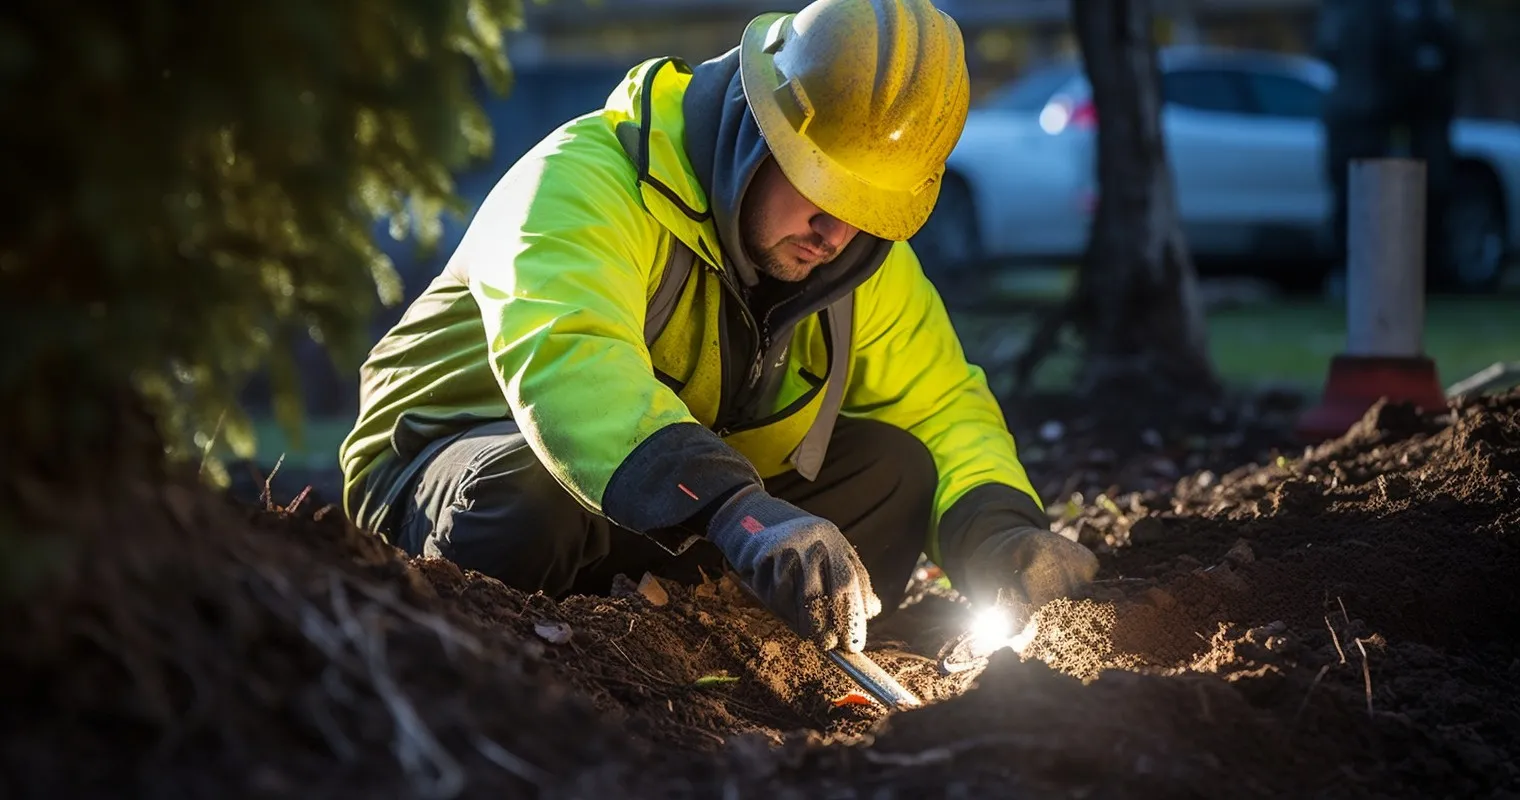
This is where the magic happens. Dig a hole (about 8 feet deep), insert the electrode, and then fill the pit with a mixture of salt, charcoal, and sand. This concoction ensures good conductivity, making sure any rogue currents are safely grounded.
Connecting the Main Earth Wire
Once your electrode is snugly in place, connect it to the main earth wire of your house. This acts as the bridge between your electrical system and the electrode, ensuring safety all around.
For those scratching their heads over malfunctioning outlets, here’s a handy guide on why multiple electrical outlets might not be working.
Testing and Maintenance of the Earthing System
| Warning Sign | Description | Action Required |
|---|---|---|
| Frequent electrical shocks | Experiencing shocks from appliances or outlets. | Investigate and repair the system. |
| Flickering lights | Lights flickering unexpectedly. | Check for earthing system issues. |
| Tingling sensation when touching | Feeling a tingling sensation when touching appliances. | Perform a thorough system inspection. |
Now that you’ve set up your earthing system, it’s not a ‘set it and forget it’ deal. Regular checks and maintenance are key.
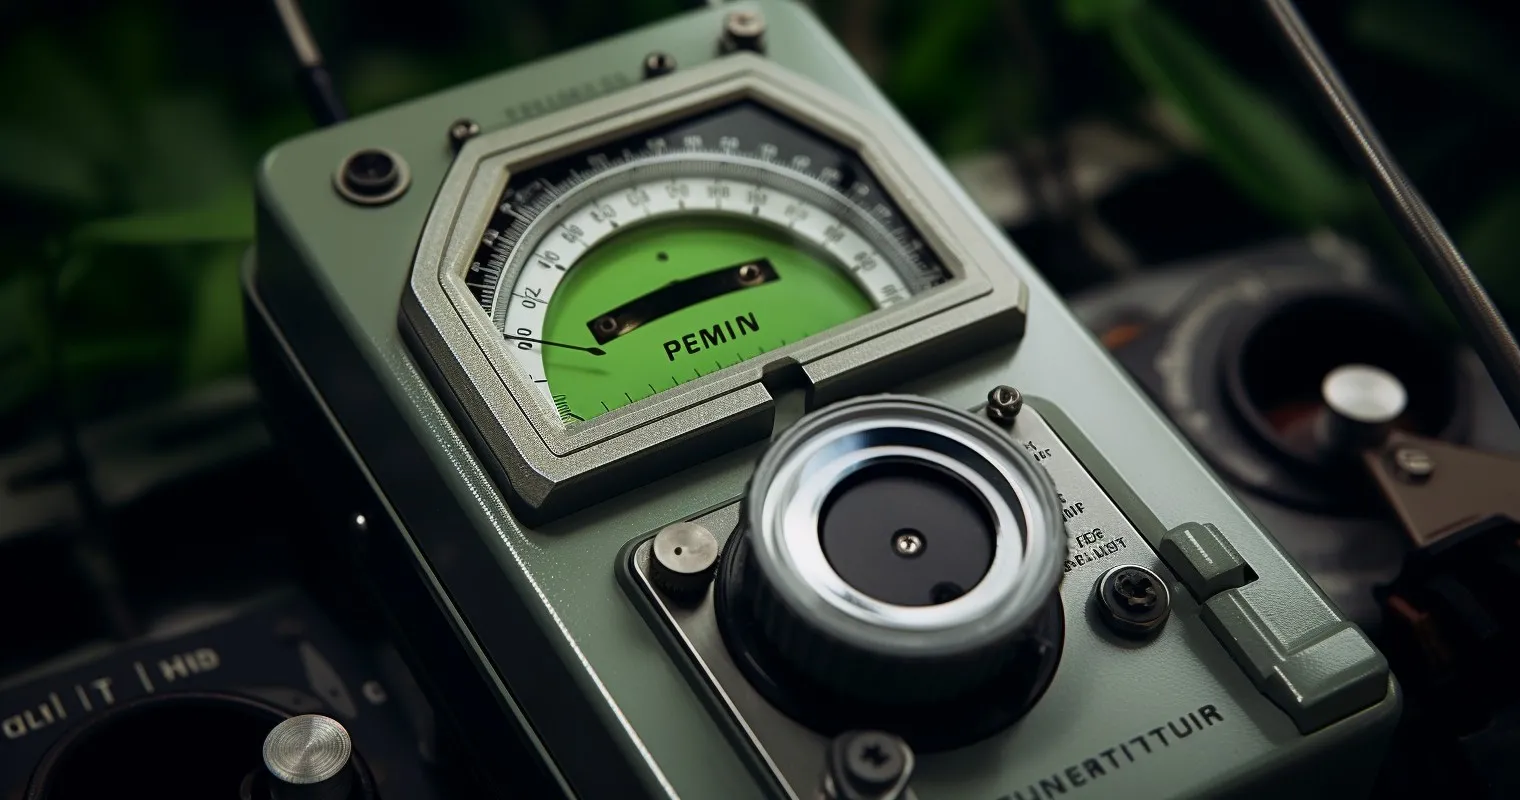
How to Test the Effectiveness
Using an earth resistance tester, check the resistance of your earthing system. A value below 1 ohm is what you’re aiming for. If it’s higher, it might be time for some troubleshooting.
Regular Maintenance Tips
- Keep the area around the earthing pit clean and free from debris.
- Periodically water the pit, especially during dry seasons.
- Check for corrosion and replace any worn-out components.
Signs Your Earthing System Needs Attention
- Frequent electrical shocks? Red flag.
- Flickering lights? Another warning sign.
- A tingling sensation when touching appliances? Definitely time for a checkup.
For a deeper dive into the intricacies of earthing design and testing, this guide is a treasure trove of information.
Remember, How To Do A Good Electrical Earthing At Home isn’t just about following steps; it’s about understanding the why and how behind each action. Your home’s safety is paramount, and with this guide, you’re well on your way to ensuring it.
Common Mistakes to Avoid When Earthing
Ah, earthing! It sounds so simple, right? Dig a hole, pop in an electrode, and voila! But, like baking a soufflé or attempting a handstand, there are pitfalls aplenty. Let’s navigate this minefield together.
Picking the Wrong Earthing System
It’s like wearing sandals to a snowstorm. Not all earthing systems are created equal, and what works for one home might not for another. Choosing the right type of earthing system tailored to your home’s needs is crucial.
Skimping on Electrode Depth
Imagine planting a tree but only burying the roots skin-deep. It won’t stand tall for long. Similarly, an inadequate depth of the earthing electrode can compromise the entire system’s effectiveness.
Using Cheap, Corrosive Materials
You wouldn’t build a house with cardboard, would you? Using low-quality, corrosive materials is a recipe for disaster. Over time, these materials degrade, putting your safety at risk.
For those wondering why there’s no power to your thermostat, it might be time to check your earthing system.
Advanced Tips for Enhanced Safety
Now that we’ve covered the pitfalls, let’s dive into the pro tips. These are the cherries on top of your electrical safety sundae.
The Dynamic Duo: Surge Protectors and Earthing
Batman had Robin. Sherlock had Watson. And earthing? It has surge protectors. These devices work in tandem with your earthing system, guarding against sudden voltage spikes. Think of them as the bouncers of the electrical world, keeping unruly currents in check.
The Importance of Professional Inspections
While DIY is all the rage, some things are best left to the pros. Regular inspections by certified professionals ensure your system is up to snuff. It’s like getting a check-up from your doctor but for your home’s electrical health.
Keep Water at Bay
Water and electricity are a notorious duo, like cats and cucumbers. Ensuring your earthing system is away from water sources is paramount. This prevents potential hazards and ensures the longevity of your system.
Frequently Asked Questions
What is the main purpose of electrical earthing?
Electrical earthing primarily ensures safety by directing excess electrical currents into the ground, preventing shocks and appliance damage.
How often should I check the earthing system in my home?
It’s recommended to inspect your earthing system annually or after any major electrical work.
Are there different types of earthing systems?
Yes, there are several types, including pipe, plate, and rod earthing. Each has its unique advantages and applications.
How does proper earthing protect my appliances?
Proper earthing prevents voltage spikes, ensuring your appliances are safe from electrical surges and potential damage.
Can I set up the earthing system by myself?
While it’s possible, it’s always best to consult with or hire a professional to ensure the system is set up correctly and safely.
What are the signs of a faulty earthing system?
Signs include frequent electrical shocks, flickering lights, and a tingling sensation when touching appliances.
How does “How To Do A Good Electrical Earthing At Home” differ from other guides?
Our guide offers a comprehensive, step-by-step approach tailored for homeowners, ensuring both understanding and safety.
Conclusion
Understanding How To Do A Good Electrical Earthing At Home is essential for every homeowner, especially those in the house renting business. Proper earthing ensures the safety of both the property and its inhabitants. With the knowledge you’ve gained, you’re now equipped to make informed decisions about your home’s electrical safety.
Thank you for reading!