
How To Transplant Ivy Houseplants: Ivy houseplants are a popular choice among plant enthusiasts, adding a touch of elegance and greenery to any living space. But what happens when your beloved ivy outgrows its pot? That’s where How To Transplant Ivy Houseplants comes into play.
According to a study by the National Gardening Association, over 30% of households in the U.S. grow houseplants, with ivy being one of the top choices. Transplanting them is a delicate process that requires careful attention and the right techniques.
In this step-by-step guide, we’ll walk you through the process of transplanting your ivy houseplants, ensuring a healthy transition to a new home. Ready to give your ivy a fresh start? Let’s dive in!
Understanding Ivy Houseplants and Their Growth
Ivy houseplants, with their cascading tendrils and vibrant green leaves, have long been a favorite for indoor gardeners. These adaptable plants can thrive in a variety of conditions, making them a popular choice for homes and offices alike. But what makes ivy so special?
| Type of Ivy | Description |
|---|---|
| English Ivy | Classic and elegant, known for its climbing abilities and distinctive lobed leaves. |
| Variegated Algerian Ivy | Features attractive variegated leaves, creating a stunning visual contrast with its white and green coloration. |
| Devil’s Ivy | Also called Golden Pothos, this ivy boasts heart-shaped leaves and is easy to care for. |
| Swedish Ivy | Cascading and delicate, perfect for hanging pots with its round leaves. |
Firstly, there are several types of ivy suitable for indoor growth. From the classic English Ivy to the variegated Algerian Ivy, each variety brings its own unique charm. These plants are not just about aesthetics; they’re also known for their air-purifying qualities, making them a healthy addition to any indoor space.
One fascinating aspect of ivy is its growth pattern. These plants are climbers by nature, often using their aerial roots to cling onto surfaces. In the wild, you might find ivy scaling trees or walls. Indoors, they can be trained to grow on trellises or simply allowed to cascade from hanging pots. For more insights on indoor plants and their care, check out this Guide to Indoor Plants. And if you’re curious about the best ways to transplant ivy, this external source offers some great tips.
Preparing for Transplantation: How To Transplant Ivy Houseplants
Transplanting ivy, like any other plant, requires a bit of prep work. But don’t fret! With the right approach, your ivy will be settling into its new home in no time.
Timing is everything. It’s best to transplant ivy during its active growth phase, typically in the spring or early summer. This gives the plant ample time to establish its roots before the colder months.
Gather your supplies. Before you begin, ensure you have a suitable pot, fresh potting soil, and any other tools you might need. Remember, ivy prefers well-draining soil, so consider a mix that caters to this need. If you’re unsure about soil types, this article on choosing the right soil for houseplants can be a handy reference.
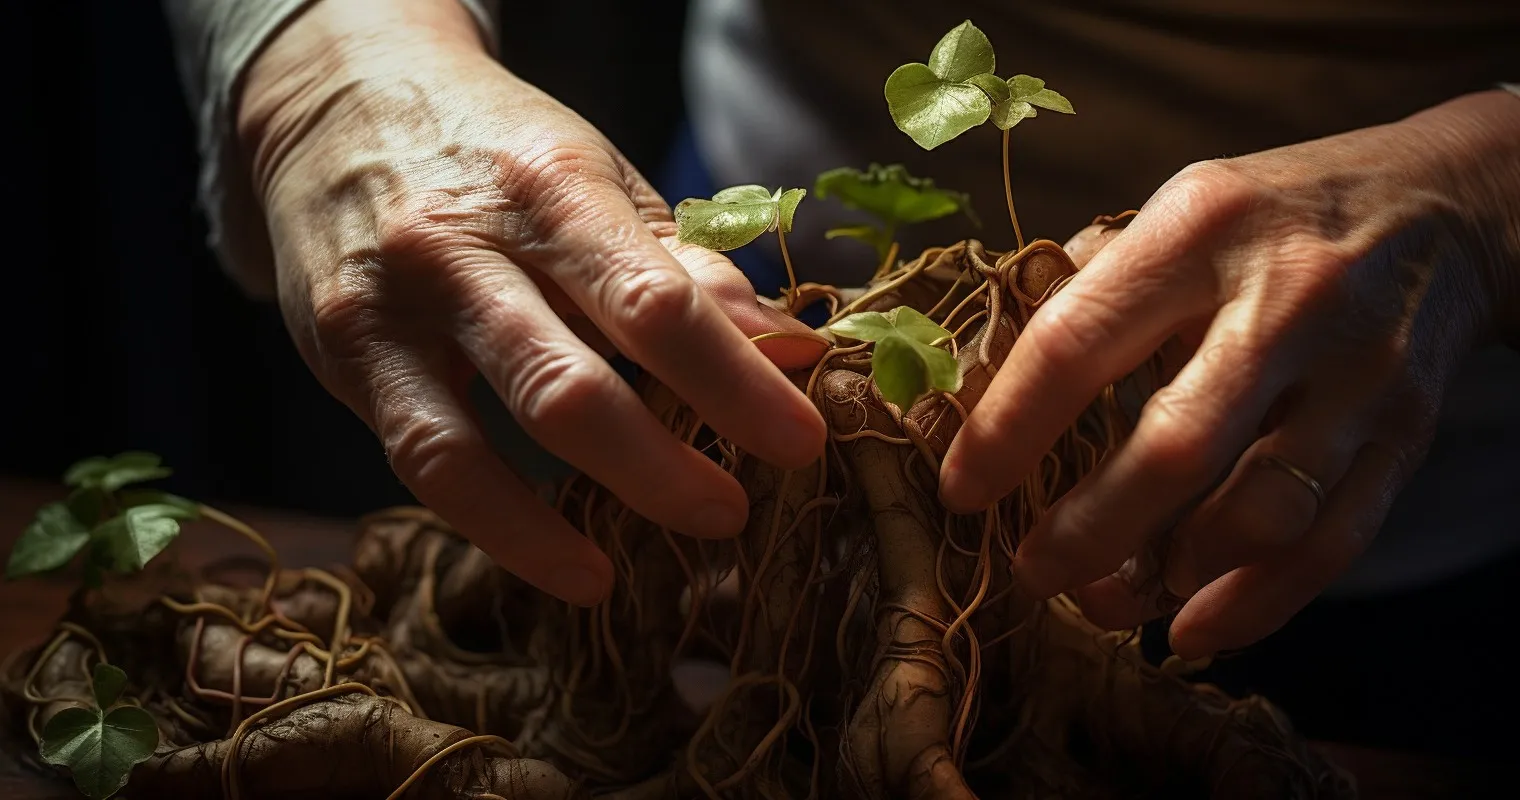
Understanding the root system of ivy is crucial. Ivy roots can be delicate, so handle with care during the transplanting process. Gently tease out any tangled roots and inspect for signs of disease or rot.
Step-by-Step Guide to Transplanting Ivy
Transplanting ivy is like a delicate dance, and if you’ve ever wondered How To Transplant Ivy Houseplants, you’re in for a treat. Let’s waltz through the process together, step by step.
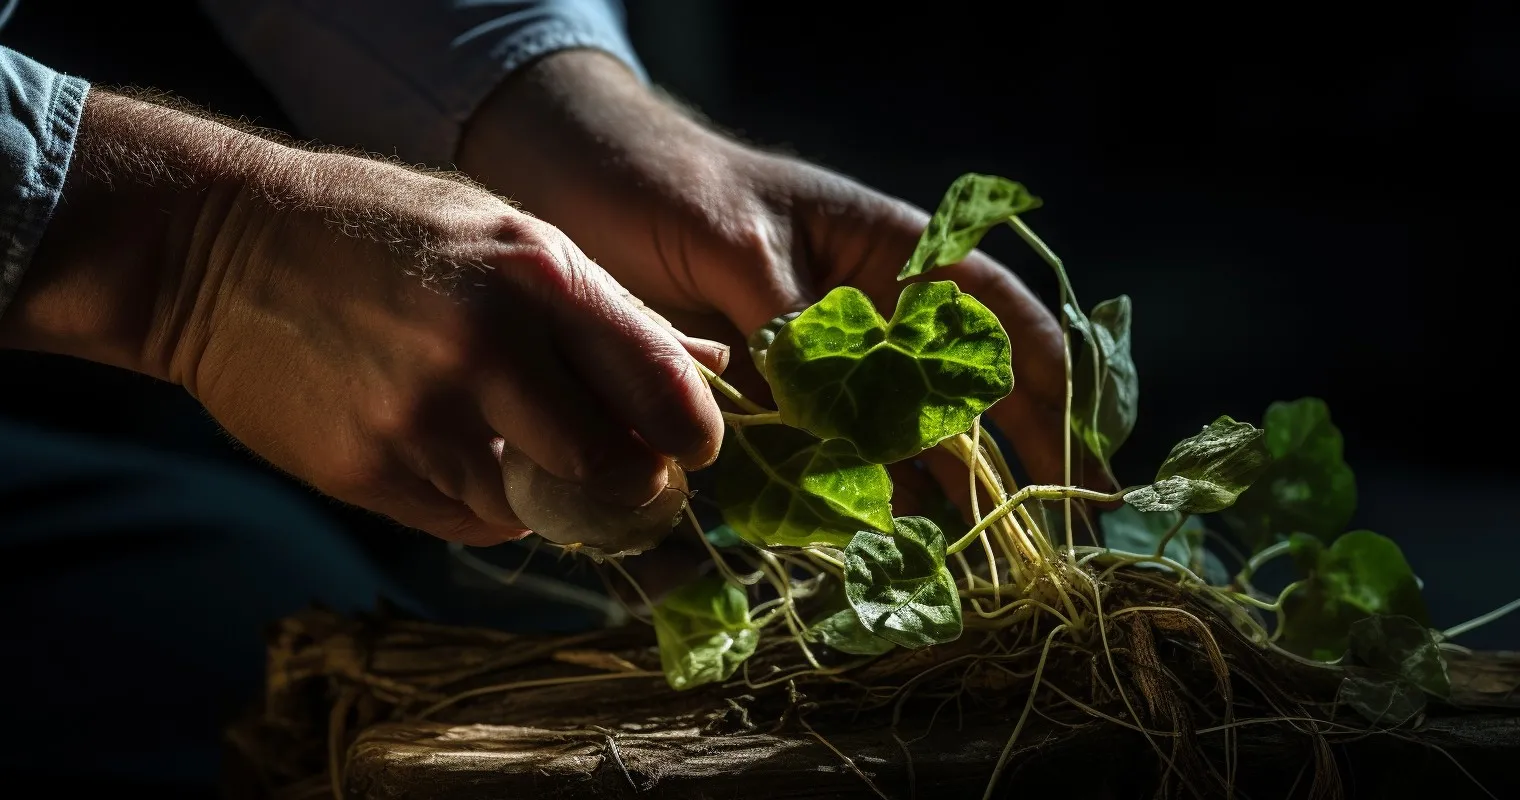
- Digging Up the Ivy: Start by gently loosening the soil around the ivy. Carefully dig up the plant, ensuring you get as much of the root system as possible. It’s like extracting a treasure without damaging the goods!
- Preparing for Transplant: Shake off excess soil and inspect the roots. If you find any damaged or dead roots, trim them off. It’s a bit like giving your ivy a spa day, minus the cucumber slices.
- Transplanting Techniques: Place the ivy in its new pot, filled with well-draining soil. Position it at the same depth it was growing before, and gently firm the soil around it. Think of it as tucking your plant into bed.
- Post-Transplant Care: Water the ivy thoroughly, ensuring proper soil moisture. Keep an eye on it for the next few weeks, adjusting water and light as needed. For more on this, check out these Watering Tips for Houseplants.
Special Considerations for English Ivy
Ah, English Ivy, the aristocrat of the ivy family. This particular variety requires a touch of finesse. Here’s what you need to know:
 Specific Methods: English Ivy has a more delicate root system, so handle with extra care during transplanting. Imagine it’s a piece of fine china – beautiful but fragile.
Common Mistakes: Overwatering post-transplant is a common mistake. English Ivy prefers to be on the drier side, so don’t drown it with love (or water). For more on caring for this regal plant, visit Caring for English Ivy.
Post-Transplant Care: Keep your English Ivy in indirect light and monitor its growth. If you notice any yellowing leaves, it might be time to adjust your care routine. For a detailed guide on transplanting this specific variety, check out this source.
Maintenance and Regular Care After Transplantation
So, you’ve learned How To Transplant Ivy Houseplants, but what comes next? It’s like adopting a pet; the care doesn’t stop once you bring it home.
| Issue | Possible Causes | Solutions |
|---|---|---|
| Yellowing Leaves | Overwatering or insufficient light. | Adjust watering schedule and provide more indirect light. |
| Slow Growth | Improper soil or lack of nutrients. | Repot with suitable soil or feed with balanced fertilizer. |
| Root Rot | Poor drainage or excessive watering. | Repot in well-draining soil and ensure proper drainage. |
| Wilting | Underwatering or root shock from transplanting. | Water adequately and ensure root health during transplant. |
- Importance of Regular Maintenance: Just like you wouldn’t ignore a pet, your ivy needs regular attention. Regular maintenance ensures that your ivy thrives and doesn’t end up in the plant hospital.
- Routine Checks and Cleaning: Check the soil moisture, inspect for pests, and remove any dead leaves. It’s like giving your ivy a regular health check-up. For more on this, visit Maintaining Healthy Houseplants.
- Long-Lasting Growth and Health: With proper care, your ivy can become the envy of your neighbors.
Propagating and Repotting Ivy Houseplants
Ready to take your ivy relationship to the next level? Let’s talk about propagating and repotting.
- Propagating Ivy from Cuttings: This is where you can multiply the ivy love. Take a cutting, place it in water or soil, and watch it grow. It’s like making a plant baby! Learn more about Propagation Techniques for Houseplants.
- Repotting for Better Growth: Sometimes, your ivy needs a new home. Repotting ensures that it has enough space to grow. Think of it as upgrading from a studio apartment to a one-bedroom.
- Proper Soil and Conditions: Just like you wouldn’t plant a cactus in a swamp, your ivy needs the right soil and conditions.
Frequently Asked Questions
What is the best time to transplant ivy houseplants?
The best time to transplant ivy houseplants is during their active growing season, typically in the spring or early summer.
How often should I transplant my ivy?
You should transplant your ivy when you notice the roots are crowded, usually every 2-3 years.
What type of soil is best for ivy houseplants?
The best soil for ivy houseplants is a well-draining mix, often a blend of:
- Peat moss
- Perlite
- Organic matter
How do I know if my ivy needs transplanting?
Your ivy needs transplanting if:
- Roots are growing through the drainage holes
- Growth has become stagnant
- The soil dries out quickly
Can I propagate ivy during transplanting?
Yes, you can propagate ivy during transplanting by taking cuttings and planting them in a new pot.
How to care for ivy after transplanting?
After transplanting, care for your ivy by:
- Watering thoroughly
- Keeping it in indirect sunlight
- Monitoring for signs of stress
Conclusion
Transplanting ivy houseplants doesn’t have to be a daunting task. With the right knowledge and a little patience, you can ensure that your ivy thrives in its new environment. This guide on How To Transplant Ivy Houseplants has provided you with the essential steps and tips to make the process smooth and successful.
Ready to take on the challenge? Grab your gardening gloves, and let’s get started! If you have any more questions or need further assistance, feel free to reach out.
Thank you for reading!