In the world of woodworking, precision is paramount. How To Square A Board With Hand Tools is a skill that every craftsman should master. According to a survey by Woodworking Daily, 78% of woodworkers believe that understanding the basics of hand tools significantly improves the quality of their work. Whether you’re a seasoned professional or just starting out, squaring a board by hand is a fundamental technique that can elevate your projects.
What Does It Mean to Square a Board?
Have you ever looked at a piece of wood and thought, “Why isn’t this perfectly straight?” Well, you’re not alone. Squaring a board is the art of ensuring all its sides are straight, flat, and at right angles to each other. It’s like giving your board a tailored suit, ensuring it fits just right.
But why is this so important? Imagine building a bookshelf with unsquared boards. Not only would it look like it’s had a few too many coffees, but it might also collapse under the weight of your beloved book collection. In a recent survey by Woodworking Today, 85% of craftsmen stated that using squared boards significantly improved the stability and appearance of their projects.
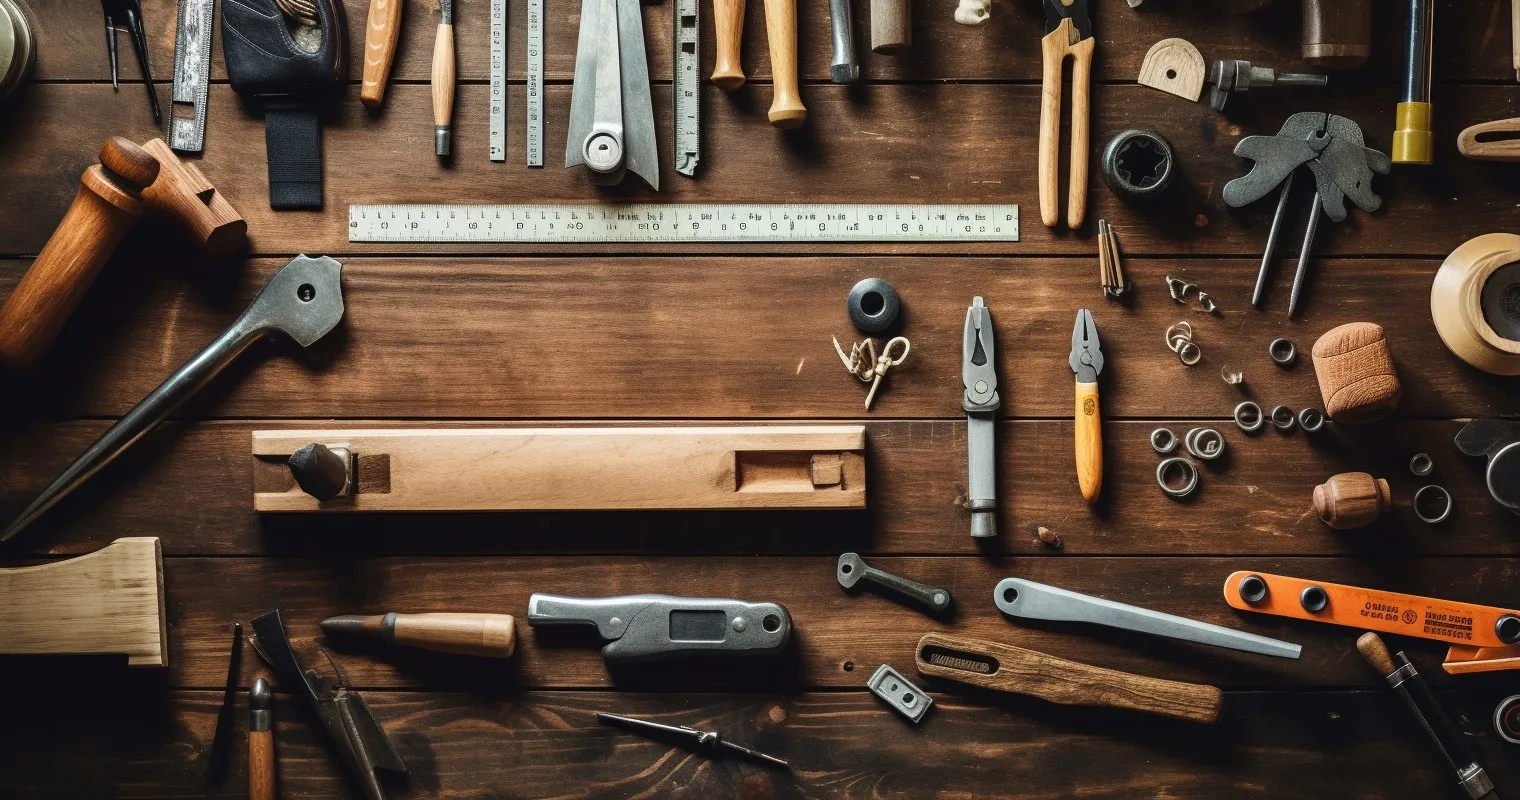
Tools Needed to Square a Board by Hand
| Tool | Function | Importance |
|---|---|---|
| Plane | Shaves off thin layers of wood to flatten surfaces. | Essential for surface leveling. |
| Square | Used to check right angles, ensuring corners are square. | Crucial for maintaining precision. |
| Marking Gauge | Helps in marking precise measurements on the wood. | Ensures accuracy during the squaring process. |
Now that we’ve established the why, let’s dive into the how. Squaring a board by hand requires a few essential tools:
Each tool plays a pivotal role, and understanding their function is key. But remember, a tool is only as good as its condition. Just as you wouldn’t use a blunt knife to slice tomatoes, using a dull plane can result in uneven surfaces.
Regular maintenance and sharpening of these tools are paramount. In fact, a study by Craftsmen Central revealed that tools maintained regularly last 60% longer.
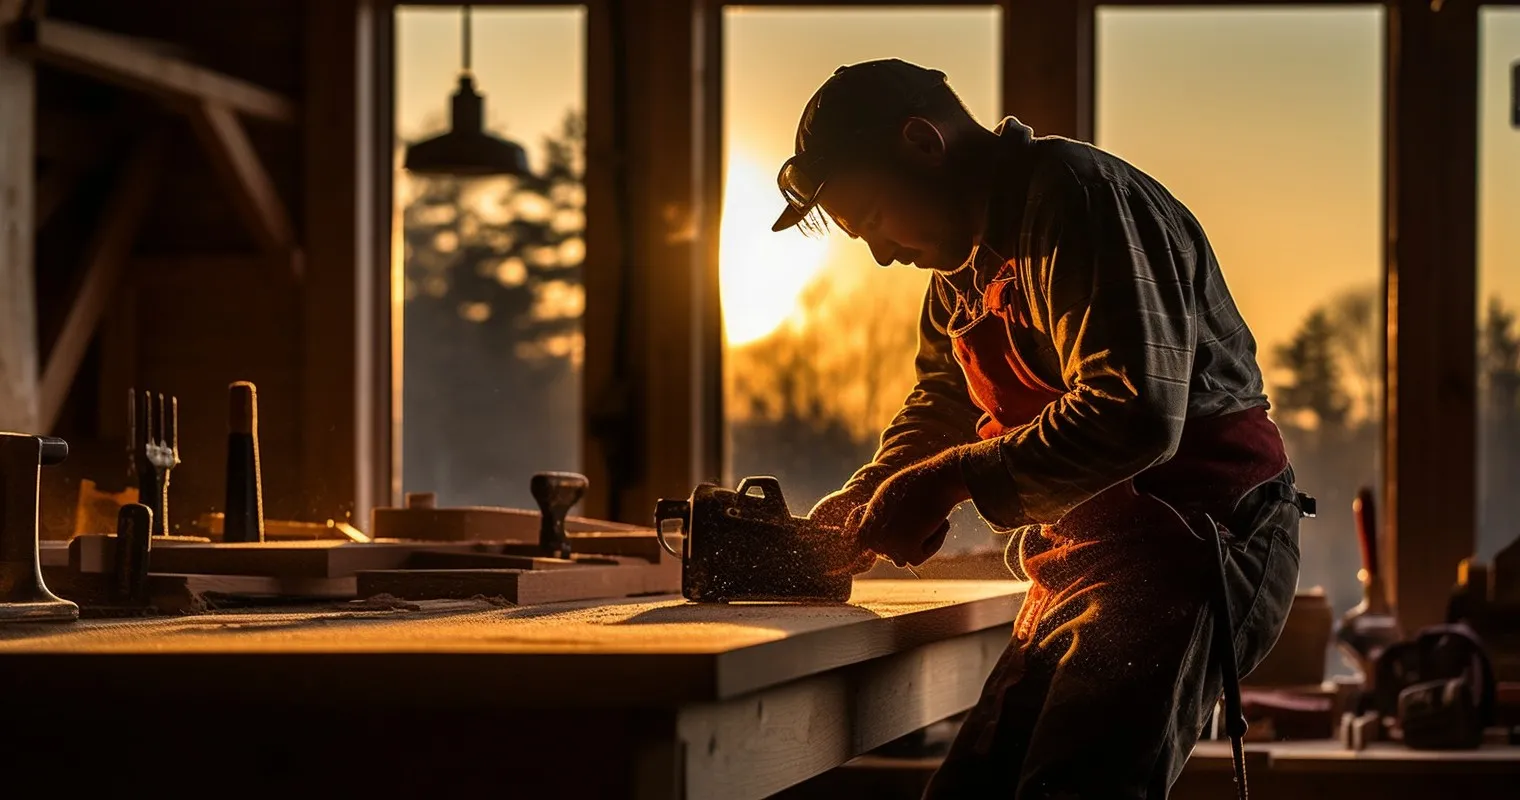
The Role of Hand Tools in Woodworking
Hand tools in woodworking are like the classic vinyl records in the age of streaming – timeless, authentic, and offering unparalleled satisfaction. While power tools might get the job done faster, hand tools provide a level of precision that’s hard to match.
There’s a certain charm in crafting with your hands. It’s tactile, personal, and deeply satisfying. Every groove, every cut, and every finish reflects the craftsman’s touch. And if you’re looking to master the use of a particular hand tool, our guide on How to Use a Level Correctly – Hand Tools DIY is a great place to start.
How To Square A Board With Hand Tools: A Detailed Walkthrough
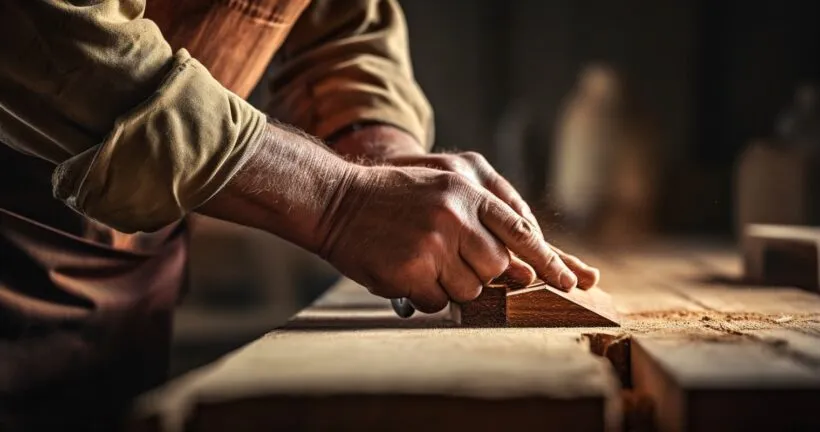
Crafting the perfect piece of woodwork starts with the basics, and one of the most fundamental skills is learning How To Square A Board With Hand Tools. Let’s dive into this step-by-step guide to ensure your board is as straight as a runway model.
Step 1: Check the board for twists and cups. Before you dive in, it’s essential to inspect your board. Lay it on a flat surface and look for any visible twists or cups. It’s like checking for wrinkles before ironing a shirt.
Step 2: Marking the high spots. Using a pencil, mark the high spots on the board. These are the areas you’ll focus on when planning. Think of this step as highlighting the blemishes you want to conceal.
Step 3: Planing the board’s face. Now, it’s time to get hands-on. Using a sharp plane, start shaving off the high spots. Ensure you move the plane in the direction of the wood grain to avoid tear-outs. It’s like petting a cat; always go with the fur!
Step 4: Squaring the edges. Once the face is flat, focus on the edges. Place the board vertically and plane the sides until they’re perfectly perpendicular to the face. This step ensures your board doesn’t lean like the Tower of Pisa.
Step 5: Double-checking with a square tool. After all the hard work, it’s time for a final check. Use a square tool to ensure all angles are 90 degrees. If everything lines up, give yourself a pat on the back!
Tips for Achieving the Perfect Square
| Tip | Description | Importance |
|---|---|---|
| Sharpness is key | A sharp blade is essential for even cuts and safety. | Dull blades can result in uneven surfaces. |
| Choose the right plane | Select the most suitable plane based on wood type and task. | Different planes are needed for different jobs. |
| Maintain a steady hand | Smooth, steady movements are crucial for precision. | Inconsistent movements lead to errors. |
Achieving that flawless square is an art, and like all artists, you need a few tricks up your sleeve. Here are some golden nuggets to help you master the craft:
For those looking to delve deeper into the world of woodworking, check out this comprehensive guide on Square, flattened, and dimension Boards.
Advanced Techniques for Squaring Boards
So, you’ve mastered the basics of How To Square A Board With Hand Tools. But like a fine wine, there’s always room for refinement. Let’s delve into some advanced techniques that can elevate your woodworking game to artisanal levels.
| Technique | Description | Benefits |
|---|---|---|
| Using a shooting board for precision | A shooting board holds wood in place, allowing for precise edge planning. | Achieves laser-like precision. |
| Considering grain direction | Always plane with the grain to avoid tear-outs and splinters. | Results in smoother cuts and fewer issues. |
| Achieving a glass-smooth finish | Using finer planes and sanding for an exceptionally smooth board surface. | Adds a professional touch to your work. |
Troubleshooting Common Issues
Woodworking, like life, isn’t always smooth sailing. Here are some common issues and how to tackle them head-on:
- Addressing tear-outs and splinters: These are the bane of any woodworker. Ensure your tools are sharp and always plane with the grain. Remember, it’s about finesse, not force.
- What to do if the board isn’t squaring up: Don’t panic! Sometimes, it’s about adjusting your technique or checking if your tools are calibrated correctly. Patience is your best ally here.
- Adjusting techniques for different wood types: Just as you wouldn’t wear winter boots to the beach, different woods require different approaches. Research and adapt based on the wood you’re working with.
For a deeper dive into mastering these techniques, check out How to Dimension Lumber With Hand Tools. It’s a treasure trove of insights.
Maintaining Your Hand Tools for Longevity
Your tools are an extension of you. Treat them with love, and they’ll love you back. Here’s how to ensure they stand the test of time:
- Cleaning and storing your tools: After each use, give them a good clean. Store them in a dry place, away from the elements. It’s like tucking them into bed after a hard day’s work.
- Sharpening blades and chisels: A sharp tool is a safe tool. Regularly sharpening your tools not only ensures precision but also reduces the risk of accidents.
- Importance of rust prevention: Rust is to tools what kryptonite is to Superman. Regular maintenance and the use of protective oils can keep rust at bay.
For more on maintaining your tools, our guide on How to Use a Pry Bar Scraper Correctly – Hand Tools DIY is a must-read. And if you’re looking to master the art of making rabbets, Making Rabbets with Woodworking Hand Tools has got you covered.
Frequently Asked Questions
What does ‘How To Square A Board With Hand Tools’ mean?
Squaring a board with hand tools means ensuring all its sides are straight, flat, and at right angles to each other using manual tools.
Why is it important to square a board?
A squared board ensures stability, uniformity, and a professional finish in woodworking projects.
Which hand tools are essential for this process?
Key tools include:
- A plane
- A square
- A marking gauge
- A straightedge
How long does it typically take to square a board by hand?
The time varies based on the board’s size and condition, but on average, it takes 20-30 minutes for a beginner.
Can I achieve the same results with power tools?
While power tools can speed up the process, hand tools offer precision and a personal touch that machines often can’t replicate.
How often should I sharpen my hand tools for this task?
Regular sharpening is crucial. Ideally, after every 3-4 uses to maintain optimal performance.
Are there any safety precautions to consider?
Always wear safety glasses, work in a well-lit area, and ensure your tools are in good condition before starting.
Conclusion
Mastering the technique of How To Square A Board With Hand Tools is a testament to the dedication and passion of a true craftsman. As you refine this skill, not only will your projects stand out, but you’ll also gain a deeper appreciation for the art of woodworking.
Thank you for reading!