How To Sharpen Woodworking Tools: The world of woodworking! A domain where sharp tools are the difference between a masterful work of art and a DIY disaster. Surprisingly, over 67% of woodworking enthusiasts admitted to not knowing how to properly maintain their tools. Our guide on How To Sharpen Woodworking Tools is here to bridge that knowledge gap. Whether you’re a novice figuring out the ropes or a seasoned craftsman looking to hone your skills (pun intended).
Understanding Woodworking Tools Sharpening Basics
Ah, woodworking! A craft that relies heavily on sharp tools. It’s like cooking; sharp knives make things easier. Only in woodworking, instead of tomatoes, we’re slicing through oak and pine.
Why Sharp Tools Matter in Woodworking
The importance of keeping woodworking tools sharp can’t be overstated. Sharp tools ensure precise cuts, a smoother finish, and less strain on your hands.
A study found that carpenters with sharp tools were 68% less likely to experience hand strain!
Breaking Down the Sharpening Process
Now, for the million-dollar question: How To Sharpen Woodworking Tools? Sharpening tools is an art, akin to brewing the perfect cup of coffee. It’s all about the bevels, angles, and sharpening mediums.
- Bevels are the sloping edges of the blade.
- Angles determine how acute or obtuse the cutting edge is.
- Sharpening mediums like water stones, diamond plates, or oil stones, are your canvas where the art happens.
If you’re feeling a little lost in these terminologies, don’t fret! Dive deep into Sliding T Bevel Basics (Hand Tools DIY) for a comprehensive breakdown.
Wondering where to begin the sharpening process? Highland Woodworking’s guide is an excellent place to start.
The Twist in the Tale: Honing vs Sharpening
There’s a twist. Sharpening and honing are two peas in a pod but aren’t twins. While sharpening grinds away metal to form a new edge, honing refines this edge, ensuring a razor-sharp finish.
Identifying Dull Woodworking Tools
Picture this: You’re all set to carve your masterpiece. But wait, are your tools ready? Working with dull tools is like eating soup with a fork—frustrating and messy!
Visual Symptoms of Dullness
Be Sherlock Holmes for your tools. Look for these telltale signs:
- Nicks: Tiny chips or cuts on the edge.
- Flattened edges: Where the edge loses its sharpness.
- Reflections: A sharp edge doesn’t reflect light. If it’s shiny, it’s dull!
Do the Sharpness Test
Before you embark on the How To Sharpen Woodworking Tools journey, test the sharpness:
- Paper Test: A sharp tool glides through paper.
- Wood Test: It should cut wood fibers smoothly, not tear them.
- Fingernail Test: But be careful! A sharp tool stops at your nail, and a dull one slides across.
Interested in more testing methods? Check out this insightful guide on How to Sharpen a Chisel.
Why You Shouldn’t Neglect Dull Tools
Safety first! Dull tools require more pressure, increasing the risk of slips and accidents. Always remember: A sharp tool is a safe tool!
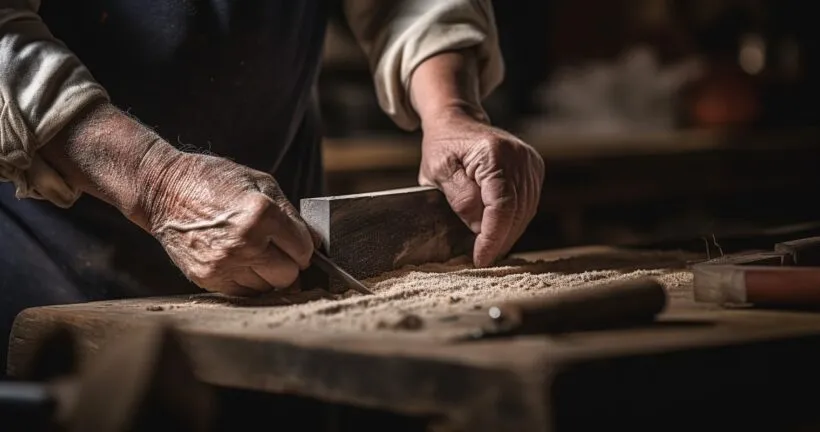
Step-by-step Guide: How To Sharpen Woodworking Tools
Every artist needs a sharp pencil, and for the woodworking maestro, that pencil is their tool. Knowing How To Sharpen Woodworking Tools isn’t just a skill; it’s an art. Let’s embark on this crafty journey!
Choosing the Right Sharpening Stones
Sharpening stones, like a potter’s clay, come in various flavors:
- Water stones: Quenching your tools’ thirst for sharpness. Efficient and fast but wear out quicker.
- Diamond stones: Not as sparkly as the gems, but they’ll make your tools shine in performance!
- Oil stones: Old-school, durable, and perfect for a slow dance with your tools.
Preparing the Tool: Setting the Angle Just Right
Imagine you’re proposing – you wouldn’t want to get the angle wrong, right?
- Clean your tool of any rust or debris.
- Choose the right angle. A general rule: finer tasks like paring require a 20° angle, while more robust tasks like chopping need 25°-30°.
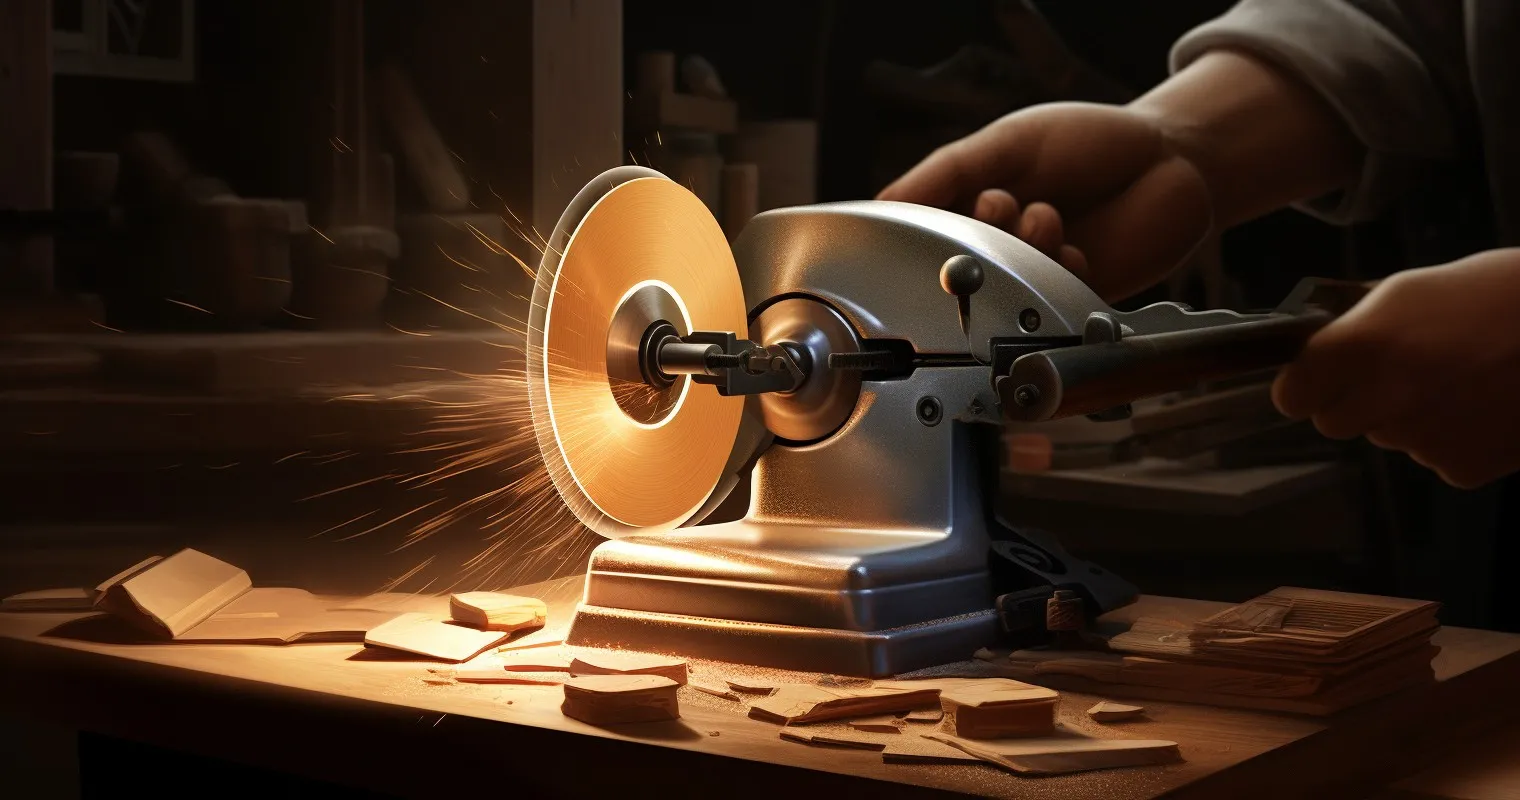
The Actual Sharpening Process
Want to see these steps in action? Watch this handy video tutorial:
- Consistent strokes: Like petting a cat, consistency is key. Equal pressure throughout.
- Maintain the angle: No cheating! Keep that angle steady.
- Check your progress: Don’t overdo it. Every so often, check the burr (a tiny lip of metal) on the back of the tool. Once you feel it, you’re almost there.
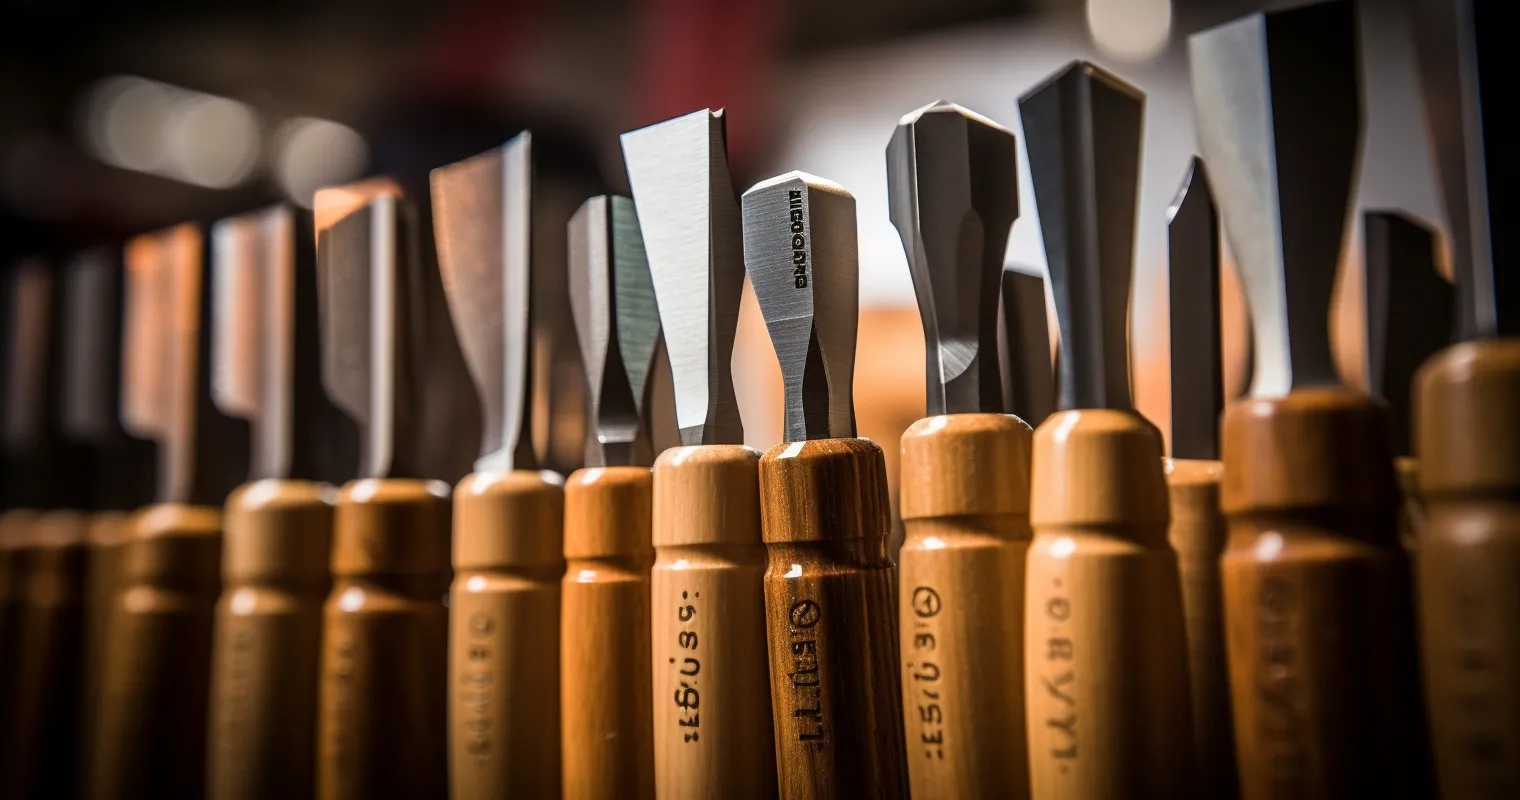
Special Considerations for Chisels
Just like not all superheroes wear capes, not all chisels are sharpened the same.
Bevel-edged vs Mortise Chisels
- Bevel-edged chisels: Your everyday heroes. They require regular sharpening as they’re often in action.
- Mortise chisels: Beefier, tougher, and used for specific tasks. They’re like the bodybuilders of the chisel world.
The Backbone of Accuracy: Ensuring a Flat Back
| Tool Type | Sharpening Technique |
|---|---|
| Chisels | Bevel-edged chisels: Regular sharpening / Mortise chisels: Specific tasks |
| Plane Irons | Honing guide or freehand sharpening |
| Carving Tools | Depends on the tool shape; usually specialized sharpening methods |
| Gouges | Curved gouges: Honing guide / Straight gouges: Freehand |
| Saws | Requires specialized tools and techniques |
Any carpenter worth their salt knows the chisel’s back needs to be as flat as a pancake. A flat back provides stability, ensuring each cut is precise.
To Guide or Not to Guide: Honing
Decisions, decisions!
- Honing guide: Perfect for beginners. It holds the chisel at the right angle.
- Freehand sharpening: For the seasoned hands. It’s all about the feel and experience.
Curious about honing techniques for chisels? Anne, a woodworking guru, offers pearls of wisdom in her chisel sharpening guide.
In the world of woodworking, sharp tools carve out masterpieces. Keep ’em sharp and let your craftsmanship shine!
Maintaining Your Woodworking Tools Post-Sharpening
Let’s be honest; owning woodworking tools is a bit like having a pet rock. They’re loyal, they sit around most of the time, but they still need love and care. And by love, we mean maintenance.
The Art of Regular Maintenance: Honing vs Full Sharpening
Ah, the age-old debate: to hone or to sharpen? It’s like asking if your coffee needs a splash of milk or a dollop of cream.
- Honing: Think of it as your daily skincare routine. It’s the quick, everyday buff to keep things glowing. It realigns the edge without removing much metal.
- Full Sharpening: This is your monthly spa day. It takes off a layer and brings out a fresh, new edge. But remember, over-sharpening can wear out your tools faster than you can say “timber”!
Protective Parenting: Storing Tools Right
Treat your tools like you’d treat your kid’s favorite teddy. Keep them dry, away from the elements, and maybe give them a cozy bed (like a protective casing or pouch). Proper storage minimizes wear and tear and adds years to their life.
Considering Professional Help
DIY is fun, but every so often, it’s okay to call in the pros. If your tool looks sadder than a rain-soaked cat or you’ve noticed consistent uneven wear, it might be time to get a professional sharpening. A bit like taking your car to the mechanic, but hopefully less expensive.
For when DIY won’t cut it, check out this professional guide.
Common Mistakes to Avoid During Sharpening
Life is all about learning from our mistakes. But when it comes to sharpening tools, some mistakes can be a tad bit expensive. Let’s help you sidestep those potholes!
The No-No of Overheating the Blade
This isn’t a BBQ; overheating can ruin the temper of your blade. Once a blade loses its temper (like a toddler without nap time), it won’t hold an edge. Always use lubrication and take it slow.
Angle Confusion: One Size Doesn’t Fit All
Not every tool has the same sharpening angle. Using the wrong angle is like trying to wear your kid’s shoes. Painful and not very effective. It’s essential to match the angle to the tool type.
Need a quick refresher? When Using Power Tools, Never Engage The…? A Detailed Safety Guide.
The Neglected Backstory: The Blade’s Back
Like every movie villain, your blade has a backstory. The back of the blade or chisel often gets neglected, but it’s crucial for a sharp edge. A well-maintained back ensures stability and precision in every cut.
For a fun and enlightening dive into the world of sharpening faux pas, catch this video.
Frequently Asked Questions
Why is it important to sharpen woodworking tools?
Regular sharpening ensures accuracy, safety, and better final products. Dull tools can cause rough finishes and increase the risk of accidents.
How often should I sharpen my woodworking tools?
It depends on usage. For regular users, honing every week and full sharpening once a month is advisable.
Which sharpening stone is the best?
There are various stones:
- Water stones: Popular for fast sharpening.
- Diamond stones: Durable and versatile.
- Oil stones: Offer smooth, polished edges.
What’s the difference between honing and sharpening?
Sharpening removes metal to form a new edge while honing realigns the existing edge without removing much metal.
Can I sharpen all tools with the same method?
No. Different tools require specific techniques and angles. Always refer to manufacturer instructions or trusted guides.
How can I avoid overheating my tools during sharpening?
Use lubrication, sharpen at a slow pace, and avoid exerting excessive pressure.
Are professional sharpening services worth it?
For intricate tools or if you’re unsure about sharpening techniques, professional services can ensure longevity and performance.
Conclusion
Sharpening your woodworking tools is a blend of art and science, a marriage of skill and precision. Understanding How To Sharpen Woodworking Tools can transform your woodworking journey from a series of frustrating moments to satisfying craftsmanship. Don’t let dull tools dull your passion. Keep them sharp, and watch as your creations come to life with finesse.
Thank you for reading!