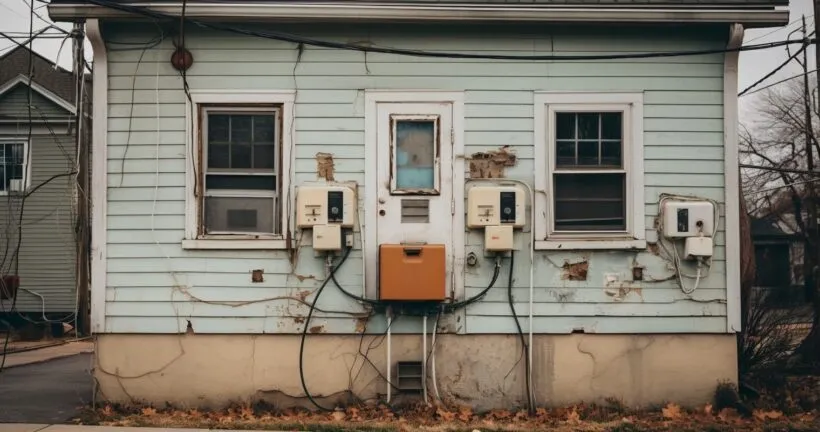
Renting an old house comes with its perks: timeless charm, robust architecture, and the lingering presence of generations gone by. But sometimes, those old electrical outlets seem to belong to a time even dinosaurs would find ancient. According to a recent study, nearly 45% of old homes have outdated electrical systems that are unsafe and inefficient. For those intrepid souls wondering how to replace electrical outlet in an old house, you’re about to embark on a rewarding journey.
Understanding The Basics of Electrical Outlets
Ever stopped to think about those trusty outlets you plug your devices into?
The History of Electrical Outlets in Old Houses
Let’s take a whimsical journey back in time. Electrical outlets in old houses are like the granddads of the modern, sleek versions we use today. They were often two-pronged and made with materials less durable than what we have now.
You might be asking, “If they’ve been working for decades, why change them now?”
Old outlets may not meet today’s safety standards. Upgrading them isn’t just about matching your home’s aesthetics; it’s about safety and efficiency. By learning how to replace an electrical outlet in an old house, you’re ensuring your home’s electrical system remains in top shape.
Did you know? The early 20th century saw the most significant innovations in home electrical systems. Today, the outlets from that era are often considered outdated and potentially hazardous. If your house still has those relics, it’s high time for an update! For a deeper dive into old outlets, check out this article from The Spruce.
Safety First: Precautions Before You Start
Before we dive in, let’s get one thing straight: Safety is paramount. You wouldn’t enter a dragon’s den without a shield, would you? Then don’t mess with electrical outlets without precautions.
- Turn off that power! Before you even think about touching an outlet, ensure the main power source is turned off. It’s not just a good idea; it’s a non-negotiable rule.
- Safety gloves and eyewear aren’t fashion statements here (although you’d look pretty cool) – they’re essential.
- “Is it dead or just sleeping?” Before you get handsy with that outlet, make sure it’s genuinely ‘dead’ and not just taking a power nap. Use a voltage tester to be certain. No surprises allowed!
Whenever unsure about the procedures, there’s nothing like a good video to clarify things. This handy video guide is a lifesaver for understanding safety precautions in detail.
Tools and Materials Needed
Much like a chef needs a set of good knives or a knight requires a sharp sword, when tackling the question of how to replace electrical outlet in an old house, you’ll need the right tools.
Essential Tools for Replacing an Outlet
Alright, DIYers, gather around!
You wouldn’t use a hammer to spread butter on your toast, right?
Similarly, there are specific tools made for the job of replacing an outlet.
- Screwdrivers: Make sure you have both flathead and Phillips. These are your bread and butter for this mission.
- Wire Strippers: These aren’t for a fancy dance move. They’re for getting wires ready for connection.
- Voltage Testers: This little tool ensures you don’t get a shocking surprise when you’re elbow-deep in electrical work.
Now, if you’re standing there scratching your head thinking, “Where in the world do I find these?”, don’t fret. For a more detailed guide on DIY Electrical Work: How To Map Electrical Circuits Home, our Electrical Circuits article has got your back.
Choosing the Right Outlet
Alright, we’re not just talking about choosing the right outlet to charge your phone or plug in your hairdryer. It’s more nuanced than that.
Did you know that the kind of outlet you have at home says a lot about its age and safety standards?
Two fun facts coming up!
- Two-prong vs. Three-prong outlets: The two-prong ones are like the dinosaurs of the electrical world – older and lacking a ground wire. The three-prong ones are modern, and safer, and yes, they have that extra prong for grounding.
- GFCI Outlets: These are the rockstars of the outlet world. They’re specifically designed for wet locations like bathrooms and kitchens. Their superpower? They trip (shut off) when they sense moisture, potentially saving you from a shock.
Choosing the right outlet can be tricky. But, with a blend of style and safety, you can’t go wrong. Dive deeper into the world of outlets with this comprehensive guide from HomeServe.
How To Replace Electrical Outlet In An Old House: A Detailed Guide
Let’s be honest: sometimes, the old stuff in our homes is more reminiscent of Frankenstein than charming antiques. When it comes to electricity, the stakes are high, and the charm is—well, let’s just say nonexistent. So, if you’re feeling a bit “shocked” about how to replace electrical outlet in an old house, here’s a nifty guide to enlighten you.

Removing the Old Outlet
The moment has come to bid farewell to that outdated outlet.
- Safety First! Always turn off the power. And yes, we mean always.
- The Great Unveiling: Gently, but firmly, remove the outlet cover. It’s like unwrapping a not-so-fun present.
- Disconnecting the Wires: With your trusty screwdriver, start loosening the screws on the sides of the outlet. As each wire becomes free, gently pull it out.
Now, if this feels overwhelming, remember: Rome wasn’t built in a day, and neither were old houses wired in one. Take a breather and check out this easy guide on replacing an outdated electrical outlet. It’ll help calm those jitters.
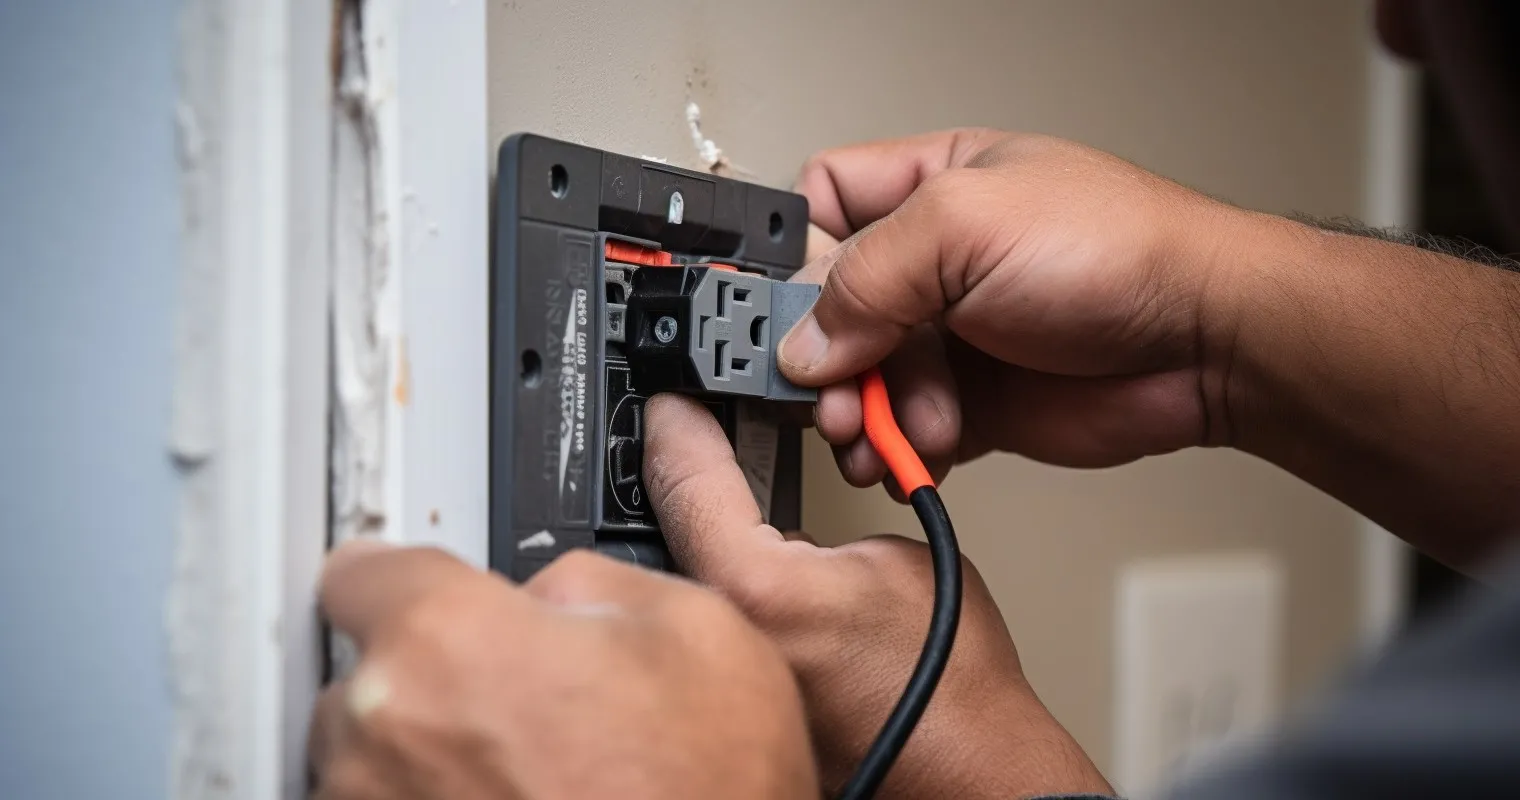
Installing the New Outlet
We’re onto the fun part! It’s like setting up a brand-new gadget.
- Connect the Dots: Attach the wires to the new outlet. Remember, consistency is key here. Match the colors and ensure they’re tightly connected.
- Grounding is Essential: If you’re using a three-pronged outlet, the grounding process is vital. Think of it as your outlet’s personal bodyguard.
- Finishing Touches: Secure the outlet back into its snug home (the box), screw in the outlet cover, and voila!
Testing and Ensuring Safety Post-Installation
Installing the outlet was a cakewalk, right? But let’s ensure the cake isn’t a lie (game reference, anyone?).
- The Initial Test: With the power back on, plug in a device. If it turns on, you’ve done a fabulous job! If not, ensure all connections are secure and try again.
- Safety Check-Ups: Old houses have their quirks. Regularly checking your outlets helps avoid any nasty surprises down the road.
For those who love video demonstrations as much as binge-watching a TV series, this tutorial on ensuring post-installation safety will have you hooked.
Frequently Asked Questions
What makes replacing outlets in old houses different?
Replacing outlets in older homes often means navigating outdated wiring systems and ensuring compatibility with modern devices.
Why is it essential to know how to replace an electrical outlet in an old house?
Knowing the steps guarantees the safety and efficiency of your electrical system, ensuring you avoid potential hazards.
Do I need special tools for older homes?
Yes, certain tools might be necessary:
- Wire strippers
- Voltage testers
- Screwdrivers designed for old screws
Can I use modern three-prong outlets in an old house?
Absolutely! However, ensure that the house’s electrical system supports grounding for maximum safety.
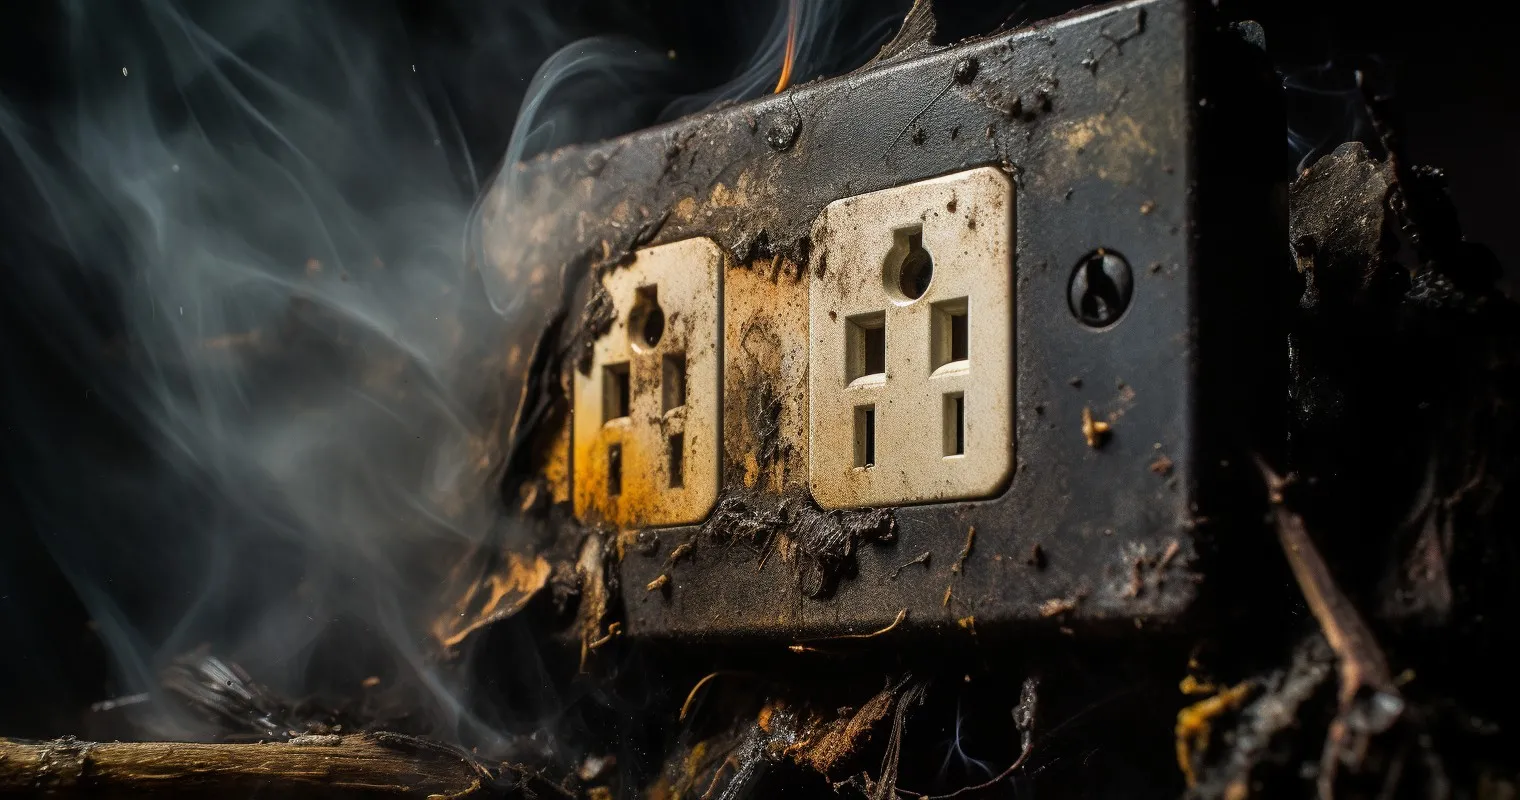
What are the risks of not updating old electrical outlets?
Neglecting old outlets can lead to:
- Electrical fires
- Inefficient power usage
- Damage to modern appliances
Is it expensive to replace outlets in old homes?
While costs can vary, it’s an investment in your home’s safety and can save on future electrical bills.
Should I hire a professional or DIY?
For those unfamiliar with electrical work, hiring a professional is advisable. However, with the right guide and tools, a DIY approach can be feasible and rewarding.
Conclusion
Living in an old house doesn’t mean putting up with ancient, unreliable outlets. Understanding how to replace electrical outlet in an old house not only ensures the safety and efficiency of your beloved abode but also preserves its vintage charm with modern conveniences. As you embark on this electrifying DIY adventure, remember, that every tweak and change you make resonates with the stories of the past while crafting new tales for the future.
Thank you for reading!