Moving to a new home is thrilling, but what do you do when your beloved furniture doesn’t fit through the door? According to a survey by the National Association of Home Builders, nearly 30% of homeowners have faced challenges with furniture fitting through doorways. In such cases, knowing How To Remove A Door Jamb For Moving Furniture can be a lifesaver. This guide will walk you through the process, ensuring that your move is as smooth as possible.
Why Removing a Door Jamb Can Be Essential
| Benefit | Description |
|---|---|
| Increased Space | Removing a door jamb provides extra clearance, allowing larger furniture to pass. |
| Easier Furniture Moving | Larger furniture can be maneuvered through doorways without the risk of damage. |
| Cost Savings | Avoid potential costs of dismantling furniture or doorframes to fit furniture. |
| Time Efficiency | Removing a door jamb can save time compared to other complex furniture-moving methods. |
| DIY Solution | With the right tools and guidance, removing a door jamb can be a DIY project. |
You’re in the midst of moving, and that cherished armoire, the one passed down for generations, just won’t fit through the door. It’s not just about the size; sometimes, it’s about the design. The challenges of moving large furniture are real and can be a significant hiccup in what’s already a stressful process.
Did you know that a mere fraction of an inch can determine whether your furniture makes it to its new spot or stays curbside? It’s true! Instances when a fraction of an inch makes all the difference are more common than you’d think. A survey by the International Movers Association found that nearly 1 in 4 people have faced challenges with furniture fitting through doorways during a move.
It’s not just you; the commonality of the problem among movers is surprisingly high. Whether it’s a bulky bed frame or a wide wardrobe, door jambs have been the arch-nemesis of many a mover. But fret not, for there’s a solution!
Preliminary Steps Before Jamb Removal
Before you go all in with a hammer and nails, there are a few steps to consider. First and foremost, removing the door from its hinges is a must. It’s a simple task that can provide that extra bit of space you need. Just pop the pins and gently lift the door off. Remember, doors can be heavier than they look, so it’s always a good idea to have a buddy help out.
Next, it’s time for some introspection. Well, not the soul-searching kind, but rather assessing the space and deciding on jamb removal. Measure the furniture and the doorway. Sometimes, removing the door is enough, but other times, the jamb has to go.
Safety first! Before you embark on this DIY adventure, consider the safety precautions. Wear safety goggles to protect your eyes from flying debris and gloves to safeguard your hands. And always, always ensure that the area is free from children and pets.
For those who feel this might be a task too daunting, don’t hesitate to seek professional help. After all, there’s no shame in calling in the experts. Here’s a handy guide on hiring a professional moving service to ensure your move is smooth and your furniture (and door jamb) remains intact.
Now, let’s talk gear. Tools and materials you’ll need include a pry bar, a utility knife, a hammer, and some patience (okay, a lot of patience). Maybe throw in a playlist of your favorite tunes to keep the mood light.
Remember those puzzles you did as a kid? The ones where you had to place each piece in its exact spot? Well, importance of numbering and placing the trim aside is just like that. As you remove each piece of trim, number it. This way, when it’s time to put Humpty Dumpty back together again, you’ll know exactly where each piece goes.
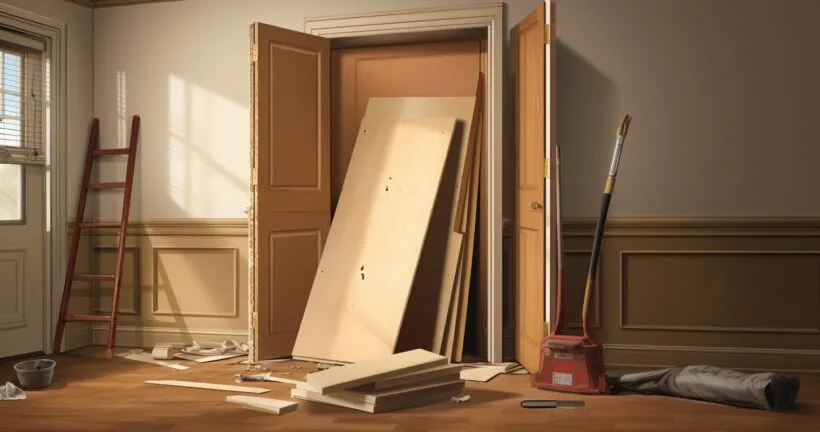
Preparing the Doorway
That seemingly innocent passage that suddenly becomes the bane of your existence when moving. Before you go all Thor with a hammer, let’s talk preparation. Cutting along the door trim to separate from paint or caulk is the first step. It’s like breaking up with your high school sweetheart; you need to cut ties cleanly. A utility knife works wonders here. Just glide it along the trim, ensuring you don’t damage the wall.
Now, let’s talk gear. Tools and materials you’ll need include a pry bar, a utility knife, a hammer, and some patience (okay, a lot of patience). Maybe throw in a playlist of your favorite tunes to keep the mood light.
Remember those puzzles you did as a kid? The ones where you had to place each piece in its exact spot? Well, importance of numbering and placing the trim aside is just like that. As you remove each piece of trim, number it. This way, when it’s time to put Humpty Dumpty back together again, you’ll know exactly where each piece goes.
The Actual Removal
Roll up those sleeves; it’s go-time. Prying the trim and understanding the role of wedges is crucial. Start at the bottom of the trim and gently pry it away. If it’s being stubborn (like that jar of pickles you can never open), use a wedge or a flathead screwdriver to create a gap. Slow and steady wins the race here.
Now, for the fun part. Using a reciprocating saw for cutting nails. This tool is like the superhero of the DIY world. It makes quick work of those pesky nails holding the jamb in place. But remember, with great power comes great responsibility. Always wear safety goggles and gloves.
Finally, ensuring the door jamb is free from the frame is the last step. Gently pull the jamb, checking for any nails or screws you might have missed. If it doesn’t budge, don’t force it. Go back and check for any obstructions.
For a more visual guide on this process, check out this handy tutorial on how to remove a door jamb for moving furniture.
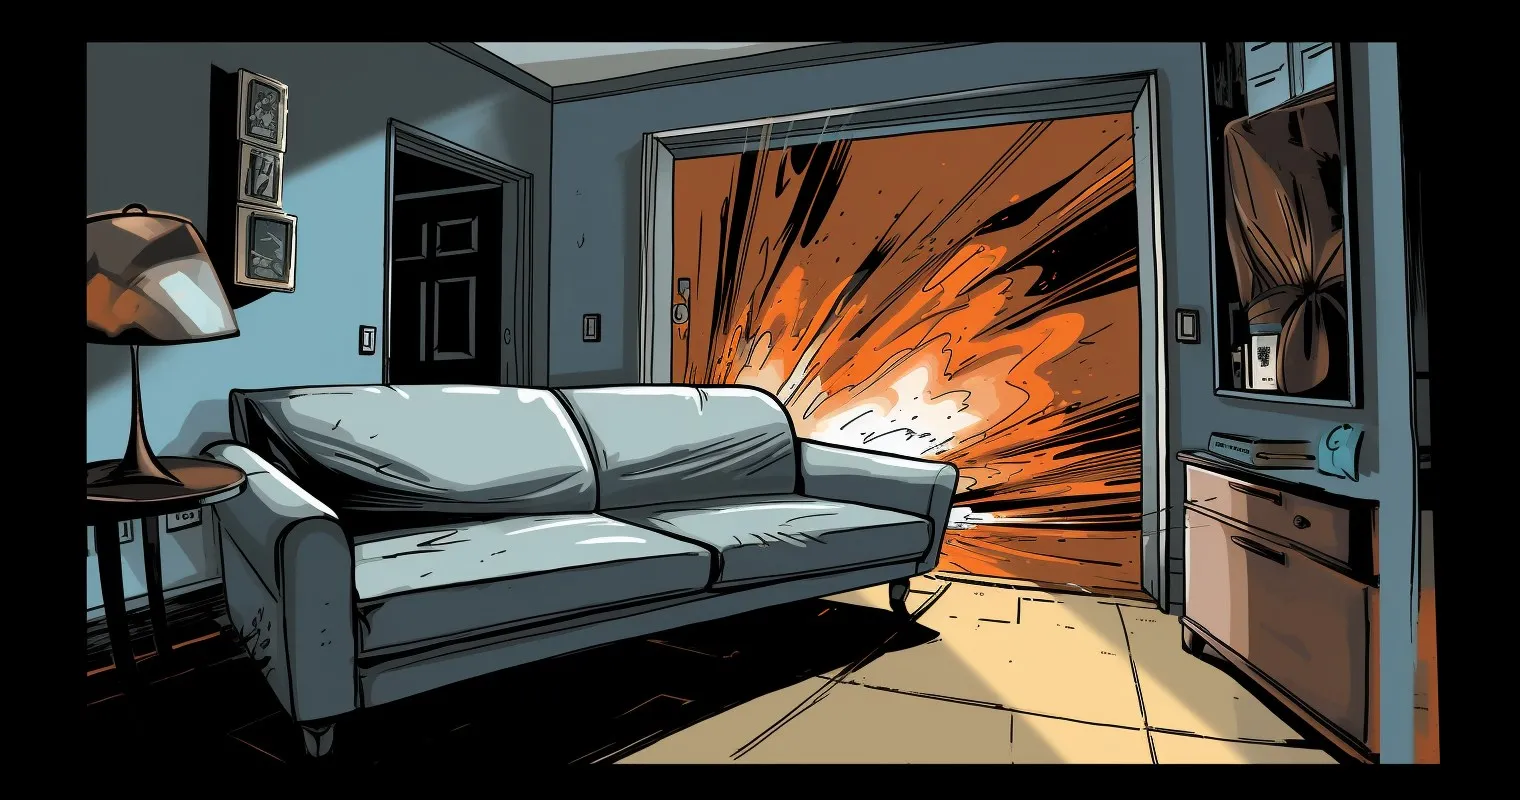
After the Furniture Has Passed

So, you’ve successfully maneuvered that colossal couch through the doorway. Give yourself a pat on the back! But wait, there’s more. Now comes the task of putting everything back together.
Steps to reinstall the door jamb are straightforward, but they require precision. Start by aligning the jamb with the frame. Use the numbered pieces (remember those?) to ensure everything fits perfectly. Nail or screw the jamb back into place, making sure it’s flush with the wall.
Tips for ensuring the jamb is as secure as before are essential. You don’t want any wobbly bits, do you? Use a level to ensure the jamb is straight. If you find any gaps, fill them with wood filler or caulk. Once dry, sand the area smooth.
Now, let’s talk potential battle scars. Checking for any damages and how to repair them is crucial. Scratches can be touched up with paint or wood stain. If there’s any significant damage, consider replacing that section of the jamb. Remember, it’s not just about aesthetics; a secure jamb ensures the safety of your home.
Additional Tips and Tricks

Moving furniture can sometimes feel like solving a Rubik’s cube. But with a few tricks up your sleeve, it can be a breeze. Ever heard of the “corkscrew” technique for moving furniture? It involves twisting the furniture in a corkscrew motion to navigate tight spots. It’s like the cha-cha slide but for your couch.
Sometimes, DIY can turn into “Do I Yell?” If you find yourself in over your head, when to consider professional help is crucial. There are experts trained in the art of furniture Tetris. They have the tools and knowledge to ensure a smooth move.
Lastly, ensuring the safety of your home and furniture is paramount. Use furniture pads to prevent scratches. Clear pathways of any obstacles. And always, always lift with your knees, not your back.
For more insights on navigating tight furniture squeezes, check out this guide on what to do when it doesn’t fit through the front door.
Frequently Asked Questions
Why would I need to remove a door jamb for moving furniture?
Removing a door jamb can provide that extra inch or two needed to move large furniture pieces through a doorway.
Is it complicated to remove a door jamb?
No, with the right tools and guidance, removing a door jamb is straightforward.
How long does it take to remove and reinstall a door jamb?
Typically, it takes about 1-2 hours, depending on your experience and the door’s construction.
Can I do it by myself?
While it’s possible, having an extra pair of hands can make the process smoother and safer.
Are there any risks involved in removing a door jamb?
Yes, if not done correctly, it can lead to damage to the wall or the door frame. Always follow guidelines and take precautions.
How do I ensure the door jamb is as secure as before after reinstallation?
Ensure you use the same nail holes and check for any damages. If unsure, consider seeking professional help.
What tools will I need for this process?
Some essential tools include a hammer, utility knife, screwdriver, pry bar, and a reciprocating saw.
Conclusion
Understanding How To Remove A Door Jamb For Moving Furniture is not just about making space for furniture; it’s about ensuring the safety and integrity of your home. With the right tools and a bit of patience, you can make your moving process a breeze. Remember, every challenge faced during a move is just a step towards making your new place feel like home.
Thank you for reading!