
How To Redo Electrical In Old House: Old houses have a unique charm, but they often come with a set of challenges, one of which is outdated electrical systems. According to the U.S. Fire Administration, electrical fires account for about 6.3% of all residential fires. One way to prevent this is by redoing the electrical system in your old house.
Understanding the Basics of Electrical Wiring
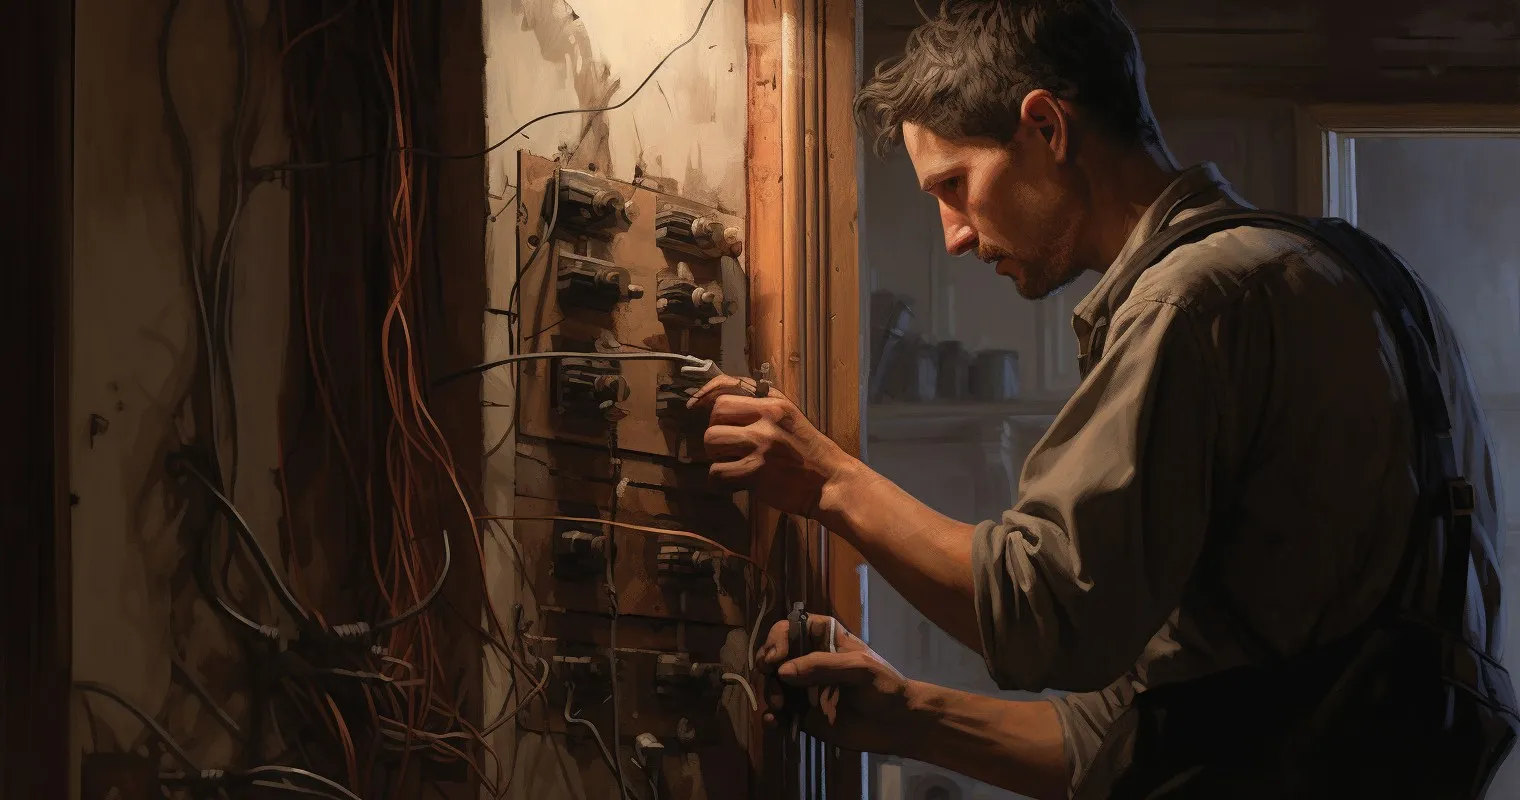
Old houses have a certain charm and mystery, but with that comes the responsibility of keeping them safe and functional. Redoing the electrical system in old houses is often crucial to prevent potential hazards associated with outdated wiring and electrical systems. Let’s dig into the basics of electrical wiring and understand why it is so important to redo the electrical in old houses.
The first step to understanding how to redo electrical in an old house is to recognize the common types of electrical wiring found in older homes. Knob-and-tube wiring, aluminum wiring, and non-metallic cable (NM) are all common types of wiring found in homes built before the 1970s. Unfortunately, these wiring systems can deteriorate over time, leading to potential safety hazards such as fire or electrical shock.
| Wiring Type | Characteristics | Potential Hazards |
|---|---|---|
| Knob-and-Tube Wiring | Older system, ceramic knobs, open wiring | Deterioration, fire risk |
| Aluminum Wiring | Used in the mid-20th century, prone to oxidation | Fire risk, poor conductivity |
| Non-Metallic Cable | Common post-1970s, versatile, plastic coating | Deterioration, insulation problems |
Moreover, if you’re experiencing frequent power outages, flickering lights, or a burning smell, these are clear signs that your house needs electrical redoing. Also, if your electrical system has a lower amperage, it may not be able to support modern appliances and devices, another key indication that your electrical system needs an update.
For more information on the basics of electrical wiring, visit our guide on What Is Strain Relief In Electrical Wiring? A Detailed Guide Understanding the Basics of Electrical Wiring.
Preparing for the Electrical Redo
Before diving headfirst into the electrical redo, it is essential to get a professional assessment of your home’s electrical system. A licensed electrician can identify any potential problems, recommend the best course of action, and provide an estimate for the cost and timeline of the project. Remember, while DIY is great for painting walls or building a bookshelf, redoing electrical work is a task best left to the professionals.
Once you have a clear idea of the scope of work, it is time to create a budget and timeline for the project. It is always advisable to set aside a contingency fund to cover any unexpected expenses that may arise during the redoing process.
Finally, prepare your home for the process. Remove any furniture, decor, or other items that may obstruct access to the electrical wiring. It’s also a good time to consider whether you want to make any other home improvements while the walls are open, such as adding insulation or updating the plumbing.
Redoing the electrical in an old house involves understanding the basics of electrical wiring, getting a professional assessment, creating a budget and timeline, and preparing your home for the process. Following these steps will help ensure a successful electrical redo and a safer, more functional home.
Step-by-Step Guide on How To Redo Electrical In Old House
Renovating an old house can be a rewarding yet challenging task. One of the most critical aspects of this renovation is redoing the electrical system. Old wiring can be a fire hazard and may not be able to handle the electrical load of modern appliances. Here’s a step-by-step guide on how to redo electrical in an old house.
Step 1: Planning the New Electrical System
The first step is to plan the new electrical system. This involves deciding the number and location of outlets, switches, and light fixtures. You’ll also need to determine the type and amount of wiring required. It’s advisable to consult a professional electrician or an electrical engineer during this stage. They can help ensure that your plan complies with local building codes and is safe and efficient.
Step 2: Removing the Old Wiring
Once you have a plan in place, the next step is to remove the old wiring. This can be a labor-intensive task and may involve removing sections of the wall or ceiling. It’s important to be careful during this stage to avoid damaging other structural elements of the house. Additionally, make sure to turn off the power before starting any work to avoid electric shock.
Learn more about the rewiring process and its intricacies from this Family Handyman article.
Step 3: Installing the New Wiring
After removing the old wiring, it’s time to install the new wiring. Start by running the cables through the walls and ceilings. Next, connect the wires to the outlets, switches, and light fixtures as per your plan. It’s important to secure the cables properly and to make sure that all connections are tight. Also, remember to ground the electrical system properly to avoid electric shock.
Step 4: Testing the New Electrical System
Once the new wiring is installed, it’s time to test the electrical system. This involves checking all the outlets, switches, and light fixtures to make sure they are working properly. It’s advisable to use a multimeter to check the voltage and continuity of the circuits. If there are any issues, it’s important to address them immediately.
Tips for a Successful Electrical Redo
Safety First
Safety should be your top priority when redoing the electrical system in an old house. Always turn off the power before starting any work. Also, make sure to use insulated tools and wear protective clothing.
Have the Right Tools and Materials
Having the right tools and materials is crucial for a successful electrical redo. This includes wire strippers, pliers, screwdrivers, a drill, and electrical tape. Additionally, make sure to use wiring that is of the right type and gauge.
Avoid Common Mistakes
Common mistakes during an electrical redo include not grounding the electrical system properly, not securing the cables properly, and not testing the system thoroughly after installation.
Redoing the electrical system in an old house involves planning the new electrical system, removing the old wiring, installing the new wiring, and testing the new electrical system. Following these steps and tips will help ensure a successful electrical redo.
Handling Challenges During Electrical Redo
Renovating an old house usually comes with its fair share of unexpected challenges. This is especially true when it comes to redoing the electrical system. Below are some common challenges and tips on how to handle them.
Managing Plaster and Lath Walls
Old houses often have plaster and lath walls, which can make it difficult to run new wiring. To avoid damaging the walls, it’s best to use a flexible drill bit to create holes for the new wiring. Additionally, fish tapes can be used to pull the wires through the walls.
Dealing with Inaccessible Areas
In old houses, there are often areas that are hard to access, such as crawl spaces or attics with limited space. In such cases, it may be necessary to remove some parts of the wall or ceiling to access these areas. It’s important to plan this carefully to minimize the damage and the amount of repair work required afterward.
Handling Unexpected Issues
When redoing the electrical system in an old house, you may encounter unexpected issues such as damaged wiring, old fixtures that need to be replaced, or inadequate grounding. It’s important to address these issues as soon as they are identified to ensure the safety of the electrical system.
Learn more about how to rewire a house without removing drywall and other tips from this Penna Electric article.
Finalizing the Electrical Redo
Once the new wiring is installed and the electrical system is tested, there are a few final steps to complete the electrical redo.
Getting the Work Inspected
It’s important to have the work inspected by a qualified professional to ensure it complies with local building codes and is safe. This may involve a visual inspection as well as testing the electrical system.
Making Final Adjustments if Necessary
After the inspection, there may be some final adjustments that need to be made. This could include tightening connections, securing cables, or making changes as per the inspector’s recommendations.
Reinstalling Drywall and Finishing Touches
After the electrical work is complete and approved by the inspector, it’s time to reinstall the drywall and apply the finishing touches such as painting and installing trim.
For a visual guide on finalizing the electrical redo, check out this YouTube video.
Handling challenges during the electrical redo involves managing plaster and lath walls, dealing with inaccessible areas, and handling unexpected issues. Finalizing the electrical redo involves getting the work inspected, making final adjustments if necessary, and reinstalling drywall and finishing touches.
Frequently Asked Questions
Why is it important to redo the electrical in an old house?
Redoing electrical in an old house is crucial to ensure the safety of the occupants. Old wiring, outdated fixtures, and inadequate grounding can lead to electrical fires or electrocutions.
What are the signs that my house needs electrical redoing?
Signs that your house needs electrical redoing include flickering lights, frequent circuit breaker trips, buzzing sounds from outlets or switches, and outlets that are hot to the touch.
Can I redo the electrical in my old house by myself?
How long does it take to redo electrical in an old house?
The time it takes to redo electrical in an old house varies depending on the size of the house and the complexity of the electrical system. It can take anywhere from a few days to a few weeks.
How much does it cost to redo electrical in an old house?
The cost to redo electrical in an old house can vary widely based on the size of the house, the complexity of the electrical system, and local labor rates. It can range from $1,500 to $10,000 or more.
Conclusion
Redoing the electrical in an old house is a crucial yet challenging task. It is essential to ensure the safety of the occupants and prevent potential electrical fires or electrocutions. It has provided a comprehensive guide on How To Redo Electrical In Old House. Remember to seek professional help, plan carefully, and address any unexpected issues promptly.
Thank you for reading!