
With an increasing number of electrical appliances in our homes, understanding How To Perform an Electrical Safety Test is crucial. In 2020, electrical malfunctions accounted for over 40% of house fires in the U.S. alone. This guide aims to equip homeowners with the knowledge to conduct these tests, ensuring the safety of their families and properties. Dive in to learn the step-by-step process, and by the end, you’ll be well-prepared to tackle any electrical safety challenge.
Understanding Electrical Safety Testing
Ever plugged in a toaster and wondered if it might be the last thing you do? A tad dramatic, but electrical safety is no joke. Electrical Safety Testing is the unsung hero of our daily lives, ensuring that our beloved gadgets don’t turn against us.
| Test Type | Purpose |
|---|---|
| Earth Continuity Test | Checks if metal parts of appliances are properly connected to the ground, preventing shocks and ensuring safety. |
| Insulation Resistance Test | Measures the resistance of appliance insulation to prevent unwanted current flow, indicating the effectiveness of insulation. |
| Leakage Current Test | Measures the leakage current from an appliance to detect potential hazards and ensure safe operation. |
Did you know that in 2019, over 30% of electrical accidents were due to faulty appliances? That’s where the importance of understanding How To Perform Electrical Safety Tests comes into play.
There are various types of electrical safety tests, each tailored to the specific needs of different appliances. There’s a test for everything, from the Earth Continuity Test to make sure our electronics are grounded to the Insulation Resistance Test to see how well an appliance’s insulation works.
But why the fuss? Well, regular testing of appliances and equipment isn’t just about ticking off a safety checklist. It’s about peace of mind, knowing that the coffee machine won’t decide to give you an extra “jolt” in the morning.
Preparing for the Test
Before you dive into the world of electrical safety, preparation is key. Think of it as prepping for a marathon but with fewer sweatbands and more multimeters.
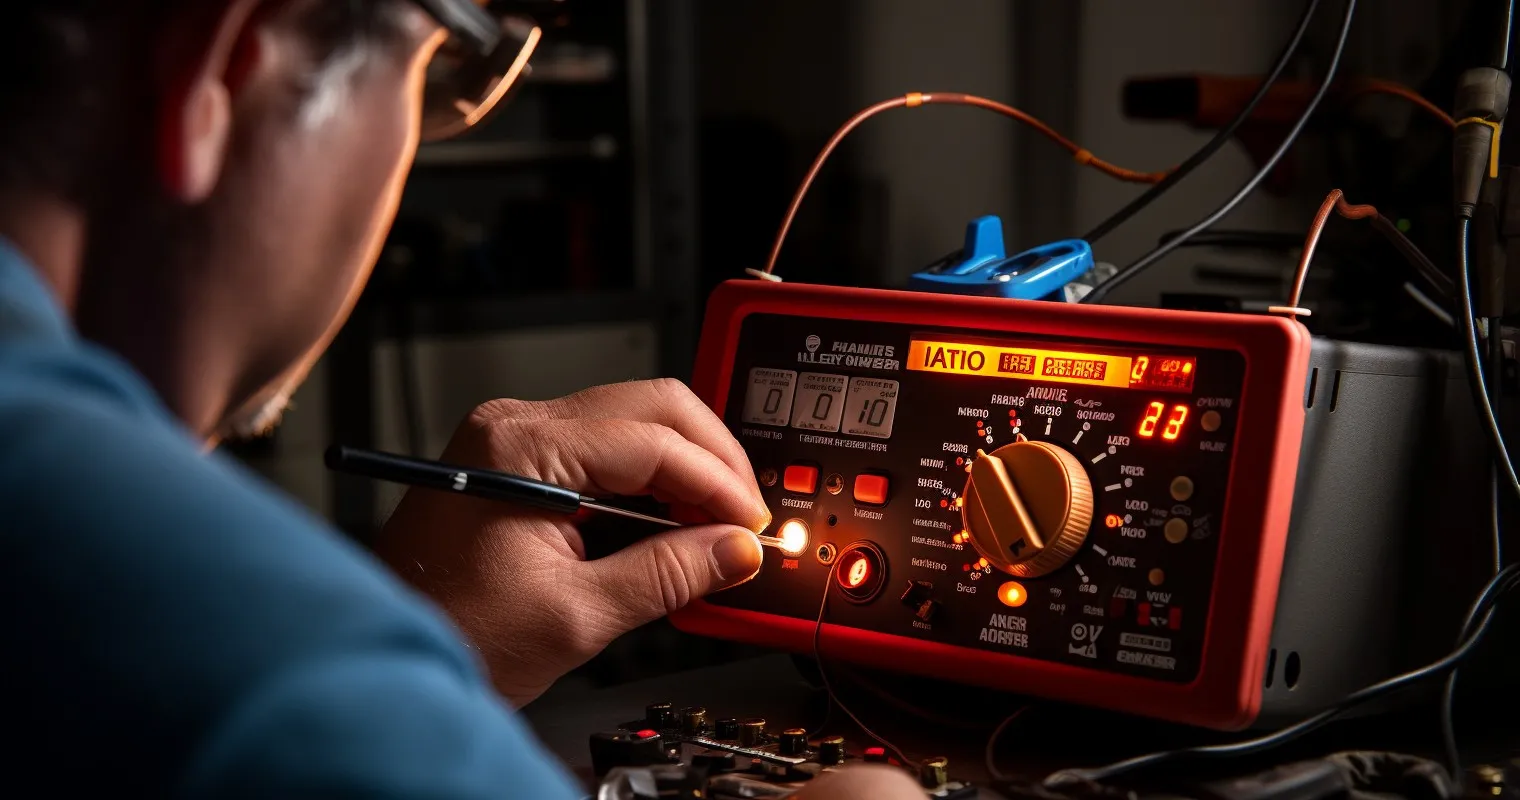
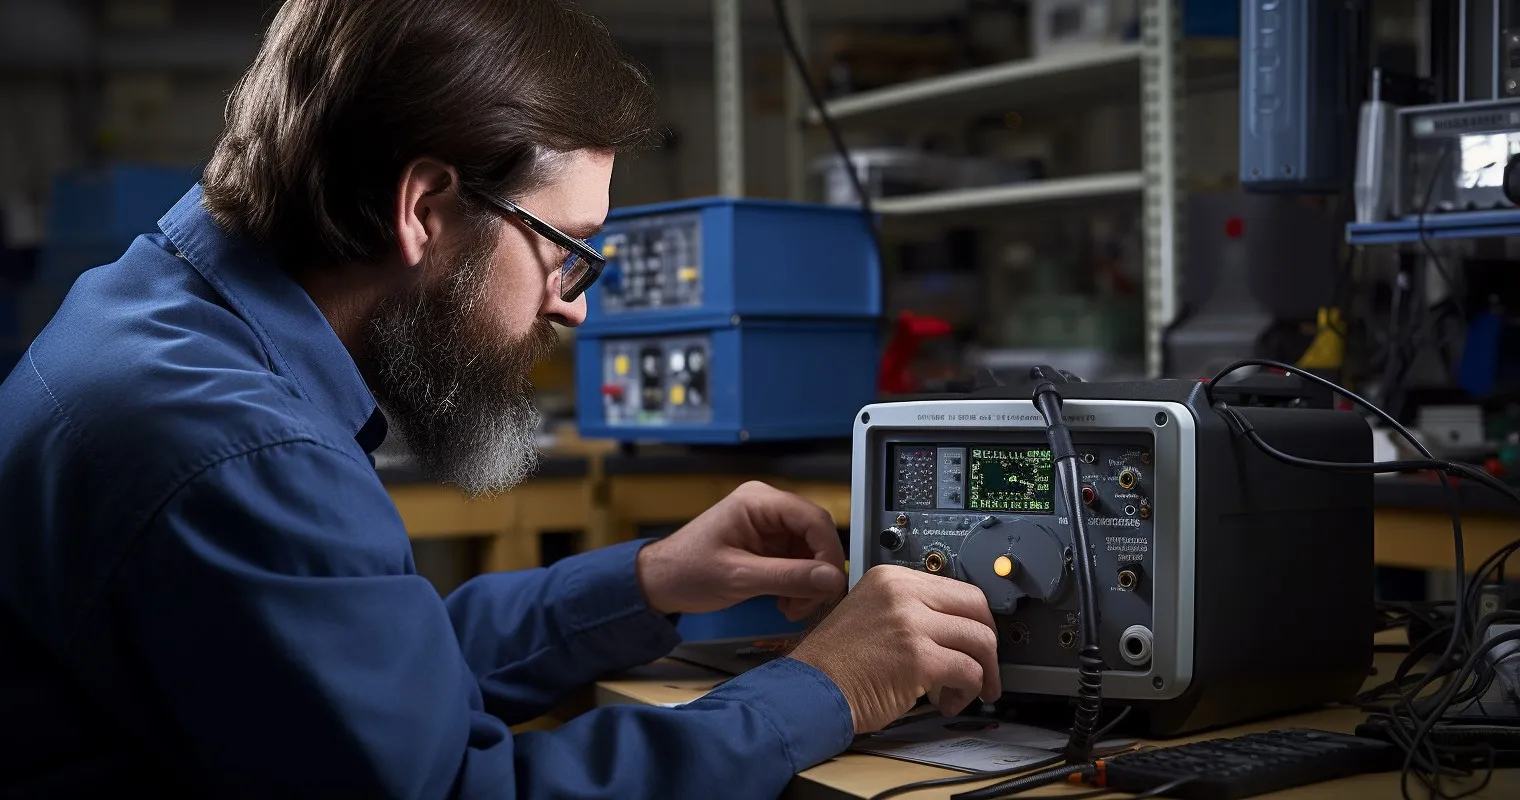
Start by gathering the necessary equipment and tools. A trusty multimeter, insulation tester, and a keen eye for detail are your best friends here.
Next, and this might sound obvious, but ensure the device to be tested is unplugged and powered off. It’s all fun and games until someone gets zapped!
Setting up in a safe environment is crucial. Clear any water sources, ensure good lighting, and maybe keep a rubber mat handy. And if you’re unsure about the tools you’re using, this guide on electrical power tool safety might just be your lifesaver.
The Step-by-Step Process
Alright, safety goggles on! Let’s dive into the process.
Begin with a visual inspection of the equipment. Look for any signs of wear, tear, or damage. Remember, a frayed wire today could be a fire hazard tomorrow.
Checking for visible damages or wear isn’t just about aesthetics. It’s about ensuring the device’s internal components are in tip-top shape.
For a more in-depth look into the nitty-gritty of the process, this comprehensive guide is a treasure trove of information.
Earth Continuity Test
There it is, the Earth Continuity Test. No, it’s not a test to see if the Earth will keep going (hint: it will). It’s all about making sure that electrical gear is properly grounded.
What is the Earth Continuity Test, then? To put it simply, it’s a way to see if the metal parts of an electrical device are truly connected to the ground. This makes sure that if something goes wrong, the current will safely flow into the ground instead of shocking you.
How to perform it, you ask? Start by connecting one end of the tester to the appliance’s metal body and the other end to the ground. If the tester shows a reading close to zero, you’re golden. If not, it’s time to call in the experts.
The importance of ensuring equipment is earthed properly cannot be overstated. Proper grounding can be the difference between a minor fault and a major catastrophe.

Insulation Resistance Test
Next up, is the Insulation Resistance Test. Think of insulation as the unsung hero of your electrical appliances, silently working to keep you safe.
Understanding insulation resistance is crucial. It’s the resistance offered by an appliance’s insulation to prevent unwanted flow of current. A higher resistance means better insulation, and that’s what we want.
To conduct the test, you’ll need an insulation resistance tester. Connect it to the appliance and note the reading. A high reading indicates good insulation, while a low one… well, you get the drift.
But how do you interpret the results? A reading above 1 megohm is generally considered safe for most household appliances. However, always refer to the manufacturer’s guidelines for specific values. For a deeper dive into insulation resistance, check out this informative article.
Leakage Current Test
Last but not least, is the Leakage Current Test. This isn’t about finding leaks in your plumbing but detecting unwanted electrical currents that might be escaping from your appliances.
The definition and importance of the leakage current test are intertwined. It measures the current that “leaks” out of an appliance, potentially causing harm. A low leakage current ensures that the appliance is safe for use.
How to perform the test? Using a leakage current tester, connect the appliance and measure the current. Ensure the device is switched on but not operating.
And of course, safety precautions. Always ensure you’re working in a dry environment, away from any water sources. And if you’re ever in doubt, it’s best to consult a professional.
How To Perform Electrical Safety Tests on Different Appliances
So, you’ve mastered the art of the Electrical Safety Test on your toaster. But what about that fancy espresso machine or the new robot vacuum that’s more tech-savvy than your grandma?
Different appliances come with their own set of challenges. Adapting the testing process for various equipment is crucial. For instance, testing a simple lamp differs from testing a microwave with its myriad functions.
Now, let’s talk batteries. Devices with batteries or complex circuits, like your smartphone or laptop, require special considerations. These gadgets aren’t just about checking for a current; they’re about ensuring that the intricate web of circuits inside them is functioning safely. For a deeper dive into the nuances of testing different appliances, this training course is a goldmine of information.
Post-Testing Procedures
Alright, you’ve done the tests. Now what? It’s not about patting yourself on the back and moving on. There’s a post-game show to attend!
Analyzing and documenting the results is the first step. Create a log, jot down your findings, and make it a habit. This way, you can track the health of your appliances over time.
Based on your results, decide on the next steps: repair, replace, or continue using. If your blender’s results are shocking (pun intended), it might be time for a new one.
Once done, ensure the safe storage of the equipment after testing. No leaving wires hanging around or testers in the reach of curious kids. For more insights on post-testing procedures, here’s an in-depth guide that covers it all.
Regular Maintenance and Safety
Remember, an Electrical Safety Test isn’t a one-time gig. It’s like a dental check-up; regular and a tad bit annoying, but essential for well-being.
I can’t stress enough how important it is to do regular upkeep and checks. It’s not just about catching faults but preventing them in the first place.
And while we’re on the topic of prevention, here are some tips for ensuring electrical safety at home and in workplaces:
| Tip | Description |
|---|---|
| Avoid Overloading Sockets | Do not plug too many devices into a single socket to prevent overheating and potential electrical fires. |
| Keep Water Away from Electrical Outlets | Ensure electrical outlets are dry and avoid using electrical appliances near water sources to prevent shocks and short circuits. |
| Regularly Check Cords for Wear and Tear | Inspect cords for fraying, cracks, or exposed wires. Replace damaged cords promptly to prevent electrical hazards. |
Ever wondered why multiple outlets stop working? It could be a sign of a bigger issue. Dive into this article for some enlightening insights.
Frequently Asked Questions
What is the purpose of the Electrical Safety Test?
The purpose of the Electrical Safety Test is to ensure that electrical appliances and equipment are safe for use and do not pose any hazards.
How often should I perform an Electrical Safety Test?
An Electrical Safety Test should be done once a year, especially for products that are used a lot.
What tools are needed for the test?
For the test, you’ll need:
- A multimeter
- Insulation tester
- A visual checklist for preliminary inspection.
Is it mandatory to conduct the test?
While it’s not legally mandatory for homeowners, it’s essential for ensuring safety. Some businesses and rental properties might have regulations requiring regular tests.
Can I perform the test myself or should I hire a professional?
If you’re familiar with electrical systems and have the necessary tools, you can perform the test. However, if unsure, it’s always safer to hire a professional.
What should I do if an appliance fails the test?
If an appliance fails the test, it’s crucial to:
- Stop using it immediately
- Consult a professional for repair or replacement.
How long does the test typically take?
Test times vary based on how difficult the item is, but 30 to 60 minutes is enough time to test most home appliances.
Conclusion
Understanding How To Perform Electrical Safety Test is not just about compliance or ticking off a checklist. It’s about ensuring the safety of your loved ones and the longevity of your appliances. This guide has given you the information you need to make smart choices about the electrical safety of your house.
Thank you for reading!