
In the world of DIY and woodworking, mastering the art of grooving can elevate your projects to a professional level. How To Make A Groove In Wood With Hand Tools is not just a skill; it’s a rite of passage for many woodworkers. According to a recent survey, over 60% of DIY enthusiasts believe that hand tools offer more precision than power tools. Whether you’re a seasoned carpenter or just starting, this guide will walk you through the steps to achieve that perfect groove.
Understanding the Basics of Grooving Wood
Ah, the art of grooving wood! It’s as old as the pyramids and as timeless as a well-crafted wooden chair. The history of grooving techniques in woodworking can be traced back to ancient civilizations, where artisans would use simple tools to create intricate designs on wood. These grooves not only added aesthetic appeal but also had functional purposes, such as joining pieces together.
The importance of grooving in woodworking projects cannot be overstated. Whether you’re crafting a dovetail joint or designing a decorative panel, grooves play a pivotal role in enhancing the strength and beauty of the piece. But as with all things, evolution is inevitable. While our ancestors might have relied solely on hand tools, the modern woodworker has a plethora of power tools at their disposal. This evolution from hand tools to power tools has made grooving faster and more efficient, but ask any purist, and they’ll tell you – nothing beats the precision and satisfaction of hand grooving!
Preparing Your Wood for Grooving

Before you dive into the world of grooves, it’s essential to lay the groundwork. Selecting the right type of wood is paramount. Softwoods like pine are easier to groove but might not offer the durability of hardwoods like oak or maple. Once you’ve chosen your wood, it’s all about precision. The importance of marking and measuring accurately cannot be emphasized enough. Remember, in woodworking, even a millimeter can make a difference!
Now, let’s talk tools. At the very least, you’ll need a ruler, pencil, and marking gauge. These tools will ensure that your grooves are straight, even, and where they’re supposed to be. And while we’re on the topic of tools, let’s not forget the most important tool of all – your brain!
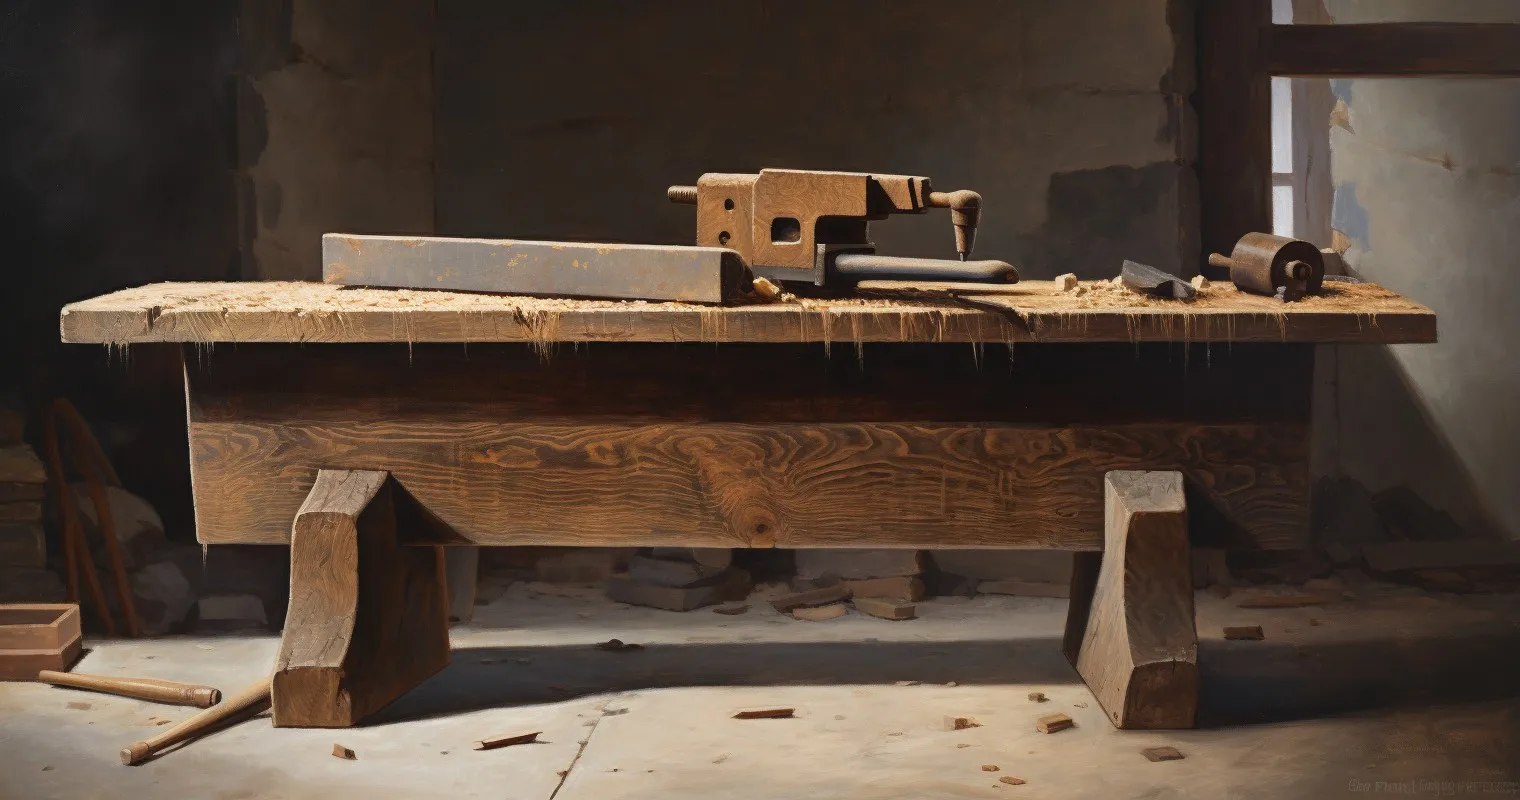
Ensuring A safe workspace :
| Safety Precaution | Description |
|---|---|
| Adequate Lighting | Ensure proper visibility in your workspace. |
| Safety Goggles and Gear | Wear safety goggles, gloves, and ear protection. |
| Clutter-Free Workspace | Keep your workspace organized and free from clutter. |
| Proper Tool Usage | Use tools only for their intended purpose. |
| Maintenance and Sharpness | Regularly maintain tools and keep blades sharp. |
| Protective Finishes | Apply finishes to protect and enhance the groove. |
It is the first step in any project. This means a clutter-free environment, adequate lighting, and no distractions. Next up, gear up! Using protective gear like safety goggles, gloves, and ear protection can save you from potential mishaps.
Lastly, handling tools with care is crucial. Always use tools for their intended purpose, keep them sharp, and store them safely when not in use. And remember, when working with hand tools, always respect the tool and the wood. It’s a relationship built on trust and care.
How To Make A Groove In Wood With Hand Tools
| Hand Tool | Description | Usage |
|---|---|---|
| Rabbeting Plane | Designed to cut grooves or rebates on wood edges. | Creating grooves along the wood’s edge. |
| Chisel | Used for cutting and shaping wood, including grooves. | Creating grooves by chiseling the wood. |
| Table Saw | A power tool that can be used for straight grooves. | Efficiently cutting grooves in wood. |
| Dremel Tool | A rotary tool for detailed and decorative grooving. | Creating intricate grooves and designs. |
Ah, the age-old art of woodworking! While power tools might have taken the limelight in recent years, there’s an undeniable charm and precision in using hand tools. How To Make A Groove In Wood With Hand Tools is not just a skill; it’s a testament to craftsmanship. Let’s dive into the world of grooving and explore the hand tools that have been shaping wood for centuries.
Using the Rabbeting Plane
First on our list is the rabbeting plane. But what is a rabbeting plane, you ask? Imagine a plane designed specifically to cut grooves or rebates on the edge of a piece of wood. That’s your rabbeting plane!
When it comes to techniques for effective grooving with a rabbeting plane, it’s all about the angle and pressure. Hold the plane at a slight angle to the wood’s surface, applying even pressure as you push forward. Remember, it’s not a race. Slow and steady wins the day.
And for those looking for tips for achieving a clean groove, always ensure your plane blade is sharp. A dull blade can cause the wood to tear, leaving an uneven groove. Regular maintenance is key!
The Chisel Method
If you thought the rabbeting plane was cool, wait till you meet the chisel. But before you start, it’s crucial to select the right chisel. For grooving, a narrow, sharp chisel works best.
Ready for a step-by-step guide to creating a groove with a chisel? Here we go:
- Mark the groove’s start and end points.
- Position your chisel at the start point, bevel side up.
- Apply gentle taps with a mallet, moving the chisel along the marked line.
- Repeat until you achieve the desired depth.
Lastly, smoothing and finishing the groove is essential. Use a smaller chisel or sandpaper to smooth out any rough edges, ensuring a clean, professional finish.
For more insights on hand tools and woodworking techniques, check out our comprehensive guide on woodworking.
For those who prefer a visual guide, this external resource offers a detailed walkthrough on cutting grooves in wood by hand.
Advanced Grooving Techniques and Tips

The world of woodworking is vast, and when it comes to grooving, there’s always more than meets the eye. How To Make A Groove In Wood With Hand Tools is a skill, but adding a touch of finesse and creativity takes it to another level.
Ever thought of incorporating design elements into grooves? Imagine a simple groove transformed with intricate patterns or even a dual groove design. It’s not just about functionality; it’s about making a statement.
But here’s the catch: ensuring consistency in grooving multiple pieces. It’s one thing to make a perfect groove, but replicating it multiple times requires precision. Always use a template or a jig, especially when working on a project that requires uniformity.
Alternative Grooving Methods
| Grooving Method | Pros | Cons |
|---|---|---|
| Hand Tools | Precision, tactile feedback, craftsmanship | Slower for large projects, requires skill |
| Table Saw | Fast, efficient for straight grooves | Limited to straight grooves, loud noise |
| Dremel Tool | Detailed work, intricate designs | Not suitable for deep grooves, slower |
While hand tools are the traditional choice, there are alternative methods that can be just as effective, if not more so.
Ever tried using a table saw for grooving? With the right blade and settings, a table saw can create clean, straight grooves in no time. It’s especially handy for larger projects.
For those intricate designs, the Dremel tool method for grooves is a game-changer. It allows for detailed work, perfect for decorative pieces. However, remember that while it offers precision, it might not be the best for deeper grooves.
Each method has its benefits and limitations. While the table saw is fast and efficient, the Dremel offers precision. Choose based on your project needs.
Finishing and Refining Your Groove
Once you’ve made that perfect groove, the job isn’t over. It’s all about the finish!
Sanding techniques for a smooth finish are crucial. Start with a coarser grit sandpaper and work your way to a finer grit. This ensures a smooth surface, free of any splinters.
But why stop there? Applying finishes or sealants not only enhances the look but also protects the groove. Whether it’s a simple varnish or a colored stain, it adds an extra layer of protection.
Lastly, ensuring the longevity of the groove in your woodworking project is vital. Regular maintenance, like cleaning and occasional re-sanding, can keep it in top shape.
Frequently Asked Questions
Why is it important to know how to make a groove in wood with hand tools?
Making a groove in wood using hand tools allows for precision and control, ensuring a more refined finish.
Are hand tools better than power tools for grooving?
Hand tools offer more tactile feedback, which can be crucial for tasks like grooving where precision is key.
How do I maintain my hand tools for grooving?
- Regularly clean them after use.
- Sharpen blades as needed.
- Store in a dry place to prevent rust.
What safety precautions should I take?
Always wear safety goggles, work in a well-lit space, and ensure your tools are in good condition before starting.
Can I make intricate designs with hand tools?
Absolutely! With practice, hand tools can be used to create detailed and intricate grooves in wood.
How long does it take to master this skill?
Like all woodworking skills, practice makes perfect. Dedicate time to practice, and you’ll see improvement.
Are there online resources or courses to help?
Yes, many online platforms offer tutorials and courses on woodworking, including how to groove with hand tools.
Conclusion
Mastering How To Make A Groove In Wood With Hand Tools is a journey of precision, patience, and passion. As you delve deeper into the world of woodworking, remember that every groove tells a story, every notch has a purpose, and every piece you create is a testament to your dedication.
Thank you for reading!