How To Make A Furniture Moving Dolly: Renting a new home often means moving furniture, and if you’ve ever tried to lift a couch solo, you’d know it’s not a picnic. But, did you know that over 35% of renters shift their homes within five years? That’s a lot of furniture lifting.
Why Build Your Own Furniture Moving Dolly?
Ah, the age-old question. Why craft when you can simply cart off a store product?
Benefits of a DIY approach
A homemade furniture dolly isn’t just a testament to your craftsmanship; it’s a badge of honor. Your pals see it and think, “Oh, a renaissance human!” Plus, it offers the sheer joy of building something with your own two hands. It’s like LEGO for adults but more useful.
| Benefits | Description |
|---|---|
| 1. Customization | Build to fit your specific needs, including size, style, and even wheel design. |
| 2. Cost Savings | Save up to 50% compared to buying a commercial dolly. |
| 3. Sense of Accomplishment | Showcase your craftsmanship and enjoy the satisfaction of building your tool. |
| 4. Practicality | Have a versatile tool for various moving tasks, reducing strain on your back. |
| 5. Personalization | Add unique features like custom paint or decorations for a personal touch. |
Savings compared to buying a commercial product
Why splurge when you can save? A commercial furniture dolly can set you back a pretty penny. By contrast, DIY-ing it can save you upwards of 50%. That’s half a vacation or a whole lot of tacos!
Customization to fit specific needs
Ever bought something that almost fits your needs? Well, DIY eliminates the almost. Build it as tall, as sturdy, or as snazzy as you like. Want leopard print wheels? Go wild!
Speaking of wild customization ideas, here’s a gem of an inspiration: ambientwares. Check it out for some rolling revelations!
Understanding the Basics of a Furniture Dolly
Before diving into How To Make A Furniture Moving Dolly, let’s strip it down to its core (literally).
What is a furniture dolly?
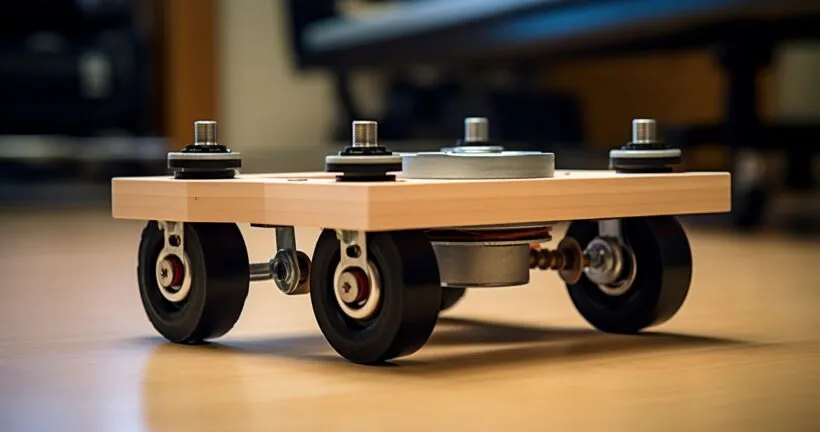
Think of it as a small, flat platform on wheels. Like a skateboard, but without the ollies, kickflips, or chances of injuring yourself trying to impress someone. It’s designed to move heavy stuff without the hernia.
Core components: platform, wheels, and handle
- Platform: The main stage. This is where your furniture struts its stuff.
- Wheels: These bad boys make the magic happen. Four, usually. Because who ever heard of a three-wheeled skateboard?
- Handle: For when your dolly needs some steering guidance. Or when it’s acting a bit too independent for its liking.
Dive deeper into the dolly depths with this visual treat: YouTube’s Furniture Dolly Basics.
Tools & Materials You’ll Need

Alright, DIY warriors. Here’s your armory:
| Tools | Materials |
|---|---|
| Saw | Plywood |
| Screws | Rubber wheels |
| Drill | Metal handle |
List of essential tools:
- Saw: For when size matters.
- Screws: The glue that doesn’t stick.
- Drill: Because manually screwing is so 1990.
Recommended materials:
- Plywood: Your platform’s main squeeze. Sturdy and reliable.
- Rubber wheels: For that silent, ninja-like movement. Your floors will thank you.
- Metal handle: When you need a firm grip on life (or your furniture).
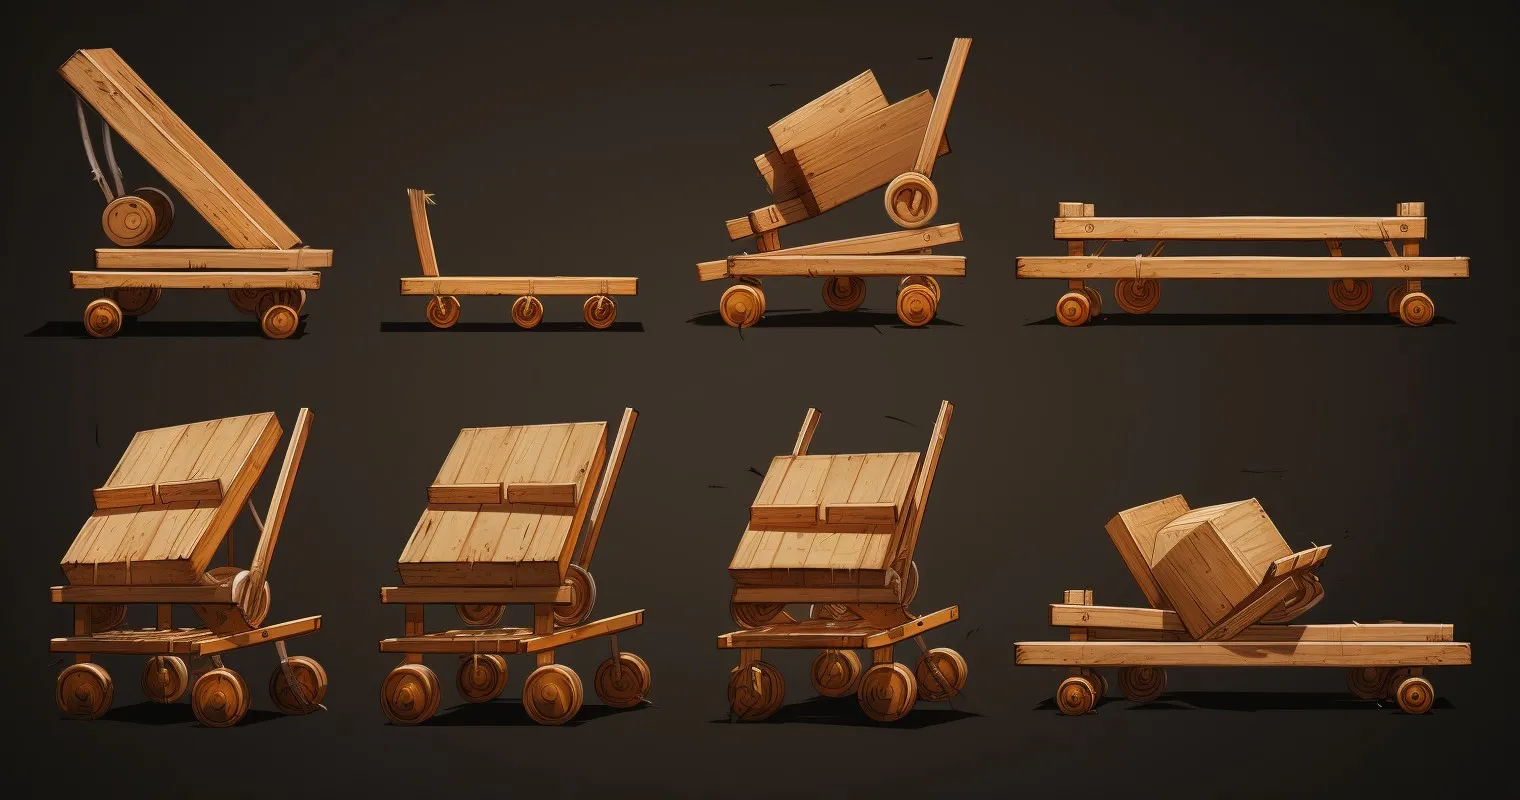
Step-by-Step Guide on How To Make A Furniture Moving Dolly
The DIY rollercoaster! Hold onto your hammers and let’s dive right in.
Start with measurements and design plans
Before any cutting commences, map out your game plan. Determine the size and shape of your dolly. Pro tip? Think about the most massive item you’ll move. Your design should accommodate it. Measurements matter, especially when you’re plotting how to make a furniture moving dolly that’s functional and fierce.
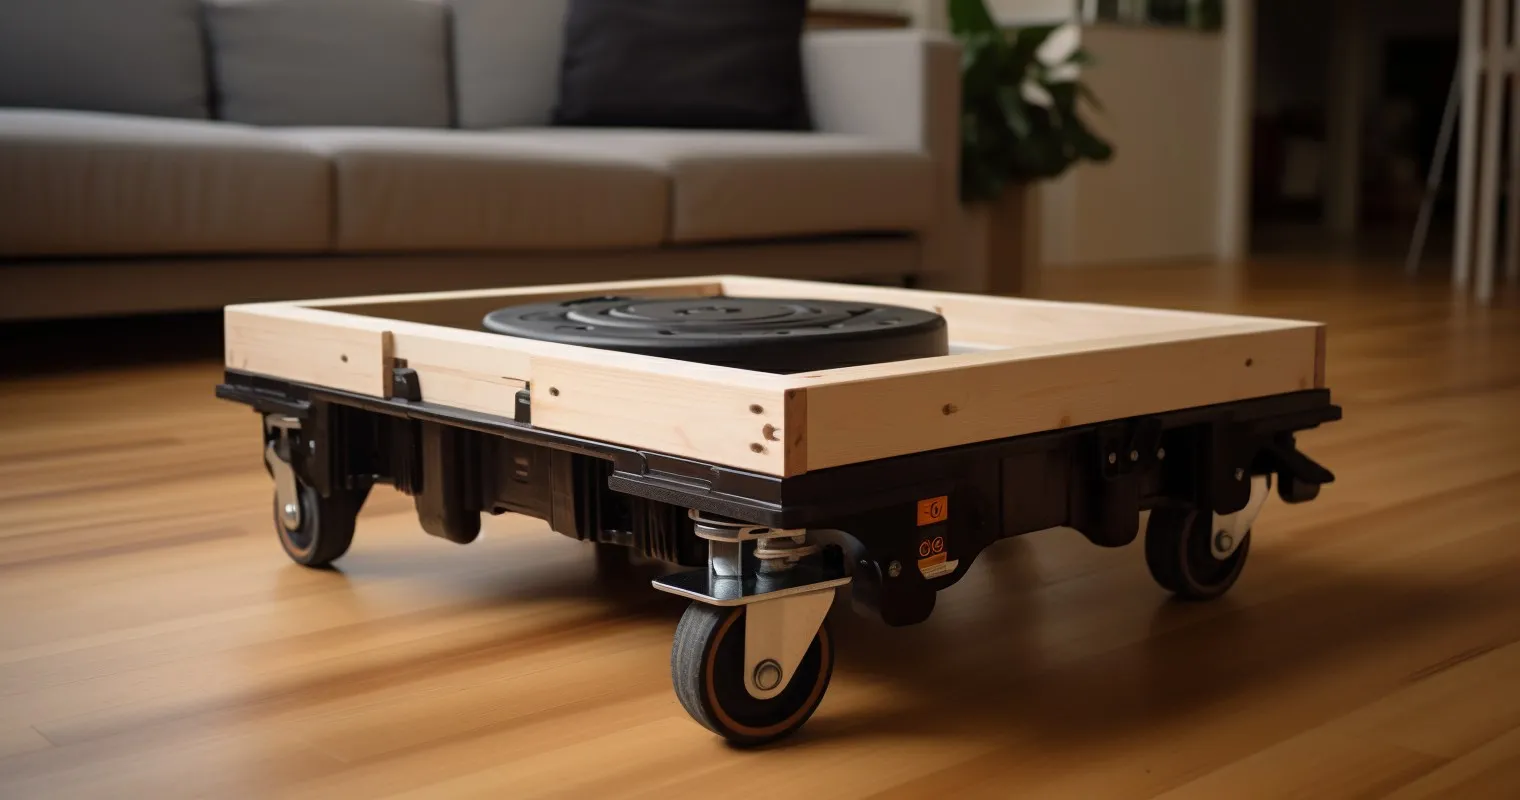
Cutting the platform to the desired size
Grab that saw. Once you’ve marked out your measurements, it’s time to trim your platform. A steady hand and a keen eye will be your best friends here. Measure twice and cut once. Regret doesn’t come with a rewind button.
Fixing the wheels: considering weight distribution
The wheels are where the action happens. But it’s not as simple as slapping them anywhere. Consider the weight distribution of what you’ll move. Place the wheels to balance the load evenly. Your back will thank you.
Attaching the handle: ensuring strength and grip
You need to control the dolly. Enter, the handle. Make sure it’s sturdy enough to manage heavy weights. Choose a design that’s comfy for your hands. After all, it’s the steering wheel of your dolly!
Lost in the labyrinth of instructions? Sometimes, visual aids pave a clearer path. This tutorial video might just light your way.
Safety Precautions to Follow
Now, as my grandma always said, “Safety first, pies later.” Okay, maybe the pie part is irrelevant here, but safety sure isn’t.
Working with sharp tools: protective wear and cautious use
DIY can be a thrill, but it shouldn’t come with a trip to the ER. Ensure you’re suited up in protective wear. Goggles? Check. Gloves? Check. A sense of undying invincibility? Put that one away.
Testing the dolly: ensuring it can bear weight without collapsing
Before you mount that antique grand piano, test your dolly. Place a weight gradually, checking for any sign of wobble. If it stands steady, you’re golden. If not, it’s back to the drawing board.
Storing tools post-project
Once your masterpiece is complete, don’t leave your tools scattered. They deserve a home too, preferably somewhere safe, where tiny, curious hands or paws can’t reach.
Safety isn’t just about the project. It extends to tool maintenance and smart storage. Dive into this Guide on How To Clean Under Furniture Without Moving It: Effective Cleaning Hacks.
Tips for Enhancing Your DIY Dolly’s Durability and Functionality
So you’ve built your DIY dolly, and it’s a beauty! But, as with all things wooden, there’s the ever-present threat of the elements. Enter the superhero: waterproofing. By applying a suitable waterproof sealant, you not only make your dolly rain-ready but also give it a longer lease of life.
Now, let’s chat wheels. Ever driven a luxury car? Smooth, right? Your dolly deserves the same. Opt for high-quality wheels. They might cost a bit more upfront, but they ensure smoother movement and can handle those bulky items without breaking a sweat. Interested in a visual? Let this tutorial be your guide.
Maintenance and Care for Your Furniture Dolly
Your dolly might be sturdy, It’s not invincible. Regular checks for wear and tear ensure it stays in tip-top shape. Look out for any splintering wood or rusty screws.
Speaking of rusty screws, worn-out parts are a no-go. Regularly replace wheels and screws that seem on their last leg (or thread). Your dolly’s efficiency depends on it.
Last but not least, storage. Think of your dolly as a vampire – it hates dampness. Store it in a dry place, preferably indoors. Not only does this shield it from the weather, but it also ensures it’s always ready for action. For more on maintenance, let the guru, Bob Vila, take the reins.
Real-Life Applications of Your DIY Furniture Dolly
From moving heavy furniture like wardrobes, sofas, and even your grandmother’s antique dresser, your dolly’s got your back. Literally. It reduces the strain on your back.
What about those bulky home appliances? Refrigerators, washing machines, that surprisingly heavy microwave – your dolly handles them with grace.
Don’t limit its utility to just home use. Workshops or garages? Yes, please. From moving heavy toolboxes to transporting parts, it’s a lifesaver. For some inspiration on how to utilize your dolly to its maximum potential, check out this video.
Frequently Asked Questions
What is the main purpose of learning How To Make A Furniture Moving Dolly?
Making your own furniture moving dolly allows you to customize it to fit your specific needs and save money.
How much can I save by making my own dolly?
On average, a commercial dolly costs $50-$200. By DIY-ing, you can save anywhere from 50-80% of that cost.
What materials are essential for this project?
Key materials include plywood for the platform, durable wheels, screws, and a metal handle.
How long does it typically take to create one?
For beginners, setting aside an afternoon or about 3-5 hours should suffice.
Is there any maintenance required for the DIY dolly?
Yes, regular checks for wear and tear are necessary. It’s also a good idea to store it in a dry place and replace worn-out parts as needed.
Can my DIY dolly bear the weight of heavy furniture?
Absolutely! With the right materials and proper construction, it can comfortably handle heavy items like wardrobes and refrigerators.
Conclusion
Embarking on the journey of How To Make A Furniture Moving Dolly isn’t just about saving money, but it’s about equipping yourself with a reliable moving tool tailored to your needs. Every time you shift that massive bookshelf or your beloved bed, you’ll have a little reminder of your handiwork easing the process.
Thank you for reading!