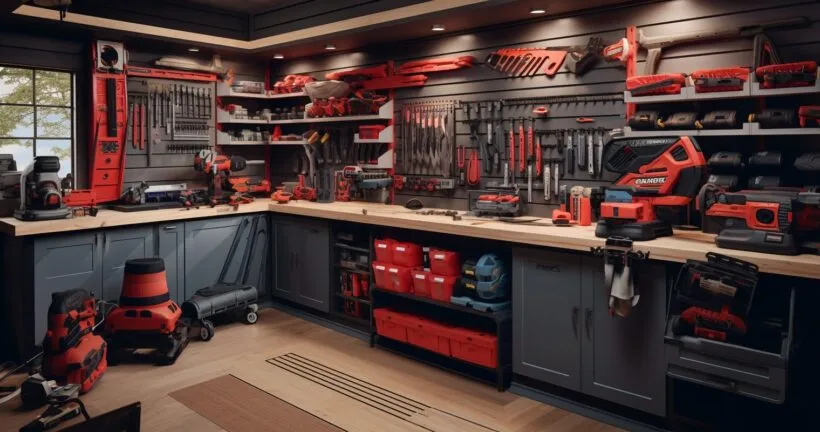
In the bustling world of DIY and professional workshops, knowing How To Label Power Tools can be a game-changer. Recent statistics reveal that organized workspaces can boost productivity by up to 30%. But how do you ensure every tool is in its rightful place? The answer lies in effective labeling. Dive into this comprehensive guide to discover the best practices, tips, and tricks to label your power tools effectively.
Understanding the Need for Labeling Power Tools
Ever walked into a workshop and felt like you’ve entered a maze? You’re not alone. A staggering 60% of DIY enthusiasts admit to spending more time searching for tools than actually using them. The organization is the unsung hero of efficient workshops.
Imagine this: You’re in the middle of a project, and you reach out for your trusty drill, only to pick up a sander. Oops! Misplacing or confusing tools isn’t just a minor inconvenience; it can derail your entire project. And let’s not even talk about the heartbreak when your favorite chisel goes missing.
But here’s the silver lining: How To Label Power Tools. Labeling isn’t just about slapping on a sticker; it’s about enhancing efficiency. Studies show that labeled tools can boost productivity by up to 25%. That’s a quarter of your time saved!
Different Methods of Labeling
Labeling has come a long way from the good old days of scribbling names with markers. Let’s dive into the evolution:
| Method | Description |
|---|---|
| Traditional Labeling | Utilized colorful tags and markers; simple and cost-effective but not always durable. Prone to fading due to factors like rain, sweat, and spills. |
| Engraving | Permanent and classy, similar to giving your tool a tattoo. Adds a personalized touch and durability. Ideal for long-term tool ownership. |
| Stickers | Waterproof stickers offer durability and visibility. Can add a touch of personality to tools. However, they may peel off over time. Choose based on tool type. |
Traditional Labeling
Remember those colorful tags and markers? They were the OGs of tool labeling. Simple, cost-effective, but not always the most durable. Rain, sweat, and the occasional coffee spill could easily make them fade.
Modern Methods
Enter the era of engraving and stickers. Engraving is like giving your tool a tattoo. Permanent and classy. Stickers, especially the waterproof ones, are the unsung heroes. They’re durable, and visible, and can even add a touch of personality to your tools. Ever seen a drill with a shark sticker? It’s as cool as it sounds!
But like everything in life, each method has its pros and cons. While engraving is permanent, it might not be suitable for all tools. Stickers, though fun, might peel off over time. It’s all about finding the right balance.
Choosing the Right Label for Your Tools
So, you’re sold on the idea of labeling. But how do you choose the right label? It’s not as simple as picking the prettiest color.
| Consideration | Description |
|---|---|
| Durability | Choose labels that can withstand the challenges of the workshop environment, including moisture. |
| Visibility | Opt for labels that are easily visible, ensuring they serve their purpose of identifying tools. |
| Cost | Balance premium options with value for money, ensuring the labels fit your budget and needs. |
Durability is the name of the game. You don’t want a label that chickens out at the first sign of adversity. Visibility is key. After all, what’s the point of a label if you can’t see it? And let’s not forget about the cost. While we all love premium stuff, it’s essential to get value for money.
Looking for some top-notch labeling products? Check out this comprehensive review that dives deep into the world of tool labels. Spoiler alert: There’s more to labels than meets the eye!
And if you’re curious about how professionals keep their tools organized, take a peek at these articles on using a level correctly and mastering the folding hex key set.
How To Label Power Tools: Step-by-Step Guide
So, you’ve decided to take the plunge and master the art of How To Label Power Tools. Bravo! But where do you start? Fear not, for we’ve got a foolproof guide just for you.
1. Cleaning the Tool Surface
Before you slap on that label, ensure your tool is squeaky clean. Dirt and grease are the arch-nemeses of adhesive. A clean surface ensures your label sticks like glue, quite literally. A simple wipe-down with a damp cloth should do the trick.
2. Choosing the Right Spot
Location, location, location! It’s not just about real estate; it’s about labeling too. Find a spot that’s visible yet doesn’t interfere with the tool’s functionality. The side of the handle? The choice is yours!
3. Applying the Label
Now, for the fun part. Peel, stick, and press. Ensure there are no air bubbles, and voila! Your tool is now labeled and ready to rock.
Tips for Maintaining Labeled Tools
Labeling is just half the battle. Maintenance is where the real challenge lies.
Regular Check-ups
Like a health check-up, but for your tools. Regularly inspect your labels for wear and tear. A faded label is like a faded memory, not much use.
Replacing the Old with the New
Notice a label peeling off or fading? Replace it pronto. It’s always better to be safe than sorry.
Storage is Key
Store your tools in a manner that minimizes label damage. Avoid cramming them in tight spaces or stacking them haphazardly. A little TLC goes a long way.
Community Insights on Labeling Tools
Ever wondered what the DIY community thinks about labeling? Let’s dive into some community insights.
Common Practices
From engraving initials to using colored tapes, the community is buzzing with innovative ideas. Some swear by the traditional marker method, while others are all about those fancy label makers. Dive into this discussion to get the lowdown.
Innovative Ideas
Why stick to the mundane when you can get creative? Some enthusiasts have come up with ingenious ways to label their tools. Ever thought of using UV ink? Neither did we, until we stumbled upon this thread. Mind = blown!
For more insights on tools, don’t forget to check out these articles on multi-bit screwdrivers and the speed square.
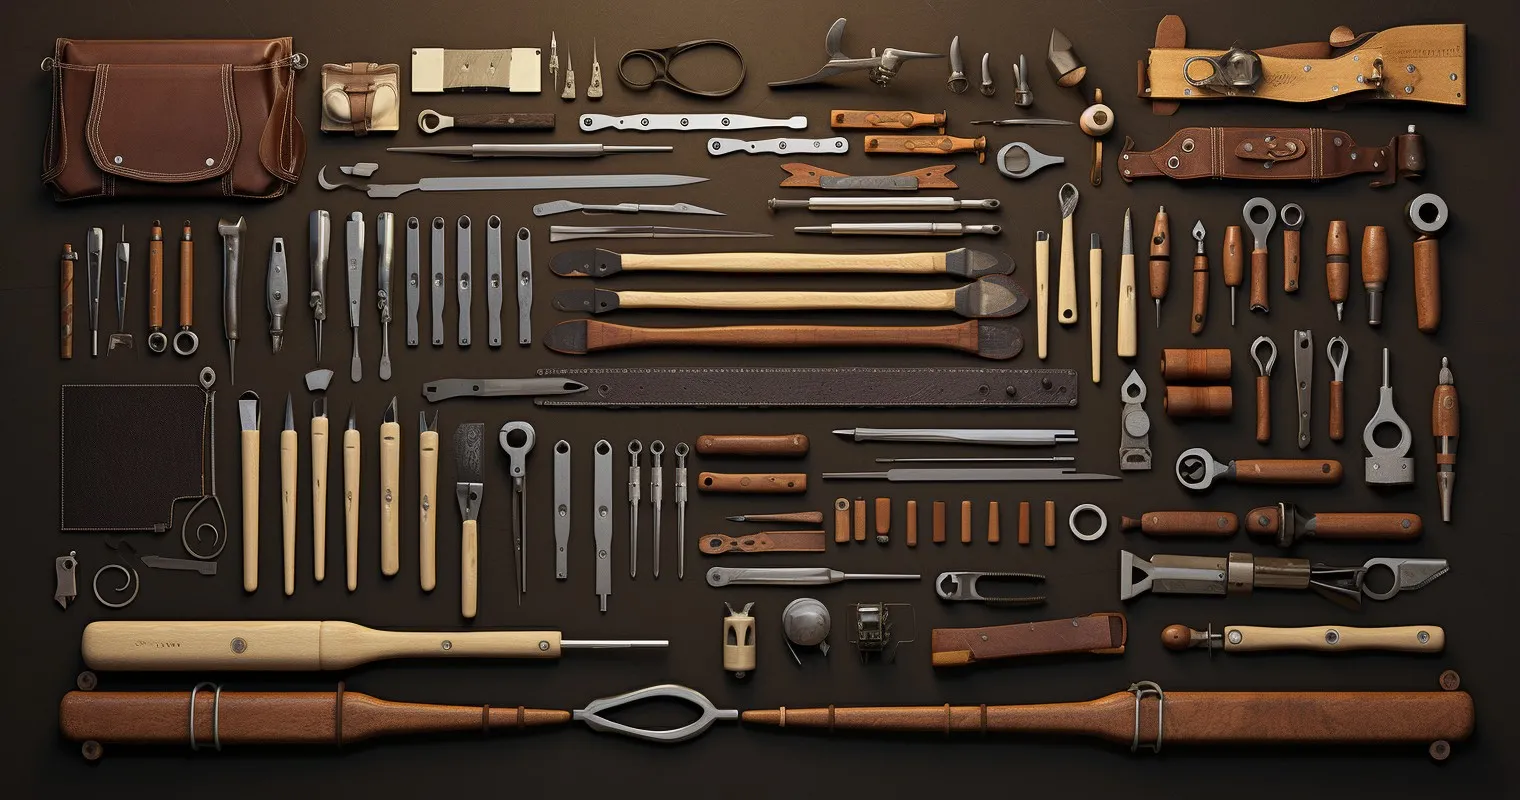
Labeling Power Tool Accessories and Batteries
Dive into any craftsman’s toolbox, and you’ll find more than just power tools. There’s a universe of accessories and batteries, each tinier than the last. Now, imagine searching for a specific drill bit in that chaos. Nightmare, right? That’s where the magic of How To Label Power Tools and their accessories comes in.
Compatibility is King
Labeling isn’t just about finding things faster. It’s about ensuring compatibility. Ever tried using a mismatched battery? Spoiler alert: It doesn’t end well. Properly labeled accessories ensure you’re always pairing the right tool with its counterpart.
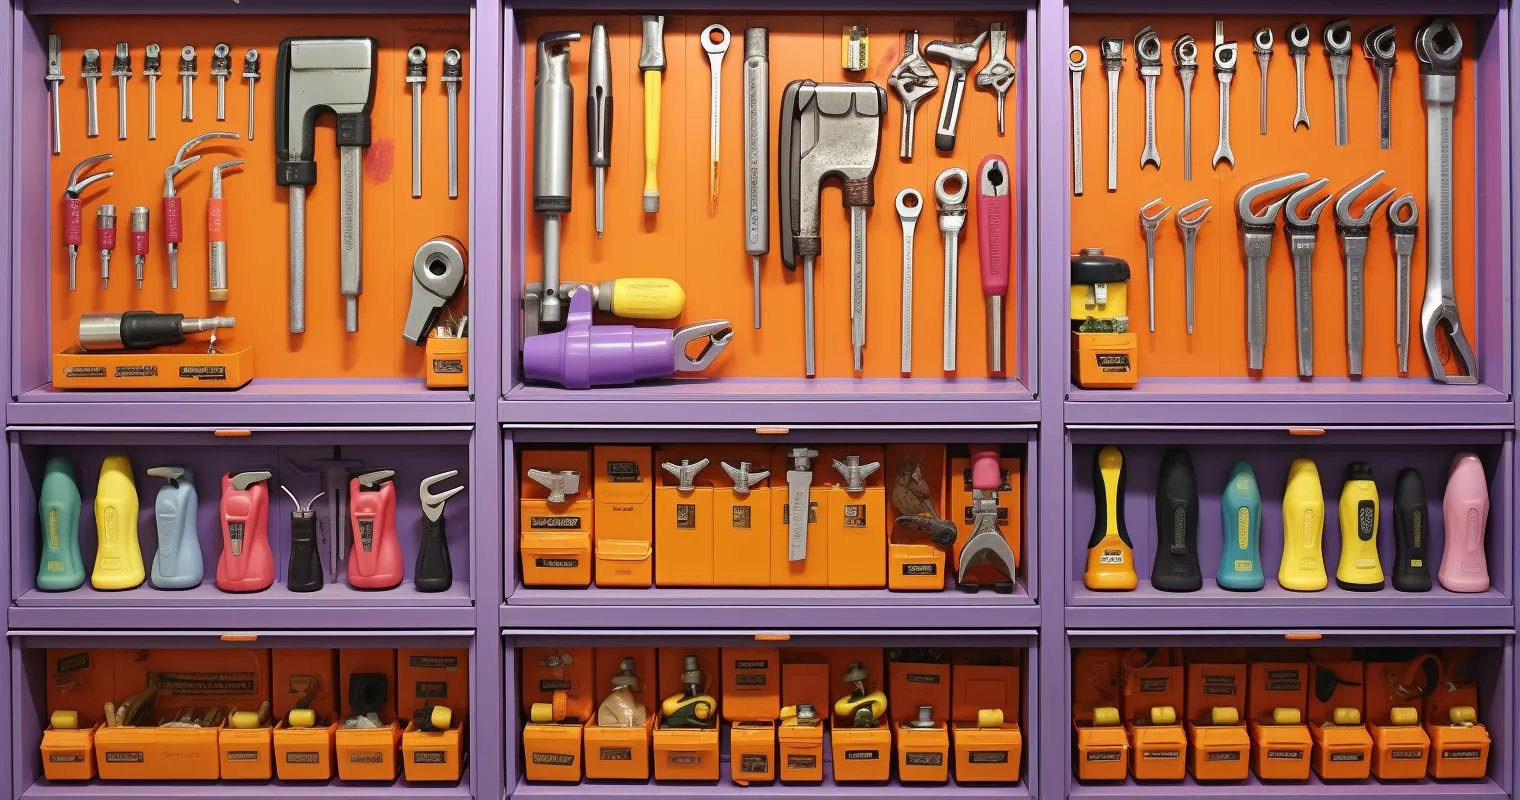
Tiny Tools, Big Challenges
Labeling small items and batteries can be trickier than it sounds. But with the right approach, even the tiniest screw can stand out. Pro tip: Use color-coded labels or symbols for quick identification. And for those curious about labeling specific brands, this discussion on Milwaukee tools batteries is a goldmine.
Benefits of a Well-Organized Tool Collection
A well-organized tool collection is like a well-oiled machine. Everything runs smoothly, and the results? Nothing short of spectacular.
| Benefit | Description |
|---|---|
| Increased Efficiency | A well-organized tool collection boosts task completion rates by up to 40%, saving valuable time. |
| Enhanced Safety | An organized workspace minimizes accidents by preventing tripping over wires or misusing tools. |
| Improved Task Focus | With labeled tools, there’s no guesswork, allowing you to concentrate on the task at hand rather than searching for the right tool. |
| Time and Energy Saved | Searching for tools less frequently translates to more time and energy available for actual work, leading to increased productivity. |
Speed is the New Black
With labeled tools, you spend less time searching and more time doing. Studies show that an organized workspace can boost task completion rates by up to 40%. That’s almost half your day saved!
No More Guesswork
Ever used a hammer when you needed a mallet? We’ve all been there. Properly labeled tools eliminate the risk of grabbing the wrong tool. And trust us, your fingers will thank you.
Safety First, Always
An organized workshop is a safe workshop. With everything in its place, the chances of accidents plummet. No more tripping over wires or stepping on sharp objects. Phew!
For more on tool basics, don’t miss this guide on the claw hammer and the art of using a nail puller.
Marking Tools for Identification
While labels are great, sometimes they’re just not enough. Especially when you’re working in shared spaces or lending out tools.
Beyond Labels
Ever lent a tool and never got it back? Or found a tool and had no clue who it belonged to? That’s where marking comes in. It’s a step beyond labeling, ensuring your tools are unmistakably yours.
Making Your Mark
From engraving your initials to using UV ink, there are countless ways to mark your tools. Some are subtle, while others scream “This is mine!” For a deep dive into marking tools, check out this comprehensive guide. It’s packed with tips, tricks, and a whole lot of inspiration.
Frequently Asked Questions
Why is it important to label power tools?
Labeling power tools ensures easy identification, reducing the time spent searching for a specific tool. It also prevents mix-ups, especially in shared workspaces.
What are the best methods for labeling tools?
The best methods for labeling tools include:
- Engraving
- Waterproof stickers
- Permanent markers
How often should I check and replace labels on my tools?
It’s advisable to check labels every few months. Replace them if they’re faded, damaged, or no longer legible.
Can labeling power tools increase my workshop’s efficiency?
Absolutely! Labeling power tools can significantly increase workshop efficiency by reducing search times and preventing tool misplacement.
Is there a risk of damaging tools while labeling them?
If done correctly, labeling won’t damage your tools. However, avoid placing labels on functional parts or using methods that might compromise the tool’s integrity.
How can I ensure the labels last longer?
To ensure longevity:
- Clean the tool surface before labeling
- Use high-quality, durable labels
- Store tools in a way that minimizes label wear
Are there any tools I shouldn’t label?
While it’s beneficial to label most tools, avoid labeling tools with sensitive surfaces or those that heat up, as labels might peel off or get damaged.
Conclusion
Mastering How To Label Power Tools is more than just an organizational skill; it’s a step toward a more efficient, productive, and safe workspace. As you’ve learned, the right labeling techniques can make a world of difference.
Thank you for reading!