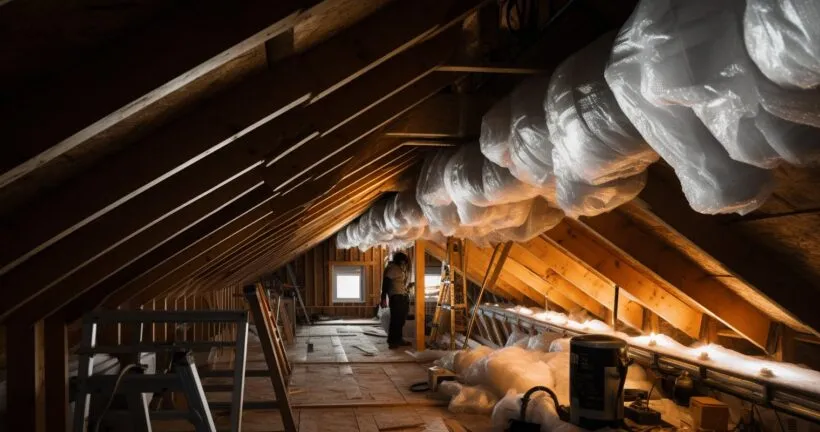
How To Install Insulation Around Electrical Wiring: According to a recent study, proper insulation can reduce energy bills by up to 20%. One area often overlooked is around electrical wiring. How To Install Insulation Around Electrical Wiring is not just a DIY project but a step towards energy efficiency and safety. Electrical wires, when not insulated properly, can lead to heat loss and potential hazards. This guide will walk you through the process, ensuring you get it right the first time.
Understanding the Importance of Proper Insulation
Ever tried sipping a hot coffee without a cozy? Or perhaps, holding an ice cream cone on a sunny day without it melting all over your hand? That’s what electrical wiring without proper insulation feels like – a disaster waiting to happen.
How To Install Insulation Around Electrical Wiring isn’t just a DIY task; it’s a safety measure.
Insulation acts as a protective barrier, ensuring that the electrical currents stay where they belong. Without it, you’re risking electrical fires, short circuits, and a hefty electricity bill.
Did you know? According to the Electrical Safety Foundation International, electrical failures or malfunctions were the second leading cause of U.S. home fires in 2017.
Now, that’s a statistic you don’t want to be a part of.
On the brighter side, proper insulation can lead to energy savings. A well-insulated wiring system ensures that there’s minimal energy loss. This means your devices run efficiently, and you’re not burning money. Quite literally!
Types of Insulation Materials
Choosing the right insulation material is like picking the perfect winter coat. You want something that fits well, offers maximum protection, and doesn’t make you look like a marshmallow.
| Insulation Material | Pros | Cons | Suitable Areas |
|---|---|---|---|
| Fiberglass Insulation | Non-flammable, commonly used | Tiny glass particles can irritate skin | Interior walls, attics |
| Foam Board Insulation | Excellent thermal resistance, rigid | Thick and may not fit in tight spaces | Exterior walls, basements |
| Reflective Insulation | Reflects heat, ideal for hot climates | May not provide as much insulation value | Hot climates |
- The classic choice. It’s like the trench coat of insulation materials. Fiberglass is non-flammable and commonly used in homes. However, handle with care! You don’t want those tiny glass particles irritating your skin.
- Think of this as the puffer jacket. It’s thick, rigid, and offers excellent thermal resistance. Ideal for exterior walls and basements. Plus, no prickly glass particles!
- The shiny, metallic space blanket of the insulation world. It reflects heat, making it perfect for hot climates. If you’re looking to give your wiring a futuristic touch, this is it.
Wondering about the nitty-gritty of installation? Check out this guide on how to install a 220-240 volt outlet. And for those burning questions about the best ways to insulate around electrical features, here’s a resource that dives deep into the subject.
How To Install Insulation Around Electrical Wiring: Step-by-Step Guide
Embarking on a DIY journey can be as thrilling as a roller coaster ride. One moment you’re on cloud nine, and the next, you’re wondering why you didn’t just hire a professional. But fear not! With the right guidance, How To Install Insulation Around Electrical Wiring can be as smooth as a summer breeze.
| Step | Description |
|---|---|
| 1. Prepare the Area and Ensure Safety | Turn off power, clear obstacles, gather tools |
| 2. Choose the Right Insulation Material | Select appropriate insulation type |
| 3. Install Insulation Around Outlets | Measure, cut insulation, wrap around outlets, switches, and fixtures |
| 4. Ensure Tight Fit Without Compression | Place insulation without squishing it |
| 5. Avoid Common Mistakes | Wear protective gear, check local building codes |
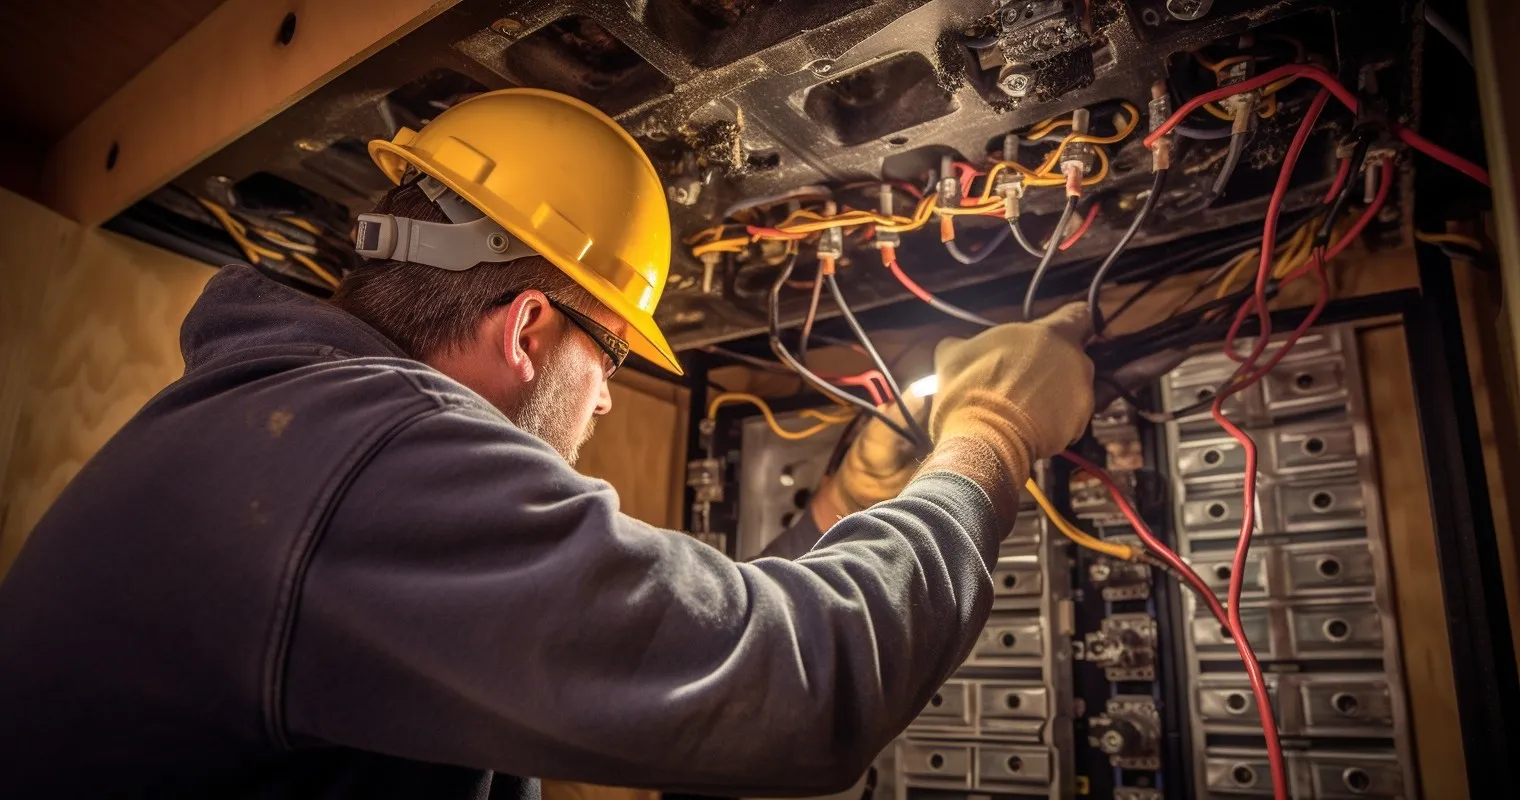
Preparing the Area and Ensuring Safety:
Safety first, always! Before you dive into the insulation process, ensure the power is turned off. A shocking experience is only fun at surprise parties, not during DIY projects. Clear the area of any obstacles, and make sure you have all the necessary tools at hand.
Choosing the Right Insulation Material:
It’s like choosing the right attire for a party. You wouldn’t wear a tuxedo to a beach party, would you? Similarly, the type of insulation you pick should be apt for your home’s needs. Whether it’s fiberglass, foam board, or reflective insulation, make an informed choice.
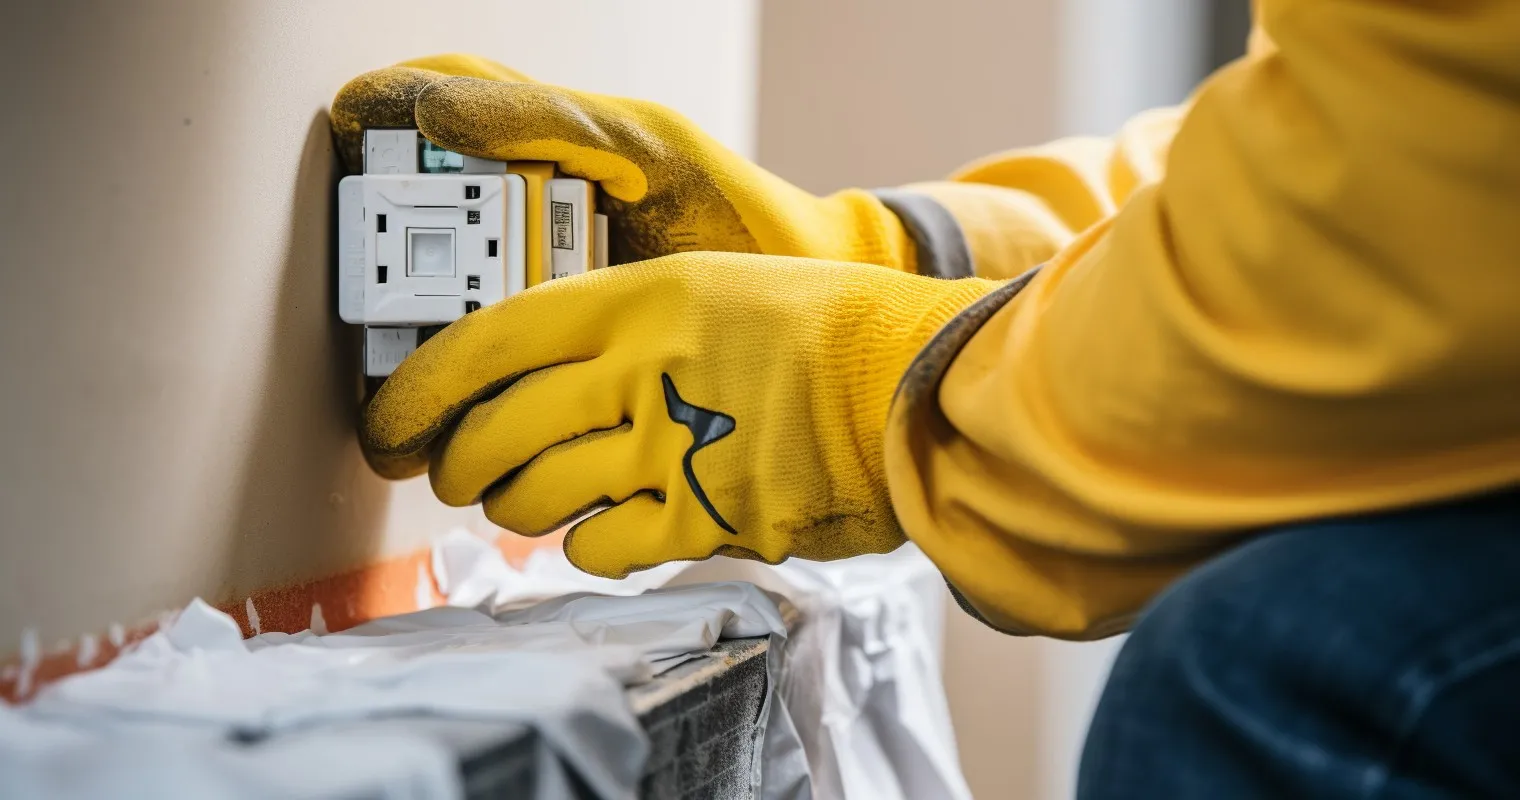
Installing Insulation Around Outlets, Switches, and Fixtures:
This is where the magic happens. Start by measuring the area around the outlets. Cut the insulation material to fit these measurements. Remember, it’s like wrapping a gift; the neater, the better. Ensure the insulation fits snugly around the outlets, switches, and fixtures without any gaps.
Tips for DIY Insulation Installation
Ensuring a Tight Fit Without Compressing the Insulation:
You want your insulation to be the Goldilocks of fits – not too loose, not too tight, but just right. Compressing insulation reduces its effectiveness. So, while you want a snug fit, avoid squishing it like it’s playdough.
Avoiding Common Mistakes:
Mistakes are the universe’s way of saying, “Try again, champ!” But why make them in the first place? One common blunder is not wearing protective gear. Those tiny fiberglass particles aren’t your skin’s best friend. Another faux pas? Not checking local building codes. Some areas have specific regulations about insulation, so it’s best to be in the know.
When to Seek Professional Help:
If you ever find yourself thinking, “This seemed easier on YouTube,” it might be time to call in the pros. There’s no shame in seeking help, especially when safety is at stake. And if you’re wondering, can insulation touch electrical wires?, it’s a valid question and one that’s addressed in detail in the linked article.
Oh, and if you ever face issues with your outlets post-insulation, here’s a handy guide on Multiple electrical outlets not working: Why?. Because knowledge is power, and in this case, quite literally!
Maintenance and Safety Precautions
Ah, maintenance. It’s like going to the dentist. No one really wants to, but we all know the consequences of neglect. Just as you wouldn’t want to deal with a toothache, you wouldn’t want to face the repercussions of poorly maintained insulation.
Regularly Checking Insulation for Wear and Tear:
Insulation isn’t a set-it-and-forget-it deal. Over time, it can degrade, especially if exposed to moisture or pests. A simple visual inspection every few months can save you from potential hazards. Remember, it’s always better to catch a small problem before it becomes a big one.
Replacing Damaged Insulation Promptly:
Found a damaged spot? Don’t wait for a sign from the universe. Replace it immediately. Delaying can lead to energy loss, increased bills, and potential safety risks. It’s like spotting a tear in your favorite jeans. Patch it up before you’re left with an embarrassing situation!
Ensuring No Overloading of Circuits:
Overloading circuits is a big no-no. It can lead to overheating and, in worst-case scenarios, electrical fires. If you’re constantly tripping breakers, it might be a sign you’re pushing your system too hard. And if you ever wonder why there’s no power to your thermostat, overloading could be a culprit.
The Future of Electrical Insulation
The world of insulation is not static. Just like fashion trends, it’s ever-evolving. But instead of bell-bottoms making a comeback, we’re looking at smarter, safer, and more efficient insulation materials.

Advancements in Insulation Materials:
From eco-friendly options to materials that can self-heal, the future is bright. Researchers are continually looking for ways to make insulation more effective and sustainable. So, the fiberglass of today might just be the polyester suit of tomorrow.
The Role of Technology in Ensuring Safer Installations:
Tech isn’t just for binge-watching your favorite shows. It’s making waves in the insulation world too. With advancements like sensors that can detect overheating or moisture, the future of insulation is not just about the material but also about the tech that accompanies it.
And if you’re planning an exterior insulation project, this discussion on how to insulate exterior walls with electrical wiring is a goldmine of information.
Frequently Asked Questions
What is the importance of insulating electrical wiring?
Insulating electrical wiring is crucial for preventing heat loss and ensuring safety in your home. Proper insulation can also lead to significant energy savings.
How does “How To Install Insulation Around Electrical Wiring” help homeowners?
This guide provides step-by-step instructions, enabling homeowners to insulate their electrical wiring efficiently and safely.
Are there any risks associated with DIY insulation installation?
Yes, if not done correctly, DIY insulation can pose risks. Always follow guidelines and prioritize safety.
What materials are recommended for insulation around electrical wiring?
Non-conductive materials like fiberglass or foam are typically recommended for insulating around electrical wiring.
How often should I inspect the insulation around my electrical wiring?
It’s advisable to inspect the insulation around your electrical wiring at least once a year to ensure its integrity and safety.
Can I hire a professional if I’m unsure about the DIY process?
Absolutely! If you’re unsure about the “How To Install Insulation Around Electrical Wiring” process, it’s always best to consult or hire a professional.
Conclusion
Finally, understanding How To Install Insulation Around Electrical Wiring is essential for every homeowner. Not only does it promote energy efficiency, but it also ensures the safety of your household. With the knowledge from this guide, you’re now equipped to make informed decisions about your home’s insulation.
Thank you for reading!