In the world of power tools, Milwaukee is a name that stands out. Whether you’re a professional contractor or a DIY enthusiast, you know the importance of keeping your tools in top shape. That’s where our guide on How To Clean Milwaukee Power Tools comes in.
Did you know that as per Statista, over 50% of US households own power tools? That’s a lot of tools that need cleaning! Regular maintenance not only prolongs the life of your tools but also ensures their optimal performance. So, let’s dive in and learn how to keep your Milwaukee power tools pristine!
The Importance of Regular Maintenance
When it comes to power tools, a little TLC goes a long way. Regular maintenance, especially cleaning, plays a pivotal role in extending the lifespan of your tools. It’s not just about keeping them shiny; it’s about ensuring they function at their best, every time you need them.
Did you know that well-maintained tools can last up to 30% longer? That’s a significant extension, especially for high-end tools like those from Milwaukee.
Moreover, maintenance directly affects tool performance. Dirt and grime can clog moving parts, leading to reduced efficiency and even tool failure. Regular cleaning keeps these parts moving smoothly, ensuring optimal performance.
Safety is another crucial aspect. Tools clogged with dust or grime can overheat or cause accidents. By keeping your tools clean, you’re not just protecting your investment; you’re protecting yourself.
Knowing Your Milwaukee Power Tools
| Cleaning Supplies | Purpose |
|---|---|
| Soft Brush | For removing loose dirt and dust from the tool’s exterior and sensitive parts |
| Compressed Air | To blow out dust and debris from hard-to-reach areas and vents |
| Damp Cloth | For wiping away stubborn grime without getting water into tool openings |
| Mild Cleaning Solution | For tackling tough stains and grime on the tool’s surface |
| Dry Cloth | To dry the tool thoroughly after cleaning and prevent rust and corrosion |
| Tool Lubricant | For lubricating certain parts after cleaning, like the chuck or blade guard |
Before you start the cleaning process, it’s essential to know your tools. Milwaukee offers a wide range of power tools, each with its unique cleaning considerations.
For instance, a Milwaukee drill might require careful cleaning around the chuck and vents, while a circular saw might need more attention around the blade and motor housing.
Understanding these differences is crucial to effectively clean your tools without causing damage. Always refer to the tool’s manual for specific cleaning instructions.
Moreover, understanding the specifications of your tools can help you choose the right cleaning supplies. Some tools might require specific cleaning solutions or techniques to avoid damaging sensitive components.
To help you understand the different types of power tools and their unique cleaning needs, check out our article on Understanding Different Types of Power Tools.
For more specific cleaning protocols for Milwaukee tools, you can refer to the Milwaukee Tool Cleaning Protocols provided by the manufacturer.
Preparing Your Tools for Cleaning
Before you dive into the cleaning process, a little prep work is necessary. First and foremost, safety should be your top priority. Always disconnect your tool and remove any batteries before you start cleaning. This step is crucial to prevent any accidental startups that could lead to injuries.
Next, gather your cleaning supplies. A soft brush, a can of compressed air, a damp cloth, and a dry cloth are usually all you need. For stubborn grime, you might need a mild cleaning solution.
Before you start cleaning, do an initial inspection of your tool. Look for any signs of damage or wear that might need attention. Remember, cleaning is also an excellent opportunity to check the overall health of your tools.
Cleaning Your Milwaukee Power Tools
Now that you’re all set, let’s get down to the nitty-gritty of how to clean Milwaukee power tools.
Start with the tool’s exterior. Use a soft brush to remove loose dirt and dust. For stubborn grime, a damp cloth can come in handy. Remember to avoid getting water into any of the tool’s openings.
Next, move on to the tool’s interior. This is where your can of compressed air comes in handy. Use it to blow out dust and debris from hard-to-reach areas like vents and motor housings.
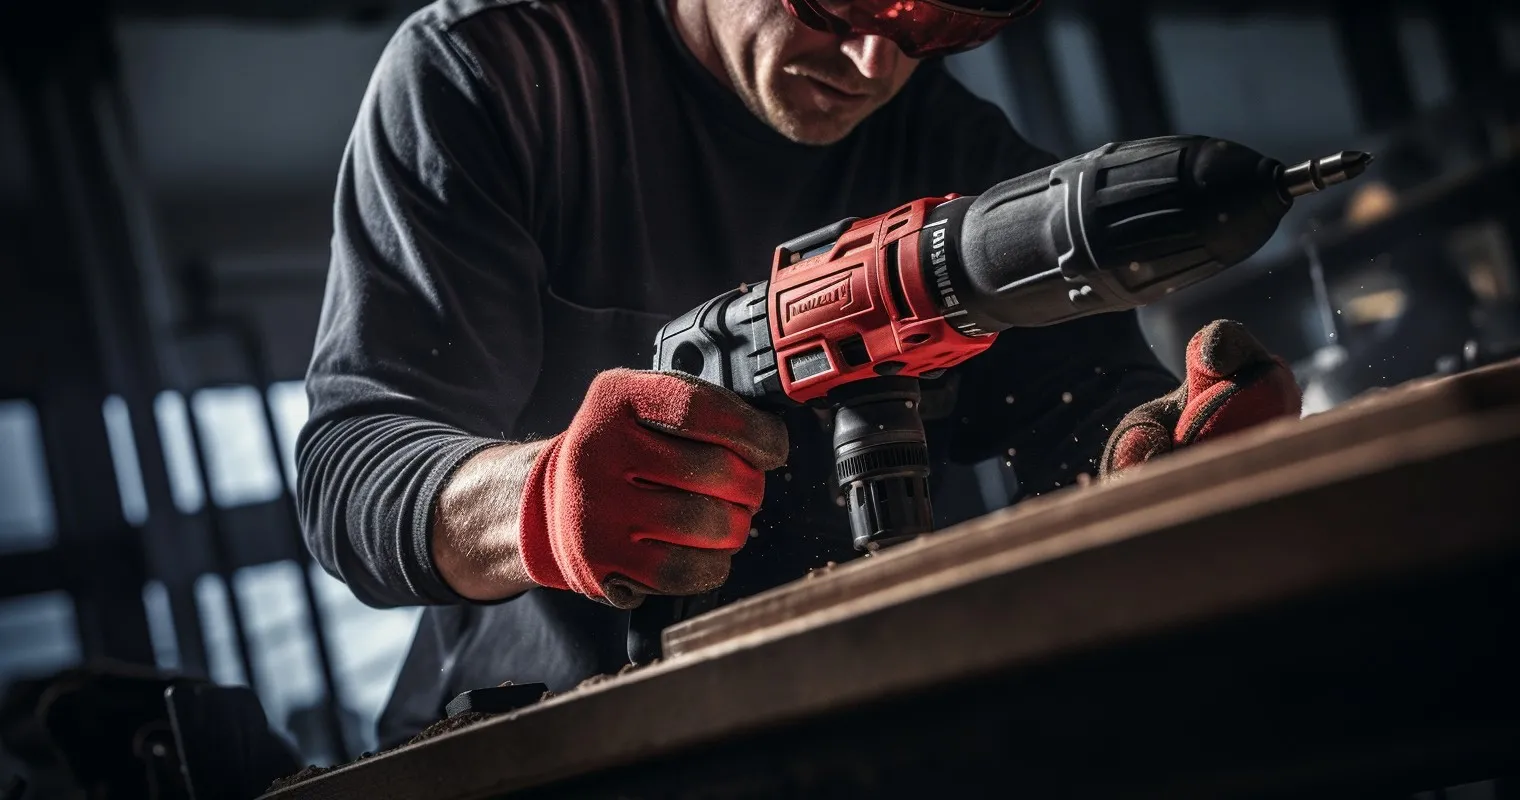
Remember, different tools might require special considerations. For example, power drills might need careful cleaning around the chuck, while circular saws might need more attention around the blade guard. Always refer to your tool’s manual for specific cleaning instructions.
For more detailed cleaning tips, check out our Safety Tips When Handling Power Tools and the Dennisfinds Guide on Cleaning Milwaukee Tools.
Post-Cleaning Care
Once you’ve finished cleaning your tools, the job isn’t over yet. Proper post-cleaning care is just as crucial to keep your tools in top shape.
First, ensure your tools are thoroughly dry before you store them. Any remaining moisture can lead to rust and corrosion, which can severely damage your tools.
Next, consider the lubrication needs of your tools. Some parts, like the chuck on a drill or the blade guard on a circular saw, might need a little lubrication after cleaning. Use a high-quality tool lubricant, and remember, a little goes a long way.
Finally, reassemble any parts you may have removed during cleaning. Make sure everything is secure and in its proper place.
Proper Storage of Your Milwaukee Power Tools
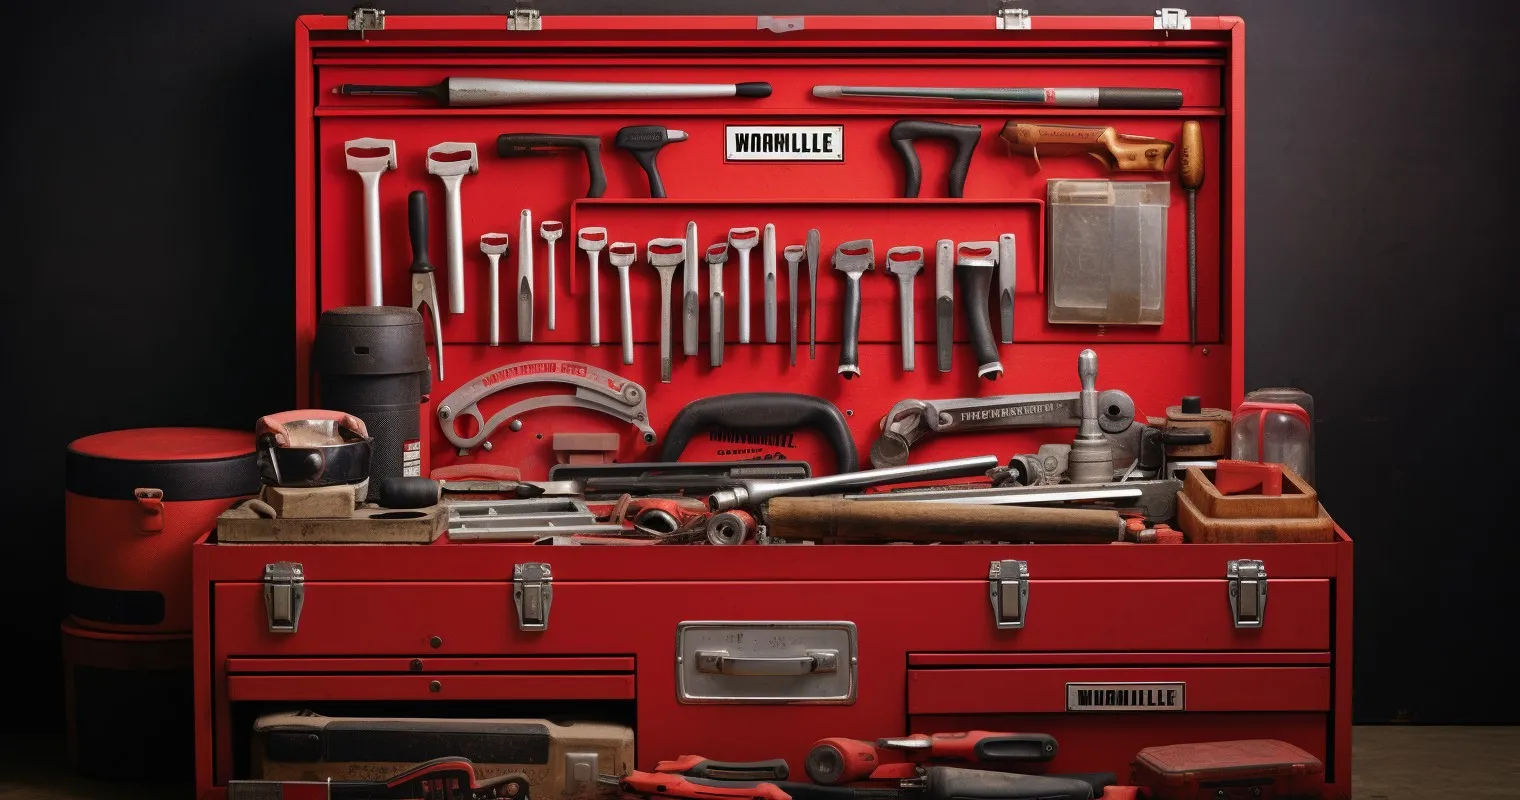
Proper storage is the final step in maintaining your tools. It’s not just about keeping your workshop tidy; it’s about protecting your tools from damage and extending their lifespan.
Organizing your tools can make a big difference. Not only does it make your tools easier to find, but it also prevents them from knocking into each other and causing damage.
The conditions of your storage area also matter. Ideally, tools should be stored in a dry, cool place out of direct sunlight. Extreme temperatures and humidity can damage your tools over time.
For more insights on cleaning and storing cordless tools, you can also refer to this Garage Journal Discussion on Cleaning Cordless Tools.
Frequently Asked Questions
Why is it important to clean my Milwaukee power tools?
Regular cleaning helps to maintain the performance of your tools, extends their lifespan, and ensures safe operation.
How often should I clean my Milwaukee power tools?
The frequency of cleaning depends on usage. However, a good rule of thumb is to clean your tools after every heavy-duty job or every few weeks with regular use.
What materials do I need to clean my Milwaukee power tools?
You’ll need a soft brush, compressed air, a damp cloth, and a dry cloth. For certain tools, you may also need a lubricant.
Can I use water to clean my Milwaukee power tools?
No, water can damage the internal components of power tools. It’s best to use a damp cloth for surface cleaning and compressed air for hard-to-reach areas.
What should I do if my tool is not functioning properly after cleaning?
If your tool is not working correctly after cleaning, it’s best to consult with a professional or contact Milwaukee’s customer service for assistance.
Conclusion
Cleaning your power tools is an essential part of tool maintenance. With our guide on How To Clean Milwaukee Power Tools, you’re now equipped with the knowledge to keep your tools in top shape. Remember, a clean tool is a happy tool, and a happy tool makes for a successful project. So, roll up your sleeves and give your tools the care they deserve!
Thank you for reading!