According to a recent survey, over 30% of house renters expressed concerns about the electrical wiring in their rented homes. How To Check House Electrical Wiring is a crucial skill, especially if you’re keen on ensuring your safety and that of your loved ones. Electrical mishaps can lead to dangerous situations, and being proactive can save lives.
Understanding the Basics of House Electrical Wiring
Did you know that the average home has over two miles of electrical wiring? That’s a lot of wire to keep track of! How To Check House Electrical Wiring is not just a fancy DIY skill; it’s a necessity.
Every year, electrical malfunctions account for 51,000 fires, according to the Electrical Safety Foundation International. This highlights the importance of regular checks and maintenance. But how do you know if something’s amiss?
Some common signs of faulty wiring include:
| Sign | Possible Issue |
|---|---|
| Flickering lights | Potential wiring instability |
| Unusual burning smell | Overheating wires or components |
| Frequent circuit tripping | Overloaded circuits or short circuits |
If you’ve noticed any of these, it’s high time for a check-up!
Tools You’ll Need for Checking
Before you dive into the world of wires and circuits, you’ll need some tools. Not just any tools, but the right ones. Here’s your DIY toolkit for electrical checks:
| Tool | Purpose |
|---|---|
| Multimeter | Measure voltage and resistance |
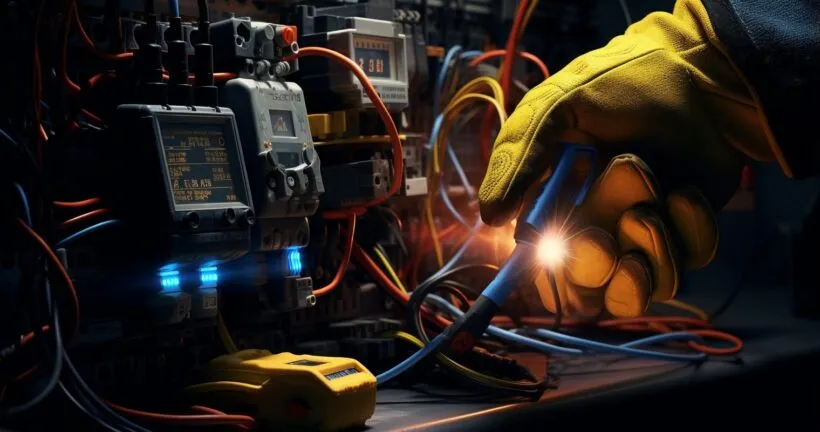
| Non-contact voltage tester | Detect live wires safely |
| Flashlight | Illuminate dark areas for inspection |
| Rubber gloves and safety goggles | Personal protection against shocks/sparks |
- Multimeter: This little gadget is your best friend for measuring voltage and resistance. Think of it as a thermometer for your electrical system.
- Non-contact voltage tester: Want to know if a wire is live without getting the shock of your life? This tool is your go-to. It’s a quick and safe way to detect live wires.
- Flashlight: Unless you have superhero night vision, you’ll need this to see in dark corners and behind fixtures.
- Rubber gloves and safety goggles: Safety first! These will protect you from accidental shocks and sparks.
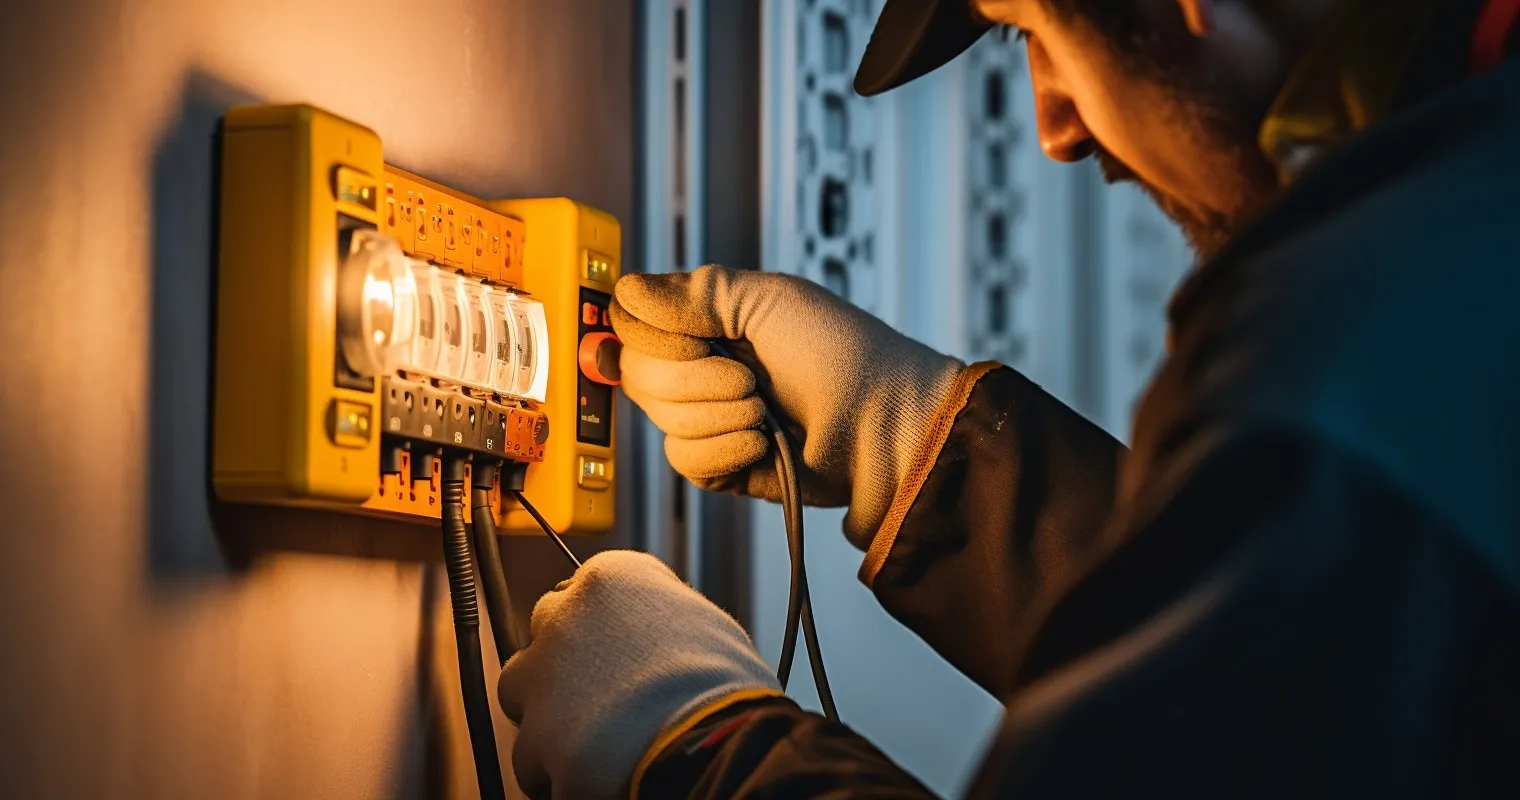
Now, while these tools are handy, it’s essential to know how professionals do it. After all, they’ve been at it for years! For a deeper dive into the intricacies of electrical checks, check out how electricians inspect the wiring and why it’s so crucial.
Step-by-Step Guide on How To Check House Electrical Wiring
So, you’ve decided to take the plunge and dive into the world of DIY electrical checks. Kudos! But before you start, remember the age-old saying: “It’s all fun and games until someone gets electrocuted.” Alright, maybe that’s not the exact saying, but you get the gist. Let’s ensure your DIY adventure is both safe and informative.
- Disconnecting power: Before you start, turn off the main breaker. It’s the equivalent of putting on your seatbelt before driving. According to the U.S. Consumer Product Safety Commission, nearly 400 electrocutions occur in the U.S. each year. Let’s not add to that statistic.
- Checking outlets: Grab your multimeter and test the voltage of your outlets. If it reads between 110-120 volts, you’re in the clear. Is anything outside this range? Time to call in the pros.
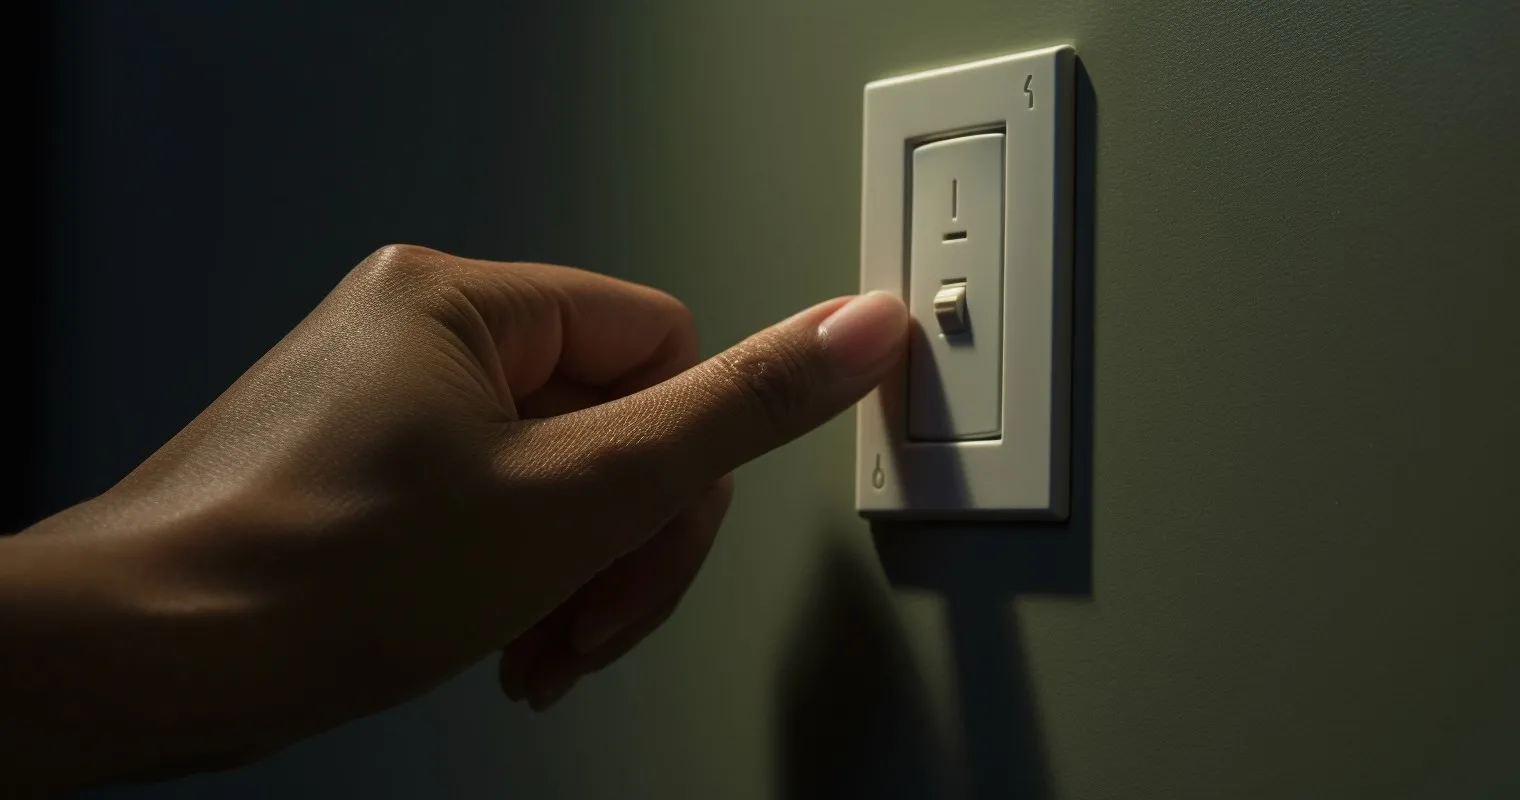
- Inspecting switches: Flick them on and off. They should operate smoothly without any sparks or delays. If it feels like you’re trying to light a campfire with wet wood, there’s a problem.
- Examining light fixtures: Notice any flickering or dimming? It’s not a sign from the universe; it’s a sign of potential wiring issues.
- Looking for visible damages: Keep an eye out for frayed wires or burn marks. These are red flags, signaling it’s time for some repair or replacement.
Safety Precautions to Follow
Safety should always be your co-pilot in this DIY journey. Here are some golden rules to live by:
| Safety Precaution | Importance |
|---|---|
| Avoid touching exposed wires | Prevent electrical shocks |
| Use insulated tools | Protect against mishaps |
| Work in well-lit areas | Enhance visibility during work |
| Avoid wet conditions | Minimize the risk of accidents in damp areas |
- Never touch exposed wires. It’s like touching a hot stove but with more shocking consequences.
- Use insulated tools. They’re like your knight’s armor against electrical mishaps.
- Work in well-lit areas. You wouldn’t read in the dark, so why work with wires in the shadows?
- Avoid working on electrical systems during wet conditions. Water and electricity are a match made in disaster heaven.
For more insights on common electrical issues, check out why multiple electrical outlets might not be working. It’s an eye-opener!
And if you’re curious about the pathways of your home’s wiring, learn how to trace electrical wiring in your home.
Addressing Common Wiring Issues
Ah, the joys of homeownership! One day you’re basking in the glow of your new chandelier, and the next, you’re wondering why the lights are flickering like a scene from a haunted house movie. But fear not, for How To Check House Electrical Wiring is here to save the day!
Replacing damaged wires: It’s like giving your home a hair trim. Over time, wires can fray or get damaged. Replacing them ensures your home doesn’t turn into a fireworks display.
Tightening loose connections: Think of this as tightening your shoelaces. Loose connections can lead to power fluctuations. A simple twist here and there can make a world of difference.
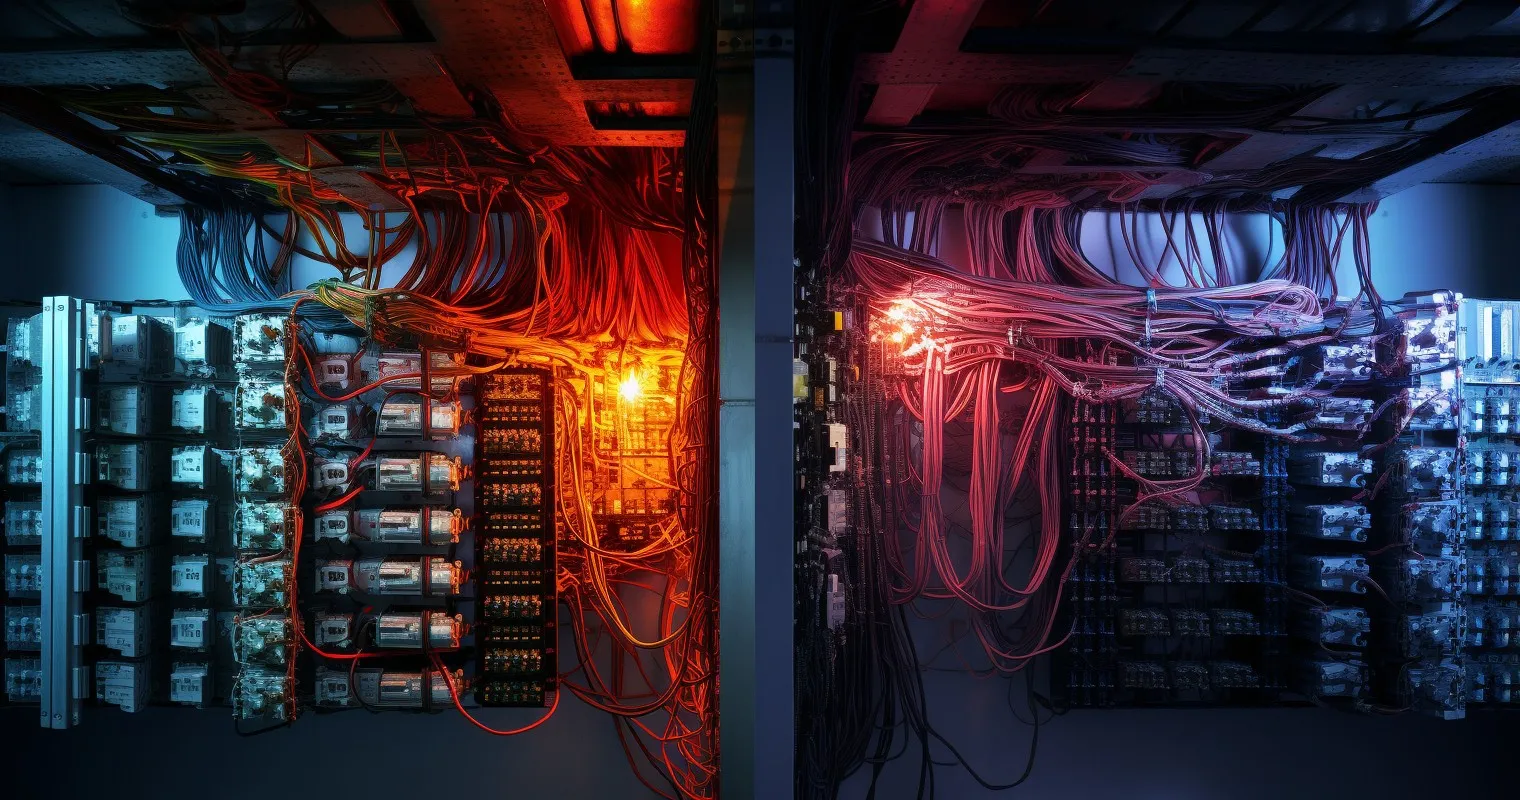
Upgrading outdated wiring systems: Still rocking the wiring from the 1970s? It might be time for an upgrade. Modern systems are more efficient and safer.
When to call a professional: If your DIY checks feel like you’re reading hieroglyphics, it’s time to call in the experts. There’s no shame in seeking help, especially when it comes to safety.
For more insights on common electrical hiccups, like why your thermostat might be on a power hiatus, check out these 5 reasons and solutions. It’s a game-changer!
Benefits of Regular Electrical Checks
Now, you might be thinking, “Why should I check my electrical systems regularly?” Well, let’s break it down:
Ensuring safety: Regular checks can prevent electrical fires and shocks. According to the National Fire Protection Association, electrical fires account for 10% of home fires. Regular checks can drastically reduce this number.
Saving costs: Addressing minor issues before they escalate can save you a ton in repair costs. It’s like catching a cold before it turns into pneumonia.
Peace of mind: There’s nothing like the feeling of knowing your home’s electrical system is in tip-top shape. Sleep soundly, knowing you’ve done your due diligence.
For a deeper dive into the world of electrical safety, learn how to check the wiring in your home.
Frequently Asked Questions
What is the importance of checking house electrical wiring?
Regularly checking your house’s electrical wiring ensures safety, prevents potential electrical fires, and helps in identifying issues before they escalate.
Can I inspect the wiring myself?
Yes, with the right tools and guidance, you can perform a basic inspection of How To Check House Electrical Wiring. However, for complex issues, it’s best to consult a professional.
What tools do I need for a DIY electrical wiring check?
Essential tools include a multimeter, non-contact voltage tester, flashlight, and safety gear like rubber gloves and goggles.
How often should I check my house’s electrical wiring?
It’s recommended to do a basic check annually. If you notice any irregularities or if your house is old, consider more frequent checks.
Are there any signs of faulty wiring I should be aware of?
Common signs include flickering lights, burning smells, frequent circuit breaker trips, and discolored outlets.
When should I call a professional electrician?
If you come across severe wiring damage or outdated systems, or if you’re unsure about any findings during your DIY check, it’s best to call a professional.
Is it expensive to replace house electrical wiring?
The cost varies based on the size of your house and the complexity of the wiring. It’s an investment in safety and often increases the value of your home.
Conclusion
Understanding How To Check House Electrical Wiring is not just about saving costs or DIY enthusiasm; it’s about ensuring the safety of your living space. With the knowledge from this guide, you’re better equipped to spot potential issues and address them timely. Remember, while DIY checks are beneficial, don’t hesitate to call in professionals for complex issues.
Thank you for reading!