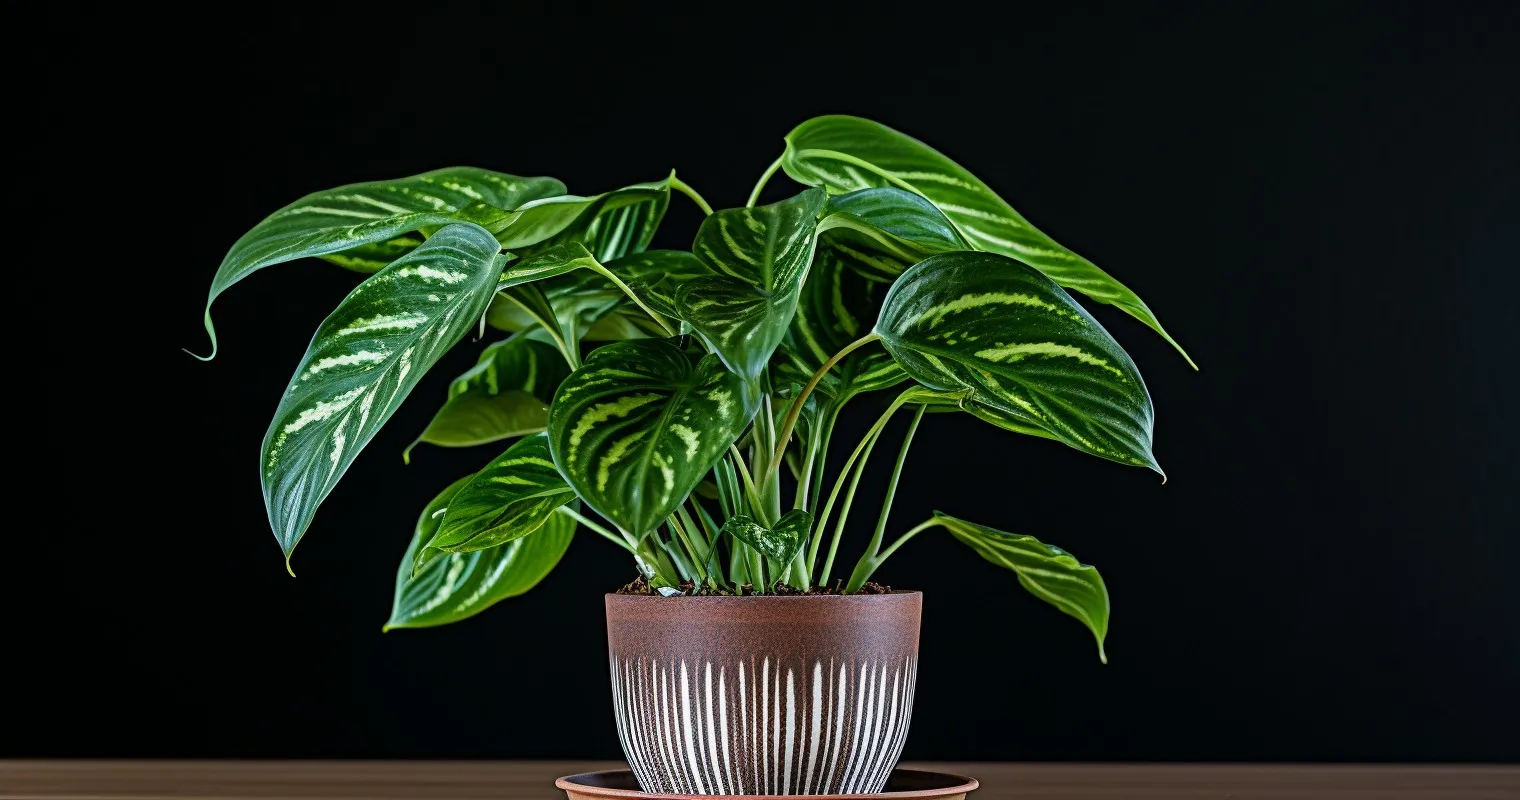
Whether you’re a budding green thumb or a seasoned plant whisperer, ensuring your houseplants get the best care is crucial. And one of the foundations of that care? The soil. Recent statistics reveal that 70% of houseplants suffer due to poor soil quality, indicating the necessity for regular soil change. Ever wondered How To Change Soil In Houseplants? You’re in the right place!
Understanding the Need for Soil Change in Houseplants
You might treat your plants like your children – talking to them, feeding them, and ensuring they get enough sunlight. But, just like kids outgrow their shoes, plants can outgrow their soil!
The life cycle of soil nutrients is a fascinating yet overlooked aspect of plant care. Like the fizz going out of your favorite soda, soil nutrients can get depleted over time. And a nutrient-starved plant is like a car running on fumes. Want numbers? Nearly 70% of houseplants might benefit from a soil refresh every year to keep them flourishing! Ever noticed your plant looking a tad gloomy? Check out these Plant Care: How To Get Rid Of Mushrooms In Houseplants. If multiple boxes are ticked, it’s probably time for a soil swap.
Now, let’s talk about soil compaction. Picture yourself sitting on a fluffy couch and then someone adds weight to it until it’s hard as a board. That’s what your plant roots feel when the soil compacts, restricting their dance space (read: growth space).
Do you need more reasons? The Sill gives a comprehensive guide on the importance of plant care and repotting that’s worth your time.
Common Myths about Soil Changing
We love debunking myths! Especially when it’s about our green pals.
“Change soil only when repotting”. This is akin to saying, “Change socks only when changing shoes”. Some days, those feet (or roots) just need a fresher feel!
The age-old debate of over-watering vs soil quality is another to tackle. While it’s true that your plant might be sitting in a bathtub of water, sometimes it’s the soil that’s the culprit. Bad soil can hold too much moisture, turning your pot into a mini swamp.
Believing that all soils are equal is like saying all cookies taste the same. (And we all know that’s just blasphemous!) Different plants have unique needs, and what works for a cactus won’t charm an orchid. Brush up your basics with this insightful read on how to refresh potted plants.
In essence, your plant’s needs, and debunking a few myths can make the difference between a wilting wallflower and a radiant rose. Adjust that soil and watch your green family thrive!
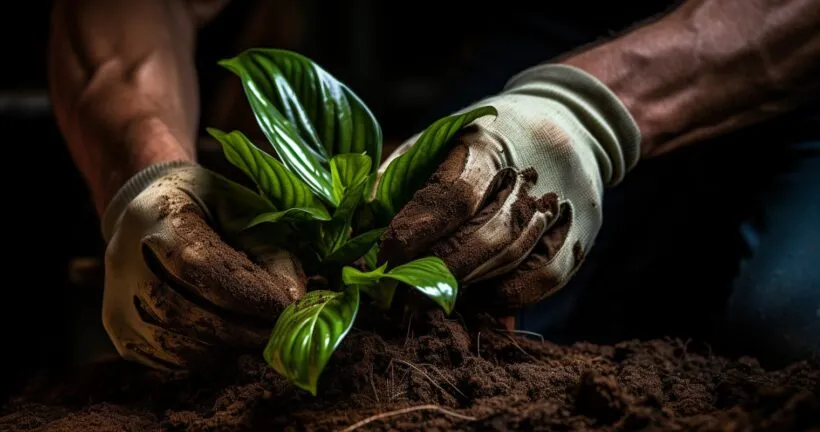
Preparing for the Soil Change
Think of changing your houseplant’s soil like giving your pet a bath. Both can get a bit messy, but the results? Fresh, happy, and thriving!
Selecting the right kind of soil isn’t just about grabbing the first bag you see at the store. Different plants have different “dietary” needs. The succulent you’ve named “Spikey” won’t appreciate the same soil as “Frilly”, your fern. If you’re feeling lost in the soil aisle, here’s a handy guide on the Mastering Indoor Gardening: How To Use Clay Pebbles For Houseplants.
Next up, gather your tools and materials. You’ll need:
- A potting trowel (or even a spoon for smaller pots).
- Fresh soil.
- Gloves (unless you love that close-to-earth feeling).
- A bucket or bowl for mixing soil if needed.
- And perhaps a cheeky apron, unless you fancy a dirt-styled outfit!
Preparing a clean working area is crucial. Set up a workspace where a little spill won’t be the end of the world, like a patio, balcony, or just some newspaper on the living room floor. For a visual guide, check out this step-by-step video that’s worth its weight in potting soil!
‘How To Change Soil In Houseplants’: A Detailed Process
Alright, green thumbs at the ready! Let’s dive into how to change soil in houseplants.
Gently removing the plant sounds simple, right? But it’s like trying to get a toddler out of a toy store. Hold the base of your plant, tip the pot slightly, and coax it out. It’s a trust exercise between you and your leafy friend.
Once out, the trick is clearing old soil without damaging roots. Imagine combing knots out of your hair. Delicately tease the soil away using your fingers, ensuring those precious roots remain intact. Trust us, your plant will thank you!
Now, for the main event. Adding new soil! Place some soil at the bottom of the pot, ensuring it’s evenly spread. Reposition your plant and gently fill around it, patting the soil down to remove air pockets. Your plant should sit at the same height as before, so it doesn’t feel like it’s suddenly wearing high heels!
Post-change care. For the first week, your plant is essentially adjusting to its new home. Think of it like us getting used to a new mattress. Monitor its water needs, ensure it’s not in direct sunlight, and maybe whisper a few words of encouragement.
Advanced Techniques for Soil Renewal
Let’s get fancy, shall we? After all, your plant deserves a luxurious suite, not just any old room.
Layering techniques for better drainage: Think of this as the houseplant version of a layered cake. Start with a gravel layer at the bottom of the pot. It’s like a drainage VIP lane for excess water. Then, add your soil, ensuring even layers for roots to spread their little toes.
Using additives and fertilizers post soil change: It’s like giving your plant a housewarming gift! less is more. Overdoing it might lead to nutrient burn. A light sprinkle post-soil change will help your plant adjust and thrive.
Benefits of mixing types of soils: Just like humans love a mix of sweet and salty snacks, some plants love a cocktail of different soils. For instance, mixing sandy soil with a bit of loamy soil can give certain succulents the perfect balance. Here’s a reminder from the domestic goddess herself, Martha Stewart.

Common Mistakes and How to Avoid Them
Alright, let’s admit it. We’ve all been there – gleefully repotting a plant and then whoops! Here’s a handy guide to side-step those common blunders.
| Mistake | Solution |
|---|---|
| Overfilling pots | Leave about an inch of space at the top of the pot to prevent water spillage during watering |
| Inadequate soil compaction | Gently press the soil to provide stability and support for the plant |
| Ignoring pH balance | Check the pH level of the soil and adjust it as needed to meet the plant’s preferences |
| Over-watering right after soil change | Allow the plant to adjust to its new soil before watering excessively, and monitor water needs carefully |
Need a visual guide to water wisdom? Check out this insightful video.
Frequently Asked Questions
How often should I change the soil in my houseplants?
Typically, houseplants benefit from a soil change every 12-18 months. However, always watch out for signs like poor drainage or stunted growth, indicating it’s time for fresh soil.
Why is it necessary to know How To Change Soil In Houseplants?
Knowing how to change soil ensures your plants receive the necessary nutrients, leading to healthier growth and longevity.
What type of soil is best for indoor plants?
For most indoor plants:
- A potting mix is ideal.
- Succulents prefer sandy soil.
- Orchids need an orchid mix. Always refer to the plant’s specific needs for best results.
Can I mix different types of soil?
Absolutely! Mixing different soils can provide a balanced environment for the roots. However, ensure the mix meets your specific plant’s requirements.
How can I tell if my plant’s soil is depleted?
Signs of depleted soil include:
- Slow growth
- Yellowing leaves
- Poor water retention
Do all plants need the same frequency of soil change?
No. While many plants benefit from an annual soil change, some like cacti and succulents can go longer between changes.
Is changing the soil the same as repotting?
Not necessarily. Repotting involves moving plants to a larger pot. Changing the soil can occur without changing the pot size, focusing solely on refreshing the soil.
Conclusion
Navigating the world of houseplants can feel like a jungle, but with the right knowledge, ensuring their growth and health becomes a walk in the park. Now that you’re armed with the essentials on How To Change Soil In Houseplants, it’s time to roll up those sleeves and give your plants the pampering they deserve.
Thank you for reading!