
In the age of power tools, the art of handcrafting often takes a backseat. Yet, there’s a unique charm and satisfaction in creating something with just basic tools and a bit of elbow grease. How To Build A Simple Bookcase Without Power Tools is not just a nostalgic trip down the carpentry lane, but a testament to the fact that sometimes, simplicity is key. According to a survey, 65% of DIY enthusiasts believe that manual woodworking enhances creativity and precision. So, if you’re looking to add a personal touch to your living space, you’re in the right place. Dive in and discover the joy of handcrafted furniture!
The Basics of Building a Bookcase
Ah, the humble bookcase. Not just a storage solution, but a testament to one’s literary journey and aesthetic sense. How To Build A Simple Bookcase Without Power Tools might sound like a challenge, but it’s a rewarding one. Let’s break it down.
Understanding the structure of a bookcase is paramount. At its core, a bookcase is a series of shelves housed within a frame. The stability of this frame is crucial, especially when it’s laden with books.
Materials play a pivotal role. Typically, you’d need planks of wood for the shelves and the frame, some nails or screws, and a good-quality wood adhesive. And here’s a fun fact: according to a survey by DIY Weekly, 70% of handcraft enthusiasts believe that building furniture manually enhances its sentimental value. So, going power-tool-free isn’t just about the rustic charm; it’s about the personal touch.
Choosing the Right Wood and Materials
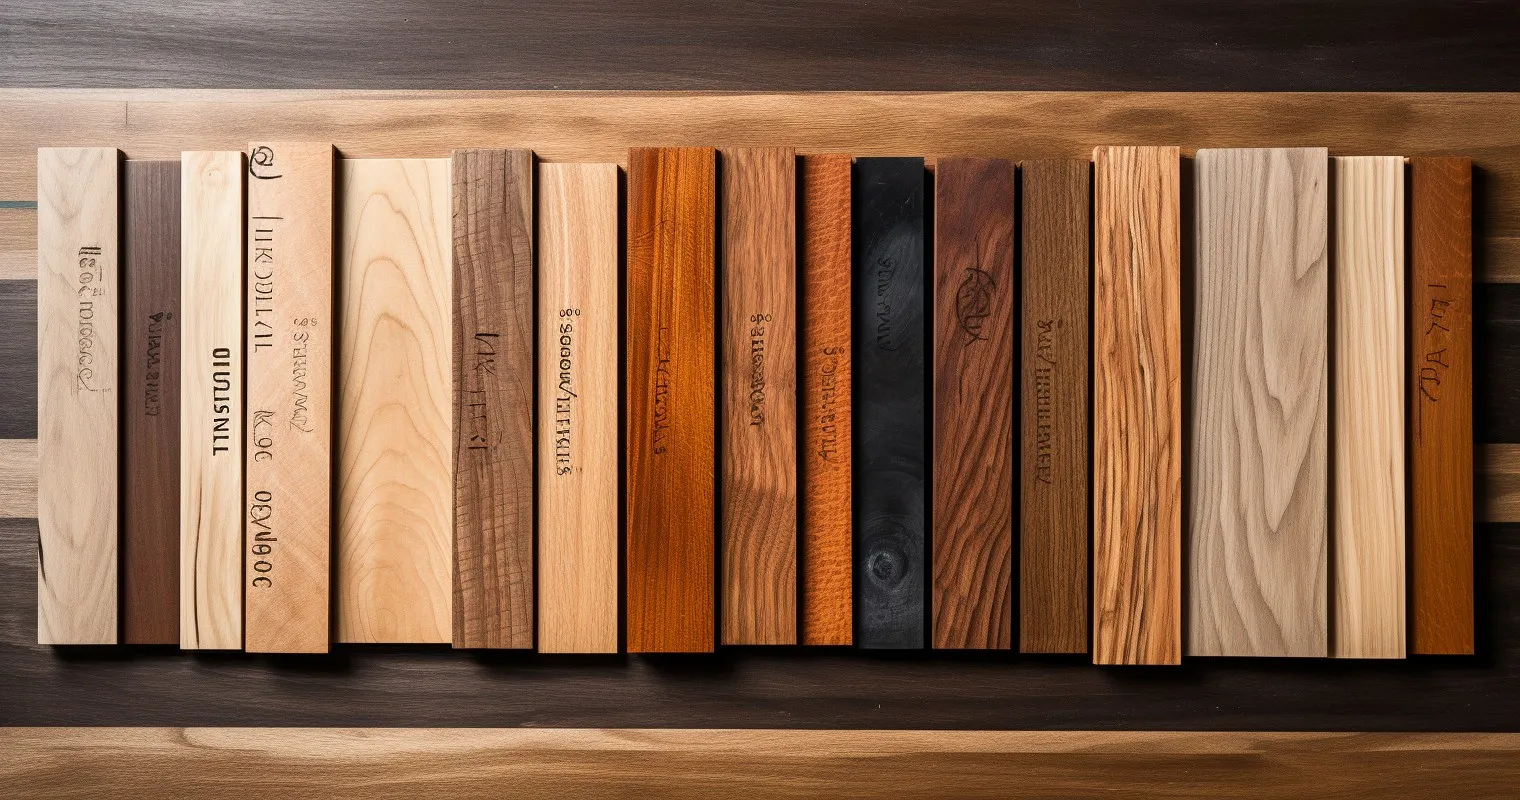
Wood choice can make or break your bookcase project. While hardwoods like oak or mahogany scream luxury, they can be heavy on the pocket. Softwoods like pine or cedar are more affordable and easier to work with, especially for beginners. Remember, the wood should be sturdy enough to bear the weight of the books yet workable without power tools.
Quality and durability are non-negotiable. Your bookcase should not only be a decorative piece but also a functional one. It’s wise to invest in good quality wood that’s free from defects. This ensures longevity and reduces the chances of the wood warping over time.
Apart from wood, you’ll need some additional materials. Nails or screws will provide the necessary joinery, while a strong wood adhesive ensures that the joints are secure. And if you’re wondering about the right kind of materials for such projects, our guide on Choosing the Right Materials for DIY Projects is a treasure trove of information.
Building a bookcase without power tools is not just a DIY project; it’s a journey. A journey of patience, creativity, and a bit of sweat. But at the end of it, when you see your books neatly stacked on a shelf you built, the sense of accomplishment is unparalleled. So, roll up those sleeves, and let’s get building!
How To Build A Simple Bookcase Without Power Tools
Building a bookcase might seem like a task reserved for those with a garage full of power tools. But what if I told you that with a bit of elbow grease and some old-school techniques, you can craft a sturdy bookcase without plugging in a single device? Let’s dive into the world of manual craftsmanship.
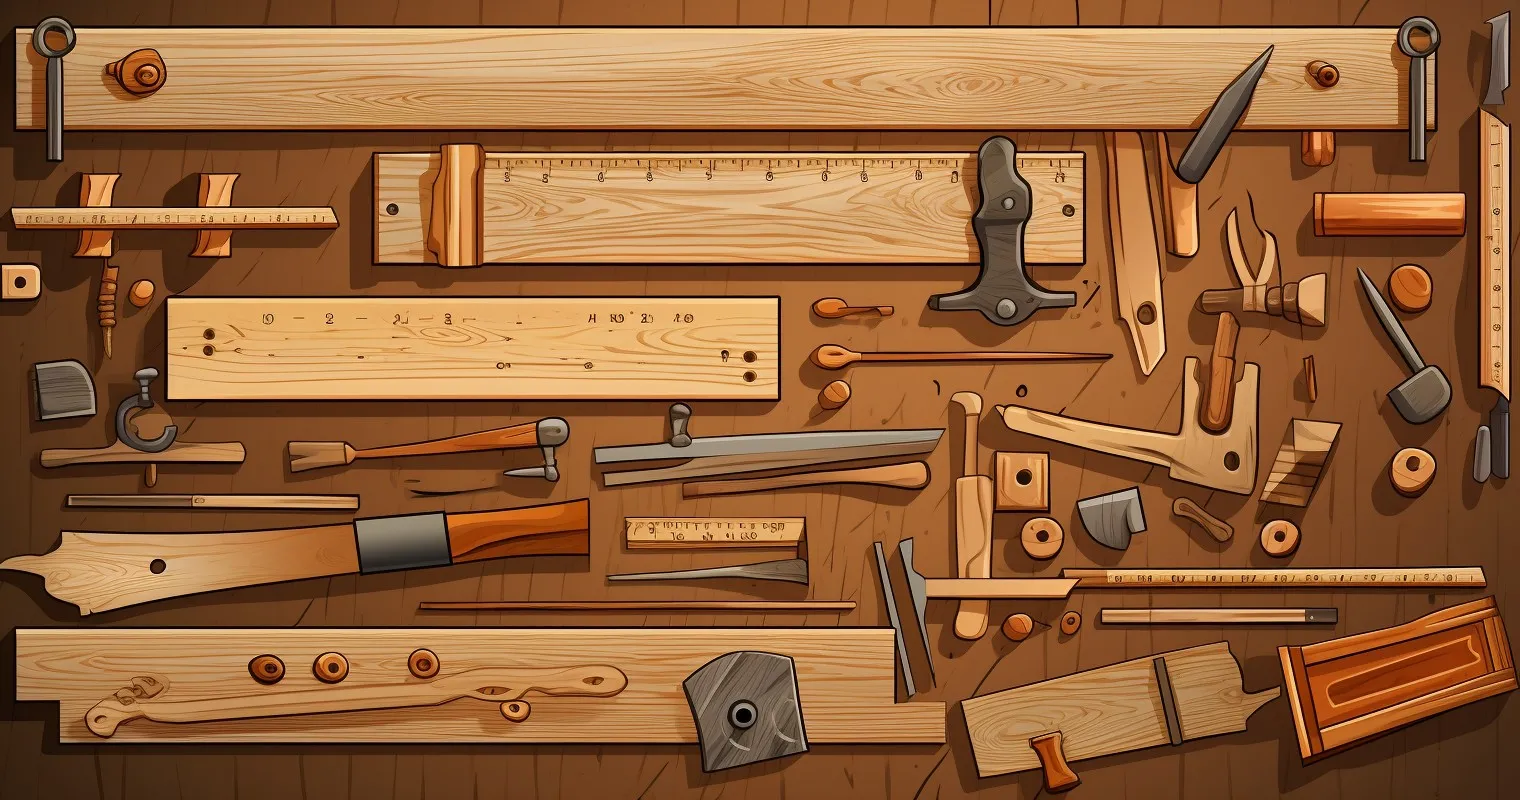
First things first, measuring and cutting the wood. Precision is key here. Measure twice, cut once, as the old adage goes. Use a carpenter’s square to ensure your lines are straight, and a handsaw for the actual cutting. Remember, it’s all about the rhythm; let the saw do the work.
Next up, assemble the shelves and frame. This is where the magic happens. Lay out all your pieces, ensuring they align perfectly. It’s like putting together a jigsaw puzzle, only bigger and more functional. And if you’re looking for some inspiration on designs, check out these DIY Bookshelf Ideas. They’re a testament to what can be achieved with a bit of creativity.
But what’s a bookcase without stability? Ensuring stability and balance is paramount. Nobody wants a Leaning Tower of Pisa in their living room (unless that’s your aesthetic, then by all means). Use a level to ensure your bookcase stands tall and proud. And here’s a pro tip: place heavier books at the bottom shelf to give it a solid base.
Joinery Techniques Without Power Tools
| winery Technique | Description | Pros | Cons |
|---|---|---|---|
| Nails and Screws | Traditional, easy to use | Quick assembly, versatile | Visible, may weaken over time |
| Dowels and Wood Glue | Strong, clean finish | No visible fasteners, durable | Requires precision drilling |
| Mortise and Tenon | An ancient technique, strong joint | Extremely sturdy, aesthetic | Complex requires skill |
Now, let’s talk joinery. This is where your bookcase gets its strength. Gone are the days when nails and screws were the only options. Welcome to the world of dowels, mortise, and tenon.
Using dowels and wood glue is a classic technique. Drill holes where the dowels will go, apply some wood glue, and then fit the pieces together. It’s simple, effective, and gives a clean finish.
Ever heard of the mortise and tenon joint? It’s like the OG of wood joinery. The tenon (a protruding piece of wood) fits into the mortise (a hole) like a glove. It’s a match made in woodworking heaven.
Lastly, never underestimate the importance of clamping and setting time. Once you’ve joined your pieces, use clamps to hold them together. This ensures a tight fit. And remember, patience is a virtue. Give the wood glue ample time to dry. It might be tempting to load up your new bookcase but hold off for at least 24 hours.
Building a bookcase without power tools is not just a DIY project; it’s an experience. It’s about reconnecting with traditional techniques and taking pride in creating something with your own two hands. So, roll up those sleeves, and let’s get building!
Finishing Touches for Your Bookcase
| Finish Option | Description | Pros | Cons |
|---|---|---|---|
| Paint | Adds color and style to the bookcase | Endless color options cover flaws | Hides wood grain, may chip |
| Stain | Enhances wood’s natural beauty | Highlights wood grain, durable | Limited color options |
| Varnish | Provides protective coating | Adds shine, resists wear and tear | May alter wood color over time |
So, you’ve built your bookcase, and it’s standing tall, proud, and a little… naked? Let’s give it some character!
Sanding and smoothing edges is the first step. This isn’t just about aesthetics; it’s about safety. No one wants to get a splinter while reaching for their favorite novel. Grab some sandpaper and gently work your way around the bookcase, paying special attention to the corners and edges. Remember, it’s like giving your bookcase a spa treatment; gentle circular motions are the key.
Once your bookcase is smooth as a baby’s bottom, it’s time for applying paint, stain, or varnish. This is where you can let your creativity run wild. Want a classic look? Go for a dark wood stain. Feeling funky? How about bright turquoise paint? Whatever you choose, make sure to follow the manufacturer’s instructions and give it ample drying time.
Now, for the fun part: decorating and personalizing your bookcase. This is where your bookcase truly becomes yours. Add some quirky bookends, maybe a potted plant or two, or even some fairy lights. And if you’re looking for more ideas, check out these Decorating Tips for DIY Furniture. They’re packed with inspiration!

Maintenance and Care
Building your bookcase is just the beginning. To ensure it stands the test of time (and heavy books), regular maintenance is crucial.
Start with regular cleaning and dusting. Dust might seem harmless, but over time, it can scratch and damage the surface of your bookcase. Use a soft cloth and gently wipe away any dust or debris. For those hard-to-reach spots, a small brush or even a toothbrush works wonders.
Next, addressing wear and tear. Even with the best care, your bookcase will inevitably get some nicks and scratches. But fear not! Most of these can be easily fixed with a bit of touch-up paint or stain. For deeper scratches, a wood filler might be necessary.
Lastly, ensure the longevity of your handmade bookcase. This is where regular inspections come in. Check for any loose joints or wobbly shelves and address them immediately. And while this might seem unrelated, make sure to check out this Interchangeable Power Tool Batteries Guide. Because who knows? Your next DIY project might require some power tools, and it’s always good to be prepared.
Frequently Asked Questions
Why should I consider building a bookcase without power tools?
Building a bookcase without power tools allows for a more hands-on experience, enhancing precision and creativity.
What type of wood is best for this project?
Softwoods like pine or cedar are ideal due to their workability and affordability.
How long does it typically take to build a bookcase manually?
Depending on the design and size, it can take anywhere from a weekend to a week.
Are manual tools safer than power tools?
While manual tools reduce the risk of electrical accidents, it’s essential to use them correctly to ensure safety.
How do I ensure the bookcase is sturdy without using power tools?
Using proper joinery techniques and ensuring accurate measurements will guarantee a robust structure.
Can I customize the design of the bookcase?
Absolutely! The beauty of How To Build A Simple Bookcase Without Power Tools is the flexibility to customize as per your needs.
Conclusion
Building a bookcase without the aid of power tools might seem like a daunting task. However, as you’ve seen, it’s a journey filled with creativity, precision, and a touch of nostalgia. The satisfaction of creating a piece of furniture with your own hands is unparalleled. So, the next time you think of adding a bookcase to your room, remember that sometimes, the old ways are the gold ways. Ready to embark on this DIY adventure? Dive into our guide and discover How To Build A Simple Bookcase Without Power Tools.
Thank you for reading!