Electrical wiring in your home is a crucial aspect that requires careful planning and execution. According to the Electrical Safety Foundation International, there are about 51,000 electrical home structure fires each year, resulting in nearly 500 deaths and more than 1,400 injuries. Hence, knowing the basics of ‘Electrical Wiring How To’ is not just essential but can be life-saving. This article will guide you through the process of electrical wiring, ensuring you do it right and safe. From understanding the basics to planning, installing, and testing the wiring, we have covered it all. So, let’s get started and make your home safer and more efficient.
Electrical Wiring
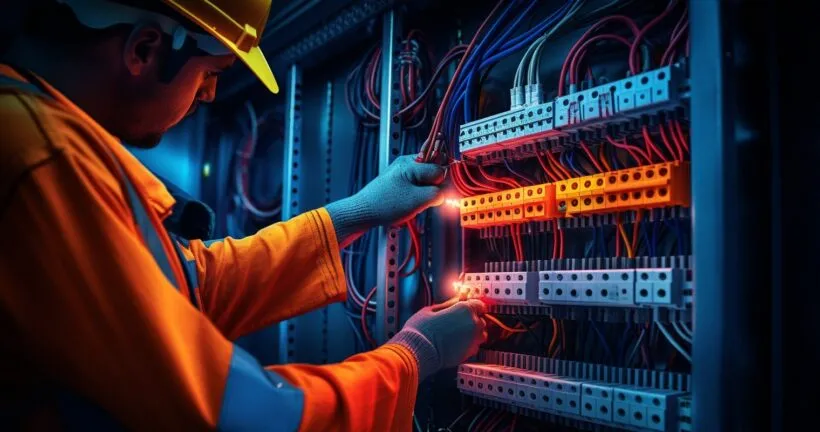
Electrical wiring is the process of connecting various electrical devices, outlets, and fixtures in a building using electrical wires and cables. This process is crucial for the distribution of electricity throughout your home or office. Proper electrical wiring is essential for the safety and functionality of your space. According to the Family Handyman, incorrect wiring can lead to electrical fires, shocks, and other hazards. Therefore, understanding the ‘Electrical Wiring How To’ is not just important, but can be life-saving.
Types of Electrical Wires
| Wire Type | Color | Purpose |
|---|---|---|
| Hot Wires | Black/Red | Carries current from panel to appliance/fixture |
| Neutral Wires | White/Gray | Returns current to the panel |
| Ground Wires | Green/Bare | Provides safety path in case of fault |
There are several types of electrical wires that are commonly used in residential and commercial wiring. These include:
- Hot Wires: These are usually black or red and carry electrical current from the service panel to the appliance or fixture.
- Neutral Wires: These are typically white or gray and carry the electrical current back to the service panel.
- Ground Wires: These are usually green or bare and provide a safe path for electrical current in case of a fault.
Each type of wire has a specific purpose and it is important to use the correct type of wire for each application.
Basic Electrical Wiring Tools
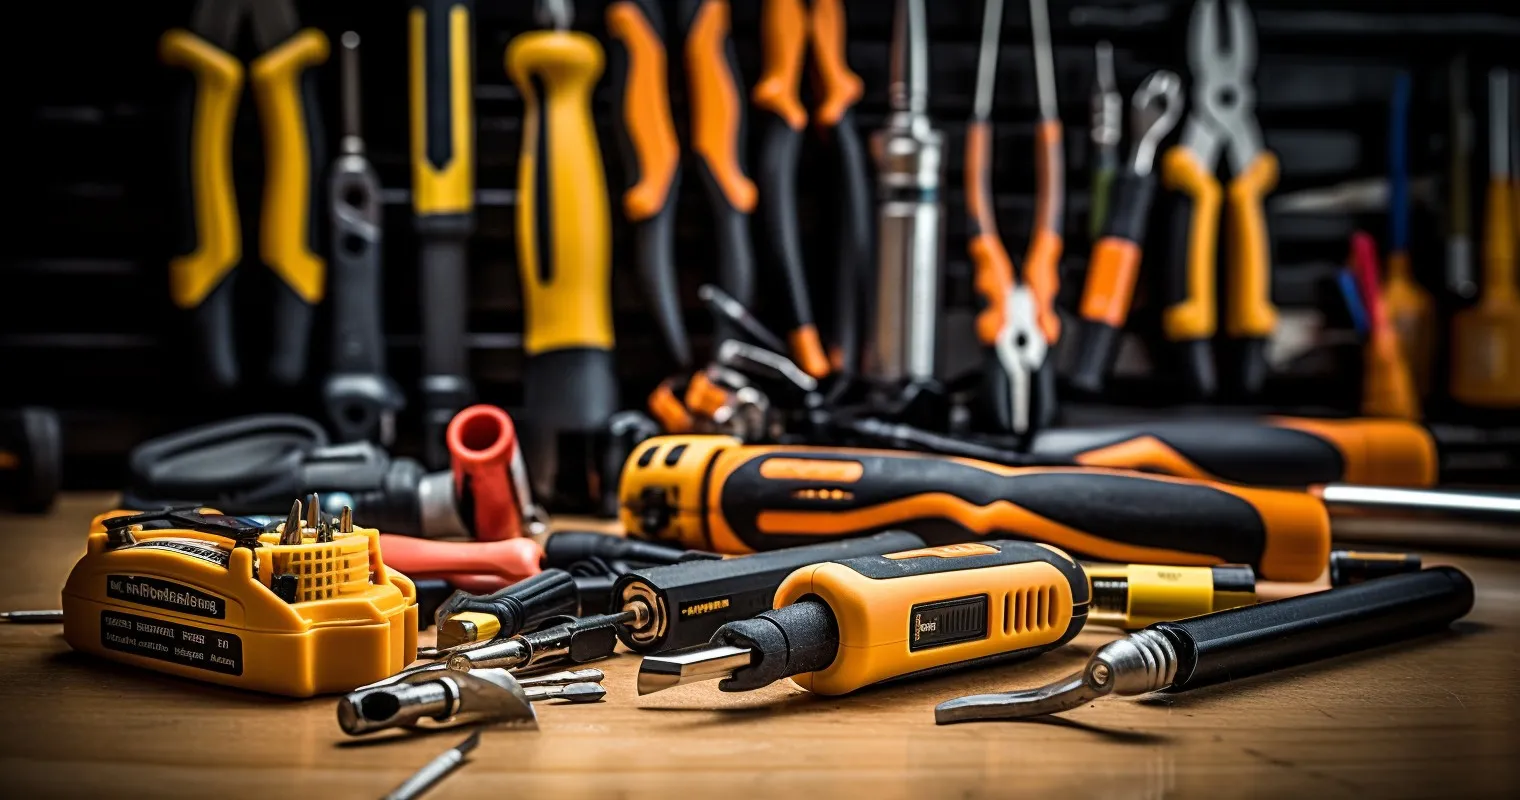
When it comes to electrical wiring, having the right tools is essential. Here is a list of basic electrical wiring tools that every DIYer or professional electrician should have:
- Wire Strippers: These are used to remove the insulation from the wires without damaging the wire itself.
- Needle-nose Pliers: These are used for bending, cutting, and manipulating electrical wires.
- Voltage Tester: This tool is used to check if there is an electrical current in a wire or an electrical device.
- Wire Nuts: These are used to connect two or more wires together.
- Electrical Tape: This is used to insulate wire connections and to secure wires in place.
Each tool has a specific use and it is important to use the correct tool for each task.
Planning the Wiring

Before you dive into the world of electrical wiring, it is crucial to have a well-thought-out plan. Planning is a key step in the ‘Electrical Wiring How To’ process. It involves creating a wiring diagram that includes the layout of all electrical fixtures, outlets, and switches. This will serve as a roadmap during the installation process and will help ensure that everything is wired correctly. Here are some tips for creating a wiring plan:
- Identify the Electrical Loads: Determine the electrical load of all the appliances and fixtures that will be connected. This will help you select the appropriate wire size and circuit breaker.
- Plan the Circuit Path: Decide the path that the wires will take from the service panel to the various outlets and fixtures.
- Select the Appropriate Wire Size: Choose the wire size based on the load calculation and the distance from the service panel.
- Check Local Building Codes: Make sure your wiring plan complies with local building codes and regulations.
Installing the Wires
Once you have a solid plan in place, it’s time to start installing the wires. Here is a step-by-step guide on how to install the wires:
- Turn Off the Power: Before you start, make sure to turn off the power at the service panel.
- Run the Wires: Run the wires along the planned path. Use wire staples or clips to secure the wires in place.
- Install the Boxes: Install the electrical boxes for switches, outlets, and fixtures.
- Pull the Wires Through the Boxes: Pull the wires through the boxes, making sure to leave enough slack to make the connections.
- Strip the Wires: Use wire strippers to remove the insulation from the ends of the wires.
Remember to take the following safety precautions while installing the wires:
- Use Insulated Tools: Use insulated tools to protect yourself from electric shock.
- Wear Safety Gear: Wear rubber gloves and shoes to protect yourself from electric shock.
- Do Not Work in Wet or Damp Areas: Water is a good conductor of electricity, so make sure the area you are working in is dry.
Connecting the Wires
After the wires are installed, it’s time to connect them to the switches and outlets. According to Extreme How To, when connecting an electrical fixture, connect the wiring by matching the color-coded wires of the supply line and fixture, twisting them together, and then securing them with wire nuts. Here are some tips for making secure connections:
- Match the Colors: Connect the wires by matching the colors. Black to black, white to white, and green or bare to green or bare.
- Use Wire Nuts: Use wire nuts to secure the connections. Make sure they are tight and secure.
- Wrap with Electrical Tape: Wrap the connections with electrical tape to provide extra insulation and security.
Tips for Successful Electrical Wiring
Electrical wiring can seem like a daunting task, but with the right approach, it can be done successfully and safely. Here are some useful tips for successful electrical wiring:
- Understand the Basics: Make sure you have a good understanding of the basics of electrical wiring. This includes knowing the different types of wires, how to make connections, and how to read a wiring diagram.
- Plan Ahead: Before you start, create a detailed wiring plan. This should include the location of all outlets, switches, and fixtures, as well as the path of the wires.
- Use the Right Tools: Having the right tools is essential for successful electrical wiring. This includes wire strippers, needle-nose pliers, a voltage tester, and a screwdriver.
- Follow Local Building Codes: Make sure your wiring plan complies with local building codes and regulations. This may require getting a permit and having your work inspected.
Common mistakes to avoid include:
- Overloading Circuits: Do not overload circuits by connecting too many devices to a single circuit. This can cause the circuit breaker to trip or, in extreme cases, cause a fire.
- Not Grounding Properly: Make sure all outlets and fixtures are properly grounded. This is essential for safety.
- Using the Wrong Wire Size: Use the appropriate wire size for the load. Using a wire that is too small for the load can cause overheating and potentially a fire.
Safety Precautions
| Precaution | Description |
|---|---|
| Turn Off the Power | Ensure the power is off before starting any electrical work |
| Use Insulated Tools | Protect yourself from electric shock using insulated tools |
| Wear Safety Gear | Wear rubber gloves and shoes to further prevent electric shock |
| Avoid Wet or Damp Areas | Work in dry areas to prevent electrical hazards |
| Double-Check Connections | Verify all connections after completing the wiring |
| Use a Voltage Tester to Test the Wiring | Ensure electrical current flows correctly through the wires |
| Listen and Check for Unusual Signs | Be attentive to sounds or smells that might indicate issues |
Safety is of the utmost importance when doing electrical wiring. Here are some important safety precautions to take:
- Turn Off the Power: Before you start, make sure to turn off the power at the service panel.
- Use Insulated Tools: Use insulated tools to protect yourself from electric shock.
- Wear Safety Gear: Wear rubber gloves and shoes to protect yourself from electric shock.
- Do Not Work in Wet or Damp Areas: Water is a good conductor of electricity, so make sure the area you are working in is dry.
- Check Your Work: After you have finished the wiring, double-check all connections to make sure they are secure.
Testing the Wiring
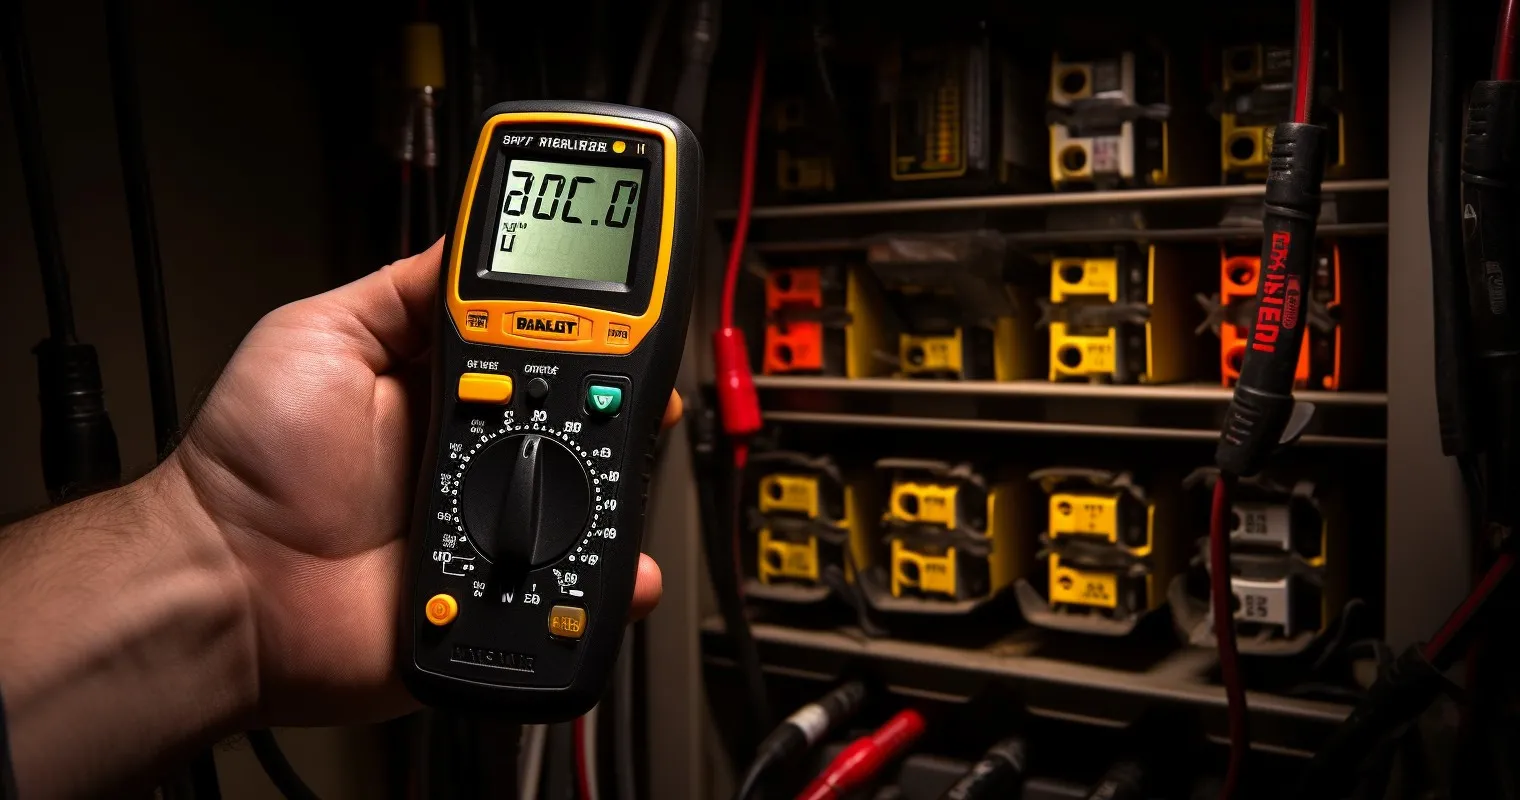
After the wiring is completed, it is important to test it to make sure everything is working properly. Here is how to test the wiring after installation:
- Use a Voltage Tester: Use a voltage tester to check if there is an electrical current in the wires and outlets.
- Turn On the Power: Turn on the power at the service panel and check if all the outlets, switches, and fixtures are working properly.
- Check for Unusual Sounds or Smells: Listen for any unusual sounds, such as buzzing or humming, and check for any unusual smells, such as burning.
Frequently Asked Questions
What is the importance of proper electrical wiring?
Proper electrical wiring is crucial for the safety of your home and its inhabitants. It helps in preventing electrical fires, shocks, and other hazards. Additionally, it ensures that all your electrical appliances and fixtures work efficiently.
What are the different types of electrical wires?
There are several types of electrical wires, including:
- Hot wires: These are usually black or red and carry electrical current from the service panel to the appliance or fixture.
- Neutral wires: These are typically white or gray and carry electrical current back to the service panel.
- Ground wires: These are usually green or bare and provide a safe path for electrical current in case of a fault.
How can I plan my electrical wiring?
Planning your electrical wiring involves the following steps:
- Create a wiring diagram: This includes the layout of all the electrical fixtures, outlets, and switches.
- Determine the load: Calculate the electrical load of all the appliances and fixtures that will be connected.
- Select the appropriate wire size: Choose the wire size based on the load calculation and the distance from the service panel.
What safety precautions should I take while doing electrical wiring?
While doing electrical wiring, you should take the following safety precautions:
- Turn off the power at the service panel before starting the work.
- Use insulated tools and wear rubber gloves and shoes.
- Do not work in wet or damp areas.
- Make sure all the connections are tight and secure.
How can I test my electrical wiring?
After completing the electrical wiring, you should test it by doing the following:
- Use a voltage tester to check if the power is coming to the outlets and switches.
- Turn on all the appliances and fixtures to see if they are working properly.
- Check for any unusual sounds, smells, or sparks.
Conclusion
Understanding the ‘Electrical Wiring How To’ is crucial for the safety and efficiency of your home. By following the guidelines mentioned in this article, you can ensure that your electrical wiring is done right and safely. Remember to plan your wiring carefully, use the appropriate tools and materials, follow all safety precautions, and test the wiring after installation. If you are not confident about doing the electrical wiring yourself, it is always advisable to hire a professional electrician.
Thank you for reading!