A 240-volt outlet powers the heavy hitters in your home: the electric dryer, the kitchen range, a welder, an EV charger, or a workshop table saw. These appliances draw more current than a standard wall socket can safely supply, so they need their own dedicated high-voltage circuit. This guide walks through how a 240-volt outlet works, what parts you need, and the exact steps an electrician follows to install one.
Safety note: 240-volt work involves enough current to be lethal. In most areas a permit and inspection are legally required, and some jurisdictions only allow a licensed electrician to add a new circuit. Treat this article as a guide to understanding the job, not a license to skip code.
What Is a 240-Volt Outlet?
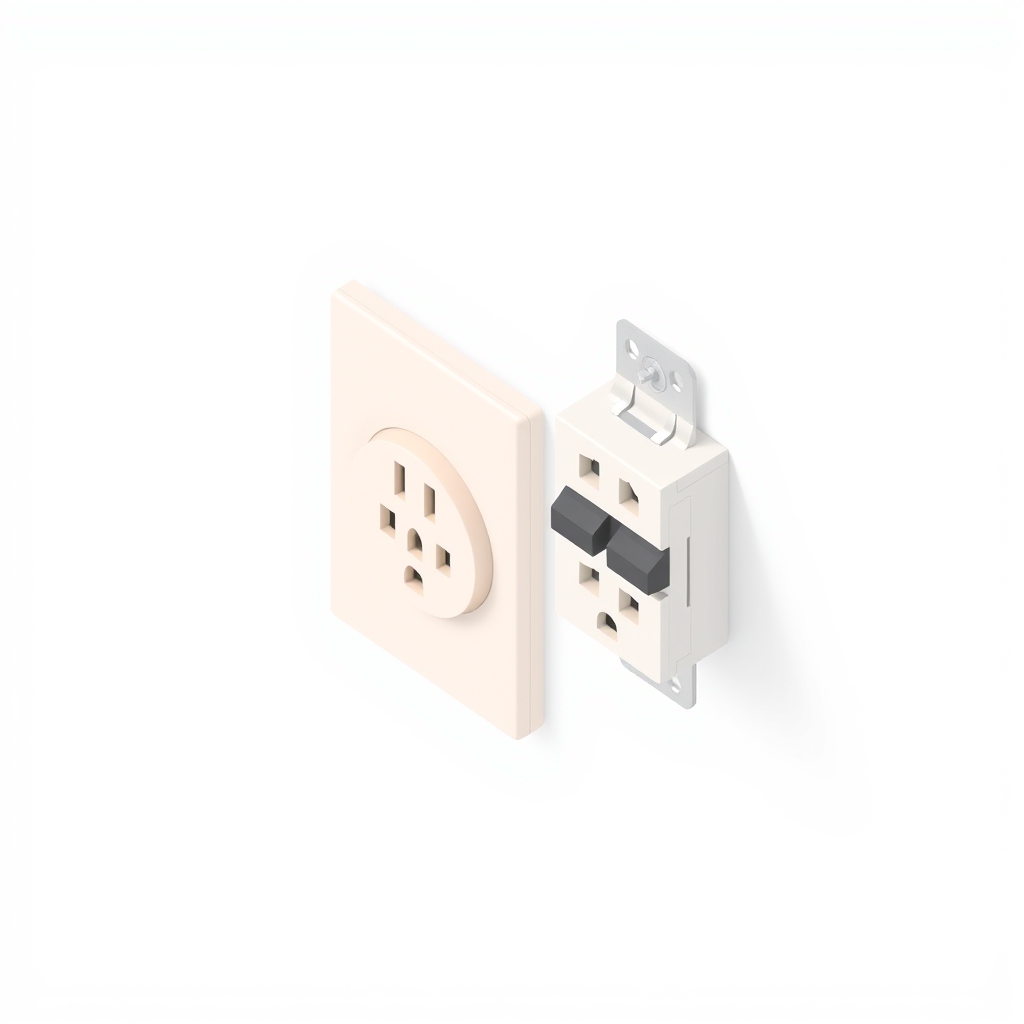
A 240-volt outlet is a receptacle wired to two 120-volt “hot” legs from your electrical panel, which combine to deliver 240 volts to high-draw appliances. Instead of one hot wire plus a neutral (as in a standard 120-volt outlet), it uses two hot wires that are 180 degrees out of phase, doubling the voltage available at the receptacle.
In North America, residential service is typically 120/240 volts split-phase. The terms “220,” “230,” and “240” are used interchangeably in everyday speech, but the modern nominal standard is 240 volts. You will see all three on appliance labels and in older wiring guides.
Common 240-Volt Outlet Types
The receptacle you install depends on the appliance’s amperage and whether it needs a neutral wire. The most common residential configurations are:
- NEMA 6-20 — 240V, 20 amps. Common for window air conditioners, smaller welders, and shop tools.
- NEMA 6-50 — 240V, 50 amps. Standard for welders and many EV charging setups.
- NEMA 14-30 — 120/240V, 30 amps, four-prong. Today’s standard for electric clothes dryers.
- NEMA 14-50 — 120/240V, 50 amps, four-prong. Common for electric ranges and Level 2 EV chargers.
- NEMA 10-30 / 10-50 — older three-prong dryer and range outlets. Still found in existing homes, but the National Electrical Code has required four-prong (grounded) outlets for new installations since the 1996 code cycle.
Match the receptacle, breaker, and wire gauge to the appliance nameplate. Mixing ratings, for example pairing a 30-amp breaker with a 50-amp outlet, creates a fire and shock hazard.
Tools and Materials You Need
- Double-pole circuit breaker rated for the appliance (e.g., 30A or 50A) that matches your panel brand
- Correctly gauged cable — commonly 10/3 with ground for 30A or 6/3 with ground for 50A circuits
- The matching NEMA receptacle and a weatherproof or deep junction box
- Non-contact voltage tester and a multimeter
- Wire strippers, lineman’s pliers, a screwdriver set, and a cable clamp
- A permit from your local building department
Always confirm wire size against the current code and the breaker rating. Undersized wire is one of the most common causes of overheating in DIY 240-volt circuits.
How to Install a 240-Volt Outlet: Step by Step
The following is the standard sequence a qualified electrician uses to add a new 240-volt circuit. If you are not trained and permitted to work inside a live panel, stop at the rough-in and hire a pro to make the panel connection.
1. Plan the Circuit and Pull a Permit
Decide the appliance, its amperage, and the outlet location. Confirm your panel has two adjacent open slots for a double-pole breaker and enough spare capacity. Apply for the permit before any work begins.
2. Shut Off the Main Power
Turn off the main breaker, then verify the panel is dead with a non-contact tester and a multimeter. Even with the main off, the lugs feeding the panel stay live, so keep clear of the service entrance.
3. Run the Cable
Route the correctly gauged cable from the panel to the outlet location, securing it per code (typically within 12 inches of the box and every 4.5 feet along the run). Leave several inches of slack at both ends.
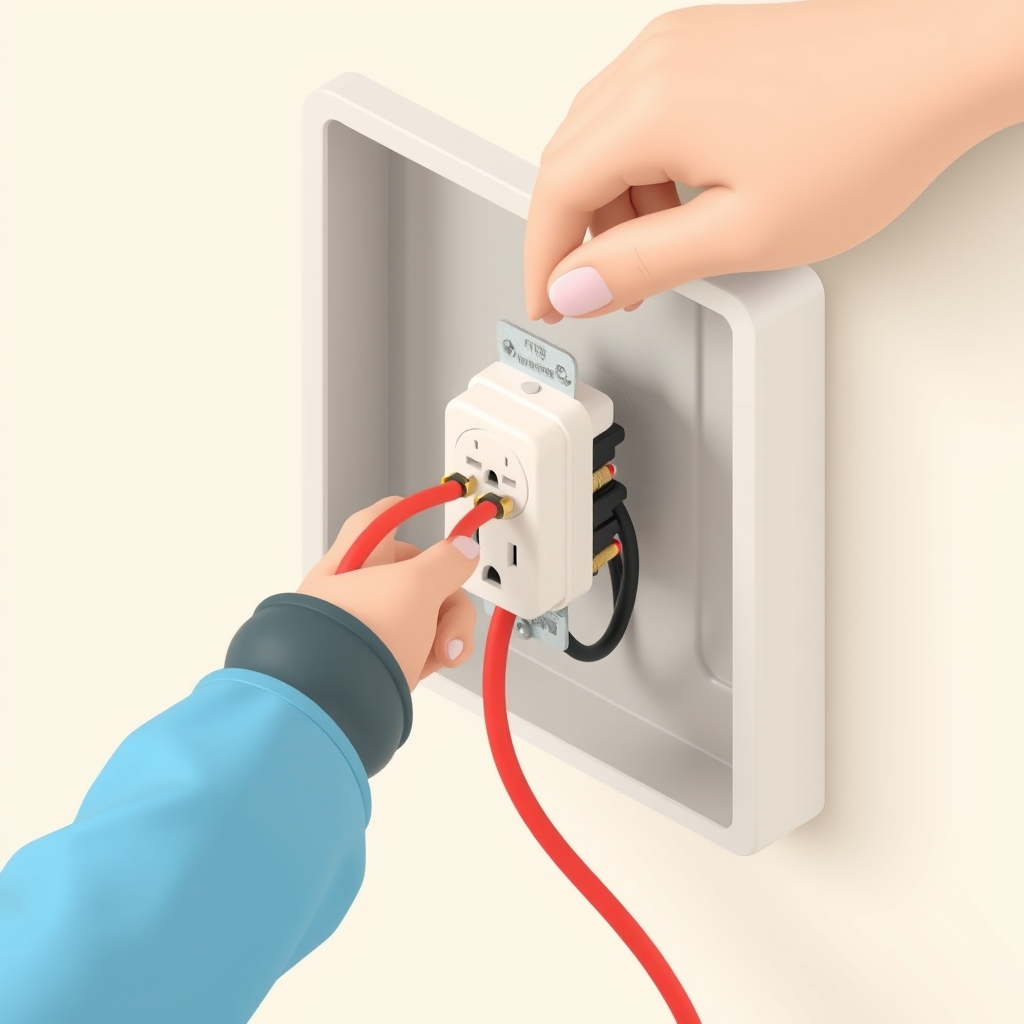
4. Wire the Receptacle
For a four-prong outlet: connect the two hot wires (usually black and red) to the two brass terminals, the white neutral to the silver terminal, and the bare or green ground to the green terminal. For a three-wire 240-only outlet with no neutral, connect both hots and the ground only.
5. Connect the Breaker
With the panel still de-energized, attach the two hot wires to the double-pole breaker, the neutral to the neutral bus, and the ground to the ground bus. Snap the breaker into the two open slots.
6. Test Before You Trust It
Restore power, switch on the new breaker, and use a multimeter at the receptacle: you should read about 240 volts hot-to-hot, and roughly 120 volts from each hot to neutral on a four-wire circuit. Anything outside that range means stop and recheck the wiring.
7. Schedule the Inspection
Leave the work accessible and have the inspector verify it before you close walls or put the circuit into regular use. The inspection is what makes the installation legal and keeps your insurance valid.
Three-Prong vs. Four-Prong Outlets
Older homes often have three-prong 240-volt outlets (NEMA 10-30 or 10-50) where the neutral and ground share a single wire. Modern code requires a separate neutral and ground, which is why four-prong outlets (14-30 and 14-50) are now standard. If you buy a new appliance with a four-prong cord but have a three-prong outlet, the safe fix is to install a proper four-wire circuit, not to swap the appliance cord back to three prongs on an ungrounded outlet.
Common Mistakes to Avoid
- Undersized wire. A 50-amp circuit on 10-gauge wire will overheat. Size the conductor to the breaker.
- Reusing an old three-wire circuit. Do not assume a 10-30 outlet can simply be relabeled; verify the cable actually contains a separate ground.
- Skipping the permit. Unpermitted electrical work can void insurance and create problems when you sell the home.
- Loose terminals. Loose connections on high-current circuits are a leading cause of arcing and fires. Torque terminals to spec.
When to Call an Electrician
Call a licensed electrician if your panel has no open slots, if you are unsure about your home’s grounding, if the run requires conduit through finished walls, or if local code does not permit homeowner electrical work. The cost of a professional install is small compared with the cost of an electrical fire or a failed inspection.
Frequently Asked Questions
Can I install a 240-volt outlet myself?
In many areas a homeowner may do their own electrical work with a permit and inspection, but some jurisdictions require a licensed electrician for new circuits. Check your local building department first. Even where DIY is allowed, you should be comfortable working safely inside an electrical panel.
What size breaker do I need for a 240-volt outlet?
Match the breaker to the appliance: a typical electric dryer uses a 30-amp double-pole breaker with a NEMA 14-30 outlet, while an electric range or Level 2 EV charger usually uses a 50-amp double-pole breaker with a NEMA 14-50 outlet. Always follow the appliance nameplate.
What is the difference between 220, 230, and 240 volts?
They refer to the same residential split-phase circuit. The nominal standard in North America is now 240 volts; “220” and “230” are older terms still printed on many appliances. For practical purposes they are interchangeable.
Do all 240-volt outlets need a neutral wire?
No. Pure 240-volt appliances such as water heaters, some welders, and many EV chargers use only two hots and a ground. Appliances that also run 120-volt components (like a dryer’s timer or a range’s clock) need a neutral, which is why four-prong outlets exist.
The Bottom Line
Installing a 240-volt outlet is a well-defined job: choose the right NEMA receptacle for your appliance, run correctly sized cable, wire a matching double-pole breaker, and verify the voltage before use. The wiring itself is straightforward, but the current is unforgiving. Pull the permit, size every component to the load, and when any part of the job is outside your comfort zone, bring in a licensed electrician.
Thank you for reading!